
Ruth’s Grandma’s Pie Crust is the ultimate foundation for any pie, offering a golden, flaky texture that’s been perfected over generations.
This recipe uses simple ingredients and a few key techniques to create a versatile crust that’s ideal for both sweet and savory pies.
Whether you’re a seasoned baker or trying your hand at pie-making for the first time, this crust is sure to become a treasured part of your baking repertoire.
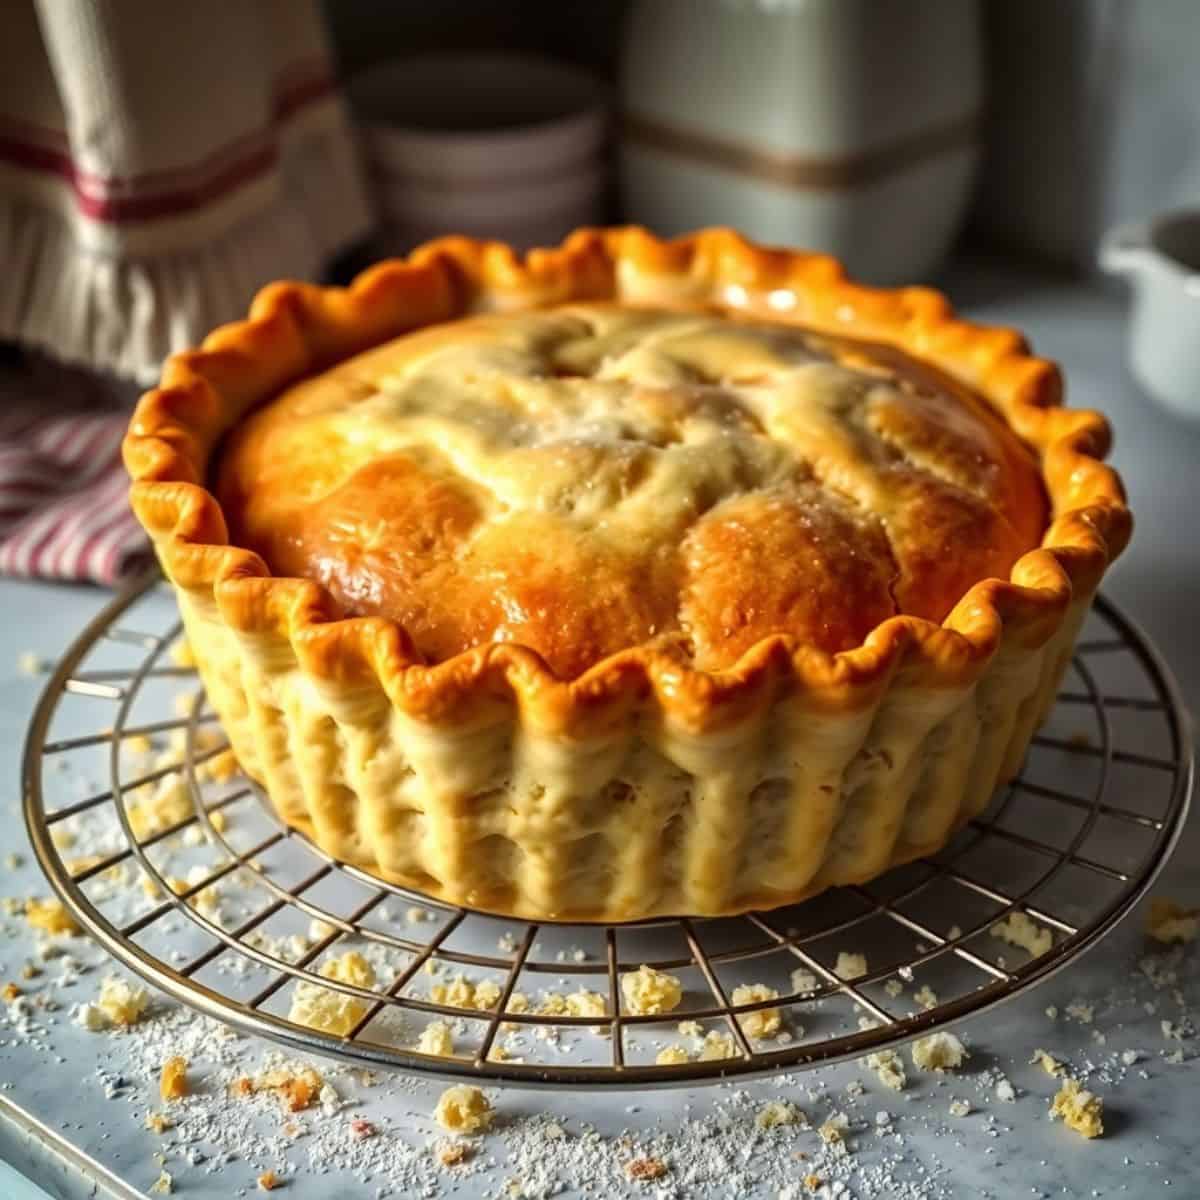
Why You'll Love This Recipe
- Time-Tested Perfection: A family recipe passed down through generations ensures consistent, delicious results.
- Versatile: Works for fruit pies, quiches, pot pies, and more.
- Flaky Texture: The perfect combination of butter and shortening creates a beautifully flaky crust.
- Easy to Make: Straightforward steps make this recipe accessible for beginners.
- Customizable: Add spices or herbs to match your pie’s filling.
Ingredients:
- 2 ½ cups all-purpose flour
- 1 teaspoon salt
- 1 tablespoon granulated sugar (optional for sweet pies)
- ½ cup unsalted butter, chilled and diced
- ½ cup shortening, chilled
- 6-8 tablespoons ice water
Directions:
- Step 1: Mix Dry Ingredients
In a large mixing bowl, whisk together the all-purpose flour, salt, and sugar (if using for sweet pies).
- This step evenly distributes the salt and sugar throughout the flour, ensuring the flavor is balanced in every bite.
- Step 2: Cut in Fats
Add the chilled butter and shortening to the bowl. Use a pastry cutter, fork, or your fingers to work the fats into the flour.
- The goal is to create a mixture that resembles coarse crumbs with some pea-sized chunks of fat. These chunks will create pockets of steam during baking, giving the crust its flaky texture.
- Step 3: Add Water
Gradually drizzle in the ice water, 1 tablespoon at a time, mixing gently with a fork or your hands. The dough should start to hold together but should not feel sticky.
- Avoid adding too much water, as this can make the crust tough. It’s okay if the dough appears slightly crumbly as long as it holds together when pressed.
- Step 4: Chill the Dough
Divide the dough into two equal portions. Shape each into a flat disk, about 1 inch thick, and wrap tightly in plastic wrap.
- Chilling the dough for at least 1 hour allows the gluten to relax and the fats to firm up, making the dough easier to roll out and preventing shrinkage during baking.
- Step 5: Roll Out the Dough
Lightly flour a clean work surface and rolling pin. Remove one disk of dough from the fridge and roll it out into a circle about 12 inches in diameter, turning it frequently to prevent sticking.
- Carefully transfer the dough to your pie pan by rolling it onto your rolling pin and unrolling it over the pan.
- Gently press the dough into the pan, trimming any excess. Repeat this with the second disk if you are making a double-crust pie.
- Step 6: Assemble and Bake
Add your desired pie filling to the prepared crust. For double-crust pies, place the second rolled-out crust over the filling, sealing the edges by pinching or crimping with a fork.
- Cut slits or decorative vents in the top crust to allow steam to escape.
- Bake according to your pie recipe’s instructions, typically at 375–400°F (190–200°C), until the crust is golden and the filling is bubbly.
- For best results, check your pie halfway through baking and cover the edges with foil if they are browning too quickly.
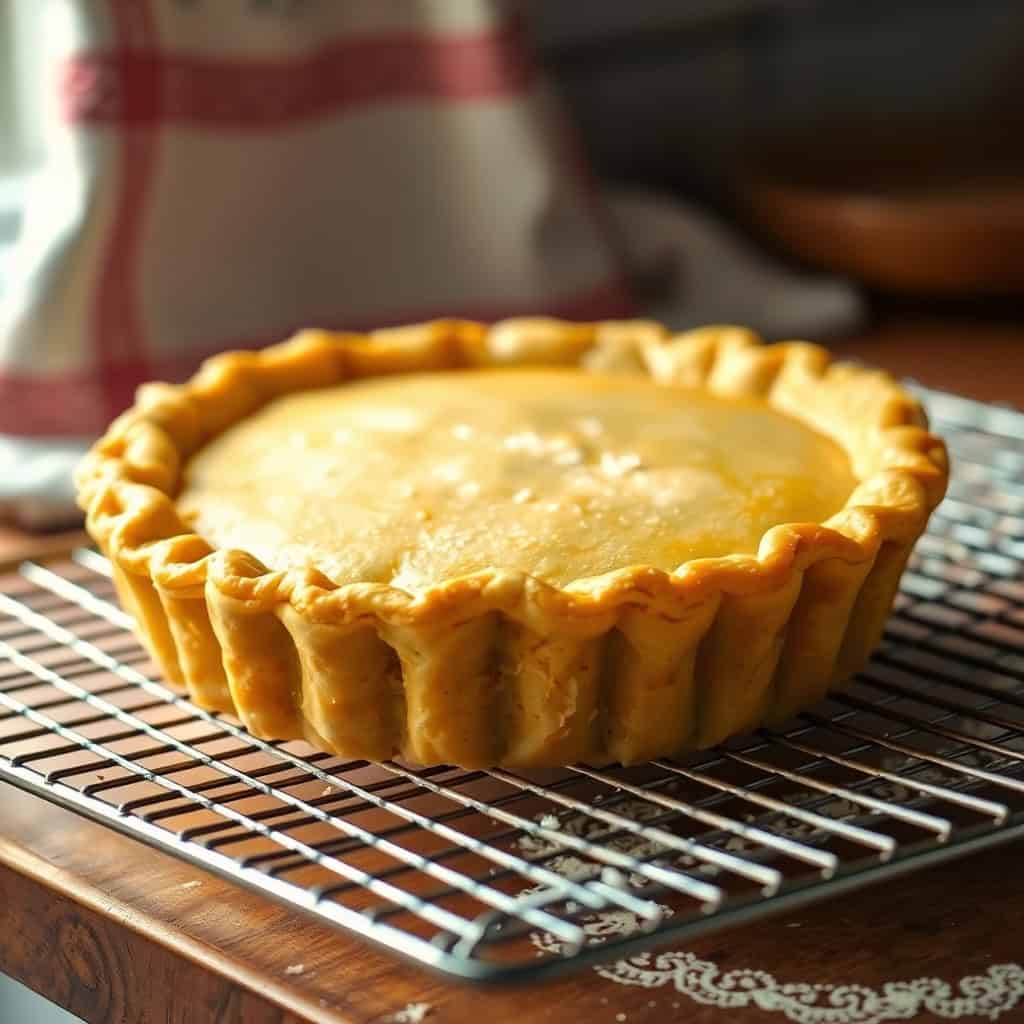
Variations:
- Whole Wheat Crust
Replace half of the all-purpose flour with whole wheat flour for a nutty, earthy flavor and a slightly denser texture.
- This variation works beautifully for rustic pies, such as apple or pecan, and pairs perfectly with hearty fillings.
- Keep in mind that whole wheat flour absorbs more liquid, so you may need to add an extra tablespoon of ice water to achieve the right dough consistency.
- Spiced Crust
For sweet pies like pumpkin or apple, add ½ teaspoon of ground cinnamon, nutmeg, or a combination of warm spices to the dry ingredients.
- These subtle spices infuse the crust with extra flavor, complementing the sweetness of your filling. You can even experiment with cardamom or ginger for unique and aromatic twists.
- Herb-Infused Crust
Incorporate 1 teaspoon of dried herbs, such as thyme, rosemary, or sage, into the dry ingredients for savory pies like quiche or pot pie.
- These herbs add depth to the crust, enhancing the flavors of your savory filling. For an extra burst of freshness, you can finely chop fresh herbs and mix them in as well.
- Vegan Version
Substitute butter with vegan butter and use vegetable shortening for a completely plant-based crust. Make sure your other ingredients, such as sugar (if used), are vegan-certified.
- This version offers the same flaky, tender texture as the traditional recipe, making it perfect for vegan-friendly pies without compromising on flavor or quality.
- If needed, use almond milk or water in place of cream for brushing the crust before baking.
Serving and Storage
Storage:
- Refrigeration: Wrap any unused dough tightly in plastic wrap and store it in the refrigerator for up to 3 days.
- Freezing: Freeze dough disks for up to 3 months. Thaw in the refrigerator before rolling out.
Serving:
Use this crust for any pie recipe, from classic apple pie to savory chicken pot pie. Serve warm with ice cream or whipped cream for sweet pies.
Tips for Success
- Keep It Cold: Chill your ingredients and work quickly to prevent the butter and shortening from melting.
- Don’t Overwork the Dough: Mix just until the dough comes together to avoid a tough crust.
- Chill Before Rolling: Resting the dough in the fridge helps it relax, making it easier to roll out.
- Prevent Shrinkage: Let the rolled-out crust rest in the pie pan in the refrigerator for 30 minutes before baking.
FAQs
Yes, but the combination of butter and shortening provides the ideal balance of flavor and flakiness.
The dough may be too cold. Let it sit at room temperature for a few minutes before rolling.
Yes, use a gluten-free flour blend, but note that the texture may vary slightly.
Blind bake the crust by pre-baking it with pie weights before adding the filling.
Absolutely! This crust works beautifully for tarts and other pastries.
Ruth’s Grandma’s Pie Crust is a timeless classic that guarantees success with every bake. Its golden, flaky layers and rich, buttery flavor make it the ultimate foundation for all your pie-making adventures.
Whether you’re crafting a luscious fruit pie, a creamy custard filling, or a hearty, savory pie, this versatile crust is the perfect starting point.
Made with simple, everyday ingredients, this recipe combines tradition and ease to create a dough that’s easy to handle and bakes to perfection.
Each bite delivers a melt-in-your-mouth texture that’s irresistibly delicious.
Give it a try, and experience the magic of a homemade pie crust that’s stood the test of time!

RUTH’S GRANDMA'S PIE CRUST
Ingredients
- 2 ½ cups all-purpose flour
- 1 teaspoon salt
- 1 cup unsalted butter, chilled and diced
- 6-8 tablespoon ice water
Instructions
Mix the Dry Ingredients:
- In a large bowl, combine the flour and salt.
Cut in the Butter:
- Add the diced, chilled butter to the bowl. Use a pastry cutter or fork to mix until the texture resembles coarse crumbs.
Add Ice Water:
- Gradually add ice water, 1 tablespoon at a time, mixing gently until the dough comes together but isn’t sticky. Avoid overmixing.
Chill the Dough:
- Divide the dough into two disks, wrap in plastic wrap, and refrigerate for at least 30 minutes.
Roll Out the Dough:
- On a floured surface, roll out the dough to fit your pie dish. Carefully transfer it to the dish, trimming any excess.
Use as Needed:
- Add your desired filling and bake as directed. For blind-baking, preheat the oven to 375°F (190°C), line the crust with parchment paper, fill with pie weights, and bake for 10 minutes.
Notes
- Make Ahead:
The dough can be made ahead and stored in the refrigerator for up to 3 days. You can also freeze it for up to 3 months. - Customizing the Flavor:
For a subtle twist, add a teaspoon of sugar for a slightly sweet crust, or a pinch of cinnamon for a warm flavor. - Serving Suggestions:
This flaky crust pairs perfectly with any pie filling—fruit, custard, or savory quiches. Serve it warm with ice cream or whipped cream for sweet pies. - Storage Tips:
Wrap the dough tightly in plastic wrap and refrigerate until ready to use. For longer storage, freeze and thaw in the fridge overnight before rolling out.






Comments
No Comments