
I made this cheesecake for the first time on a whim the December before last, right before a family dinner I was already stressed about. I wanted something that looked like I had put in enormous effort — but I also needed to make it the day before so I wasn't panicking in the kitchen on the day itself. A red velvet and white chocolate cheesecake sounded impossibly fancy until I actually made it and realized it comes together in stages, each one simple on its own.
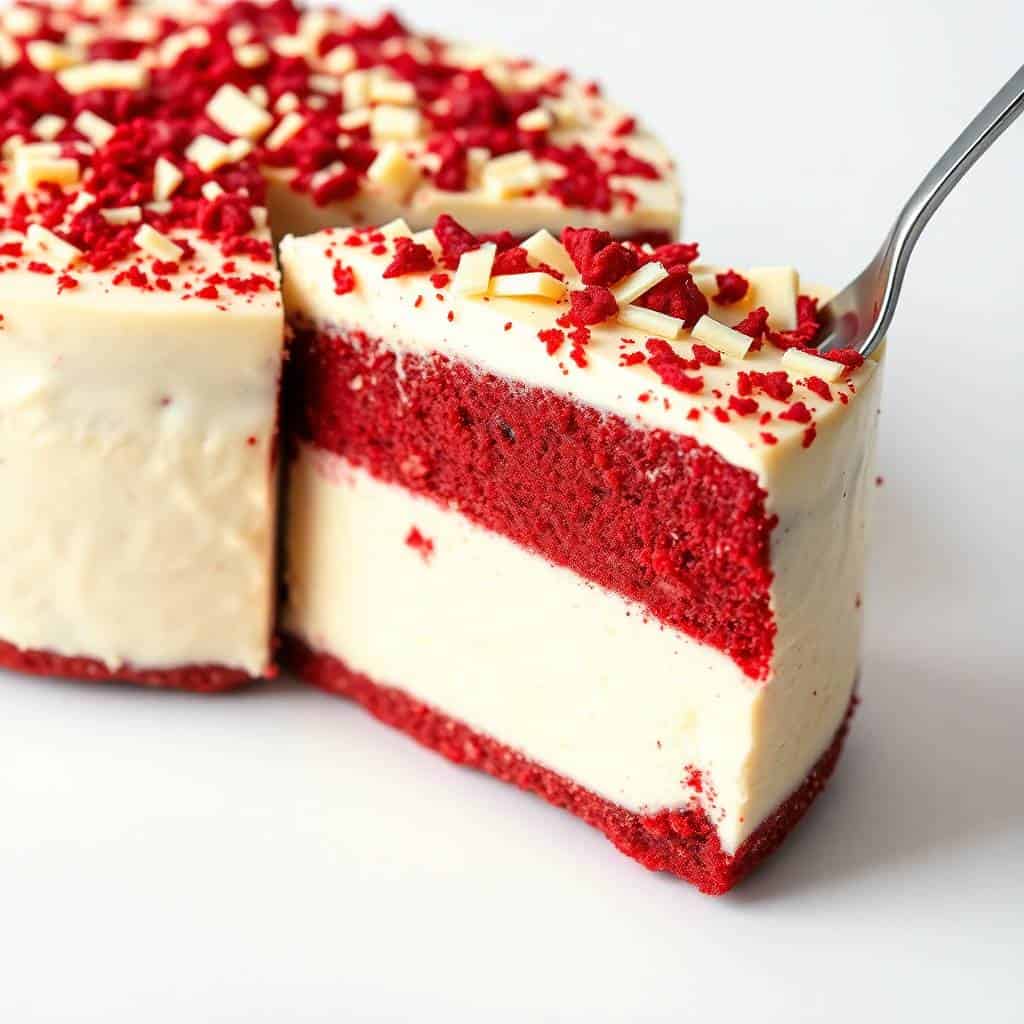
What makes this one different from a standard cheesecake is the layering — you have an actual red velvet cake batter on the bottom, then a white chocolate cream cheese layer poured on top, and they bake together into this gorgeous two-toned situation that looks like it came from a bakery window. I'm not going to pretend it's quick — it takes a good hour in the oven plus overnight chilling. But almost all of that time is hands-off, and the result is genuinely impressive.
My husband had two slices the first time I served it, which is how I knew it was a keeper. Zainab kept asking why it was red, and then asked for it again for her birthday. I've made it four times since and I still look forward to cutting into it and seeing those clean layers. If you want a dessert that does the visual heavy lifting for you, this is it.
One thing I want to be upfront about: this is not a traditional cheesecake and it's not a traditional red velvet cake. It's a layered hybrid and it plays by its own rules. Don't expect it to behave like either one solo. The red velvet layer is denser than a regular cake layer because it's sitting under the cheesecake weight — that's fine, that's what it's supposed to do. If you want something more classic and layered but lighter, my Creamsicle Trifle is a good alternative. But if you want the dramatic slice that makes people go quiet at the table, stay here.
Why You'll Love This Recipe
- It looks far harder than it is: The two distinct layers and the deep red color make this cheesecake look like serious pastry work. In reality, you're mixing two separate batters and stacking them — no special skills required. Every time I bring it to a gathering, someone assumes I ordered it from a bakery, and I quietly enjoy that.
- The white chocolate does real work here: This isn't just a garnish situation — the white chocolate is actually melted into the cheesecake batter, which gives it a sweetness and creaminess that plain cheesecake doesn't have. It also balances the slight tang of the cream cheese really well. I used to think white chocolate was just decoration, but in this recipe it's doing structural flavor work.
- Make-ahead is basically mandatory: You have to chill this for at least 4 hours, overnight is better. That's not a limitation, that's actually convenient — I make it the evening before I need it, go to sleep, and wake up with dessert done. No day-of stress, no rushing. The texture is also noticeably better after a full overnight rest.
- It works for basically any celebration: I've served this at Christmas, at a birthday party, and once just because my husband asked for something special on a Friday. The red color makes it feel festive but it's not so theme-specific that it only works in December. Valentine's Day, Eid, a dinner party — it fits anywhere you want dessert to feel like an event.
- The chocolate cookie crust is the right call: A plain graham cracker crust would work but the chocolate cookie base adds a layer of cocoa flavor that ties the whole thing together. I use Oreos most of the time — just the regular ones, scraped filling removed or left in, doesn't really matter much. The crust stays firm and slices cleanly, which I appreciate.
Ingredients
- For the Crust:
- 1½ cups chocolate cookie crumbs (Oreos work great — about 15 cookies finely crushed)
- ¼ cup granulated sugar
- ¼ cup unsalted butter, melted
- For the Red Velvet Layer:
- 1 cup granulated sugar
- ½ cup vegetable oil
- 2 large eggs
- 1 teaspoon vanilla extract
- 1 tablespoon red food coloring (gel food coloring gives a stronger color without thinning the batter)
- 2 tablespoons unsweetened cocoa powder
- ½ cup buttermilk (or ½ cup whole milk + ½ teaspoon white vinegar, left to sit 5 minutes)
- 1 cup all-purpose flour
- ½ teaspoon baking soda
- ½ teaspoon white vinegar
- For the White Chocolate Cheesecake Layer:
- 16 oz (450g) cream cheese, softened to room temperature
- ½ cup granulated sugar
- 2 large eggs
- 1 teaspoon vanilla extract
- 6 oz white chocolate, melted and slightly cooled (good-quality baking bars melt better than chips)
- Optional Toppings:
- Whipped cream
- White chocolate curls or shavings
- Fresh raspberries or strawberries
Directions
- Step 1: Prepare the crust — Preheat your oven to 325°F (163°C). Mix the cookie crumbs, sugar, and melted butter together until the crumbs look like wet sand. Press the mixture firmly into the bottom of a greased 9-inch springform pan — I use the bottom of a measuring cup to really pack it in. Bake for 10 minutes, then set aside to cool while you make the batters.
- Step 2: Make the red velvet batter — Whisk the sugar and oil together in a large bowl, then beat in the eggs, vanilla, and food coloring. In a separate small bowl, stir the cocoa powder into the buttermilk until dissolved, then mix that into the wet ingredients. Fold in the flour, then add the baking soda and white vinegar last — the vinegar reacts with the baking soda and helps the batter lift slightly during baking.
- Step 3: Make the white chocolate cheesecake layer — Beat the softened cream cheese and sugar together until completely smooth — lumps at this stage will stay lumps. Add the eggs one at a time, mixing on low between each one. Stir in the vanilla and the melted white chocolate. The batter should be silky and pourable.
- Step 4: Assemble the layers — Pour the red velvet batter directly over the cooled crust and spread it into an even layer. Then carefully spoon the cheesecake layer on top, working from the center outward. Don't stir them together — you want two distinct layers. The cheesecake batter is thicker and will sit on top without much blending.
- Step 5: Bake — Bake at 325°F (163°C) for 60–70 minutes. You're looking for the edges to be set and the center to have just a slight wobble, like jello. When it's done, turn off the oven, crack the door open a few inches, and leave the cheesecake inside for 1 full hour. This slow cool-down is what prevents the top from cracking.
- Step 6: Chill — Once it's cooled to room temperature, wrap the pan and refrigerate for at least 4 hours, but overnight is genuinely better. The layers firm up, the flavors settle, and it slices cleanly. Add your toppings right before serving.
Tips for Success
- Cold cream cheese will ruin the texture: I learned this the hard way the first time — I was impatient and used cream cheese straight from the fridge. The batter had small lumps throughout that never fully smoothed out, and you could feel them in every bite. Take it out at least an hour before you start baking, or set it near the warm oven for 20 minutes. Room temperature cream cheese blends into something genuinely smooth.
- Don't overmix the cheesecake batter: Once the eggs go in, mix only until combined — not a second longer. Overmixing beats air into the batter, and that air expands in the oven and then collapses as it cools, which causes cracks and sunken centers. Mix on the lowest speed your mixer has, or do it by hand with a rubber spatula if you're careful.
- Melt the white chocolate slowly: White chocolate burns faster than dark chocolate and once it seizes it can't be saved. I do 20-second bursts in the microwave, stirring well after each one, and I stop when there are still a few unmelted bits — the residual heat finishes the job. Let it cool for at least 5 minutes before adding it to the cream cheese or it'll start cooking the eggs.
- Use gel food coloring, not liquid: Liquid red food coloring is mostly water and you'd need a lot of it to get that deep red — which thins out the batter in a way that affects the texture. Gel coloring is concentrated, so 1 tablespoon gives you a vivid red without changing the consistency. I buy the Wilton brand from Walmart and it's always consistent.
- The oven-rest step is not optional: I skipped it once when I was in a hurry and pulled the cheesecake straight out to cool on the counter. It cracked right down the middle. The sudden temperature change does that. Cracking the oven door and leaving it inside for an hour costs you nothing except patience, and the surface stays smooth and intact.
Variations
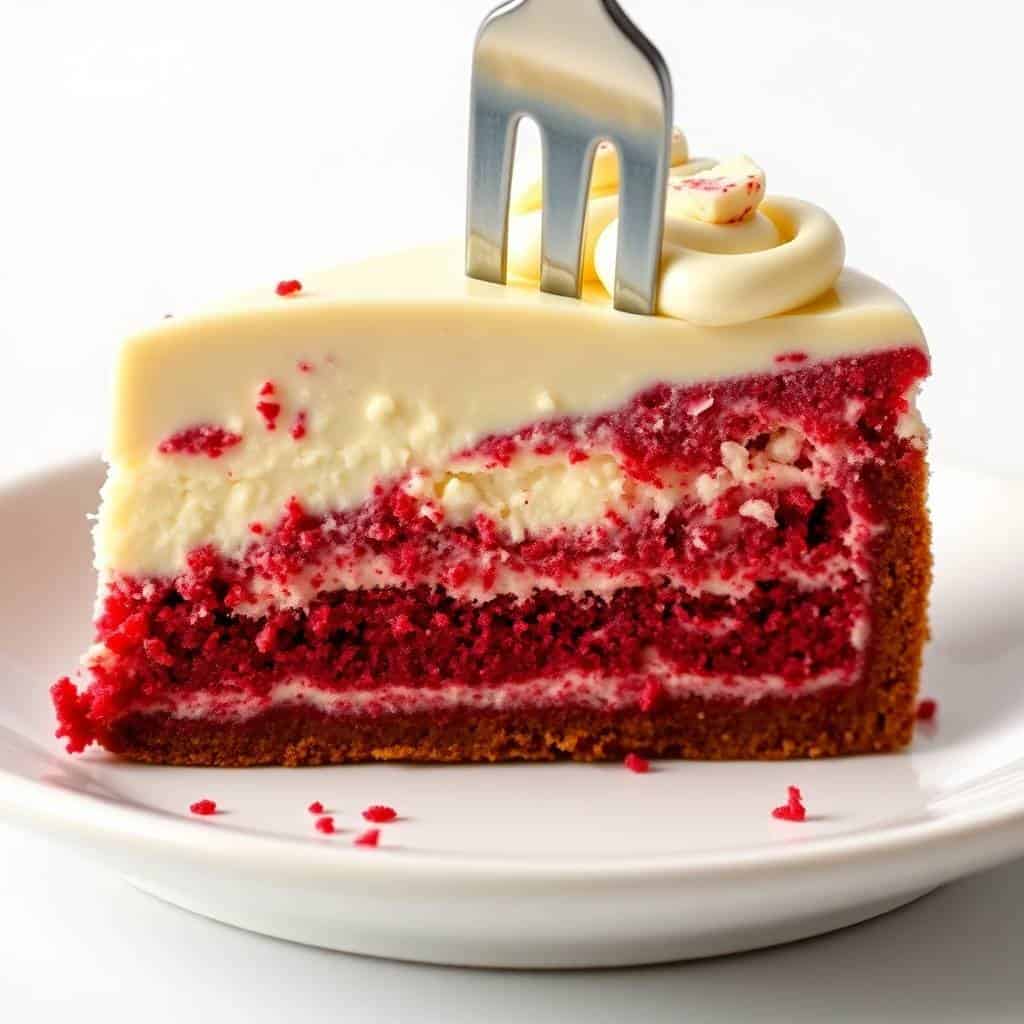
- Swirl the layers for a marbled effect: Instead of keeping the layers completely separate, use a skewer or toothpick to gently swirl the red velvet and cheesecake batters together right after assembling. Pull it in slow loops — don't stir, just swirl. The baked result is a beautiful marbled pattern that looks like it took real skill and took about 30 seconds.
- Mini cheesecakes in a muffin tin: Divide the crust mixture and both batters between a lined 12-cup muffin tin and bake at 325°F for about 20–25 minutes. These are great for parties because everyone gets their own portion and you skip the whole slicing situation. Zainab's school bake sale went extremely well the time I brought these.
- Add a cream cheese frosting layer on top: Once the cheesecake is fully chilled, spread a thin layer of classic cream cheese frosting across the top before adding your other toppings. It adds another dimension of tanginess and looks beautiful if you pipe it in rosettes around the edge. This is the version I'd make for a proper birthday cake situation.
- Raspberry version: Press a handful of fresh raspberries into the red velvet layer before you pour the cheesecake batter on top. They sink slightly and create little pockets of fruit in every slice. The tartness cuts through the richness of the white chocolate really nicely. If you want more berry desserts, my Cherry Chocolate Cream Cheese Bundt Cake uses a similar approach.
- Holiday peppermint version: Add ¼ teaspoon of peppermint extract to the cheesecake layer and top with crushed candy canes after chilling. This turns it into a very specifically Christmas dessert — the red, the white chocolate, and the peppermint together hit that seasonal note perfectly. I served this version alongside my Christmas Baklava last year and the two together made for a serious dessert table.
Serving and Storage
Serving
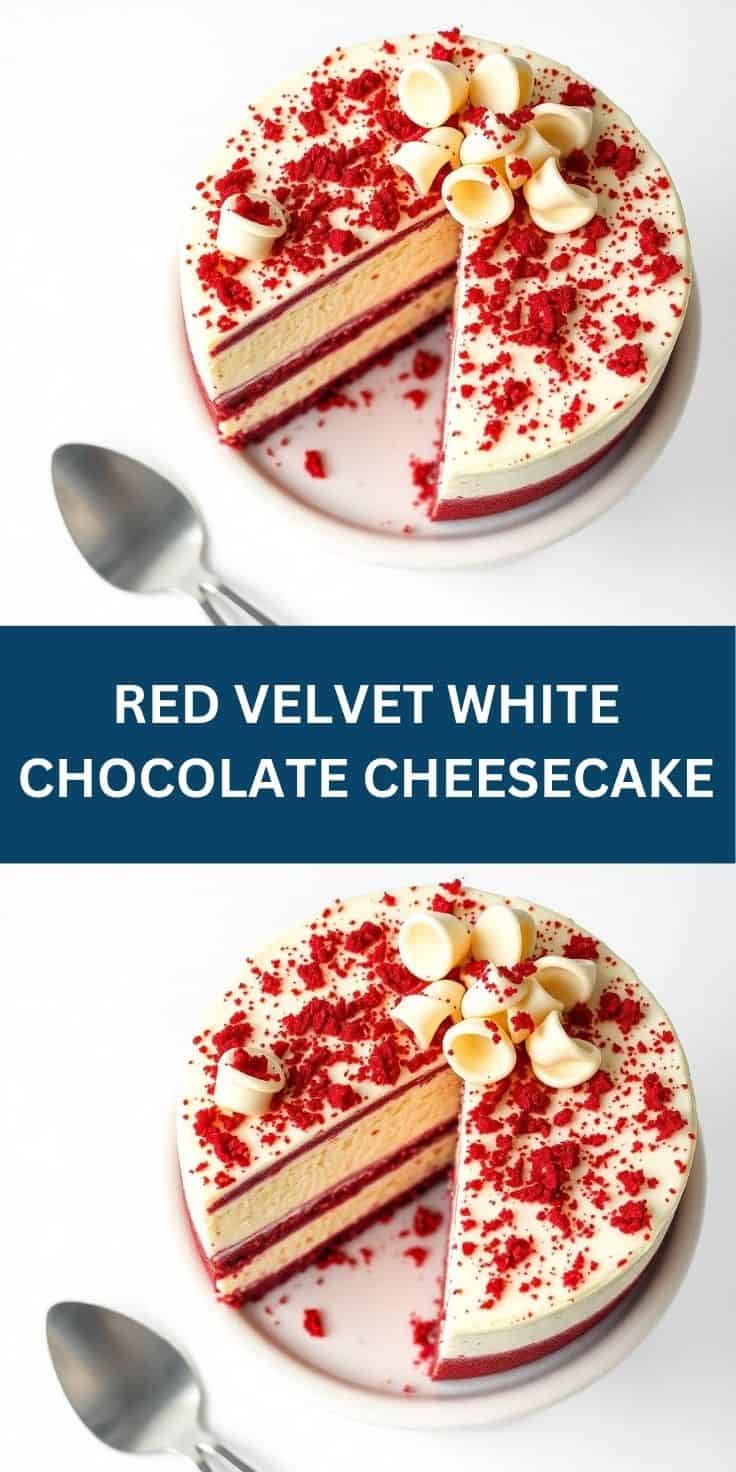
Serve this straight from the fridge — it holds its shape best cold. Run a sharp knife under hot water, wipe it dry, then slice. The warm knife gives you clean edges through both layers. I always add the toppings right before serving rather than storing the cake with them already on; whipped cream weeps overnight and berries release juice that can discolor the top. A small dusting of powdered sugar, some white chocolate shavings, and a few fresh raspberries on the side is all it needs.
Storage
Cover the pan tightly with plastic wrap or transfer leftovers to an airtight container and refrigerate for up to 4 days. The texture holds well through day 3; by day 4 the crust softens a bit but it still tastes good. For longer storage, freeze individual slices on a baking sheet until solid, then wrap each one in plastic wrap and store in a freezer bag for up to 1 month. Thaw overnight in the fridge — don't microwave it or the cheesecake layer gets rubbery.
Frequently Asked Questions
Can I make this cheesecake the day before?
Yes, and honestly you should. Making it the day before gives it a full overnight rest in the fridge, which firms up both layers and makes it slice much more cleanly than a same-day chill. I almost always bake this the evening before I need it — it removes all the day-of stress and the flavor genuinely improves overnight.
How do I stop the top from cracking?
Two things matter most here: don't overmix the batter after the eggs go in, and don't pull it straight from the hot oven to a cold counter. When you're done baking, turn the oven off, crack the door a few inches, and leave the cheesecake inside for a full hour. That slow temperature drop is what keeps the surface smooth. I cracked mine badly the one time I skipped this step.
Can I use white chocolate chips instead of a baking bar?
You can, but chips are formulated with stabilizers that make them hold their shape and they don't melt as smoothly as a baking bar. If chips are all you have, they'll work — just be extra patient melting them in short microwave bursts and stir thoroughly. A good-quality white chocolate baking bar (like Ghirardelli, which is easy to find at most supermarkets) will give you a silkier batter.
What if I can't find buttermilk?
Easy fix — measure ½ cup of regular whole milk, add ½ teaspoon of white vinegar or lemon juice, stir, and let it sit for about 5 minutes. It'll curdle slightly and that's exactly what you want. This homemade buttermilk substitute works perfectly in the red velvet layer. I use this trick probably half the time because I don't always have buttermilk on hand.
Do I have to use red food coloring?
No, the flavor doesn't change at all without it — the color is purely visual. Without the coloring you'll get a brownish cake layer from the cocoa, which tastes the same but obviously loses the dramatic red-and-white presentation. If you're avoiding artificial coloring, a small amount of beet powder can give you a natural reddish tint, though the color is softer and slightly earthy in tone.
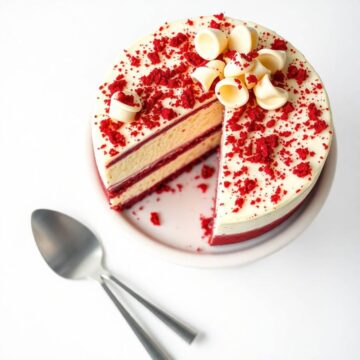
RED VELVET WHITE CHOCOLATE CHEESECAKE
Ingredients
For the Crust:
- 1½ cups chocolate cookie crumbs
- ¼ cup granulated sugar
- ¼ cup unsalted butter melted
For the Red Velvet Layer:
- 1 cup granulated sugar
- ½ cup vegetable oil
- 2 large eggs
- 1 teaspoon vanilla extract
- 1 tablespoon red food coloring
- 2 tablespoons unsweetened cocoa powder
- ½ cup buttermilk
- 1 cup all-purpose flour
- ½ teaspoon baking soda
- ½ teaspoon white vinegar
For the White Chocolate Cheesecake Layer:
- 16 oz 450g cream cheese, softened
- ½ cup granulated sugar
- 2 large eggs
- 1 teaspoon vanilla extract
- 6 oz white chocolate melted and slightly cooled
Instructions
Prepare Crust:
- Preheat oven to 325°F (163°C). Combine cookie crumbs, sugar, and melted butter. Press into the bottom of a greased 9-inch springform pan. Bake for 10 minutes. Let cool.
Make Red Velvet Batter:
- Whisk sugar and oil. Add eggs, vanilla, and food coloring. In a small bowl, mix cocoa and buttermilk. Combine with wet ingredients. Add flour, then stir in baking soda and vinegar.
Make Cheesecake Layer:
- Beat cream cheese and sugar until smooth. Add eggs, one at a time. Mix in vanilla and melted white chocolate until creamy.
Assemble:
- Pour red velvet batter over crust. Carefully spoon cheesecake layer on top.
Bake:
- Bake for 60–70 minutes or until center is almost set. Turn off oven and crack door slightly. Let cheesecake cool in oven 1 hour.
Chill:
- Refrigerate at least 4 hours or overnight.
Notes
Customisations: Add whipped cream or fresh berries on top.
Serving Suggestions: Slice with a warm knife and serve chilled.
Storage Tips: Store in the fridge for up to 4 days. Freeze slices individually for longer storage.
This cheesecake has become my go-to when I need a dessert that carries a table. There's something about that deep red layer against the white chocolate cream cheese that just stops people in their tracks when you set it down. I've made a lot of desserts over the years but this one consistently gets the strongest reaction, which is why I keep coming back to it.
What I appreciate most is that the timeline works in my favor — I bake it the night before, go to sleep, and the hard part is done. The next day





Comments
No Comments