
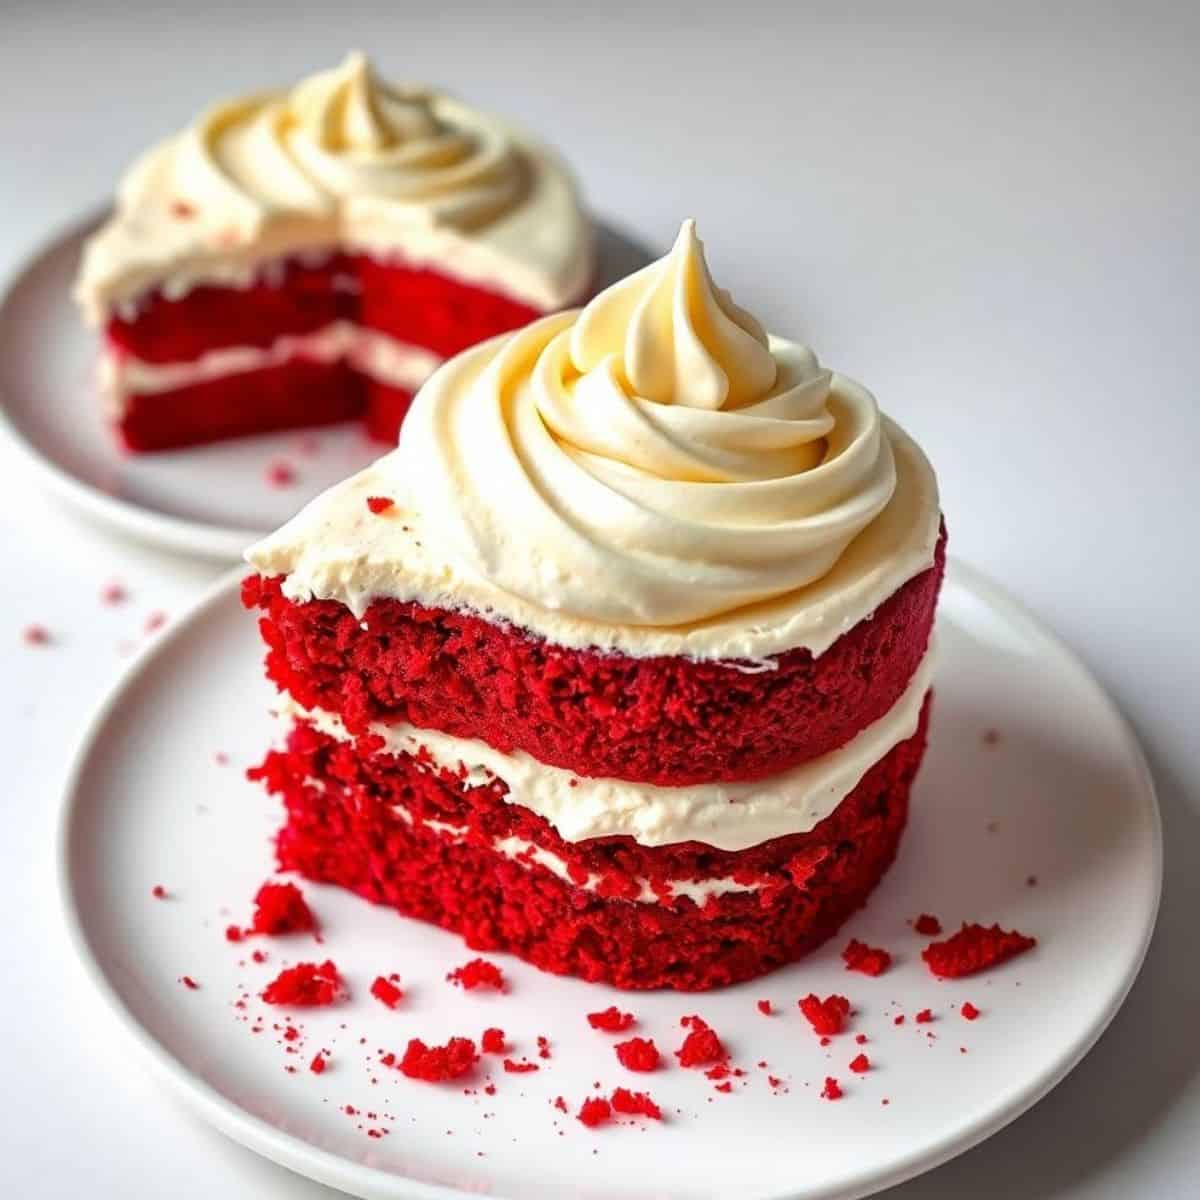
This red velvet cake with cream cheese frosting is a timeless dessert that combines elegance with irresistible flavor. Its vibrant color and soft texture make it a standout centerpiece for any occasion or celebration.
Each bite offers a delicate balance between cocoa richness and subtle tanginess, creating a unique flavor profile loved by dessert enthusiasts everywhere. The creamy frosting enhances the experience beautifully.
Whether you are baking for birthdays, holidays, or simply a weekend treat, this recipe delivers consistent results. It is designed to be approachable for both beginners and experienced bakers alike.
The process is simple yet rewarding, allowing you to create a bakery-quality cake at home. With the right ingredients and careful steps, success is guaranteed every time.
Prepare to impress your family and guests with a dessert that looks stunning and tastes even better. This red velvet cake will quickly become a favorite.
WHY YOU WILL LOVE THIS RECIPE
- Perfect Texture: This cake has a soft, moist crumb that melts in your mouth while staying light, fluffy, and incredibly satisfying.
- Rich Flavor Balance: The subtle cocoa taste combined with tangy cream cheese frosting creates a perfectly balanced and unforgettable dessert experience.
- Visually Stunning: Its vibrant red color makes this cake eye-catching, elegant, and ideal for special occasions, celebrations, or impressive dessert presentations.
- Easy to Follow: Simple instructions ensure that both beginners and experienced bakers can achieve consistent, delicious results without complicated techniques or steps.
- Crowd Pleaser: This recipe is loved by everyone, making it perfect for gatherings, parties, and family events where desserts are always appreciated.
- Customizable Option: You can easily adapt flavors, decorations, and shapes to suit personal preferences, seasonal themes, or special dietary requirements.
INGREDIENTS
- All-purpose flour
- Granulated sugar
- Unsweetened cocoa powder
- Baking soda
- Salt
- Buttermilk
- Vegetable oil
- Eggs
- Vanilla extract
- Red food coloring
- White vinegar
For Cream Cheese Frosting:
- Cream cheese
- Unsalted butter
- Powdered sugar
- Vanilla extract
DIRECTIONS
- Step No.1: Prepare the Oven
Preheat your oven to 350°F (175°C) and grease two round cake pans. Line with parchment paper for easier removal after baking.
- Step No.2: Mix Dry Ingredients
In a bowl, whisk together flour, cocoa powder, baking soda, and salt until evenly combined and free of lumps.
- Step No.3: Combine Wet Ingredients
In another bowl, mix sugar, oil, eggs, buttermilk, vanilla extract, food coloring, and vinegar until smooth and well blended.
- Step No.4: Create the Batter
Gradually add dry ingredients into wet mixture, stirring gently until a smooth, lump-free batter forms without overmixing.
- Step No.5: Bake the Cake
Divide batter evenly between pans and bake for 25–30 minutes until a toothpick inserted comes out clean. Cool completely.
- Step No.6: Prepare Frosting
Beat cream cheese and butter until creamy, then add powdered sugar and vanilla extract, mixing until smooth and fluffy.
- Step No.7: Assemble the Cake
Spread frosting between layers, then cover top and sides evenly. Smooth surface or decorate as desired before serving.

TIPS FOR SUCCESS
- Room Temperature Ingredients: Using room temperature eggs, butter, and cream cheese ensures smoother mixing, better texture, and consistent baking results every time.
- Do Not Overmix Batter: Overmixing can make the cake dense, so mix just until ingredients are combined to maintain a soft and tender crumb.
- Measure Accurately: Always measure flour and other ingredients carefully to avoid imbalance, which can affect texture, flavor, and overall baking success.
- Use Quality Cocoa: A good-quality cocoa powder enhances the subtle chocolate flavor and contributes to the signature taste of red velvet cake.
- Cool Completely: Allow cakes to cool fully before frosting to prevent melting, ensuring clean layers and a professional-looking finished cake.
- Chill Before Serving: Slightly chilling the frosted cake helps set the frosting, making slicing easier and improving the overall presentation significantly.
VARIATIONS
- Cupcake Version: Transform this recipe into cupcakes by adjusting baking time, creating individual servings perfect for parties, events, or convenient portion control.
- Chocolate Twist: Increase cocoa powder slightly for a richer chocolate flavor while still maintaining the classic red velvet appearance and texture balance.
- Layered Delight: Add extra layers with filling between each to create a taller, more indulgent cake ideal for celebrations and special occasions.
- Nutty Addition: Incorporate chopped pecans or walnuts into the batter for added crunch, flavor depth, and a delightful textural contrast throughout the cake.
- Flavor Infusion: Add a hint of almond or coconut extract for a unique twist that enhances complexity without overpowering the classic flavor.
- gluten-free diet Option: Substitute with gluten-free flour blend to make the cake suitable for those with dietary restrictions while maintaining great taste.
SERVING AND STORAGE
Serving
Serve slightly chilled or at room temperature, sliced evenly, and paired with coffee or tea for a delightful dessert experience.
Storage
Store the cake in an airtight container in the refrigerator for up to five days, keeping it fresh, moist, and flavorful longer.

FAQ
Red velvet cake has a lighter cocoa flavor and includes buttermilk and vinegar, giving it a tangy taste and softer texture.
Yes, but it will lack the signature red color while still maintaining the same delicious flavor and texture.
Insert a toothpick into the center; if it comes out clean, the cake is fully baked and ready to cool.
Yes, wrap unfrosted layers tightly and freeze for up to two months, then thaw before frosting and serving.
It may be too warm; refrigerate briefly and beat again to achieve a thicker, more stable consistency.
This red velvet cake with cream cheese frosting is more than just a dessert; it is a celebration of flavor, and visual appeal. Its vibrant look instantly attracts attention and admiration.
The combination of soft cake layers and creamy frosting creates a perfect harmony that satisfies every sweet craving. Each slice delivers richness without being overly heavy.
Baking this cake at home allows you to control quality and customize it to your liking. It also adds a personal touch that store-bought cakes often lack.
Whether you are preparing it for a special event or simply enjoying a homemade treat, this recipe guarantees impressive results every time you make it.
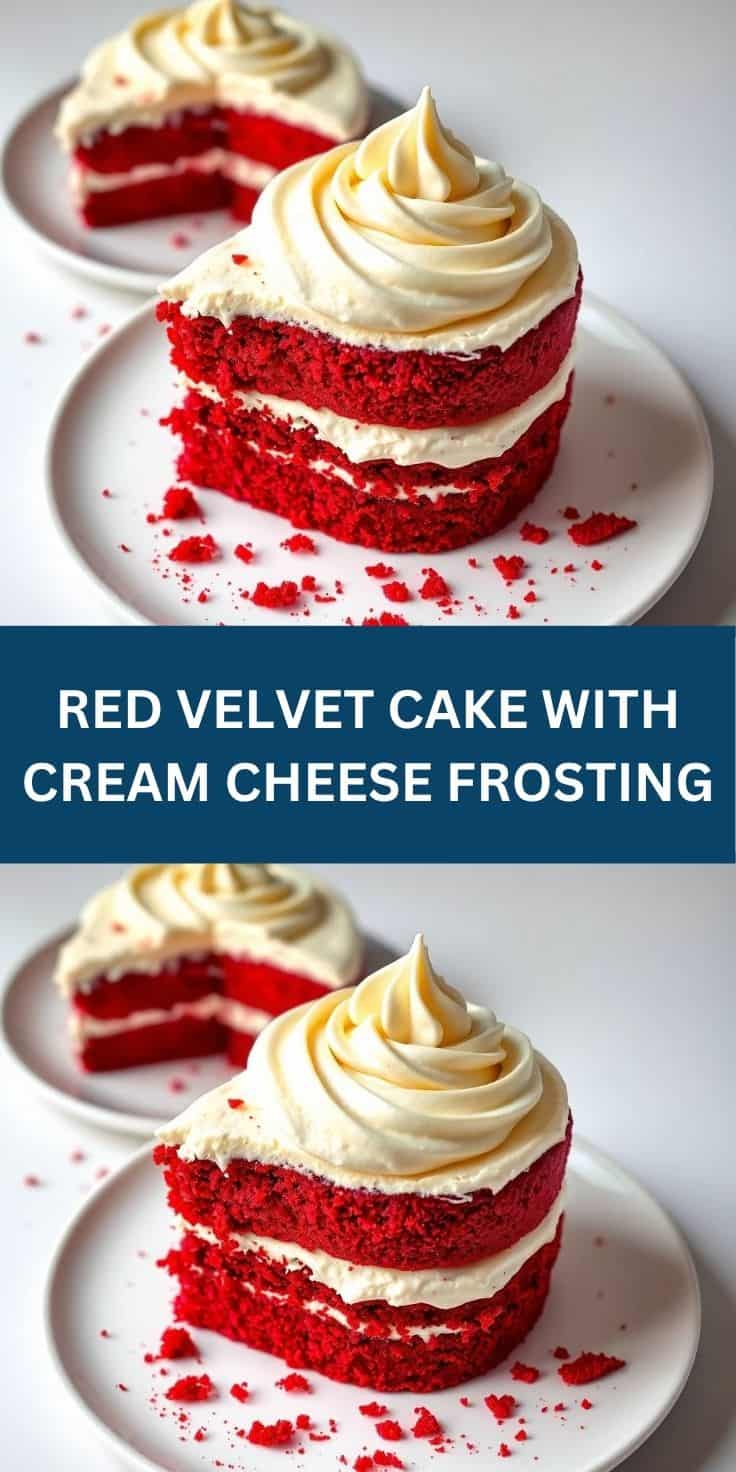
RED VELVET CAKE WITH CREAM CHEESE FROSTING
Ingredients
Dry Ingredients:
- 2 ½ cups all-purpose flour
- 1 ½ cups granulated sugar
- 1 teaspoon baking soda
- 1 teaspoon salt
- 1 tablespoon cocoa powder
Wet Ingredients:
- 1 ½ cups vegetable oil
- 1 cup buttermilk buttermilk
- 2 large eggs
- 2 tablespoons red food coloring
- 1 teaspoon vanilla extract
- 1 teaspoon white vinegar
For Frosting:
- 8 oz cream cheese softened
- ½ cup unsalted butter softened
- 4 cups powdered sugar
- 1 teaspoon vanilla extract
Instructions
Prepare Pans:
- Preheat oven to 350°F (175°C). Grease and flour two 9-inch round cake pans.
Mix Dry Ingredients:
- In a bowl, whisk together flour, sugar, baking soda, salt, and cocoa powder.
Mix Wet Ingredients:
- In another bowl, mix oil, buttermilk, eggs, red food coloring, vanilla extract, and vinegar until combined.
Combine Batter:
- Gradually add dry ingredients to wet ingredients and mix until smooth.
Bake Cake:
- Divide batter evenly between prepared pans. Bake 25–30 minutes or until a toothpick comes out clean.
Cool Cakes:
- Cool cakes completely on a wire rack.
Prepare Frosting:
- Beat cream cheese and butter until smooth. Gradually add powdered sugar and vanilla, beating until creamy.
Assemble & Serve:
- Frost cooled cakes with cream cheese frosting and layer as desired. Slice and serve.
Notes
- Make Ahead: Cake can be baked a day in advance and frosted when ready to serve.
- Variations: Add a sprinkle of cocoa or crushed nuts on top for decoration.
- Serving Suggestions: Serve as a dessert for birthdays, holidays, or special occasions.
- Allergy-Friendly: Use dairy-free cream cheese and butter for a vegan-friendly version.
- Storage Tips: Store in airtight container in refrigerator for 3–4 days.





Comments
No Comments