
My husband doesn't really love fancy desserts — except for this one. I made chocolate mousse on a whim one February evening when I wanted something that felt special but didn't require me to run to the store, and he ate two servings and asked when I'd make it again. That was about three years ago, and it's been a regular in this house ever since.
What I love about this recipe is how few ingredients it actually needs. Good dark chocolate, heavy cream, a little butter, a splash of strong coffee, vanilla, and salt. That's it. The coffee isn't there to make it taste like coffee — you won't notice it — but it deepens the chocolate flavor in a way that's hard to explain until you try it. I use semi-sweet chocolate here because I find 70% can go slightly bitter once it sets, but if that's what you prefer, it works too.
This is the dessert I make when I need something I can prep the night before. If I'm already making something like a Strawberry Lemon Cake for a gathering, I'll sometimes do this mousse alongside it for guests who want something lighter. It comes together in about 20 minutes, and then the fridge does the rest of the work overnight.
One thing to set your expectations on: the folding step is where most people go wrong the first time. I definitely did. You want to fold — not stir — the whipped cream into the chocolate, and you do it in thirds. If you rush this, you knock all the air out and the mousse ends up dense and heavy instead of that light, cloud-like texture that makes it worth making. I'll go into more detail in the tips below.
Why You'll Love This Recipe
- Only 6 ingredients: There's no long shopping list here, which is one of the reasons I keep coming back to this recipe. Good chocolate, butter, cream, coffee, vanilla, and salt — most of these are already sitting in my kitchen. The chocolate is the only thing worth spending a little extra on; everything else is standard.
- Make-ahead friendly: This mousse actually gets better after sitting in the fridge overnight. I make it the evening before a dinner and forget about it until dessert time. There's no last-minute plating stress — it's already portioned in individual glasses and ready to pull out when we're done eating.
- No stand mixer required: I don't own a stand mixer. I use a hand mixer for the cream, and it works perfectly. If you don't even have a hand mixer, a whisk and some arm strength will get you there — it just takes about 5 extra minutes. The mousse doesn't care.
- That texture is genuinely worth it: When you fold the whipped cream in correctly, the mousse sets up with this light, airy consistency that's very different from a chocolate pudding or ganache. It's dense enough to feel rich but light enough that you can finish the whole serving without feeling overwhelmed. That balance is what makes French mousse what it is.
- Works as a dinner party dessert or a Tuesday night treat: I've served this in pretty glasses with chocolate shavings on top for guests, and I've also spooned it into a mug and eaten it while watching something on my phone. It's just as good both ways. There's no occasion it doesn't fit.
Ingredients
- 6 ounces semi-sweet chocolate, finely chopped (good quality — Ghirardelli or similar works great)
- ¼ cup (½ stick) unsalted butter, cut into small pieces
- ¼ cup strong brewed coffee (or hot water if you prefer)
- 1 teaspoon vanilla extract
- ¼ teaspoon salt
- 1½ cups heavy cream, cold
Directions
- Melt the chocolate mixture: Set a heatproof bowl over a saucepan of barely simmering water — the bottom of the bowl should not touch the water. Add the chopped chocolate, butter, coffee (or hot water), vanilla, and salt. Stir gently and frequently until everything is melted and completely smooth. Remove from heat and let it cool for about 10 minutes. You don't want it hot when you add the cream, or it'll deflate everything.
- Whip the cream: In a separate large bowl, whip the cold heavy cream with a hand mixer until stiff peaks form. Stop as soon as it holds its shape — over-whipped cream starts to look grainy and chunky, and it won't fold in cleanly. Cold cream whips much better, so don't let it sit out first.
- Lighten the chocolate base: Scoop about one-third of the whipped cream into the cooled chocolate mixture and fold it in using a rubber spatula. Use big, slow circular movements from the bottom of the bowl up and over the top. This first addition just loosens the chocolate so it's easier to work with — don't worry about being too gentle here.
- Fold in the remaining cream: Add the rest of the whipped cream in two additions, folding gently each time. You want to see the mixture become one uniform color with no white streaks, but stop the moment that happens. Overmixing is what flattens the mousse and makes it dense.
- Portion and chill: Spoon or pour the mousse into individual glasses, ramekins, or one large serving bowl. Cover with plastic wrap — don't let the wrap touch the surface if you want a clean top — and refrigerate for at least 2 hours. Overnight is even better.
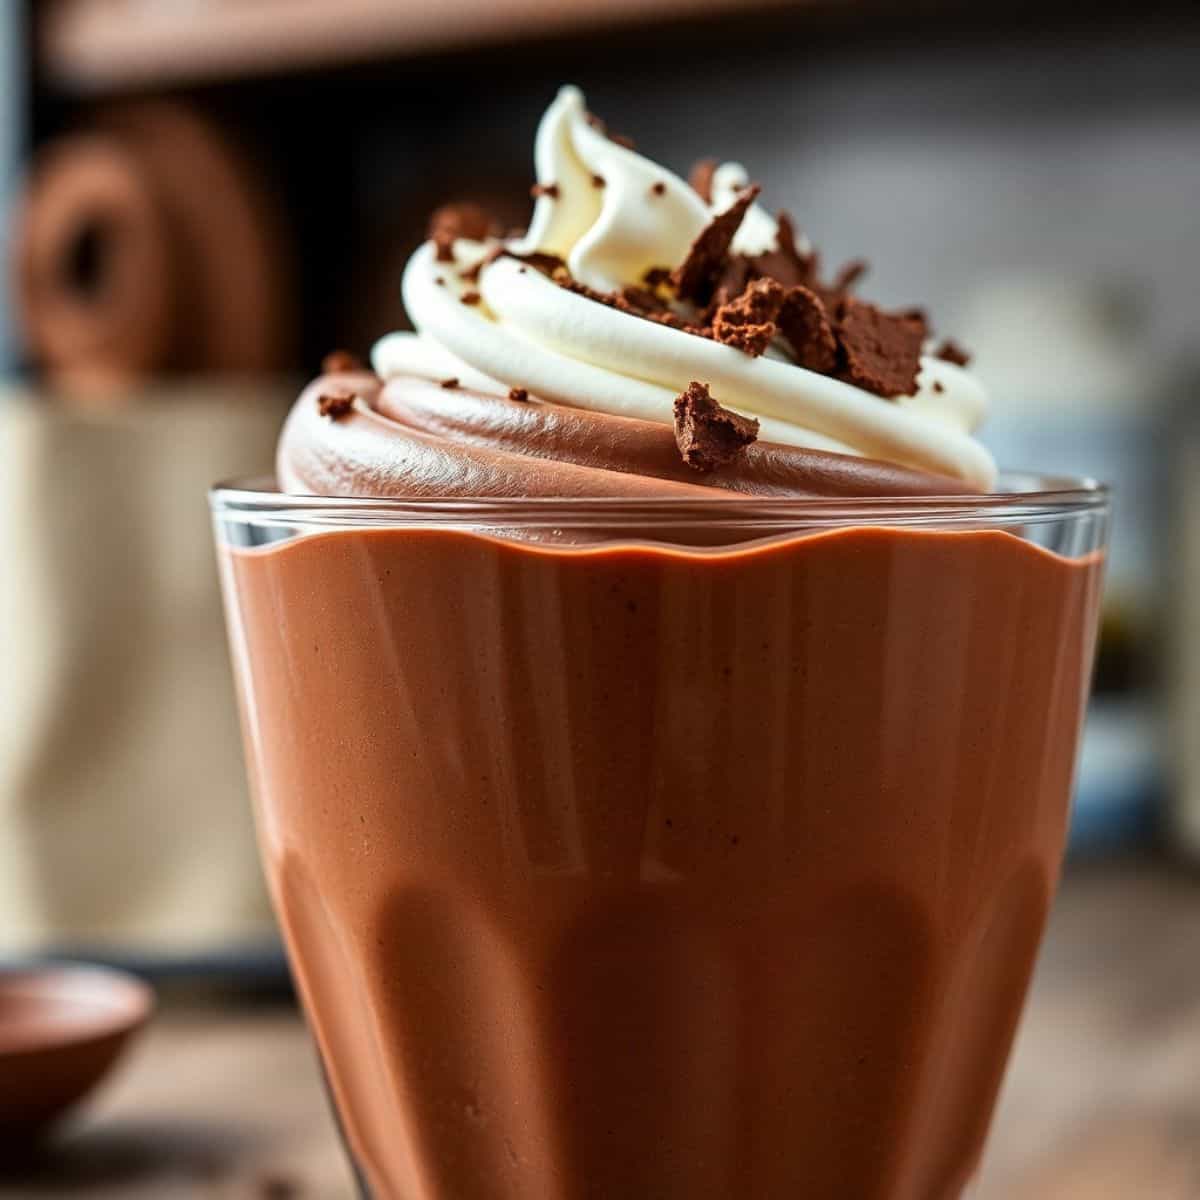
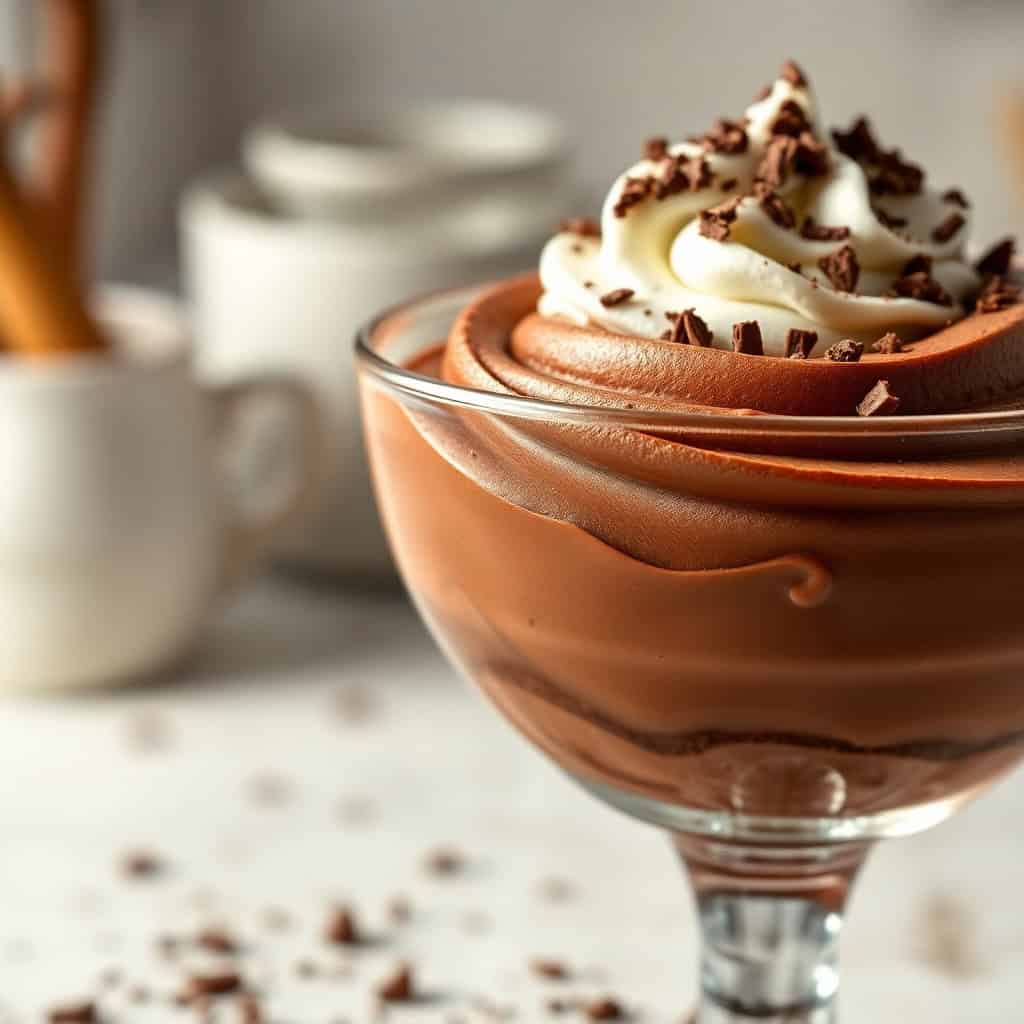
- Serve: Pull from the fridge just before serving. Top with whipped cream, chocolate shavings, a few fresh berries, or just a light dusting of cocoa powder. All of those work.
Tips for Success
- Don't skip the coffee: I know it sounds odd, but the ¼ cup of strong coffee in this recipe doesn't make the mousse taste like coffee — it makes the chocolate taste more like chocolate. Something about the bitterness and depth of coffee amplifies cocoa flavor. Hot water works as a substitute, but the coffee version is noticeably richer. I use whatever's left in my French press from the morning.
- Let the chocolate cool before folding: The first time I made this, I was impatient and folded the cream into chocolate that was still quite warm. It melted the cream on contact and I ended up with something closer to a thick chocolate sauce. Let the melted mixture cool to roughly room temperature — 10 minutes on the counter is usually enough. You want it fluid but not hot.
- Keep the cream cold: Cold cream whips faster and holds its structure better. I put my mixing bowl in the freezer for about 5 minutes before I whip. If you're in a warm kitchen — which mine is most of the year — this makes a real difference. A warm bowl and warm cream will fight you the whole way and never quite get to proper stiff peaks.
- Fold, don't stir: This is the step that separates a fluffy mousse from a flat, dense one. Stirring breaks down all the air you just whipped into the cream. A rubber spatula worked in slow, deliberate scooping motions — down the side, under the mixture, up and over — is the move. It feels slow, but it's worth it. I usually fold in three additions total and stop as soon as I can't see any white streaks.
- Use a good chocolate bar, not chocolate chips: Chocolate chips are made with stabilizers to help them hold their shape during baking, which means they don't melt as cleanly. A proper chocolate bar — Ghirardelli, Lindt, or Trader Joe's Pound Plus are all easy to find and reasonably priced — will melt into a smoother, shinier base. It's worth the small extra effort of chopping it yourself.
Variations
- Add a splash of liqueur: A tablespoon of Grand Marnier, Kahlúa, or dark rum stirred into the warm chocolate mixture takes this in a completely different direction. The orange and chocolate combination especially is one of those things that sounds like it shouldn't work but absolutely does. I make the rum version sometimes when I'm serving it to adults and want something that feels a little more indulgent.
- Milk chocolate version: Swap the semi-sweet chocolate for good milk chocolate and reduce the coffee slightly. The mousse will be noticeably sweeter and milder — this is actually the version Zainab prefers. It doesn't have that deep, slightly bitter edge of the dark chocolate version, which makes it more kid-friendly. Use the same quantities for everything else.
- Spiced chocolate mousse: Add ½ teaspoon of cinnamon and a tiny pinch of cayenne to the melted chocolate. This is inspired by Mexican hot chocolate and works beautifully in mousse form. The heat is barely there — just a warmth at the back of your throat after each bite. I sometimes add a pinch of cardamom too, which is a very Pakistani thing to do with chocolate desserts.
- Dairy-free version: Use a good vegan dark chocolate (Enjoy Life is widely available) and replace the heavy cream with full-fat coconut cream — the kind from a can, refrigerated overnight so it separates. Use only the thick top layer for whipping. The butter can be replaced with coconut oil. The texture is slightly different but genuinely good, and it sets up properly after chilling.
- Layered mousse cups: Make a half batch of this chocolate mousse and a half batch of whipped cream sweetened with a little sugar and vanilla. Layer them in glasses — chocolate, cream, chocolate — and finish with fresh raspberries on top. It looks like something from a restaurant window and takes maybe 10 extra minutes. I pair this kind of dessert spread with lighter starters like Tomato Basil Bruschetta when I'm having people over.
Serving and Storage
Serving
Serve cold, straight from the fridge. I usually pull the glasses out about 5 minutes before dessert so they're not fridge-cold but still set and firm. Garnish options I actually use: a small dollop of lightly whipped cream, a few raspberries or sliced strawberries, some chocolate shavings scraped off a bar with a vegetable peeler, or just a dusting of cocoa powder through a fine sieve. All of those take 2 minutes and make it look like you spent more time than you did. If you're serving this as part of a bigger dessert spread, it goes well alongside something fruity — my Tiramisu Parfait is another make-ahead option that pairs nicely on the same table.
Storage
Keep it covered in the fridge for up to 3 days. After day 3 the texture starts to change — it gets a little denser and loses some of its lightness. Still edible, but not at its best. For freezing: I've done it, and it works okay. Portion into individual freezer-safe containers, cover tightly, and freeze for up to 2 months. Thaw in the fridge overnight before serving. The texture after freezing is denser than fresh — more like a chocolate truffle filling than a mousse — but it's still good if you use it within a day of thawing. I wouldn't freeze it for a dinner party, but it's fine for a weeknight treat.
Frequently Asked Questions
Can I make this mousse without a hand mixer?
Yes — a whisk and some patience will get you there. Whipping cream by hand takes about 5 to 8 minutes of steady whisking, depending on how cold your cream is. Make sure the bowl and cream are both cold before you start; it makes the process noticeably faster. I've done it by hand when my hand mixer was buried in a cabinet I couldn't be bothered to reach, and the mousse turned out fine.
Why did my mousse turn out dense instead of airy?
Almost always it's one of two things: the chocolate was still too warm when you folded in the cream, or you overmixed during the folding step. Warm chocolate melts the whipped cream on contact and collapses the air bubbles. Stirring too vigorously does the same thing. Let the chocolate cool to room temperature, fold slowly and deliberately, and stop as soon as the mixture is uniform. A slightly under-folded mousse with a streak or two is better than an over-folded flat one.
Can I make this ahead of time?
Absolutely — this is actually one of its best qualities. I almost always make it the night before. The mousse needs at least 2 hours to set properly, and it holds beautifully in the fridge for up to 3 days. Just keep it covered so it doesn't absorb any fridge smells, and add the garnishes right before serving rather than ahead of time.
Can I use cocoa powder instead of real chocolate?
I wouldn't for this recipe. The melted chocolate and butter together create the base that gives the mousse its smooth, rich texture and the fat that helps it set properly when chilled. Cocoa powder is much drier and lacks the cocoa butter content, so you'd end up with a different texture entirely — likely grainy or gummy. If you're out of chocolate bars, this isn't the recipe to improvise on that front.
What's the best chocolate to use?
Semi-sweet chocolate in the 50–60% cacao range is what I use and what the recipe is built around. Ghirardelli baking bars from the baking aisle at any major grocery store work well. Lindt and the Trader Joe's Pound Plus bars are also good options. I'd avoid chocolate chips — they have added stabilizers that prevent clean melting. If you prefer a darker, more bitter result, 70% works too; just know the mousse will be noticeably less sweet.
Final Thoughts
This is not an authentic French restaurant mousse — I want to be upfront about that. It doesn't use raw egg yolks or whipped egg whites the way a classical preparation would. What it is, is a genuinely easy, genuinely delicious version that comes together in 20 minutes with ingredients most people already have. I've made it enough times now that I can do it without thinking, which is usually the best sign a recipe has found a permanent place in my kitchen.
My husband asks for this more than almost any other dessert I make, which says something. He's not a dessert person by habit, but something about the texture of this — the way it's rich without being heavy — seems to work for him. I usually make a double batch because four servings disappears faster than I expect, and I like having an extra glass waiting in the fridge for the next day.
If you're planning a dinner and want to serve something after, this is the one I'd point you to. Make it the night before, pull it out before you sit down for dinner, and spend the actual meal enjoying your guests instead of stressing about dessert. That's the whole point. 🍫✨

PERFECT CHOCOLATE MOUSSE
Ingredients
- 6 ounces semi-sweet chocolate, finely chopped (high-quality chocolate recommended)
- ¼ cup (½ stick) unsalted butter, cut into small pieces
- ¼ cup strong brewed coffee (or hot water)
- 1 teaspoon vanilla extract
- ¼ teaspoon salt
- 1 ½ cups heavy cream
Instructions
- Melt chocolate mixture: In a heatproof bowl set over a saucepan of simmering water (double boiler), combine the chopped chocolate, butter, coffee (or hot water), vanilla extract, and salt. Stir frequently until the chocolate and butter are melted and the mixture is smooth. Remove from heat.
- Whip the cream: In a separate large bowl, using an electric mixer, whip the heavy cream until stiff peaks form. Do not over-whip.
- Fold in chocolate: Gently fold about one-third of the whipped cream into the melted chocolate mixture to lighten it. Then, gently fold the remaining whipped cream into the chocolate mixture until just combined. Be careful not to deflate the whipped cream.
- Portion and chill: Divide the chocolate mousse into individual serving dishes or glasses. Cover and refrigerate for at least 2 hours, or preferably overnight, to allow the mousse to set completely.
- Serve: Serve chilled. You can garnish the mousse with whipped cream, chocolate shavings, fresh berries, or a dusting of cocoa powder, if desired.
Notes
- Chocolate Quality: The quality of the chocolate you use will significantly impact the flavor of the mousse. Use a good quality semi-sweet chocolate for the best results.
- Melting Chocolate: Be careful not to overheat the chocolate when melting it, as it can seize. Using a double boiler or a heatproof bowl set over simmering water is the best way to gently melt chocolate.
- Whipping Cream: The cream should be very cold for it to whip properly. You can chill the bowl and beaters in the freezer for a few minutes before whipping.
- Folding: Folding the whipped cream into the chocolate mixture should be done gently to avoid deflating the cream. This is what gives the mousse its light and airy texture.
- Make-Ahead: Chocolate mousse is a great make-ahead dessert. It can be stored in the refrigerator for up to 3 days.
If you're looking for more recipes to round out a dinner or dessert spread, here are a few I come back to often:
- Tiramisu Parfait Dessert — another no-bake, make-ahead dessert that's always a hit
- Strawberry Lemon Cake — bright and fresh, great for spring and summer gatherings
- Tomato Basil Bruschetta






Comments
No Comments