
Reese's Peanut Butter Cups are a reference point in my household because my husband considers them the correct answer to the question of what chocolate and peanut butter should taste like together. He ate them for the first time years before we met and has maintained this opinion without revision. When I told him I was making homemade peanut butter cups with higher protein and five ingredients, his response was that the Reese's formula was already correct and he did not see what needed to change.
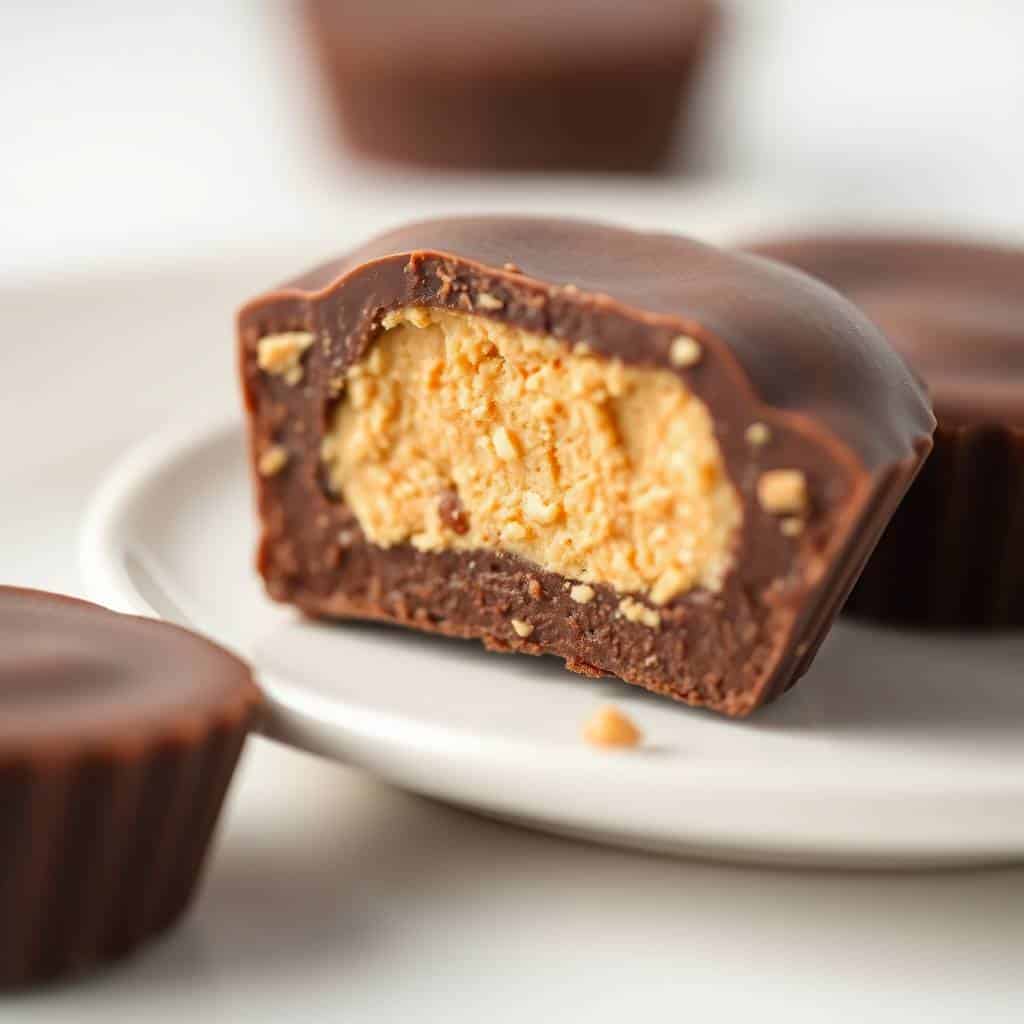
He ate four of the homemade version in a single sitting on the evening I made the first batch. I am citing this not as a claim that the homemade version surpasses Reese's — they are different products — but as evidence that it is very good. The peanut butter filling is thicker and more genuinely peanut-forward than a Reese's cup because it uses natural peanut butter without added sugar, oil, or stabilisers. The chocolate shell is darker and more bitter, which balances the honey-sweetened filling in a way that creates a different and arguably better overall flavour profile.
The protein comes from the oat flour (which adds approximately 3 grams per cup from the grain protein) and the peanut butter itself (approximately 4 to 5 grams per serving of peanut butter), totalling approximately 7 to 8 grams per cup. This makes each cup a meaningful high-protein snack rather than a treat that happens to contain peanut butter. Saad eats two and considers them a complete afternoon snack. Zainab eats one slowly and with great deliberation, which is her highest form of appreciation for food.
The process takes 15 minutes of active work and 30 minutes of freezer time. A batch of 12 keeps in the freezer for up to 2 months, which means one session of 15 minutes of work produces a reliable high-protein snack for weeks.
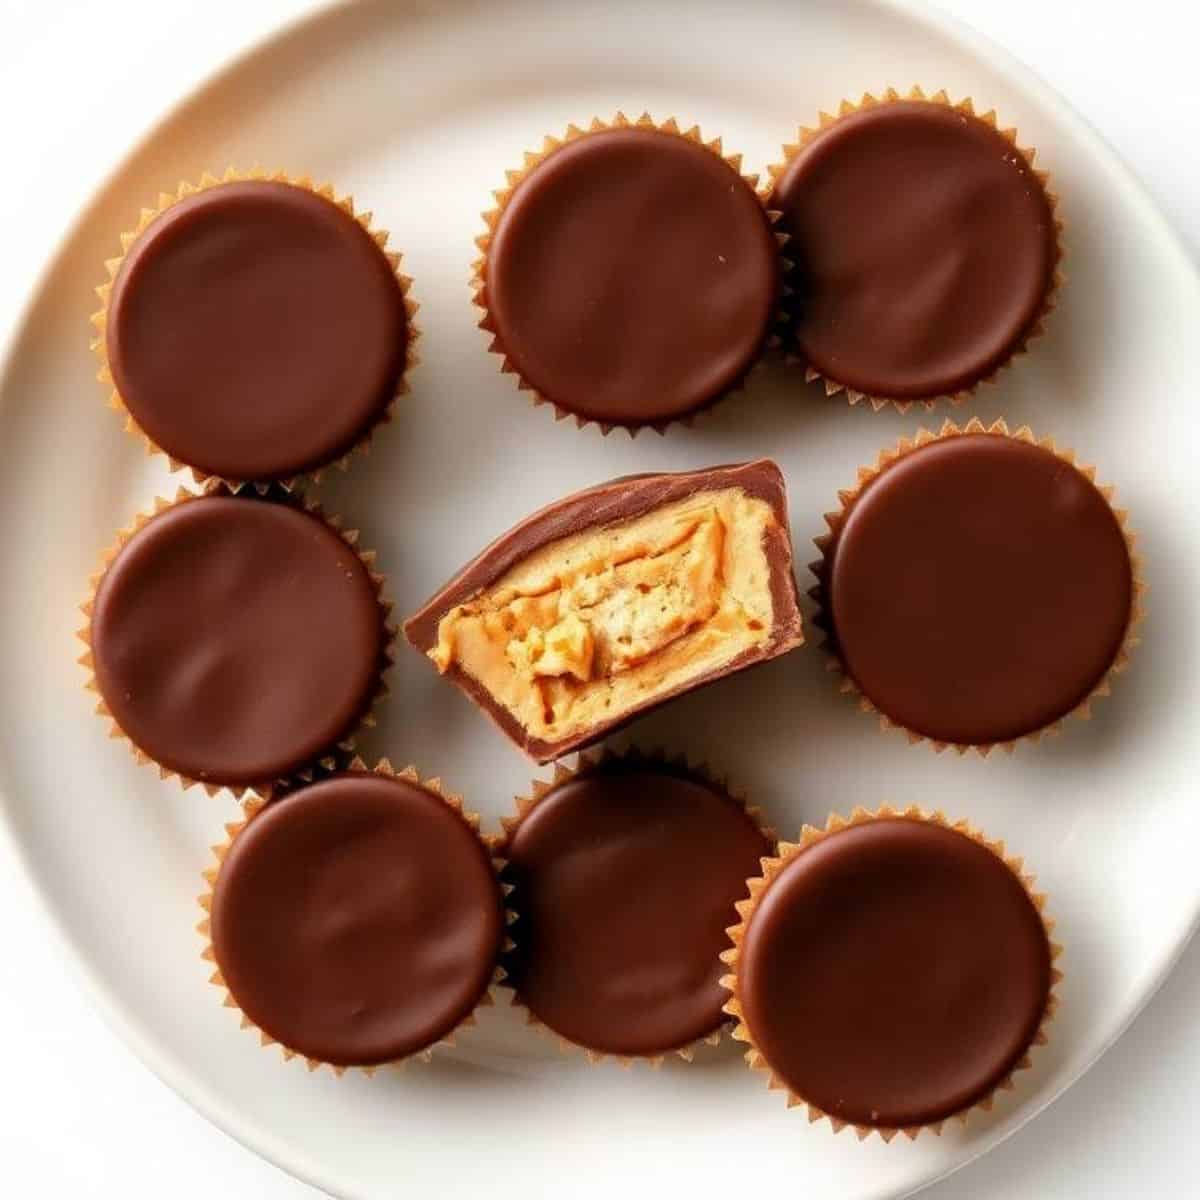
Why You'll Love This Recipe
- 8 grams of protein per cup from peanut butter and oat flour: Each cup contains approximately 2 tablespoons of natural peanut butter (4g protein) plus oat flour (3g protein), totalling 7 to 8 grams per cup. Two cups at a sitting provide 15 to 16 grams of protein — the equivalent of a small chicken breast in terms of protein content, in a format that tastes like a dessert.
- 5 real ingredients — nothing processed or artificial: Natural peanut butter, honey, oat flour, dark chocolate, and coconut oil. No protein powder, no artificial sweeteners, no stabilisers or emulsifiers. Everything in this recipe is a real food ingredient that you can taste individually in the finished cup. This is what makes it different from a protein bar despite the similar macronutrient profile.
- 15 minutes of active work, 30 minutes of freezer time: Make the filling (5 minutes), melt the chocolate (3 minutes), assemble the cups (7 minutes), freeze 30 minutes. The entire process fits between starting a film and the opening credits being done. A full batch of 12 is in the freezer in under 20 minutes.
- Better than store-bought — the filling is more intensely peanut: Natural peanut butter filling made with honey and oat flour has a flavour that is genuinely peanut-forward because there is no added sugar, partially hydrogenated oil, or stabilisers masking the peanut flavour. Combined with good quality 70% dark chocolate, the flavour is more complex and satisfying than any commercial peanut butter cup.
- Freezes for 2 months — the ultimate make-ahead high-protein snack: These cups are best eaten directly from the freezer or after 3 to 5 minutes at room temperature. They keep for 2 months frozen in an airtight container. Making a double or triple batch on a Sunday produces a supply of high-protein snacks for weeks with no further effort.
Ingredients
- For the peanut butter filling: 1 cup (260g) natural peanut butter, smooth — runny is best (the kind where the oil separates; stir well before measuring)
- 3 tablespoons honey (or maple syrup — both work equally well)
- ½ cup (50g) oat flour (make your own by blending rolled oats in a food processor until fine, or use store-bought)
- ¼ teaspoon fine salt (reduces the sweetness and brings out the peanut flavour — essential)
- For the chocolate shell: 1½ cups (270g) good quality dark chocolate chips or chopped dark chocolate bar (70% cocoa is ideal — higher cocoa percentage = less sweet, better balance with the filling)
- 1 tablespoon coconut oil (makes the melted chocolate thinner and easier to work with, and produces a snappier shell when set)
- Optional finishes: flaky sea salt for topping (highly recommended — the salt-chocolate-peanut combination is exceptional)
- Optional flavour additions to the filling: ½ teaspoon vanilla extract, 1 tablespoon cocoa powder for a chocolate peanut butter variation
Directions
- Step 1: Make the peanut butter filling. In a medium bowl, combine the natural peanut butter, honey, oat flour, and salt. Stir vigorously with a spatula or wooden spoon until completely combined into a thick, uniform dough. The mixture should hold its shape when pressed and feel like firm clay — not sticky or greasy. If the filling is too sticky to roll, add 1 additional tablespoon of oat flour and mix again. If it seems too dry and crumbly, add 1 teaspoon of honey and mix. Taste the filling — it should taste clearly of peanut butter with a background sweetness and a slight saltiness. Adjust honey or salt if needed. Set aside.
- Step 2: Melt the chocolate for the bottom layer. Combine the dark chocolate chips (or chopped chocolate) and coconut oil in a microwave-safe bowl. Microwave in 30-second bursts, stirring after each burst, until the chocolate is completely melted and smooth — typically 60 to 90 seconds total. Do not overheat: chocolate heated beyond 50°C/120°F seizes and becomes grainy. Alternatively, melt in a double boiler (a heatproof bowl set over a saucepan of barely simmering water, bowl not touching the water) stirring constantly until smooth.
- Step 3: Line the muffin tin and add the chocolate base. Line a 12-cup standard muffin tin with paper or silicone cupcake liners — silicone liners peel away more cleanly than paper but both work. Spoon 1 teaspoon of melted chocolate into the bottom of each liner. Tilt the liner gently so the chocolate spreads in a thin, even disc covering the entire base. Alternatively, use a small spoon or pastry brush to spread the chocolate up the sides of the liner slightly — this creates a thicker base and a more pronounced cup shape. Place the muffin tin in the freezer for 8 to 10 minutes until the chocolate base is fully set and solid.
- Step 4: Form and add the peanut butter filling. Remove the muffin tin from the freezer. Divide the peanut butter filling into 12 equal portions — approximately 1 heaped tablespoon each. Roll each portion into a ball between your palms, then flatten between your fingers into a disc slightly smaller than the diameter of the muffin cup. Place one peanut butter disc in the centre of each chocolate base, pressing down gently. The filling disc should sit flat and not touch the sides of the liner — this allows the final chocolate layer to seal around it completely, enclosing the filling.
- Step 5: Cover with the remaining chocolate and set. Reheat the remaining melted chocolate briefly (10 seconds in the microwave) if it has begun to thicken. Spoon 1.5 to 2 teaspoons of melted chocolate over each peanut butter disc. Using a small spoon or offset spatula, spread the chocolate to cover the filling completely, including pushing it down the sides slightly to meet the base layer and completely enclose the filling. Tap the muffin tin gently on the counter a few times to level the tops and release any air bubbles. Immediately sprinkle a few flakes of sea salt onto the top of each cup before the chocolate sets. Place in the freezer for 20 to 30 minutes until the chocolate is completely solid and the cups feel firm throughout.
- Step 6: Release from liners and serve or store. Remove the muffin tin from the freezer. Peel the paper or silicone liners away from each cup — work slowly if using paper, as the paper may stick to the chocolate if the cup is not fully frozen. The cups should release cleanly and hold their shape. Serve immediately from the freezer (they soften at room temperature in about 5 minutes) or transfer to an airtight container in the freezer, layered between sheets of parchment paper.
Tips for Success
- Use natural peanut butter with no added sugar or oil — the ingredient list should be peanuts and salt only. Commercial peanut butters with added sugar, palm oil, and stabilisers produce a filling that is sweeter, softer, and less distinctly peanut in flavour. Natural peanut butter has a stronger, more complex peanut flavour that defines this recipe. Stir the natural peanut butter very thoroughly before measuring — the oil rises to the top and must be fully incorporated for the correct consistency.
- The oat flour quantity controls the filling consistency — adjust as needed. Natural peanut butters vary in their oil content depending on the brand and how they have been stored. If your filling is too soft and sticky after adding ½ cup of oat flour, add 1 additional tablespoon at a time, mixing between additions, until the filling holds its shape when pressed into a disc. The goal is a filling that is firm enough to handle but not so dry that it crumbles.
- Make your own oat flour by blending rolled oats in a food processor for 60 seconds. Store-bought oat flour and homemade oat flour are functionally identical in this recipe. To make: measure ½ cup of rolled oats (old-fashioned oats, not instant) into a food processor or high-powered blender. Blend for 60 to 90 seconds until the oats become a fine, uniform powder. Measure after blending — you will end up with slightly less than ½ cup of oat flour from ½ cup of oats.
- Melt chocolate in short bursts and do not overheat. Chocolate that is overheated seizes — it turns from a smooth liquid into a grainy, stiff mass that cannot be smoothed or used. Microwave in 30-second bursts at 50% power if your microwave runs hot, stirring thoroughly between each. Remove from the microwave when there are still a few unmelted pieces — they will melt in the residual heat as you stir. The chocolate should feel warm but not hot to the touch.
- The sea salt on top is the finishing step that makes these exceptional. The contrast of flaky sea salt against the dark chocolate and sweet peanut butter filling is one of the best flavour combinations in dessert — salty, sweet, bitter, and rich in the same bite. Use flaky sea salt (Maldon or similar), not fine table salt. Scatter the salt immediately after spooning on the final chocolate layer, while the chocolate is still liquid enough for the salt to adhere.
Variations
- Almond butter version: Replace peanut butter with natural almond butter — the same quantity, the same method. Almond butter produces a slightly milder, nuttier filling with a different character from peanut. Add ¼ teaspoon of almond extract to the filling for a more pronounced almond flavour. The protein content is nearly identical to the peanut butter version.
- Chocolate peanut butter filling: Add 1.5 tablespoons of unsweetened cocoa powder to the peanut butter filling and increase honey to 4 tablespoons (the cocoa requires additional sweetness). The filling becomes a deep chocolate peanut butter — a different flavour that works particularly well with milk chocolate instead of dark chocolate in the shell.
- White chocolate shell: Replace the dark chocolate with good quality white chocolate chips and omit the coconut oil (white chocolate already contains cocoa butter that thins it adequately). The white chocolate and peanut butter combination is sweeter and more candy-like than the dark chocolate version.
- Mini protein peanut butter cups: Use a 24-cup mini muffin tin with mini cupcake liners. Reduce the chocolate base to ½ teaspoon per cup and the peanut butter filling to 1 teaspoon per cup. The mini cups are bite-sized and contain approximately 4 grams of protein each. A batch of 24 mini cups is approximately the same effort as 12 standard cups.
- With protein powder (for even higher protein): Add 2 tablespoons of unflavoured or vanilla protein powder to the filling with the oat flour. This increases the protein to approximately 11 to 12 grams per cup. The protein powder makes the filling slightly drier — add 1 additional teaspoon of honey to compensate. Taste and adjust: some protein powders are quite sweet or have a distinct flavour that affects the overall balance.
How to Serve
Eat protein peanut butter cups directly from the freezer or after 3 to 5 minutes at room temperature — they are best when the chocolate shell is still crisp and cold and the filling is firm. They soften significantly at room temperature and the filling becomes sticky after about 15 minutes — which is still good but a different textural experience. Serve on a parchment-lined plate at parties and gatherings, kept cold. They read as impressive party dessert bites while being a high-protein snack in reality.
How to Store
Store in an airtight container in the freezer for up to 2 months. Place parchment paper between layers to prevent them from sticking together. Do not refrigerate — the chocolate does not set as firmly in the fridge and the cups soften to a less satisfying texture. Serve directly from the freezer. If storing at room temperature, consume within 2 hours — after that the chocolate softens and the filling becomes sticky. Do not refreeze cups that have fully thawed to room temperature.
Related Recipes You Might Like
If you loved this recipe, here are a few more from the site:
- Cottage Cheese Cookie Dough — another high-protein no-bake snack recipe
- Protein Pancakes with Cottage Cheese — a high-protein breakfast to pair with your high-protein snack
- High-Protein Breakfast Egg Bake — another high-protein make-ahead snack and meal prep staple
- Costco Copycat High-Protein Egg Bites — another make-ahead high-protein snack
- 5-Ingredient Honey Garlic Chicken — a high-protein dinner to balance your high-protein snacking
Frequently Asked Questions
How do I get the chocolate shell to set with a clean snap?
Three factors: use chocolate with at least 60% cocoa (higher cocoa content produces a firmer, snappier set), add coconut oil to the melted chocolate (it produces a sharper set than plain melted chocolate), and freeze rather than refrigerate (the faster, colder set produces a crispier shell). If you want the true tempered chocolate snap of a commercial chocolate cup, you would need to temper the chocolate — heat to 45°C, cool to 27°C, reheat to 31°C — but the coconut oil method produces a very good result without that process.
Can I use regular rolled oats instead of oat flour?
No — rolled oats have a coarse, chewy texture that does not blend into the peanut butter filling smoothly. They remain gritty and visually obvious. Use oat flour (either store-bought or homemade by blending rolled oats). The blended version has a fine, smooth texture that incorporates seamlessly into the filling.
How do I prevent the peanut butter filling from sticking to my hands when shaping?
Three approaches: lightly oil your palms with a small amount of coconut or neutral oil before shaping, refrigerate the filling for 15 minutes before shaping (cold filling is firmer and handles better), or use a cookie scoop to portion the filling and then press into shape with the flat bottom of a glass rather than by hand.
Why did my chocolate seize when melting?
The most common cause is water contact — a single drop of water in melted chocolate causes it to seize immediately into a grainy, stiff mass. Ensure all bowls and utensils are completely dry before melting. The second cause is overheating — chocolate heated above 50°C loses its smooth texture. If chocolate seizes, stir in 1 teaspoon of coconut oil and heat gently in 10-second bursts, stirring constantly — sometimes this rescues seized chocolate.
Can I make these without coconut oil?
Yes, but the chocolate will be slightly thicker and harder to spread, and the set shell will be slightly less snappy. Substitute 1 tablespoon of neutral oil (vegetable or sunflower) or 1 tablespoon of butter. Butter produces a very slightly different flavour (more creamy) and a soft set rather than a firm snap. Both are valid substitutions that produce good results.
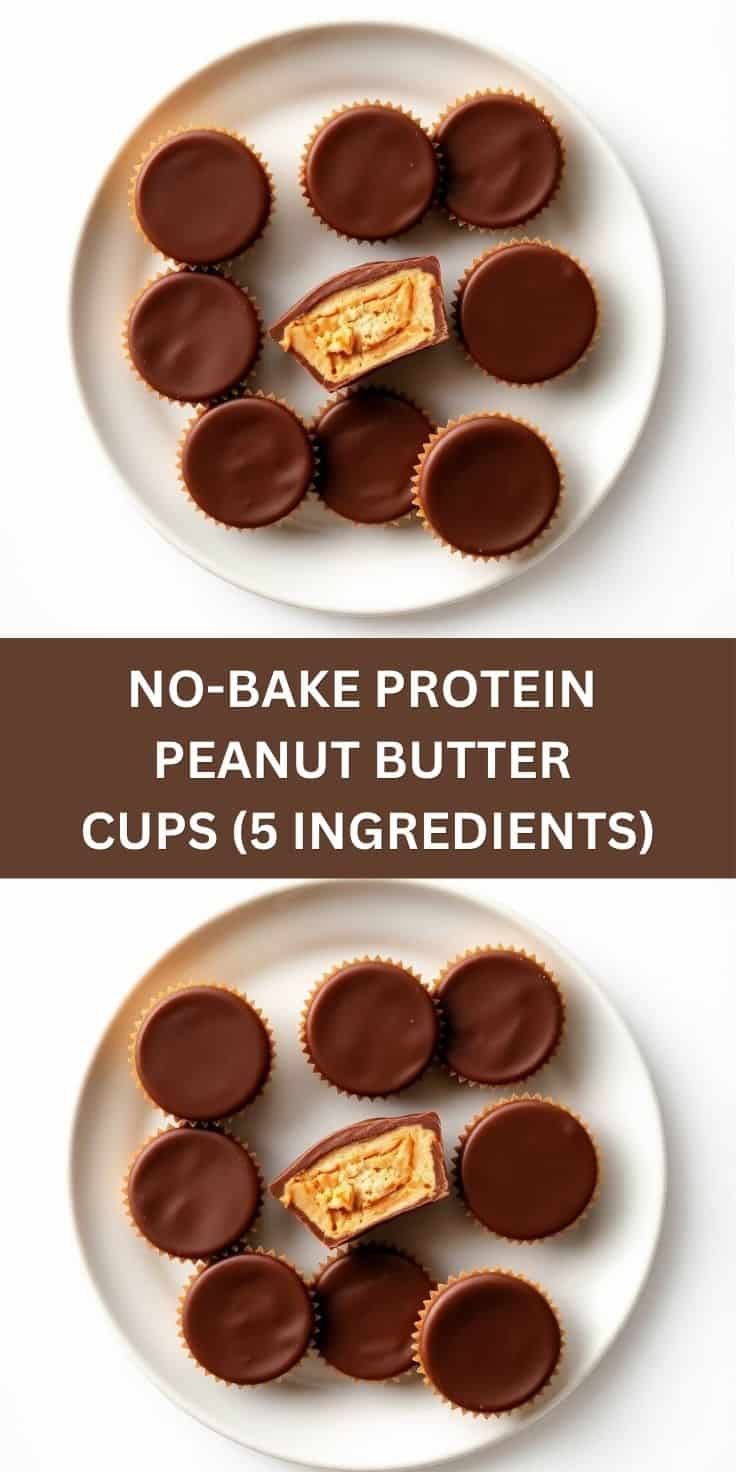

NO BAKE PROTEIN PEANUT BUTTER CUPS (5 INGREDIENTS)
Equipment
- 12-cup mini muffin pan
- 12 mini paper liners
- Microwave-safe bowl
- Small mixing bowl
- Spoon or small spatula
Ingredients
For the Peanut Butter Filling:
- ½ cup natural creamy peanut butter
- ½ cup plain Greek yogurt
- ½ cup quick oats
For the Chocolate Shell:
- 1 cup dark chocolate chips
- 1 teaspoon coconut oil
Instructions
Prepare the Pan
- Line a 12-cup mini muffin pan with paper liners and set aside.
Make the Peanut Butter Filling
- In a small bowl, mix the peanut butter, Greek yogurt, and quick oats until smooth and evenly combined. Refrigerate for 10 minutes to firm the mixture slightly.
Melt the Chocolate
- Place the chocolate chips and coconut oil in a microwave-safe bowl. Microwave in 20-second intervals, stirring between each, until completely melted and smooth.
Build the Cups
- Spoon about 1 teaspoon of melted chocolate into each liner and spread it slightly up the sides. Add about 1 tablespoon of peanut butter filling to the center of each cup.
Cover with Chocolate
- Spoon the remaining melted chocolate over each peanut butter center, making sure the filling is completely covered.
Chill
- Refrigerate for at least 1 hour, or until the chocolate is firm. Carefully remove the cups from the liners before serving.
Notes
- Only 5 Ingredients: Peanut butter, Greek yogurt, oats, chocolate chips, and coconut oil create an easy protein-packed treat.
- No Baking Required: These homemade peanut butter cups set entirely in the refrigerator with zero oven time.
- Protein Boost: Greek yogurt and peanut butter add protein while keeping the filling creamy and satisfying.
- Storage: Keep refrigerated in an airtight container for up to 7 days for an easy grab-and-go snack.
- Freezer Friendly: Freeze the cups for up to 2 months and let them sit at room temperature for several minutes before eating.





Comments
No Comments