
Craving a rich, decadent brownie but don't want to turn on the oven? These no-bake brownie bars are your perfect solution. Get ready to experience pure chocolate bliss with minimal effort and maximum satisfaction.
They deliver all the deep, chocolatey and fudgy texture you love in a traditional brownie, but with absolutely no baking required. The combination of cocoa, and natural sweeteners creates a fudginess that rivals their baked counterparts.
The magic of these no-bake brownie bars lies in their ability to achieve a remarkably rich and dense texture using just a few simple ingredients. It’s a testament to how creative culinary approaches can simplify the dessert-making process.
These brownie bars are incredibly versatile, making them suitable for a wide range of occasions. Their robust flavor profile means they pair wonderfully with a glass of milk, a scoop of vanilla ice cream, or even a dollop of whipped cream.
Moreover, this recipe is a fantastic way to incorporate wholesome ingredients into a satisfying dessert. Many no-bake recipes rely on dates or other natural binders, providing dietary fiber benefits and nutrients alongside the indulgent chocolate flavor.
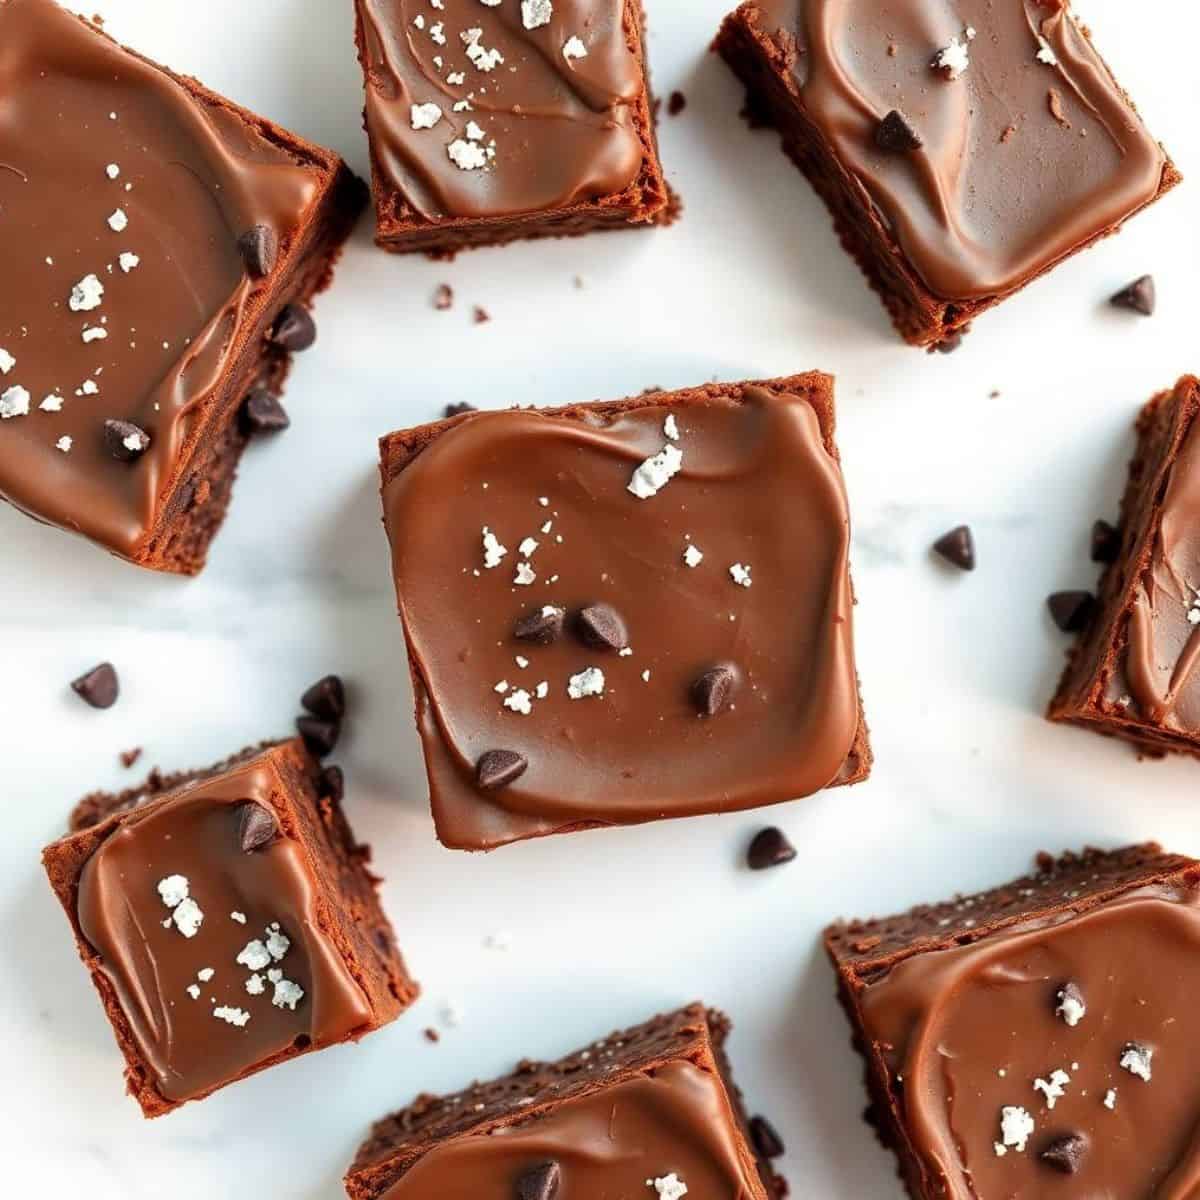
WHY YOU WILL LOVE THIS RECIPE
- No Baking Required: This recipe is incredibly easy to prepare, perfect for satisfying your chocolate cravings without ever needing to turn on the oven.
- Rich Fudgy Texture: Achieve a dense, wonderfully fudgy consistency that closely mimics traditional baked brownies, ensuring a deeply satisfying experience.
- Intense Chocolate Flavor: Enjoy a powerful burst of decadent chocolate in every bite, truly gratifying all your deepest cocoa cravings and desires.
- Quick to Assemble: With minimal steps and simple ingredients, these bars come together incredibly fast, making them ideal for last-minute dessert needs.
- Wholesome Ingredients: Often made with natural sweeteners and nuts, these bars provide a relatively healthier alternative to many highly processed sugary treats.
- Great for Meal Prep: Easily make a large batch ahead of time, ensuring you have convenient, delicious chocolate treats ready for snacking throughout your busy week.
- Kid-Friendly Treat: A fun and safe recipe for children to help prepare and enjoy, enthusiastically encouraging their positive involvement and excitement in the kitchen joyfully.
INGREDIENTS
- 1.5 cups pitted Medjool dates, packed
- ½ cup unsweetened cocoa powder
- 1 cup walnuts or pecans
- ¼ cup almond butter or other nut butter
- ¼ cup maple syrup or agave nectar
- 1 teaspoon vanilla extract
- Pinch of sea salt
- Optional topping: ¼ cup melted dark chocolate + 1 teaspoon coconut oil
DIRECTIONS
- Step No.1: Process the Nuts
In a food processor, add the walnuts or pecans. Process them until they are finely ground, resembling a coarse meal. Be careful not to over-process them into a butter, just a crumbly texture is needed.
- Step No.2: Add Dates and Process
Add the pitted Medjool dates to the food processor with the ground nuts. Process until the mixture starts to come together and form a sticky, cohesive ball, scraping down the sides as necessary.
- Step No.3: Incorporate Remaining Base Ingredients
Add the unsweetened cocoa powder, almond butter, maple syrup (or agave nectar), vanilla extract, and a pinch of sea salt to the food processor.
- Process again until all ingredients are thoroughly combined and a thick, uniform brownie-like dough forms. The mixture should be sticky and hold together when pressed.
- Step No.4: Press into Pan
Line an 8x8 inch (20x20 cm) baking dish with parchment paper, leaving an overhang on the sides for easy removal.
- Press the brownie mixture firmly and evenly into the prepared pan, using the back of a spoon or your hands to ensure it is compact and smooth.
- Step No.5: Prepare Optional Topping
If adding a chocolate topping, melt the dark chocolate chips with the coconut oil in a microwave-safe bowl in 30-second intervals, stirring until smooth. Alternatively, melt over a double boiler for even melting.
- Step No.6: Add Topping (Optional)
Pour the melted chocolate mixture evenly over the pressed brownie base in the pan. Gently spread it with a spatula to create a smooth, even layer. If desired, sprinkle with a pinch of sea salt for a delightful contrast.
- Step No.7: Chill Until Set
Place the pan in the refrigerator for at least 1-2 hours, or until the brownie bars are firm and the topping is completely set. This chilling time is crucial for the bars to hold their shape perfectly when sliced.
- Step No.8: Slice and Serve
Once fully chilled, use the parchment paper overhang to lift the entire slab of no-bake brownie bars out of the pan. Place it on a cutting board and slice into desired squares or rectangles using a sharp knife. Serve and enjoy.
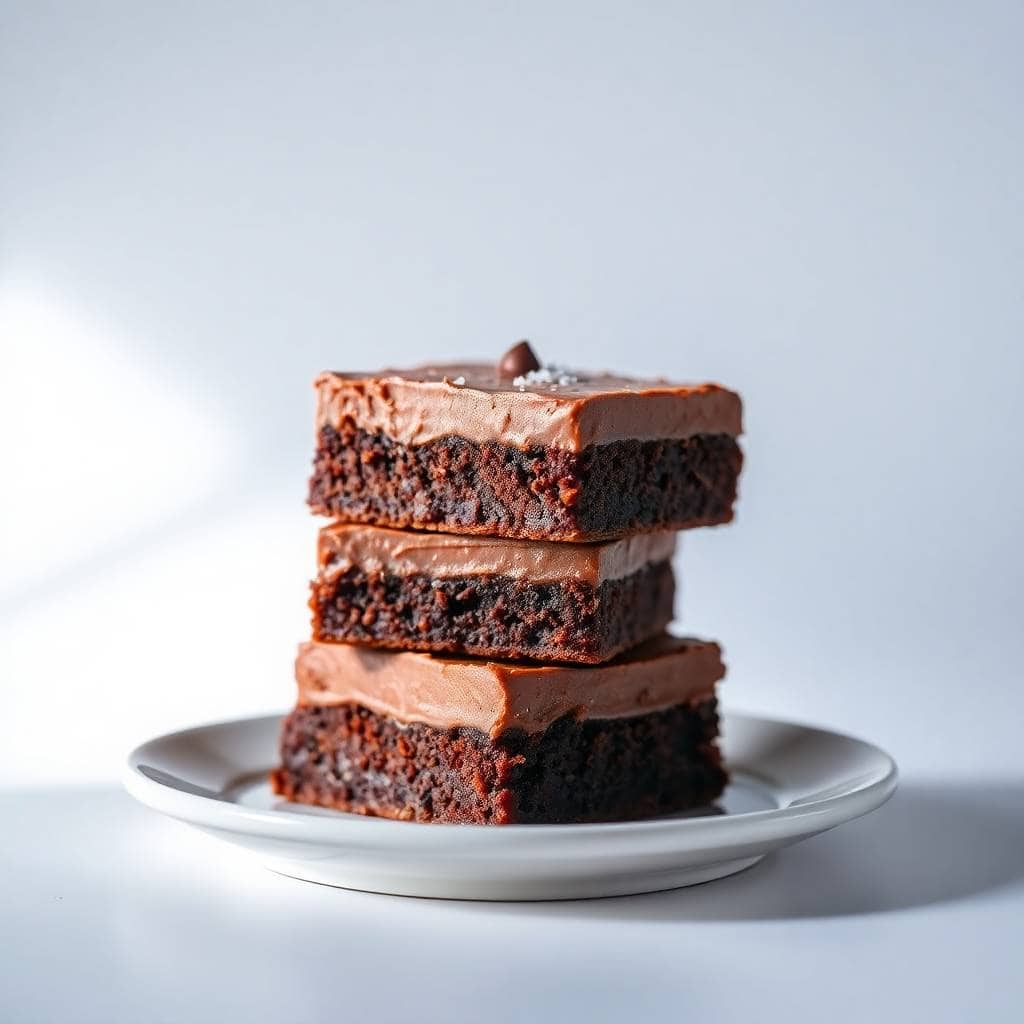
TIPS FOR SUCCESS
- Use Soft Dates: Ensure your Medjool dates are fresh and soft for easy processing; if they are a bit firm, soak them in warm water for 10 minutes, then drain thoroughly.
- Avoid Over-Processing Nuts: When grinding nuts, process just until they form fine crumbs; over-processing can release too much oil and alter the final texture.
- Press Mixture Firmly: Firmly pressing the brownie mixture into the pan is essential for compact, well-structured bars that won't crumble when cut, ensuring perfect slices.
- Chill Completely: Do not rush the chilling process; allowing the bars to fully set in the refrigerator is crucial for achieving their ideal firm, fudgy texture and clean cuts.
- Quality Cocoa Powder: Use a good quality unsweetened cocoa powder; its flavor is central to these bars, so choose one with a rich, deep chocolate taste for best results.
- Parchment Paper is Key: Lining the pan with parchment paper, leaving an overhang, makes lifting and slicing the chilled bars incredibly easy and mess-free.
- Warm Knife for Slicing: For perfectly clean slices, run your knife under hot water, wipe it dry, and then slice the chilled bars; repeat for each cut, if necessary.
VARIATIONS
- Peanut Butter Swirl: Swirl melted peanut butter into the chocolate topping or directly into the brownie base for a classic, irresistible peanut butter chocolate combination.
- Minty Fresh: Add ½ teaspoon of peppermint extract to the brownie base mixture for a refreshing and invigorating mint-chocolate flavor profile that's truly delightful.
- Coffee Kick: A teaspoon of instant espresso powder mixed into the cocoa powder will significantly enhance and deepen the rich chocolate flavor, making it even more intense.
- Coconut Craze: Stir in ¼ cup of shredded unsweetened coconut into the brownie base for added chewiness and a lovely tropical essence that complements the chocolate perfectly.
- Spicy Heat: A small pinch of cayenne pepper added to the cocoa powder introduces a subtle, intriguing warmth that beautifully enhances the chocolate flavor without overpowering it.
- Orange Zest Brightness: Mix in one tablespoon of fresh orange zest with the wet ingredients for a vibrant, citrusy counterpoint that brightens the rich chocolate taste beautifully.
- Crushed Cookies: Fold in some crushed graham crackers or gluten-free diet cookies into the base for an added layer of texture and delightful cookie flavor.
SERVING AND STORAGE
Serving
Serve no-bake brownie bars chilled, perfect as a rich dessert, a satisfying snack, or a delightful sweet treat anytime.
Storage
Store leftover no-bake brownie bars in an airtight container in the refrigerator for up to 1 week.
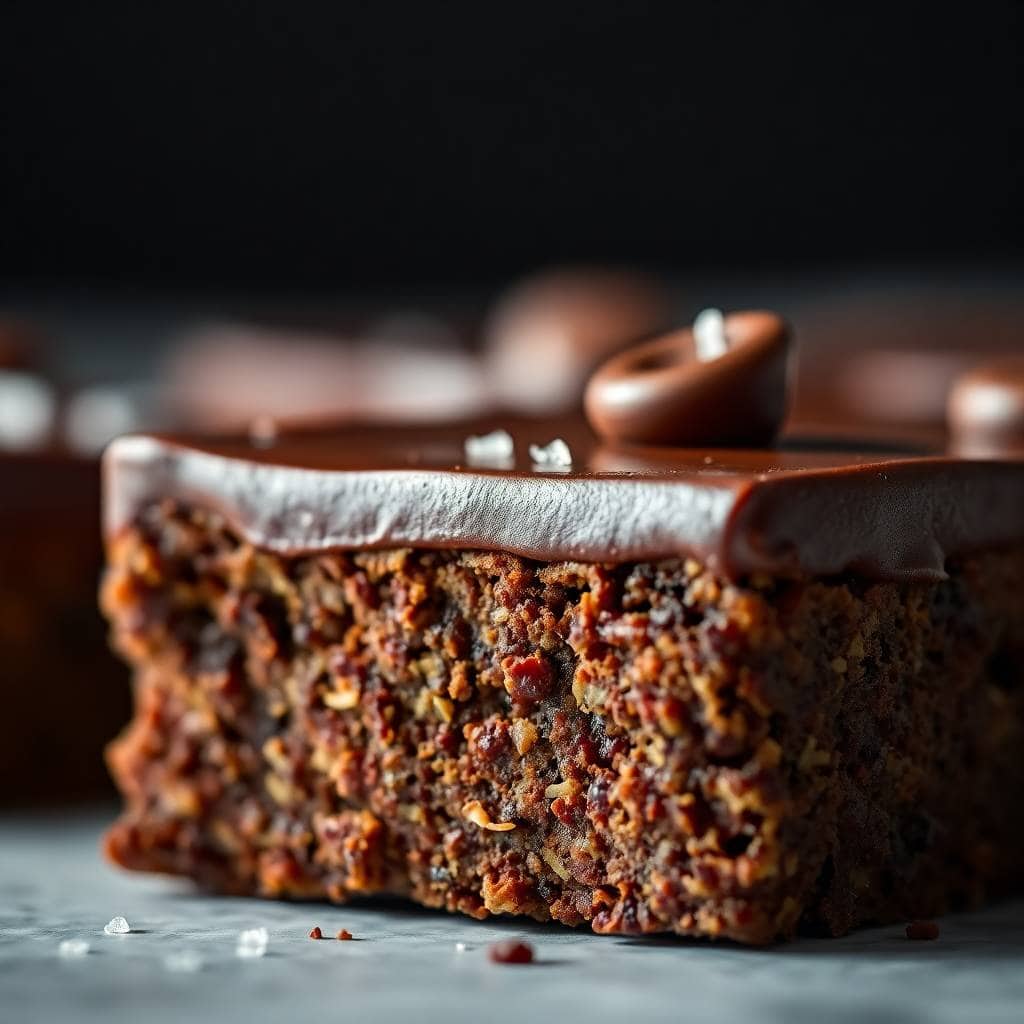
FAQ
Yes, you can use almonds, cashews, or even skip nuts entirely if preferred, though nuts contribute to the texture.
Store them in an airtight container in the refrigerator. They can last up to a week and maintain their fudgy texture best when chilled.
Absolutely! Freeze them in an airtight container for up to 2-3 months. Thaw in the refrigerator for a few hours before serving.
If too sticky, try chilling the mixture for 10-15 minutes, or lightly dampen your hands with water before pressing it into the pan.
Yes, the chocolate topping is completely optional. The bars are delicious and fudgy on their own without the extra layer of chocolate.
These no-bake brownie bars are an absolute dream come true for any chocolate lover seeking convenience.
Their consistent fudgy perfection and robust flavor ensure that every single bite is a delightful experience.
This balance of deliciousness and relative nourishment allows you to enjoy your dessert guilt-free, embracing flavor.
Embrace the simplicity, savor the deep chocolate notes, and enjoy the sheer convenience of a dessert that delivers flavor.
Get ready to transform your dessert moments into pure, unadulterated bliss, one perfect bar at a time.
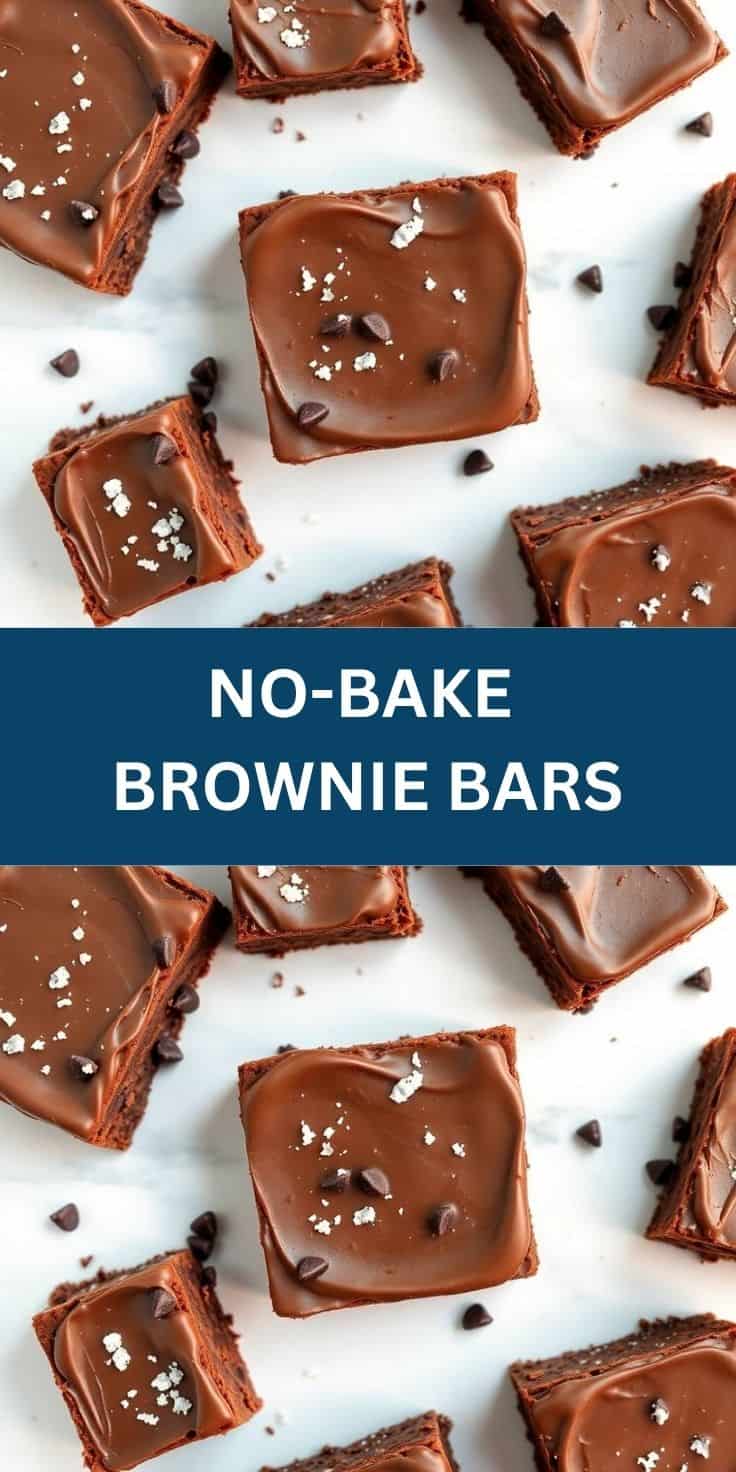
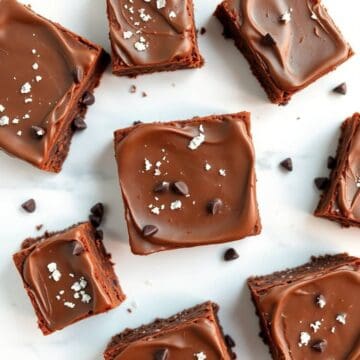
NO-BAKE BROWNIE BARS
Ingredients
For the Brownie Base:
- 1 ½ cups old-fashioned rolled oats use certified gluten-free if needed
- ¾ cup unsweetened cocoa powder Dutch-processed for darker color, or natural
- ½ teaspoon salt
- 1 cup creamy peanut butter or nut butter of choice almond, cashew, or sunflower seed butter
- ½ cup maple syrup or honey for binding and sweetness
- ¼ cup milk of choice dairy, almond, oat, etc.
- 1 teaspoon vanilla extract
- Optional: ½ cup mini chocolate chips for extra chocolatey goodness
For the Chocolate Ganache Topping (Optional but Recommended):
- ½ cup chocolate chips semi-sweet or dark
- ¼ cup milk of choice dairy, almond, oat, etc.
- Optional: 1 tablespoon butter or coconut oil for shine and smoothness
Instructions
- Prepare Pan: Line an 8x8-inch or 9x9-inch baking pan with parchment paper, leaving an overhang on the sides to easily lift the bars out later. This is crucial for no-bake bars.
- Process Oats (Optional, for smoother texture): If you prefer a smoother brownie texture, pulse the rolled oats in a food processor a few times until they resemble a coarse flour. If you like a more rustic, slightly chewy texture, use whole oats.
- Combine Dry Ingredients: In a large mixing bowl, whisk together the (processed) oats, unsweetened cocoa powder, and salt.
- Combine Wet Ingredients: In a separate medium bowl, or in the microwave, combine the peanut butter, maple syrup (or honey), and milk. Microwave for 30-60 seconds, or gently heat on the stovetop, until the mixture is warm and runny enough to stir smoothly. Stir in the vanilla extract.
- Combine Wet and Dry: Pour the wet mixture into the dry oat mixture. Stir well with a sturdy spoon or spatula until everything is thoroughly combined and a thick, fudgy dough forms. If adding mini chocolate chips, fold them in now.
- Press into Pan: Transfer the brownie mixture to the prepared pan. Using a spatula, the back of a spoon, or your clean hands, press the mixture down firmly and evenly into the pan. Make sure it's packed tightly to ensure the bars hold together.
- Prepare Ganache (Optional): If making the ganache topping, combine chocolate chips and milk (and optional butter/coconut oil) in a microwave-safe bowl. Microwave in 30-second intervals, stirring well after each, until smooth and melted. Alternatively, melt in a double boiler.
- Add Topping: Pour the melted ganache evenly over the pressed brownie base. Spread it gently with a spatula to cover the entire surface.
- Chill: Place the pan in the refrigerator for at least 1-2 hours (or freezer for 30 minutes) until the bars are firm and the ganache (if used) is set.
- Slice and Serve: Once firm, use the parchment paper overhang to lift the entire slab out of the pan. Place it on a cutting board and slice into squares or rectangles using a sharp knife. For cleaner cuts, you can run your knife under hot water and wipe it clean between cuts.
- Storage: Store the no-bake brownie bars in an airtight container in the refrigerator for up to 1 week. They can also be frozen for up to 1-2 months.
Notes
- Peanut Butter Type: Natural, runny peanut butter often works best for the base, but conventional creamy peanut butter also works. Adjust liquid slightly if needed based on consistency.
- Sweetness: Adjust the amount of maple syrup/honey based on your preference and the sweetness of your chocolate chips (if using).
- Texture Control: For a chewier bar, don't process the oats as finely. For a fudgier, denser bar, pack the mixture into the pan very tightly.
- Mint Chocolate: Add a few drops of peppermint extract to the brownie base or ganache.
- Orange Zest: Stir in some orange zest for a citrusy hint.
- Nutty Crunch: Add chopped nuts (walnuts, pecans) to the brownie base.
- White Chocolate Drizzle: Drizzle with melted white chocolate instead of or in addition to the ganache.
- Vegan/Dairy-Free: Ensure your chocolate chips are dairy-free, and use plant-based milk and coconut oil or a vegan butter substitute. Maple syrup is a natural vegan sweetener.





Comments
No Comments