
My husband doesn't really love American chain restaurant food — except for this one. The first time we had Longhorn Steakhouse's Parmesan Chicken on a trip to the US, he talked about it the whole flight home. That's not an exaggeration. So naturally I had to figure out how to make it in my own kitchen.
What makes this recipe work is the layering. You sear the chicken first so you get that golden crust, then top it with a mayo-mozzarella mixture and a parmesan-panko crumble before finishing it in the oven. The mayo does something smart here — it acts as a moisture barrier so the chicken doesn't dry out, and it helps the cheese melt into something almost creamy rather than just sitting on top. I didn't figure that out on the first try, but once I understood why it worked, it clicked.
I make this on Friday nights when we want something that feels a little special without requiring two hours in the kitchen. It pairs really well with my creamy mac and cheese if you want a proper comfort food situation, or just with some roasted broccoli if you're trying to keep it lighter. Saad eats it with whatever's on the table, which is honestly the highest endorsement a recipe can get in this house.
One thing to know going in: pound your chicken to an even thickness before you do anything else. I skipped this step the first couple of times and ended up with chicken that was cooked through at the thin end and still pink in the middle. A meat mallet, the back of a heavy pan, or even a rolling pin — whatever you have — will solve that problem in about two minutes.
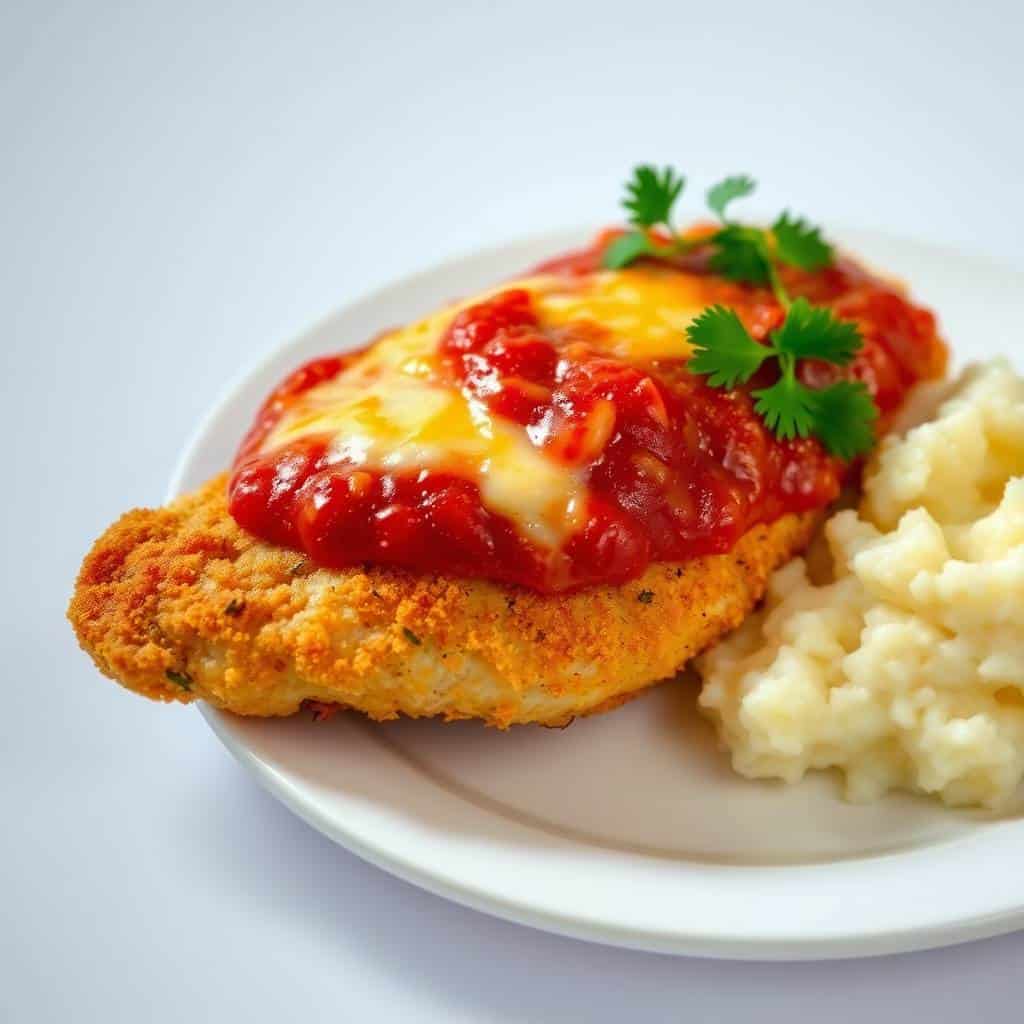
Why You'll Love This Recipe
- Two-step cooking that actually pays off: Searing first and then baking gives you something no single-method chicken can — a golden, seasoned crust on the outside with a genuinely juicy interior. Most baked chicken recipes skip the sear and the result is fine but flat. This one isn't flat. The few extra minutes in the skillet make a real difference, and once you do it this way you won't go back.
- The topping is the whole point: That combination of mayo, mozzarella, parmesan, and panko on top isn't just decoration — it's what makes this taste like a restaurant dish rather than a weeknight chicken breast. The mayo melts into the cheese and keeps everything from drying out. The panko gets toasty and golden in the oven. It takes about three minutes to mix together and it does a lot of heavy lifting.
- Ingredients you already have: Nothing here requires a specialty grocery run. Panko breadcrumbs, parmesan, mozzarella, and a few spices — all of it is standard at Walmart, Aldi, or any regular supermarket. The parmesan in the green can works fine for the topping, though freshly grated will melt a bit better if you have it.
- Flexible enough to pair with almost anything: I've served this over pasta, next to roasted vegetables, with garlic bread, and just sliced over a salad for lunch the next day. It works for all of them. If you want a proper cheesy dinner situation, pair it with the cottage cheese pasta bake — that combination has become a Friday night regular in this house.
- Holds up as leftovers: I usually make a double batch because this reheats well, which not all breaded chicken does. The trick is reheating in the oven at 350°F rather than the microwave — about 10 minutes keeps the topping from going soggy. Next-day lunch with some leftover rice or a simple salad is genuinely good, not just fine.
Ingredients
- 4 boneless, skinless chicken breasts
- 2 tablespoons olive oil
- 1 teaspoon garlic powder
- 1 teaspoon paprika
- ½ teaspoon salt
- ¼ teaspoon black pepper
- 1 cup shredded mozzarella cheese
- ½ cup shredded parmesan cheese
- ½ cup panko breadcrumbs
- 2 tablespoons butter, melted
- 2 tablespoons mayonnaise
- 1 teaspoon dried Italian seasoning
- Fresh parsley for garnish
Directions
- Prep the chicken: Pound the chicken breasts to an even thickness — about ¾ inch works well. This is the step I used to skip and always regretted. Uneven chicken means one end overcooks while the other catches up. Season both sides with garlic powder, paprika, salt, and pepper.
- Sear the chicken: Heat olive oil in a large oven-safe skillet (or any heavy skillet) over medium heat. Cook the chicken for 4–5 minutes per side until golden brown on both sides. It doesn't need to be fully cooked through at this point — it's going into the oven. Transfer to a baking dish.
- Make the cheese topping: In a small bowl, mix the panko breadcrumbs, parmesan, melted butter, and Italian seasoning together until combined. In a separate bowl, stir the mayonnaise and shredded mozzarella together. This two-layer approach is what gives you that distinct creamy-then-crispy texture on top.
- Layer the toppings: Spread the mayo-mozzarella mixture evenly over each chicken breast, then spoon the parmesan-panko crumble on top. Press it down slightly so it sticks — don't just pile it on loosely or it'll slide off in the oven.
- Bake: Bake at 375°F (190°C) for 10–12 minutes, until the cheese is melted and the breadcrumb topping is golden brown. The internal temperature should read 165°F — use a meat thermometer if you have one, or cut into the thickest part to check.
- Rest and serve: Let the chicken rest for about 5 minutes before serving. Garnish with fresh parsley if you have it — it adds color and a little brightness that cuts through the richness of the cheese topping.
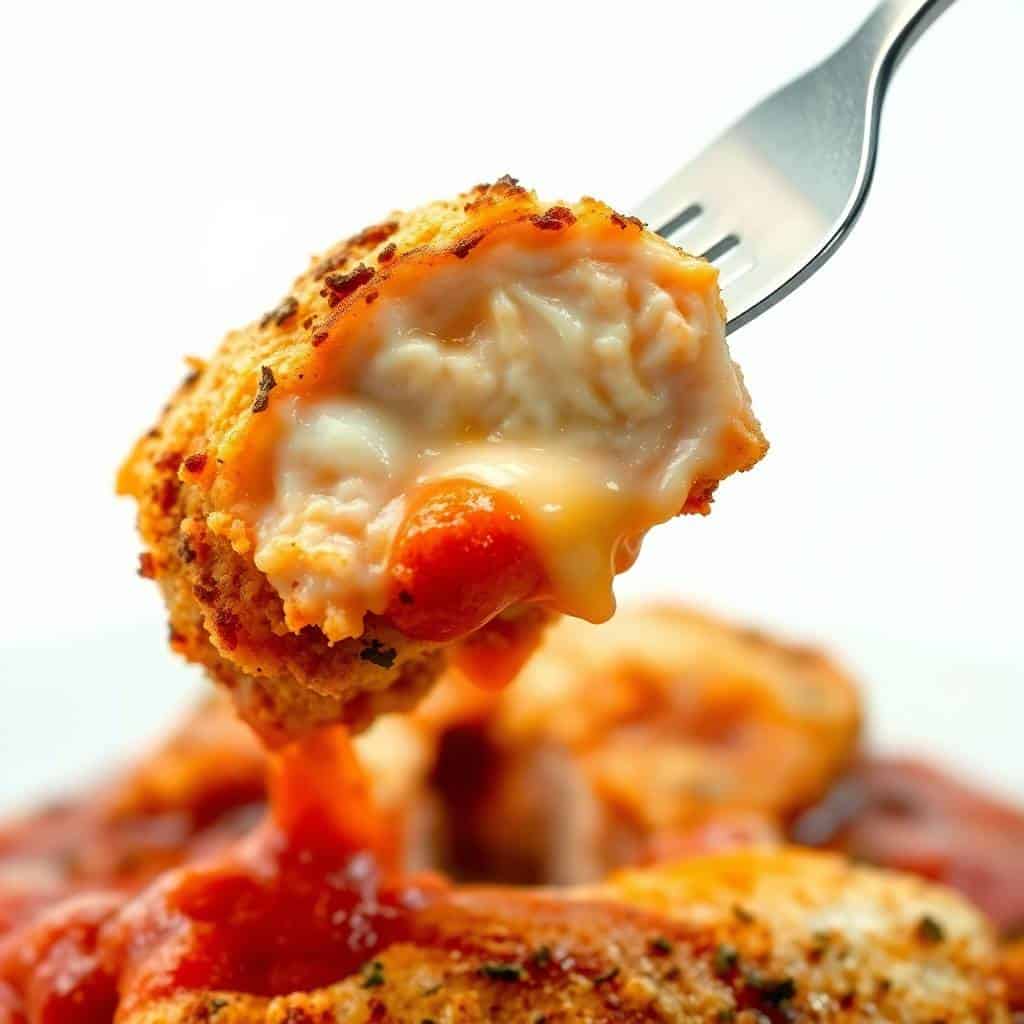
Tips for Success
- Pound the chicken before you do anything else: I know I already said this in the intro but I'm saying it again because it genuinely matters. Uneven chicken breasts are the number one reason this dish comes out wrong. Thick end is underdone, thin end is dry — nobody's happy. Takes two minutes with anything heavy and makes the whole thing cook evenly.
- Don't skip the sear: I was tempted to just bake the whole thing and skip the skillet step the first few times I made this. Please don't. The golden crust you get from searing adds flavor that straight baking can't replicate, and it gives the cheese topping a more textured surface to grip onto. Use a cast iron skillet if you have one — the color it gives is excellent.
- Shred your own cheese if you can: Pre-shredded cheese is coated in anti-caking agents that make it melt less smoothly. It's a small thing but in a recipe where the melted cheese is the whole point, it's worth the extra two minutes with a box grater. I learned this the hard way after wondering why my topping always looked slightly grainy.
- Pull it at 165°F, not 170°F: Chicken dries out fast past 165°F and with a cheesy topping involved, you won't notice until you cut into it. I keep a cheap instant-read thermometer on the counter — it's probably the most-used tool in my kitchen after my knife. Any version under $20 from Amazon or Walmart works fine.
- Let it rest before cutting: Five minutes feels like nothing but makes a real difference. Cut into chicken right out of the oven and all the juices run onto the board instead of staying in the meat. I usually use that five minutes to get the sides plated so nothing goes cold anyway.
Variations
- Spicy version: Add ½ teaspoon of crushed red pepper flakes or a pinch of cayenne to the panko-parmesan topping. My husband does this every single time — he adds chili to basically everything. The heat works really well against the richness of the melted cheese.
- Ranch topping swap: Instead of the mayo-mozzarella base, spread a thin layer of ranch dressing directly on the chicken before adding the panko topping. This is closer to the original Longhorn version with the ranch element. Both are good — the mayo version is slightly creamier, the ranch version has more tang.
- Low-carb version: Swap the panko breadcrumbs for crushed pork rinds or almond flour. The texture is slightly different — less light, more dense — but the flavor is still good. This is a solid option if you're avoiding carbs and still want the crispy topping experience.
- Bacon on top: Cook 3–4 strips of bacon until crispy, crumble them, and press them into the mayo-cheese layer before adding the panko topping. It adds a smoky, salty element that makes this feel even more like something you'd order at a restaurant. Not something I make every week but absolutely worth it for a Friday night.
- With chicken thighs: Boneless, skinless thighs work well here — they're more forgiving than breasts and stay juicy even if you go slightly over on time. Add 3–5 extra minutes to the baking time and check the internal temp the same way. This isn't the Longhorn version exactly, but honestly the thighs might taste even better. I know real Longhorn fans might disagree.
Serving and Storage
Serving
This chicken is substantial enough to be the main event. I usually serve it with something that can soak up the cheesy juices — garlic mashed potatoes work perfectly, and so does buttered pasta or even plain rice. For a lighter option, a simple green salad or roasted broccoli alongside keeps the meal from feeling too heavy. If you want to turn it into a proper dinner spread, a side of olive bread on the table means nobody leaves hungry. In Pakistan we'd serve something like this with rice and a raita; my kids want it with fries, which also works.
Storage
Store leftovers in an airtight container in the fridge for up to 3 days. To reheat and keep the topping from going soggy, use the oven at 350°F for about 10 minutes rather than the microwave. The microwave will melt the cheese again but turns the panko topping soft. If you need to freeze it, baked chicken freezes fine for up to 2 months — thaw overnight in the fridge and reheat in the oven.
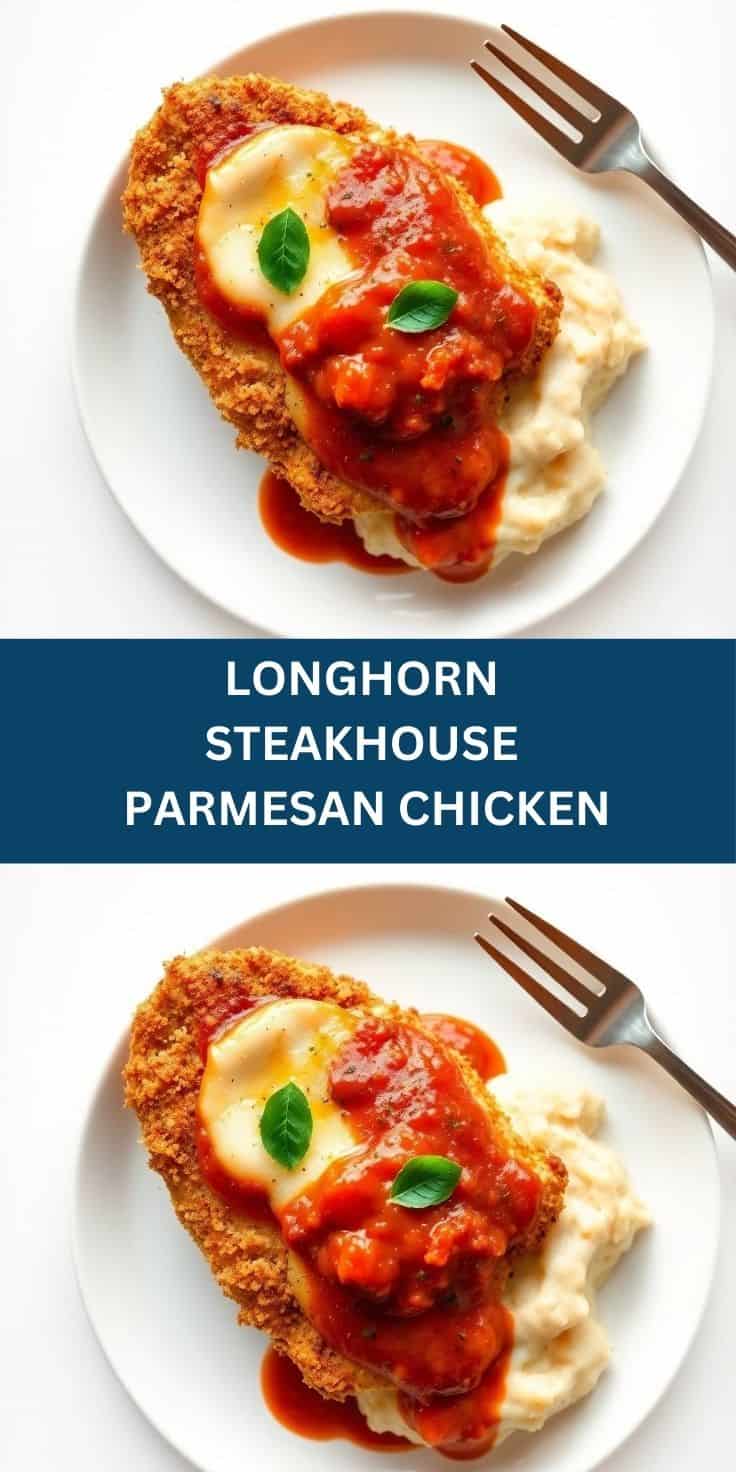
Frequently Asked Questions
Can I make this ahead of time?
Yes — pound and season the chicken up to a day ahead, cover it, and keep it in the fridge. You can also mix the two topping components ahead of time and refrigerate them separately. When you're ready to cook, sear, layer on the toppings, and bake. I do this on nights when I know the evening is going to be hectic — the actual cooking time is only about 20 minutes once the prep is done.
Can I use chicken thighs instead of breasts?
Boneless, skinless thighs work well and are actually more forgiving — they're harder to overcook and stay juicy. Add about 3–5 extra minutes to the baking time and check that the internal temperature reaches 165°F. The searing step stays the same.
What cheese works best for the topping?
Mozzarella melts smoothly and gives you that stretchy, creamy layer. Parmesan adds the salty, nutty flavor in the panko topping. I've also made this with Monterey Jack instead of mozzarella and it works really well — it melts even smoother. Provolone is another good option. Avoid pre-shredded if you can, since the anti-caking coating affects how it melts.
Can I skip the mayonnaise in the topping?
You can substitute with ranch dressing, sour cream, or even a thin layer of cream cheese softened at room temperature. The mayo's main job is to help the cheese mixture spread and stay moist while baking — any of those substitutes will do the same thing. Ranch is probably the closest in flavor and is worth trying if you prefer it.
Can I cook this in an air fryer?
Yes, though you'll need to work in batches depending on the size of your air fryer. Sear the chicken in a skillet first as directed, then transfer to the air fryer basket, add the toppings, and air fry at 375°F for 8–10 minutes until the cheese is melted and the topping is golden. The topping gets slightly crispier in the air fryer than in the oven, which most people prefer.
This isn't a recipe I grew up with — parmesan chicken from a steakhouse chain isn't exactly part of my culinary history. But that's the thing about cooking for a family that eats everything: you learn to figure out why dishes work, not just how to follow a recipe. The sear-then-bake method, the mayo in the topping, the two-layer cheese and panko approach — once I understood each of those decisions, the dish came together properly and I stopped second-guessing myself.
My husband now asks for this regularly, which is saying something because he was initially skeptical of copycat recipes. "Why not just go to the restaurant?" — which is a reasonable question until you're living in Lahore and the restaurant is in another country. Making it at home means we have it whenever we want, and honestly after a few tries I think this version is better because I control the seasoning and the chicken doesn't sit under a heat lamp before it gets to the table.
If you want to build a fuller dinner around this, my chicken piccata is another skillet chicken recipe that comes together quickly on weeknights — completely different flavor profile but the same idea of getting the most out of a simple chicken breast. And if you're feeding a crowd and want something that can sit alongside this without competing, the caprese pasta salad is a good call — light, fresh, and good at room temperature.
Make it once and see how it goes. If the topping slides off, press it down more firmly before baking. If the chicken is dry, check your thermometer calibration. It took me three tries to nail the timing — yours might take two, or might be right the first time. Either way, it's worth it. 🍗✨
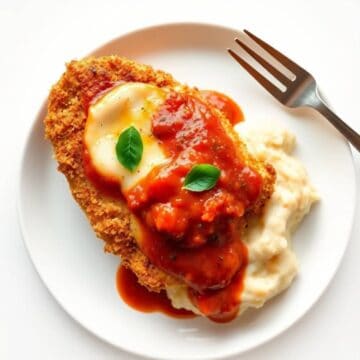
LONGHORN STEAKHOUSE PARMESAN CHICKEN
Ingredients
- 4 boneless skinless chicken breasts
- 2 tablespoons olive oil
- 1 teaspoon garlic powder
- 1 teaspoon paprika
- ½ teaspoon salt
- ¼ teaspoon black pepper
- 1 cup shredded mozzarella cheese
- ½ cup shredded parmesan cheese
- ½ cup panko breadcrumbs
- 2 tablespoons butter melted
- 2 tablespoons mayonnaise
- 1 teaspoon dried Italian seasoning
- Fresh parsley for garnish
Instructions
- Prep Chicken: Pound chicken breasts to even thickness. Season with garlic powder, paprika, salt, and pepper.
- Cook Chicken: Heat olive oil in a skillet over medium heat. Cook chicken for 4–5 minutes per side until golden brown and cooked through. Transfer to a baking dish.
- Prepare Topping: In a bowl, combine panko breadcrumbs, parmesan, butter, and Italian seasoning. In another bowl, mix mayonnaise with mozzarella cheese.
- Layer: Spread the mayo-cheese mixture over each chicken breast, then top with the breadcrumb-parmesan mixture.
- Bake: Bake at 375°F (190°C) for 10–12 minutes until cheese is melted and topping is golden brown.
- Serve: Garnish with parsley and serve hot.
Notes
- Make Ahead: Seasoned chicken can be prepped a day ahead and stored in the fridge.
- Customizing Flavor: Add a pinch of cayenne pepper or crushed red pepper for extra heat.
- Serving Suggestions: Serve with mashed potatoes, pasta, or steamed vegetables.
- Storage Tips: Store leftovers in an airtight container in the fridge for up to 3 days. Reheat in the oven to maintain crispiness.
If you liked this, these are worth a look too:
- Chicken Piccata — another quick skillet chicken recipe, totally different flavor, equally good on a weeknight
- Cottage Cheese Pasta Bake — cheesy, high-protein, and a great side to pair with this chicken
- Creamy Mac and Cheese — what Saad always wants alongside anything with melted cheese on top
- Caprese Pasta Salad — a light, fresh side that balances the richness of this dish well
- Olive Bread with No-Knead Dough — for when you want something on the table to soak up those cheesy juices

Comments
No Comments