
Homemade modeling clay is a fun, creative project that combines simple ingredients with hands-on enjoyment. It’s perfect for beginners, and anyone who loves crafting at home.
Making your own modeling clay allows full control over texture, and softness. You avoid store-bought chemicals while creating a safe, affordable option for everyday creative activities.
This recipe uses common pantry staples, making it accessible and convenient. Whether for school projects or rainy-day entertainment, it delivers consistent results with minimal effort.
Homemade modeling clay is not just practical; it’s also a great bonding activity. Children love helping mix, knead, and color the dough, turning preparation into part of the fun.
With a smooth texture and long-lasting flexibility, this modeling clay works beautifully for shaping, sculpting, and imaginative play, making it a reliable go-to craft solution.

WHY YOU WILL LOVE THIS RECIPE
- Safe and Non-Toxic: Made from simple household ingredients, this modeling clay is safe for kids, giving parents peace of mind during creative play sessions.
- Budget-friendly Craft: This recipe saves money by using pantry staples instead of expensive store-bought clay products with limited quantities.
- Quick and Easy: The clay comes together in minutes, making it ideal for spontaneous craft ideas or last-minute school projects.
- Customizable Colors: You can easily add food coloring to create vibrant shades, allowing endless creative possibilities for every project.
- Soft and Flexible Texture: This modeling clay stays smooth and pliable, making shaping, rolling, and sculpting enjoyable for all ages.
INGREDIENTS
- All-purpose flour
- Salt
- Water
- Vegetable oil
- Food coloring (optional)
DIRECTIONS
- Step No.1: Mix dry ingredients
Combine flour and salt in a bowl, stirring thoroughly to evenly distribute the salt throughout the flour before adding any liquid ingredients.
- Step No.2: Add wet ingredients
Gradually add water and vegetable oil to the dry mixture, stirring continuously until a dough begins to form and pull away from the bowl.
- Step No.3: Knead the dough
Transfer the dough to a clean surface and knead for several minutes until smooth, soft, and no longer sticky to the touch.
- Step No.4: Add color
Divide the dough into portions and knead food coloring into each piece until evenly colored and vibrant.

TIPS FOR SUCCESS
- Proper Kneading: Knead thoroughly to achieve a smooth, elastic texture that’s easy to shape and won’t crack.
- Adjust Moisture: Add small amounts of water or flour to balance stickiness and maintain ideal consistency.
- Use Food Coloring Carefully: Start with small drops to control color intensity and avoid overly wet dough.
- Seal When Not Using: Keep clay covered to prevent drying out during extended crafting sessions.
- Smooth Surface: Always knead on a clean, smooth surface for best texture results.
- Room Temperature Storage: Store clay at room temperature for short-term use to preserve flexibility.
VARIATIONS
- Scented Clay: Add a few drops of essential oils to create pleasantly scented modeling clay for sensory play experiences.
- Glitter Clay: Mix in fine glitter to give your clay sparkle, perfect for decorative or festive craft projects.
- Colored Salt Clay: Pre-color salt before mixing for unique speckled effects throughout the finished clay texture.
- Extra Soft Clay: Increase oil slightly for a softer, stretchier clay that’s easier for younger children to handle.
- Firm Sculpting Clay: Reduce water slightly to create firmer clay suitable for detailed sculpting projects.
- Natural Coloring: Use natural dyes like beet juice or turmeric benefits for eco-friendly, earthy-toned clay colors.
SERVING AND STORAGE
Serving
Ideal for craft sessions, school projects, and creative playtime activities for kids and adults alike.
Storage
Store in an airtight container or sealed plastic bag to keep the clay soft and usable longer.

FAQ
Yes, it uses non-toxic kitchen ingredients, but adult supervision is recommended for young children.
When stored properly, it can last several weeks without drying out.
This recipe is designed for reusable play, not baking or permanent hardening.
Add a small amount of flour and knead until the desired consistency is reached.
Yes, substitute all-purpose flour with a gluten-free flour blend for similar results.
Homemade modeling clay is a simple yet rewarding project that brings creativity to life using ingredients. It’s an alternative to store-bought options, offering flexibility and affordability.
This recipe encourages hands-on learning and imaginative play, making it especially appealing for families, educators, and craft lovers. The process itself becomes an enjoyable activity.
Its soft, pliable consistency ensures frustration-free shaping, allowing beginners and children to explore creativity without limitations or complicated tools. Each batch feels unique.
Whether for fun, learning, or artistic expression, homemade modeling clay is a reliable, engaging craft that proves simple ingredients can deliver endless creative possibilities.
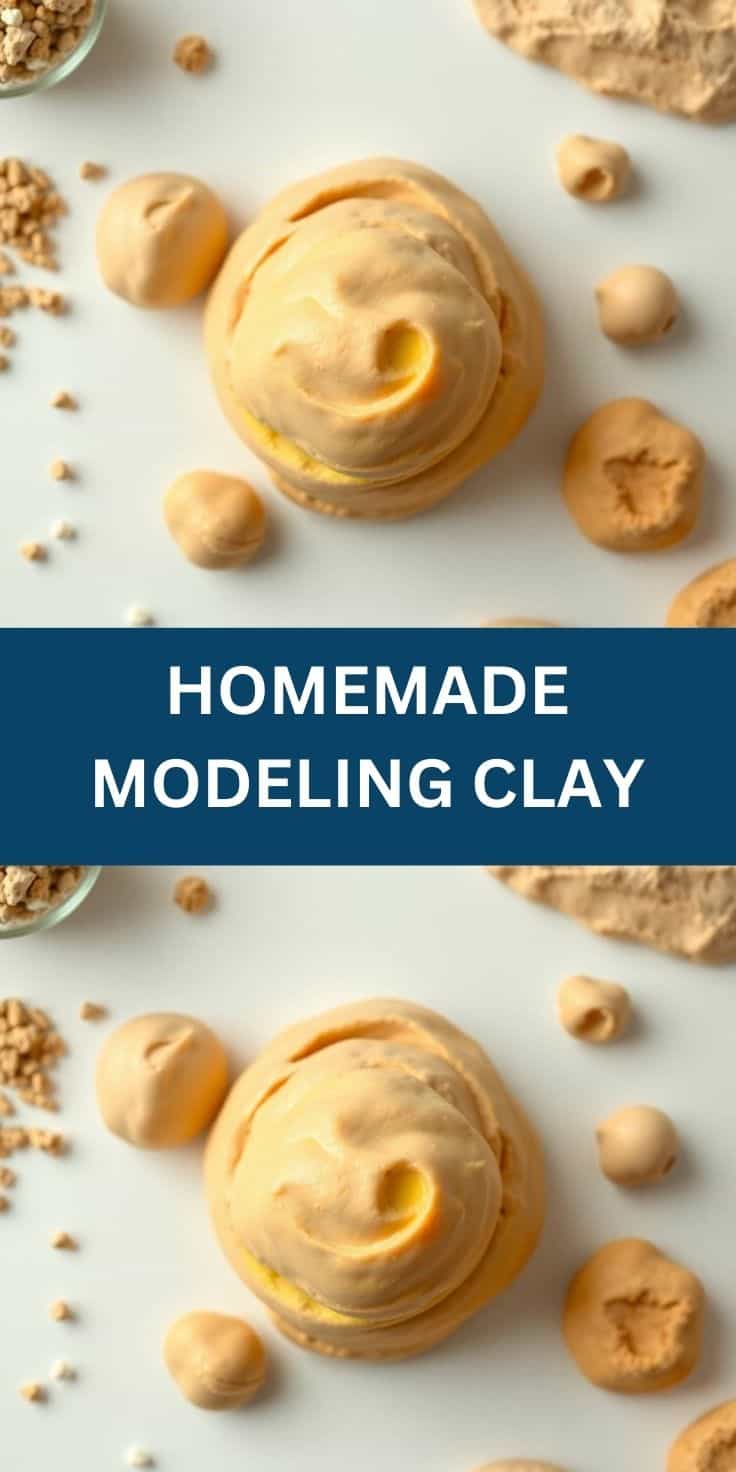
HOMEMADE MODELING CLAY
Ingredients
For the Clay:
- 1 cup all-purpose flour
- ½ cup salt
- 1 cup water warm
- 1 tablespoon vegetable oil
- food coloring optional
Instructions
Mix Dry Ingredients:
- In a bowl, mix flour and salt until evenly combined.
Add Wet Ingredients:
- Slowly add warm water and vegetable oil, stirring continuously to form a dough.
Color the Clay:
- Divide dough and knead in food coloring until evenly colored.
Cook the Clay:
- Cook dough in a nonstick pan over low heat for 3–5 minutes, stirring until it forms a smooth ball.
Cool and Use:
- Let clay cool completely before use. Store in airtight containers.
Notes
- Storage: Keep clay in airtight bags or containers to prevent drying.
- Safety: Not edible. Adult supervision recommended.
- Variations: Add essential oil for scent or glitter for sparkle.





Comments
No Comments