
The first time I made eggnog from scratch, I scrambled the eggs. I poured the hot milk in too fast, got distracted for two seconds, and ended up with sweet, spiced egg soup with chunks floating in it. I poured it down the drain and started over. The second batch came out silky and thick and nothing like anything I'd ever bought at the grocery store — and I've been making it every December since.
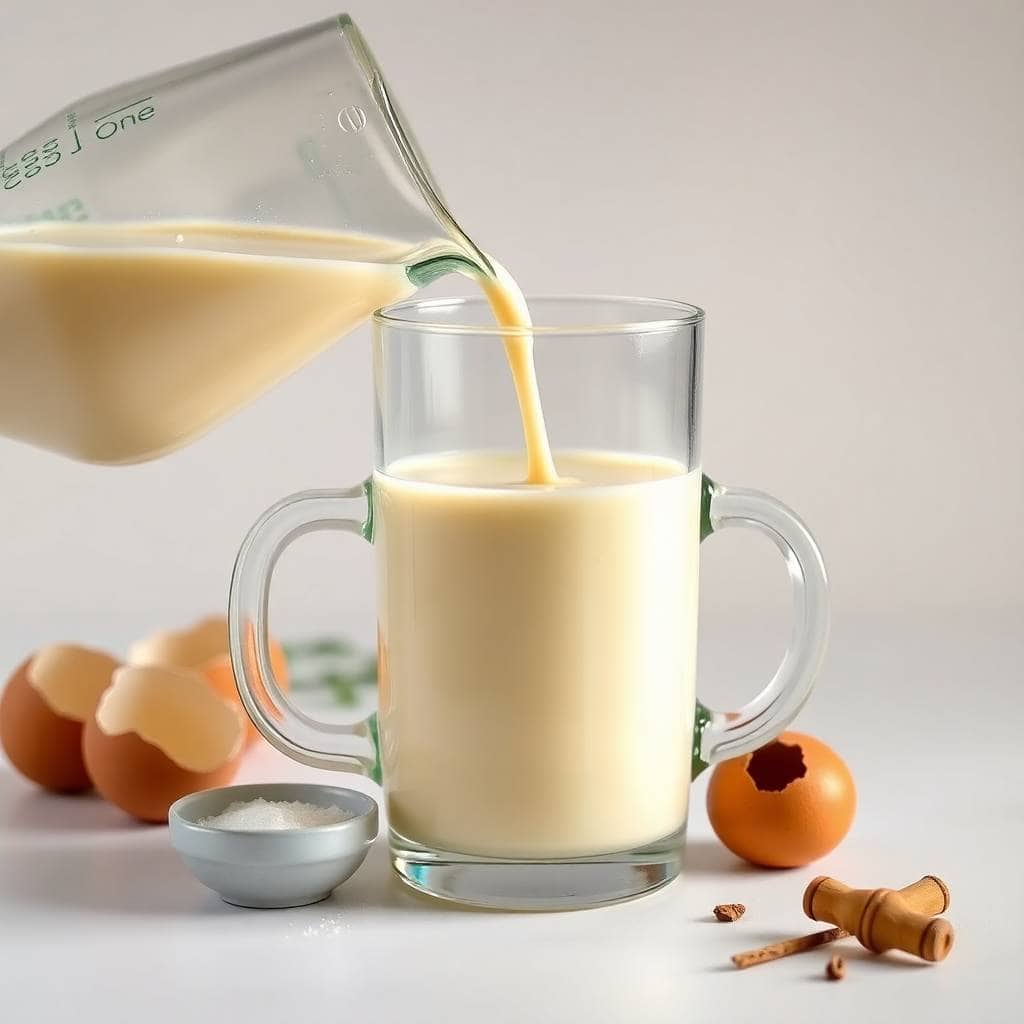
What makes this recipe work is the custard base. You're essentially making a cooked custard — egg yolks, sugar, warm milk and cream — which means the eggs are fully cooked and the result is safe, stable, and genuinely rich. It's not the thin, pale stuff in the carton at Walmart. It's thick enough to coat a spoon, fragrant with nutmeg, and just sweet enough without being cloying. If you want to spike it with bourbon or rum, it takes about 30 seconds extra. If you're making it for kids, just skip that step entirely.
This has become my holiday hosting drink. My husband likes his with a generous pour of bourbon. Zainab, who is very much not interested in anything "spicy-smelling," still somehow always sneaks a small glass of the plain version. I usually make a double batch on Christmas Eve because it disappears faster than I expect, and it genuinely tastes better the next day. If you're planning a holiday gathering, this pairs beautifully alongside something like pesto and mozzarella pinwheels for guests to snack on while you finish cooking.
One thing worth knowing upfront: this takes about 20 minutes of actual cooking, then at least 4 hours in the fridge before you can serve it. Plan ahead. I always make mine the night before, which means it's perfectly chilled by the time anyone arrives. And if you make it a day ahead, the flavor genuinely deepens — the nutmeg and vanilla settle into the cream in a way that just doesn't happen when you serve it fresh.
Why You'll Love This Recipe
- It actually tastes like eggnog: Store-bought eggnog has a particular watery, artificial quality that I never noticed until I tasted the homemade version next to it. This one is genuinely thick and custardy, with real nutmeg flavor instead of something that vaguely smells like the holidays. Once you've had this, going back to the carton is hard.
- The eggs are cooked — no raw egg worries: A lot of old-school eggnog recipes use raw eggs, which makes people nervous. This recipe cooks the custard to about 160°F, which is the safe zone. I use a cheap instant-read thermometer (the kind you can get for under $15 at any kitchen store) to check, but after a few times you can also just watch for the mixture to thicken and coat the back of a spoon.
- You can make it ahead and it only gets better: I made eggnog the morning of a holiday party once and it was fine. I made it the night before a different party and it was noticeably better. The flavors meld as it chills, and having it ready in the fridge means one less thing to think about on the day.
- Totally flexible for the whole family: Make the base without alcohol, then set out a bottle of bourbon or rum so adults can add their own. That's what I do — it means Zainab and Saad can have their glasses, my husband can pour in what he likes, and everyone's happy. No need to make two separate batches.
- Five basic ingredients, nothing fancy: Eggs, sugar, whole milk, heavy cream, nutmeg, vanilla. That's the core of it. Everything is available at any grocery store — I've bought all of it at Aldi. You don't need specialty equipment or a fancy stand mixer. A whisk, a saucepan, and a wooden spoon are enough.
Ingredients
- 6 large egg yolks
- ¾ cup granulated sugar
- 2 cups whole milk
- 1 cup heavy cream
- 1 teaspoon ground nutmeg (freshly grated is noticeably better if you have a whole nutmeg)
- Pinch of salt
- ½ teaspoon vanilla extract
- ¼ to ½ cup bourbon, rum, or brandy (optional — add at the end)
- Ground cinnamon or extra nutmeg for garnish
- Whipped cream for serving (optional)
Directions
- Whisk the yolks and sugar: In a medium bowl, whisk together the egg yolks and sugar until the mixture turns pale yellow and slightly thick. This takes about 2 minutes by hand — you want the sugar mostly dissolved into the yolks before the heat goes anywhere near them. Don't skip this step; it's what gives the eggnog its body.
- Warm the milk and cream: In a medium saucepan over medium heat, combine the milk, heavy cream, nutmeg, and salt. Stir occasionally and heat until the mixture is steaming and just starting to show small bubbles around the edges — but do not let it boil. Boiling at this stage makes tempering harder and can cause curdling later.
- Temper the eggs: This is the step I messed up the first time. Scoop out a ladleful of the hot milk mixture and pour it SLOWLY into the egg yolk mixture while whisking constantly. Add another ladle, then another, whisking the whole time. You're gradually raising the temperature of the eggs so they don't scramble when they hit the pan. Take your time — rushing this is what causes lumps.
- Cook the custard: Pour the tempered egg mixture back into the saucepan and set it over medium-low heat. Stir constantly with a wooden spoon or heat-safe spatula, scraping the bottom of the pan. Cook until the mixture thickens enough to coat the back of the spoon — or until it reaches 160°F (70°C) on an instant-read thermometer. This usually takes 5–8 minutes. Don't walk away from the stove.
- Finish and cool: Remove the pan from heat immediately. Stir in the vanilla extract and, if you're using it, the bourbon, rum, or brandy. Let it cool for 10–15 minutes on the counter, then pour it through a fine mesh strainer into a pitcher or large jar. Straining catches any bits of cooked egg that might have formed — it only takes a second and makes the texture noticeably smoother.
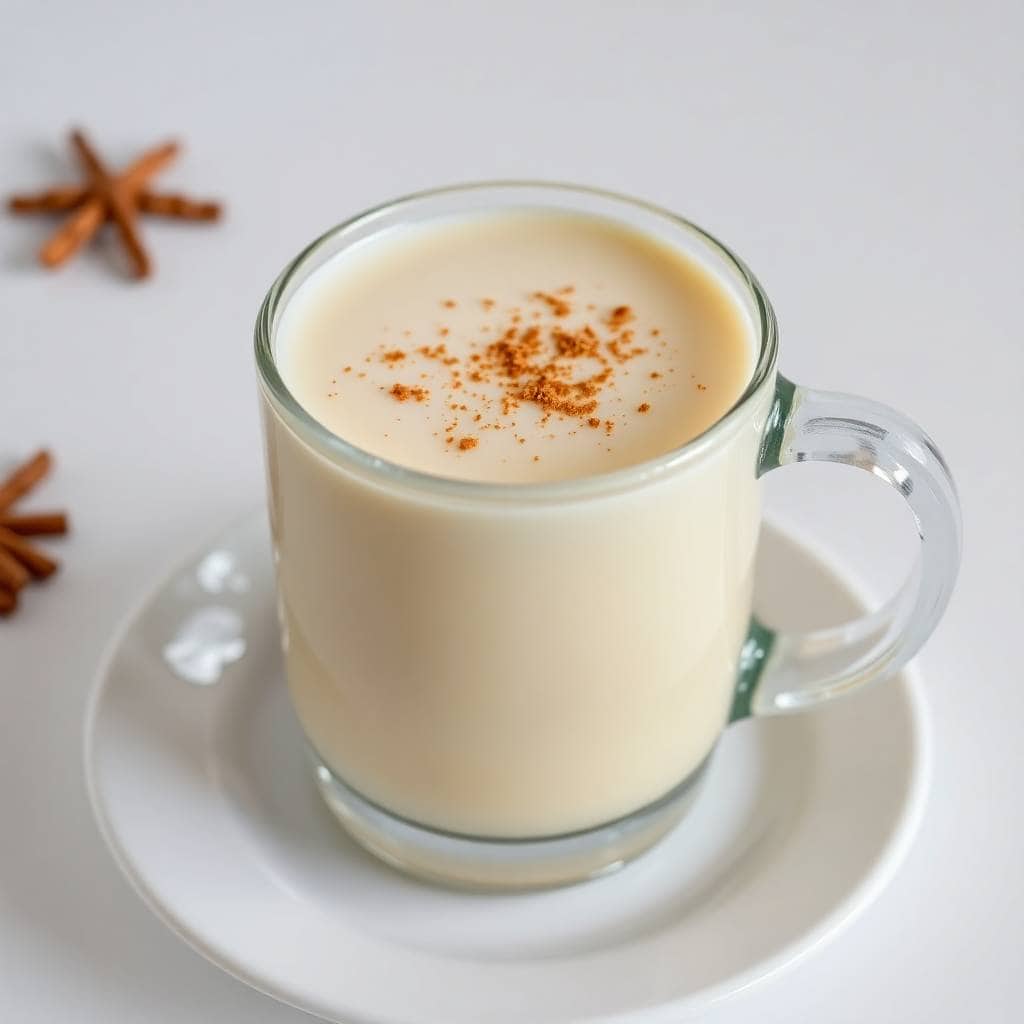
- Chill and serve: Refrigerate for at least 4 hours, or overnight. When you're ready to serve, give it a good stir (it will have thickened slightly in the fridge), pour into glasses, and top with a sprinkle of cinnamon or nutmeg. Add whipped cream if you like — my family always wants whipped cream.
Tips for Success
- Add the hot milk one ladle at a time: I cannot stress this enough. I ruined my first batch by pouring half the saucepan in at once because I was impatient. The eggs seized up immediately. Tempering is a slow process — ladle in small amounts, whisk constantly, and don't rush it. Once you've done it successfully once, you'll understand the pace.
- Keep the heat at medium-low when cooking the custard: High heat is the enemy here. The eggs will curdle if the temperature climbs too fast. Medium-low and constant stirring is the method — it takes a little longer but gives you full control. If you have a thick-bottomed saucepan, use it. Thin pans create hot spots that cook unevenly.
- Always strain before chilling: Even if you think the custard looks perfectly smooth, strain it anyway. The strainer catches any tiny cooked egg bits you didn't notice. This is the step that separates silky eggnog from eggnog with a weird texture. I use a regular fine mesh strainer that cost me about $8 — nothing fancy needed.
- Use whole milk and full-fat cream: I tried making a lighter version with 2% milk once, thinking it would be fine. It was noticeably thinner and the flavor was flat. Whole milk and heavy cream are what give this its texture. This is a holiday drink — it's not meant to be diet food, and the fat is doing real work here.
- Add alcohol after cooking, not before: Alcohol burns off under heat, so always add it after the custard is off the stove. This also lets you make one batch and split it — pour the alcohol-free portion into a separate jar for the kids, then add bourbon to the rest. I do this every single time because it's so much easier than making two batches.
Variations
- Spiced eggnog: Drop a cinnamon stick and two or three whole cloves into the milk and cream while it heats, then fish them out before tempering the eggs. The flavor is deeper and more complex — it reminds me of chai in the best way. My husband prefers this version and asks for it specifically every year.
- Dairy-free version: Use oat milk in place of the whole milk and full-fat coconut cream in place of the heavy cream. The coconut cream adds richness that makes up for what you lose without dairy. The flavor is slightly different — there's a faint coconut note — but honestly it works, especially with a little extra nutmeg. I've served this to guests who couldn't tell the difference.
- Extra creamy version: Replace the 2 cups of whole milk with an additional 2 cups of heavy cream. The result is closer to a drinking custard — very thick, very rich. I make this version in tiny glasses and serve it as a dessert drink rather than a big holiday punch. A small glass goes a long way.
- Chocolate eggnog: Whisk 1 tablespoon of good-quality cocoa powder into the milk mixture before heating. It dissolves easily and adds a subtle chocolate depth that works surprisingly well with the nutmeg and vanilla. Saad discovered this version by accident when I was making hot chocolate at the same time and got the pans mixed up. He now requests it every year.
- Lighter and frothy: After the eggnog is fully chilled, beat 2–3 of the reserved egg whites (from separating the yolks) to soft peaks and fold them in. It makes the texture lighter and airier — less custard, more like old-fashioned punch bowl eggnog. This is the traditional American version that a lot of older recipes use, and it's worth trying if you want something less dense.
Serving and Storage
Serving
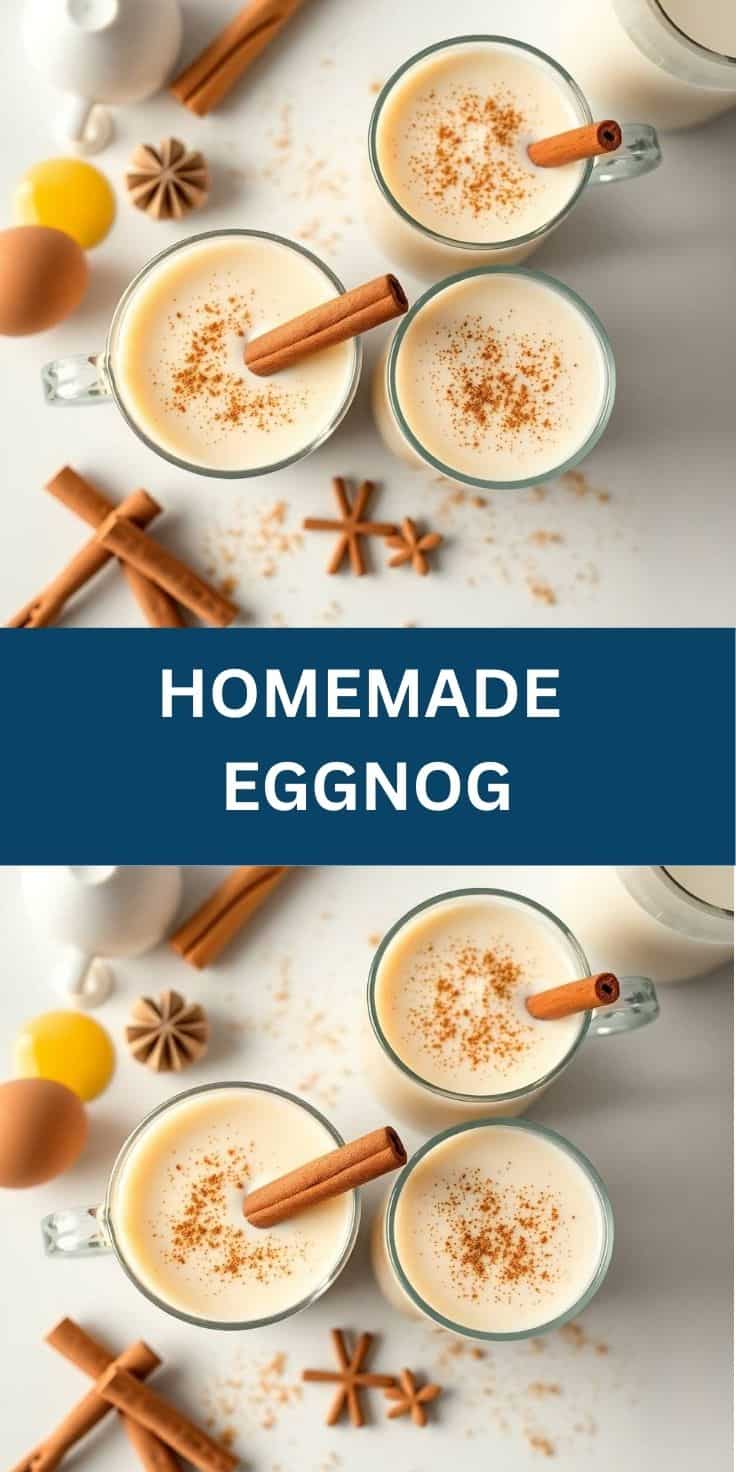
Serve cold, straight from the fridge, in small glasses or mugs. Top with whipped cream and a sprinkle of ground cinnamon or freshly grated nutmeg. If you're setting up a holiday spread, I'd put the eggnog out in a pitcher next to a bottle of bourbon so adults can pour their own — it looks festive and keeps things simple for you. For food pairings, this goes well with buttery cookies, peanut butter kiss cookies, or any kind of light savory snack. The richness of the drink means it can stand up to bold flavors without being overwhelmed.
Storage
Store in a sealed pitcher or jar in the refrigerator for up to 3–4 days. If you've added alcohol, it may keep a day or two longer. The eggnog will thicken as it sits — just stir or shake well before serving. I don't recommend freezing it. I tried once and the texture turned grainy when it thawed, and no amount of stirring fixed it. Make what you'll drink within a few days and you'll be much happier with the result.
Frequently Asked Questions
Is it safe to drink eggnog made with cooked eggs?
Yes — this recipe cooks the custard until it reaches 160°F (70°C), which is the temperature the FDA considers safe for egg-based dishes. If you're still nervous, you can use pasteurized eggs, which you'll find at most larger grocery stores. I use regular large eggs and check the temperature with a cheap instant-read thermometer. I've never had an issue.
Can I make this eggnog ahead of time?
Yes, and I'd actually encourage it. The eggnog tastes noticeably better after it's had 12–24 hours in the fridge. The nutmeg and vanilla settle into the cream and the whole thing becomes smoother and more rounded in flavor. I always make mine the night before I need it. Just give it a good stir before serving.
Can I freeze leftover eggnog?
I don't recommend it. I tried freezing a portion once and the texture became grainy and separated when it thawed — no amount of stirring brought it back together. Eggnog is a custard, and custards don't freeze well. Better to make a smaller batch and drink it within 3–4 days.
What alcohol works best in eggnog?
Bourbon is my personal preference — it adds a warm, slightly smoky sweetness that works really well with the nutmeg. Dark rum is a close second and gives it a more classic holiday flavor. Brandy is the most traditional choice in American eggnog recipes. Start with ¼ cup for the full batch and taste before adding more — you can always add, but you can't take it out.
How thick should homemade eggnog be?
Thicker than the carton stuff, but still pourable. When it's done cooking, it should coat the back of a spoon — if you run your finger across the spoon, the line should hold. After chilling overnight, it thickens a bit more. If yours feels too thick, stir in a splash of cold milk before serving. If it's too thin, you either pulled it off the heat too soon or didn't cook it quite long enough.

HOMEMADE EGGNOG
Ingredients
- 6 large egg yolks
- ¾ cup granulated sugar
- 2 cups whole milk
- 1 cup heavy cream
- 1 teaspoon ground nutmeg
- Pinch of salt
- ½ teaspoon vanilla extract
- ¼ to ½ cup bourbon rum, or brandy (optional)
- Ground cinnamon or nutmeg for garnish
Instructions
Whisk Yolks and Sugar:
- In a medium bowl, whisk egg yolks and sugar until thick and pale.
Heat the Milk Mixture:
- In a saucepan over medium heat, combine milk, cream, nutmeg, and salt. Stir often until hot but not boiling.
Temper the Eggs:
- Slowly add a ladle of the hot milk mixture into the yolks while whisking constantly. Continue adding gradually until blended.
Cook Gently:
- Pour everything back into the saucepan and cook over low heat, stirring constantly, until the mixture thickens slightly (about 160°F/70°C).
Finish and Chill:
- Remove from heat. Stir in vanilla and alcohol (if using). Let cool, then refrigerate for 2–3 hours or until well chilled.
Serve:
- Stir before serving and pour into glasses. Garnish with a sprinkle of cinnamon or nutmeg.
Notes
- No Alcohol: Skip the booze for a kid-friendly version.
- Make Ahead: Tastes even better after a day in the fridge.
- Storage: Store in the fridge for up to 3 days.
- Extra Creamy: Use all heavy cream for a richer version.
- Serving Tip: Serve chilled or warm it gently for a cozy twist!
This is one of those recipes I didn't grow up with — eggnog isn't a Pakistani holiday tradition — but it's become a firm fixture in my December kitchen. I first tasted it at a work party years ago and thought it was interesting but a bit flat from the carton. Making it from scratch was a completely different experience, and now I genuinely look forward to it every year. It's one of the few drinks that actually feels like a seasonal thing rather than something I could make any time.
If you're hosting over the holidays and want something that looks and tastes impressive without requiring a ton of work on the day, this is a good answer. Make it the night before, pull it from the fridge when guests arrive, set it out with a bottle of bourbon and a can of whipped cream, and let people help themselves. Pair it with some savory snacks to balance the richness — cheesy garlic chicken wraps are a great option if you want something more substantial alongside.
The only thing I'd warn you about is the tempering step. Read through it before you start, have your whisk in your dominant hand before you pour anything, and go slowly. Every single failure I've had with this recipe came from moving too fast in that one step. Take your time there and the rest of it is genuinely straightforward. Once you've made it successfully once, the whole process feels easy and you'll wonder why you waited so long to try it. 🥛✨
If you're planning a holiday spread and looking for more ideas to fill the table, here are some recipes worth checking out:
- Pesto and Mozzarella Pinwheels — great finger food alongside drinks
-
{"@context":"https://schema.org","@type":"Article","headline":"HOMEMADE EGGNOG","description":"This creamy homemade eggnog is rich, sweet, and festive—perfect for holiday sipping! A traditional drink made with simple, wholesome ingredients.","datePublished":"2025-05-20T20:19:36+00:00","dateModified":"2026-05-03T21:27:20+00:00","author":{"@type":"Person","name":"Sana Umer","url":"https://forfoodiefriends.com/about/","description":"Self-taught home cook with 10+ years of kitchen experience. Mom of two who develops every recipe in her own kitchen.","jobTitle":"Recipe Developer & Food Blogger","image":"https://forfoodiefriends.com/wp-content/uploads/sana-umer-author-photo.jpg"},"publisher":{"@type":"Organization","name":"For Foodie Friends","url":"https://forfoodiefriends.com/","logo":{"@type":"ImageObject","url":"https://forfoodiefriends.com/wp-content/uploads/forfoodiefriends-logo.png"}},"mainEntityOfPage":{"@type":"WebPage","@id":"https://forfoodiefriends.com/homemade-eggnog/"},"image":"https://forfoodiefriends.com/wp-content/uploads/2025/05/HOMEMADE-EGGNOG.jpg"}





Comments
No Comments