
Real Boursin from the store costs around $5 for a tiny wedge that disappears the moment you put it on a cracker board. I started making my own after I realized the ingredient list is basically what I already keep in my fridge — cream cheese, butter, garlic, a handful of herbs. That was it. No special equipment, no hard-to-find ingredients, no mystery.
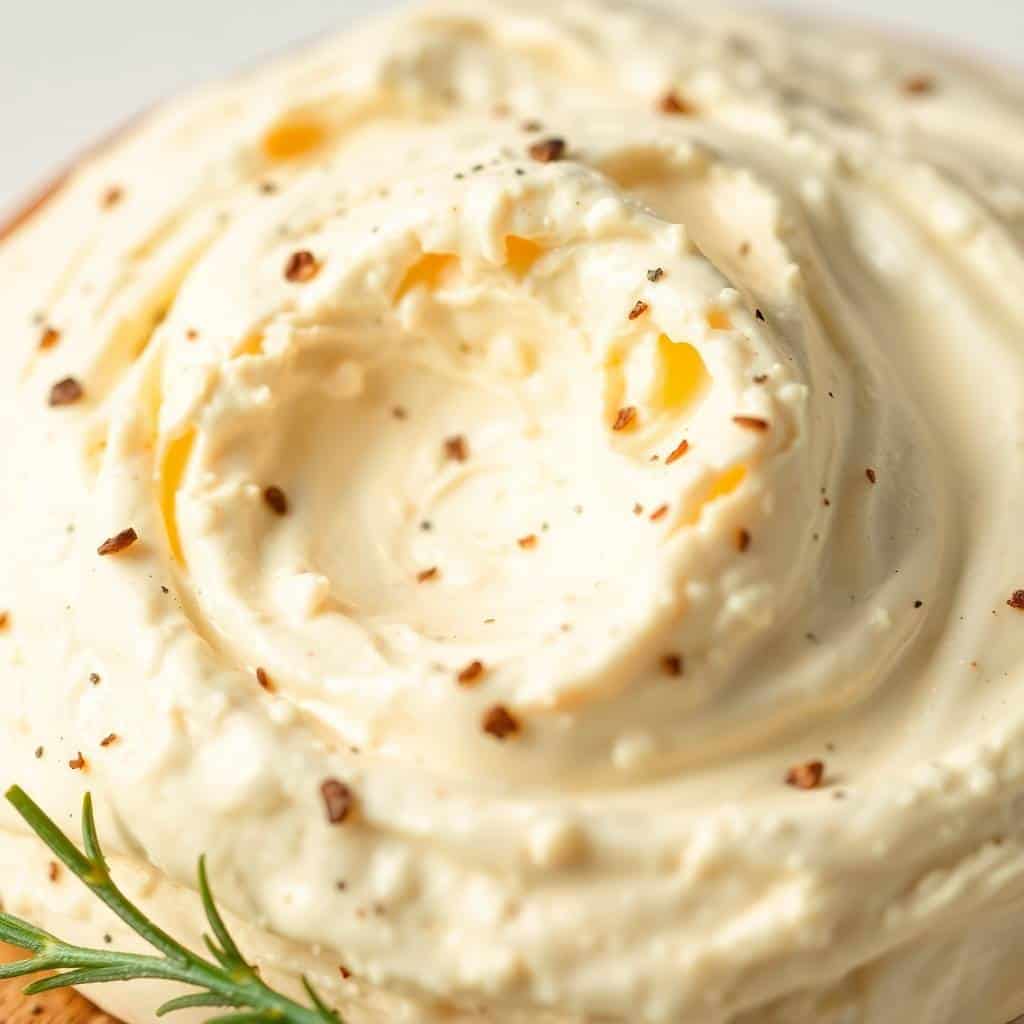
What makes this version work is the butter. A lot of copycat recipes skip it and just use cream cheese, but the butter is what gives Boursin that smooth, almost whipped texture that spreads so cleanly. Don't skip it, and don't rush the softening — cold cream cheese and cold butter will clump no matter how hard you mix. I learned that the first time I tried to make this and got impatient. The result was lumpy and uneven. Pull both out of the fridge at least 30 minutes before you start.
My husband puts this on everything — toasted sourdough, crackers with sliced cucumber, even stirred into pasta when I'm not looking. Zainab discovered it tastes good dolloped onto broccoli cheese casserole instead of regular shredded cheese, which I thought sounded wrong but actually wasn't. It's one of those recipes that disappears faster than I expect, so I almost always make a double batch now.
One honest note before you start: this isn't aged cheese, it's a fresh herb spread. It won't last more than a week in the fridge, and it doesn't need to — it's the kind of thing you make Friday afternoon and finish by Sunday. Serve it cold or slightly below room temperature, never straight from the fridge where it's too firm to spread properly.
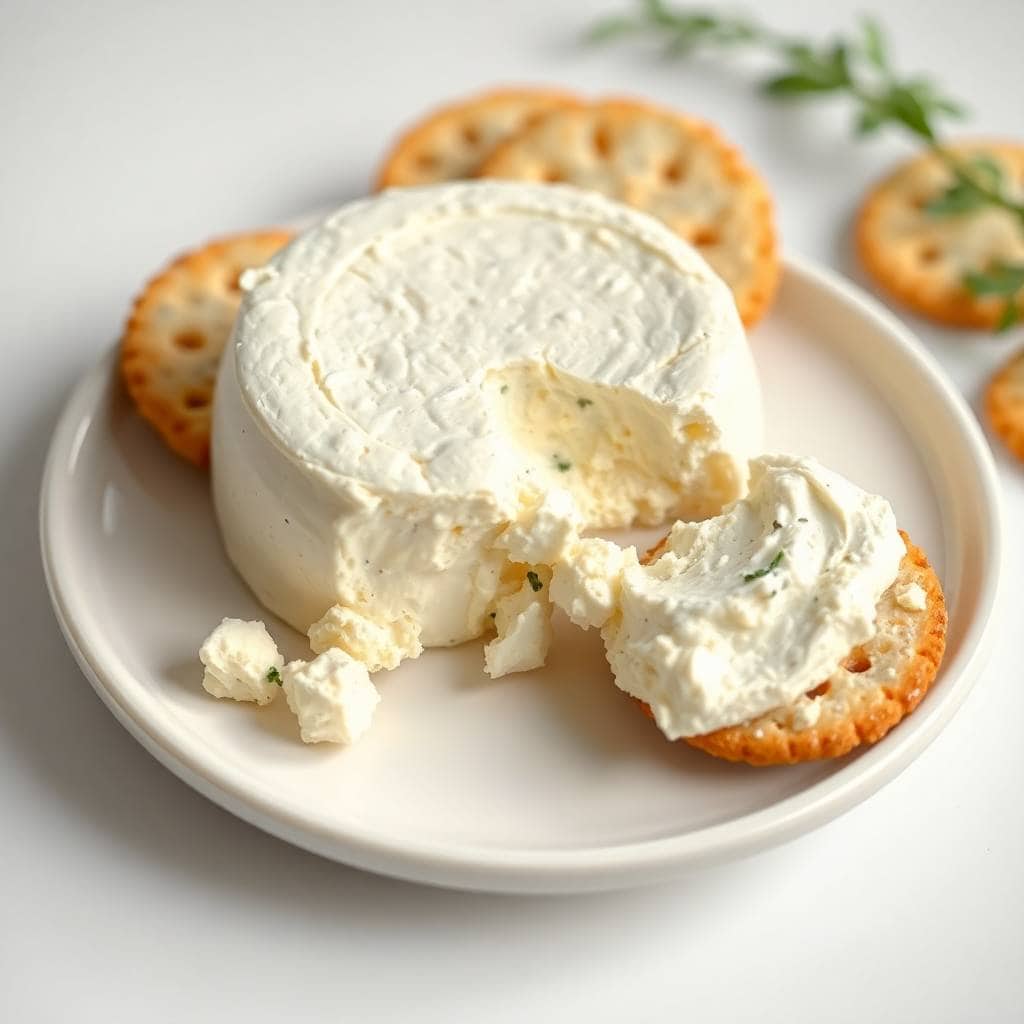
Why You'll Love This Recipe
- Costs a fraction of the store version: A full batch of this costs maybe $3 in ingredients and gives you twice as much as a store-bought wedge. I buy my cream cheese from Costco in the big block and it keeps for weeks, so I always have it on hand. Once you make this once, paying $5 for a tiny Boursin wedge feels unnecessary.
- Ready in about 10 minutes of actual work: Most of the time is just chilling in the fridge. The mixing itself takes maybe 10 minutes, including chopping the herbs. I've made this while something else was in the oven and barely noticed the extra effort.
- You control the herbs: The store version has one flavor. Your version can have whatever you want — more garlic, less dill, a pinch of chili flakes if you like heat. I've made six or seven variations by now and they've all worked. It's one of the more forgiving recipes I make.
- Works on almost everything: Crackers and bread are the obvious ones, but I've used this as a sandwich spread, stirred it into scrambled eggs, smeared it on a wrap with leftover chicken. It also pairs surprisingly well next to something like cheesy jalapeño shortbread on a snack board — the cool, creamy herb cheese against the spicy crunch is a good combination.
- No special equipment needed: A bowl and a wooden spoon is genuinely all you need. I've seen recipes calling for a food processor or stand mixer — not necessary. If your cream cheese and butter are soft enough, a spoon and a little elbow grease gets you there in two minutes.
Ingredients
- 8 oz cream cheese, softened (one standard block — Philadelphia or store brand both work fine)
- 4 oz (½ stick) unsalted butter, softened
- 2 cloves garlic, minced
- 2 tablespoons fresh parsley, finely chopped
- 1 tablespoon fresh chives, finely chopped
- 1 teaspoon fresh thyme leaves (or ½ teaspoon dried, in a pinch)
- ½ teaspoon salt, or to taste
- ¼ teaspoon black pepper
- Optional: 1 teaspoon lemon juice (brightens the whole thing)
- Optional: ½ teaspoon crushed red pepper flakes for heat
Directions
- Let everything come to room temperature: Pull your cream cheese and butter out of the fridge at least 30 minutes before you start. This is the step I skipped the first time and it matters. Cold cream cheese will never mix smoothly with cold butter — you'll get little lumps of butter that don't incorporate. Just let them sit on the counter while you prep the herbs.
- Mix the cream cheese and butter: In a medium bowl, beat the softened cream cheese and butter together with a wooden spoon or hand mixer until completely smooth and uniform. There should be no streaks. This takes about 2 minutes by hand if everything is properly softened.
- Add the herbs and seasoning: Add your minced garlic, parsley, chives, thyme, salt, pepper, and lemon juice if you're using it. Fold everything in thoroughly so the herbs are evenly distributed throughout — you want a little green in every bite, not clumps in one spot.
- Shape it: Transfer the mixture onto a piece of plastic wrap. You can shape it into a ball, roll it into a log, or just press it into a small bowl — whatever you're planning to serve it in. Wrap it tightly if you're going the ball or log route. The shape is just for presentation; it all tastes the same.
- Chill for at least 1 hour: Refrigerate until firm. The flavors actually improve quite a bit after an hour — the garlic mellows, the herbs settle in, and the texture firms up to something spreadable but not stiff. If you can make it a few hours ahead, do it.
Tips for Success
- Soft ingredients are non-negotiable: I cannot say this enough — if your cream cheese has any cold firmness left in it, you will fight it the whole way. Press the back of a spoon into the block; if it slides in without resistance, you're ready. If it resists, wait another 15 minutes. The texture of the final spread depends entirely on this step.
- Use fresh herbs if you can: Dried herbs work in a real pinch, but fresh parsley, chives, and thyme make a noticeable difference here — the color is brighter, the flavor is cleaner, and it looks much more appealing. I buy a mixed herb pack from Walmart when I'm making this; it's usually around $2 and covers all three.
- Taste before you chill: Season after you've mixed everything in but before it goes in the fridge. The flavor will deepen slightly as it chills, but if something is missing — more salt, more garlic, a squeeze more lemon — it's much easier to fix now than after it's set.
- Don't serve it straight from the fridge: Pull it out 10-15 minutes before you want to eat it. Straight from the fridge it's too cold and stiff to spread without tearing your crackers. A short rest on the counter brings it to the right consistency — soft enough to spread cleanly, firm enough to hold its shape on a board.
- Make it the day before if you can: I actually prefer this made a day ahead. After an overnight chill, the garlic and herbs have fully bloomed into the cream cheese and the whole thing tastes more cohesive. If I'm making it for a gathering, I always make it the night before and just pull it out while I set everything else up.
Variations
- Spicy version: Add ½ teaspoon of crushed red pepper flakes and a pinch of smoked paprika. My husband requests this one specifically — he puts it on everything from crackers to toast. The heat is warm rather than sharp, and it plays well against the cool cream cheese base.
- Lemon and herb: Double the lemon juice and swap the thyme for fresh basil. This version is brighter and lighter-tasting — it works really well in summer when you want something fresher. I've served this alongside grilled fish and it goes beautifully.
- Nutty and savory: Roll the finished log in finely chopped toasted walnuts or pecans before chilling. The nuts form a crust on the outside that adds texture against the soft cheese inside. This is the version I make when I'm putting together a proper snack board — it looks impressive and takes maybe 30 extra seconds.
- Sun-dried tomato and basil: Fold in 2 tablespoons of finely chopped oil-packed sun-dried tomatoes and swap the chives for fresh basil. This one tastes almost Italian — great on a baguette or stirred into hot pasta for a quick sauce. If you enjoy these kinds of bold, Mediterranean flavors, you'd probably also like this spread served alongside a warm bowl of coconut fish curry as a cooling contrast on the table.
- Vegan version: Swap the cream cheese for a plant-based block (Violife or Kite Hill both work) and use vegan butter. The texture isn't exactly the same — it sets a little firmer — but the herb and garlic flavor still comes through well. I've made this for a friend who doesn't eat dairy and she finished the whole thing.
Serving and Storage
Serving
Pull the cheese out of the fridge 10-15 minutes before serving so it softens just enough to spread easily. I usually serve it on a small board with an assortment of crackers, sliced baguette, cucumber rounds, and cherry tomatoes. It also works as a spread for sandwiches — a thick smear on toasted sourdough with sliced turkey and arugula is one of my favorite quick lunches. For a more substantial snack situation, try it alongside something with a contrasting texture, like cheesy jalapeño shortbread — the crunch and the spice work really well against the cool, creamy cheese.
Storage
Store tightly wrapped in plastic wrap or in an airtight container in the refrigerator for up to 1 week. The flavor is best in the first 3-4 days when the herbs are most vibrant. I don't recommend freezing this — cream cheese doesn't thaw well and the texture goes grainy and broken. Just make what you'll eat in a week, which honestly has never been a problem in my house.

Frequently Asked Questions
Can I make this without butter?
You can, but you'll notice the difference. Butter is what gives this its smooth, almost whipped spreadability — without it the texture is denser and a little stiff. If you're out of butter, you can add a tablespoon of heavy cream instead to loosen the mixture, though it won't be quite as rich.
Can I use dried herbs instead of fresh?
Yes, dried herbs work in a pinch — use roughly half the amount since dried herbs are more concentrated. The flavor won't be as bright and the color won't be as green, but it still tastes good. If you're only missing one of the three herbs, don't stress about it — I've made this without the dill plenty of times and nobody noticed.
How long does homemade Boursin last in the fridge?
Up to 7 days stored in an airtight container or tightly wrapped in plastic. The flavor is best in the first 3-4 days. After that it's still safe to eat but the herbs start to fade a little. I've never had a batch make it to day 7 in my house anyway.
Can I freeze it?
I wouldn't. Cream cheese changes texture when frozen and thawed — it goes grainy and separates a bit, which ruins the smooth spreadability that makes this worth making. This is a recipe best made fresh in small batches. It only takes 10 minutes to put together, so there's not much to gain from freezing it.
Can I make this ahead for a party?
Absolutely — this is actually better made the day before. An overnight chill gives the garlic and herbs time to really bloom into the cheese and the flavor becomes more rounded and cohesive. I always make it the night before a gathering. Just pull it out 15 minutes before serving so it softens enough to spread.

HOMEMADE BOURSIN CHEESE
Ingredients
- 8 oz cream cheese softened
- 4 oz unsalted butter softened
- 2 cloves garlic minced
- 2 tablespoons fresh parsley chopped
- 1 tablespoon fresh chives chopped
- 1 teaspoon fresh thyme leaves
- ½ teaspoon salt
- ¼ teaspoon black pepper
- Optional: 1 teaspoon lemon juice
Instructions
Prepare the Cheese Base:
- In a medium bowl, combine softened cream cheese and butter until smooth and creamy.
Add Herbs and Seasoning:
- Mix in garlic, parsley, chives, thyme, salt, pepper, and lemon juice (if using) until fully incorporated.
Shape and Chill:
- Transfer the mixture to a small bowl or form into a log using plastic wrap. Chill in the refrigerator for at least 1 hour before serving.
Serve:
- Serve with crackers, sliced baguette, fresh vegetables, or as a spread for sandwiches.
Notes
- Make Ahead: Prepare up to 2 days in advance and keep refrigerated.
- Customizing the Flavor: Add roasted red peppers, sun-dried tomatoes, or smoked paprika for variations.
- Serving Suggestions: Spread on crostini for appetizers or use as a creamy addition to baked potatoes or pasta.
- Storage Tips: Store in an airtight container in the fridge for up to 1 week.
This is one of those recipes I keep coming back to because it costs almost nothing, takes almost no time, and the result genuinely surprises people. Nobody expects a homemade cheese spread to be that good. I've brought it to two or three gatherings now and someone always asks for the recipe — and when I tell them it's literally cream cheese, butter, garlic, and herbs, they don't believe me at first.
The herb combination is flexible enough that you can make it slightly different every time depending on what you have. Some weeks I lean into the lemon and basil version, some weeks I go heavier on the garlic. It never gets boring. And because it keeps for a week in the fridge, I can make a batch Sunday and have it ready for lunches and snacks through the week — spread on toast, tucked into a wrap, or just eaten straight off a cracker while I'm standing at the counter, which is honestly how a lot of it gets eaten.
If you're putting together a snack board and want something else savory and homemade to go with it, my Oreo truffles with cream cheese are a great contrast on the sweet side — same no-fuss approach, totally different flavor. And if this whole thing has you in a cream-cheese mood, you're going to want to check that one out. 🧀✨
Here are a few more recipes from my kitchen you might like:
- Cheesy Jalapeño Shortbread (Buttery, Spicy, Savory Snack)
- Broccoli Cheese Casserole
- Oreo Truffles with Cream Cheese (3-Ingredient No-Bake Treat)
- Coconut Fish Curry with Lime and Lemongrass (30-Min Weeknight Dinner)
- Greek Yogurt Pancakes





Comments
No Comments