
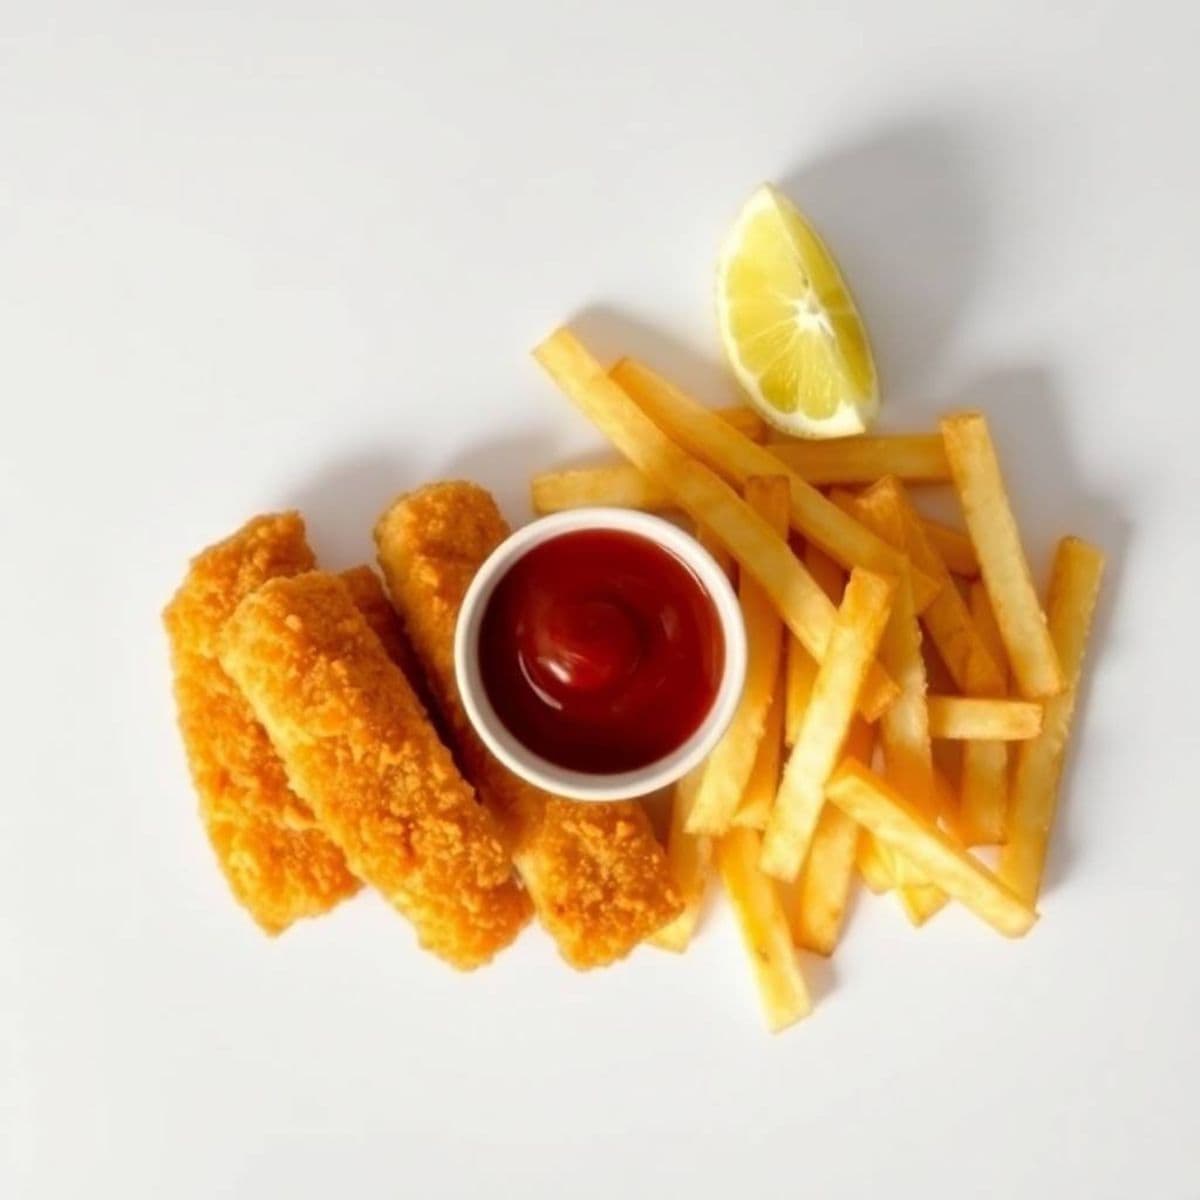
Fish fingers and chips is a beloved British classic that’s both nostalgic and comforting. It’s the kind of dish that brings people together, whether for a cozy family dinner or a casual weekend treat.
This recipe offers the perfect balance of golden, crunchy coating on the fish fingers and thick-cut chips with fluffy insides and crispy exteriors. With minimal ingredients and straightforward steps, anyone can whip up this meal at home.
One of the best things about this dish is how kid-friendly it is. Children love the crispy texture of the fish and the potato goodness of homemade chips. It’s a go-to meal when you need something reliable and fuss-free.
And if you're feeling adventurous, try seasoning the breadcrumbs or adding spices to the chips. Whether it’s a weeknight dinner or a casual lunch, fish fingers and chips always deliver satisfaction.
Make this once, and it’s sure to become a regular in your meal rotation. Crunchy, tender, and timeless—this dish checks every box. You can serve it with tartar sauce, mushy peas, or simply with ketchup, making it a flexible crowd-pleaser.
WHY YOU WILL LOVE THIS RECIPE
- Crunchy Texture: Every bite offers crispy fish fingers and perfectly golden chips for a delightful eating experience every time.
- Kid-Approved: Children absolutely love the crunchy fish fingers and classic chips, making this meal a household favorite.
- Customizable Sides: Serve with mushy peas, tartar sauce, or ketchup—this recipe easily adapts to everyone’s taste preferences.
- Quick to Prepare: The simple steps and few ingredients mean you can make this dish quickly without stress or fuss.
- Budget-Friendly: Affordable ingredients and easy prep make this a great option for feeding a family without breaking the bank.
- Healthier Option: Bake instead of fry for a healthier version that still gives you all the crispiness you crave.
- Nostalgic Comfort: Brings back childhood memories and comfort, making it a timeless meal everyone will appreciate.
INGREDIENTS
- 400g white fish fillets (like cod or haddock), cut into finger-sized strips
- 1 cup plain flour
- 2 eggs, beaten
- 1½ cups breadcrumbs
- 1 teaspoon paprika
- Salt and pepper to taste
- 4 large potatoes, peeled and cut into thick chips
- 3 tablespoon vegetable oil (for baking or shallow frying)
- Lemon wedges and sauce for serving
DIRECTIONS
- Step No.1: Prepare the fish
Slice the fish fillets into even finger-sized pieces. Pat dry with paper towels to remove excess moisture, then season with salt and pepper.
- Step No.2: Set up breading station
Place flour in one bowl, beaten eggs in another, and breadcrumbs mixed with paprika in a third. Coat fish in flour, egg, then breadcrumbs.
- Step No.3: Chill the fish
Place the breaded fish fingers on a tray and chill in the fridge for 15–20 minutes to help the coating stick better.
- Step No.4: Cook the chips
Toss the thick-cut potatoes with a bit of oil and salt. Bake at 200°C (390°F) for 25–30 minutes or until golden and crispy.
- Step No.5: Cook the fish fingers
Bake the fish fingers at 200°C (390°F) for 15–20 minutes, flipping halfway, or fry until golden and crisp on both sides.
- Step No.6: Serve hot
Serve fish fingers and chips with lemon wedges, your favourite sauce, and optional peas or salad for a complete meal.
TIPS FOR SUCCESS
- Dry the Fish Well: Patting the fish dry ensures the breading sticks better and crisps up beautifully during baking or frying.
- Chill Before Cooking: Chilling the breaded fish helps firm up the coating, which prevents it from falling off during cooking.
- Evenly Cut Chips: Cutting chips to a uniform size ensures they cook evenly and crisp up at the same rate.
- Use Parchment Paper: Line your baking tray with parchment to stop sticking and make cleanup easier.
- Flip Midway: Turning both fish fingers and chips halfway through baking ensures even browning and crispiness.
- Add Extra Seasoning: Boost flavour by adding garlic powder, herbs, or a sprinkle of cheese to your breadcrumbs or chips.
- Serve Immediately: This dish is best eaten hot and fresh—serve right after cooking for maximum crunch and flavour.
VARIATIONS
- Spicy Twist: Add chili powder or cayenne to the breadcrumb mix for a little heat in your fish fingers.
- gluten-free diet Option: Use gluten-free flour and breadcrumbs to make this dish friendly for those with gluten intolerance.
- Air Fryer Version: Cook both the fish fingers and chips in an air fryer for faster, lower-fat results with the same crispiness.
- Different Fish: Try salmon, tilapia, or pollock instead of cod for a change in flavour and texture.
- Panko Breadcrumbs: Use Japanese panko for extra crunch in the fish coating—it adds great texture.
- Cheesy Chips: Sprinkle grated cheddar over hot chips just before serving for a cheesy upgrade.
- Herb Crust: Add parsley, dill, or thyme to the breadcrumbs for a fresh and fragrant crust on the fish.
SERVING AND STORAGE
Serving
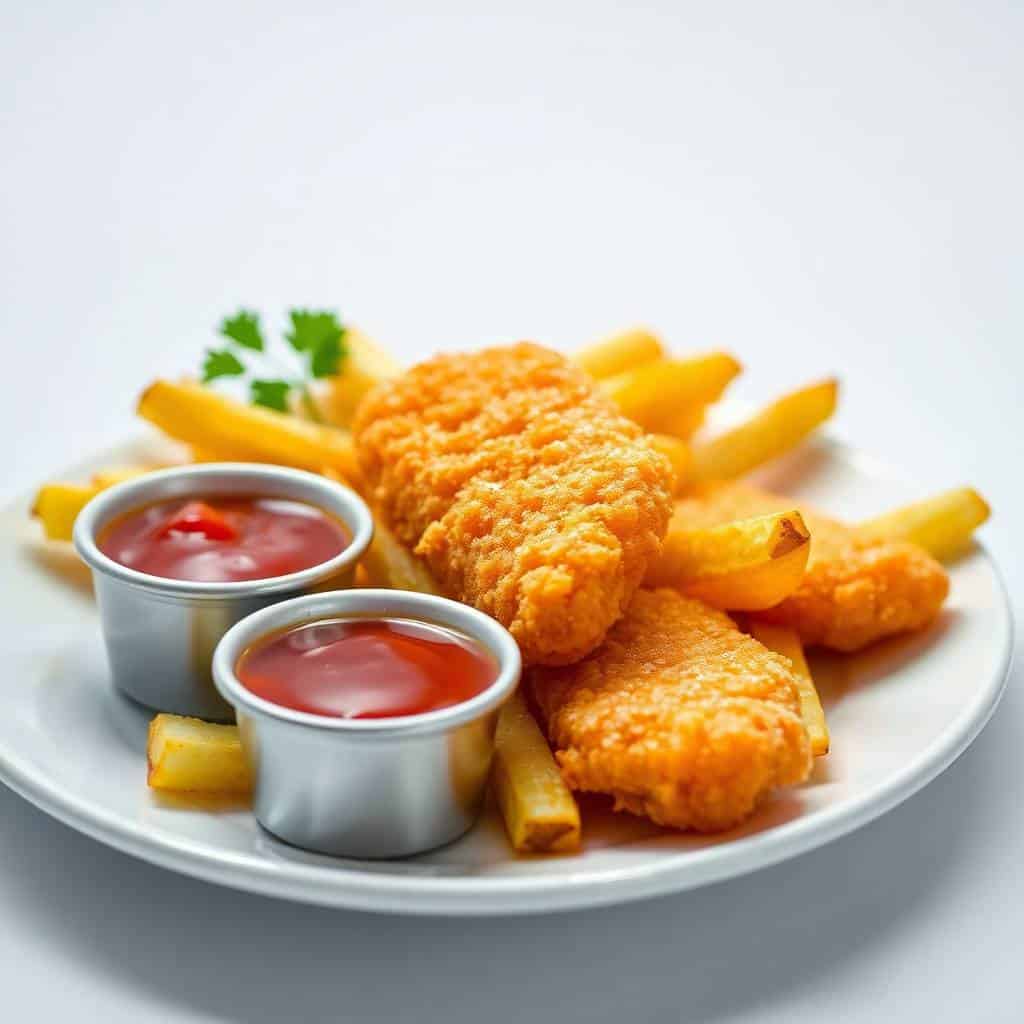
Serve fish fingers and chips hot from the oven with lemon wedges, tartar sauce, or ketchup for a classic, tasty combination.
Storage
Store leftovers in an airtight container in the fridge for up to 2 days. Reheat in the oven for best texture.
FAQ
Yes, just thaw it completely and pat it dry before breading and cooking to ensure crispiness.
Tartar sauce is traditional, but ketchup, mayo, or garlic aioli also pair wonderfully.
You can bread the fish ahead and chill it until ready to cook, but cook just before serving for best results.
Parboil the potatoes before baking or frying—they’ll crisp up better and stay fluffy inside.
Absolutely! Fry in a shallow pan with oil until golden and cooked through for a more traditional finish.
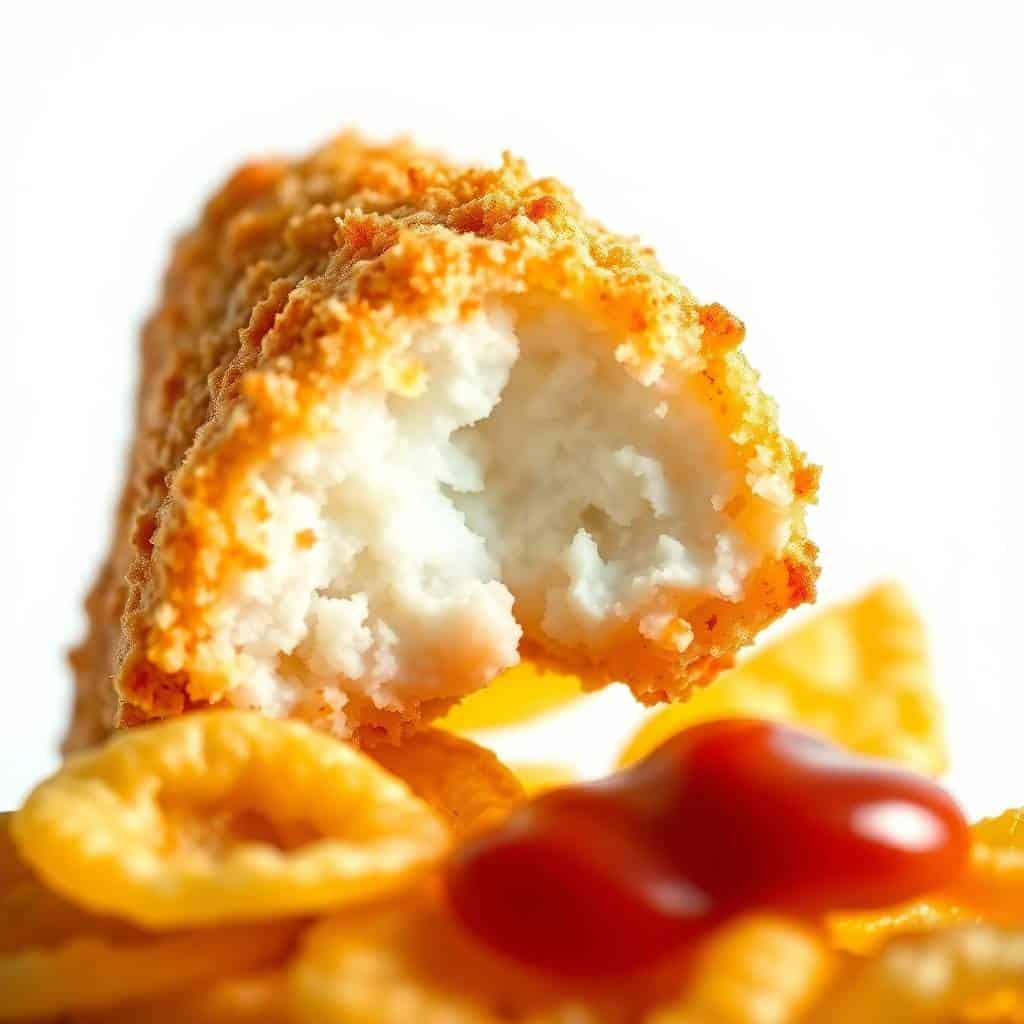
Crispy on the outside, tender on the inside—fish fingers and chips are a timeless dish that brings instant satisfaction.
Whether you’re cooking for kids or simply craving comfort food, this recipe always hits the spot.
It’s easy to prepare, requires minimal effort, and can be customized to suit different tastes.
Plus, with baking and air fryer cooking options, it fits into a healthier lifestyle without sacrificing flavour or texture.
From the savoury fish to the hearty, fluffy chips, each component of this dish is packed with character.
The best part is how flexible it is—switch up the fish, change the seasonings, or pair it with your favourite dip.
It’s a no-fail recipe that works for lunch, dinner, or even a casual get-together with friends.
Whether you’re reliving a childhood classic or discovering it for the first time, this recipe makes it easy to enjoy.
Give it a try and savour every crispy, delicious bite—you’ll be making it again in no time!
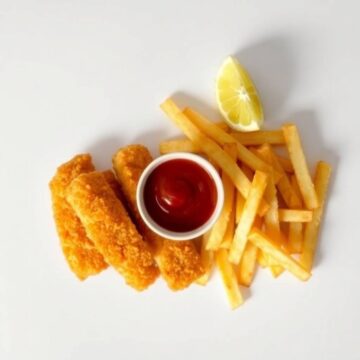
FISH FINGERS AND CHIPS
Ingredients
For the Fish Fingers:
- 1 lb white fish fillets cod or haddock, cut into strips
- ½ cup all-purpose flour
- 2 eggs beaten
- 1 cup breadcrumbs panko or regular
- ½ teaspoon paprika
- ½ teaspoon garlic powder
- Salt and pepper to taste
- Oil spray or light vegetable oil for baking
For the Chips:
- 4 medium russet potatoes peeled and cut into thick fries
- 2 tablespoons olive oil
- Salt to taste
- Optional: chopped parsley or vinegar for serving
Instructions
Prepare the Chips:
- Preheat oven to 425°F (220°C). Toss potato wedges with olive oil and salt. Spread on a baking tray and bake for 25–30 minutes, flipping halfway.
Prepare the Fish:
- Season fish strips with salt, pepper, paprika, and garlic powder. Dredge in flour, dip in beaten eggs, then coat with breadcrumbs.
Cook the Fish Fingers:
- Place on a greased baking tray. Spray lightly with oil and bake for 15–20 minutes, turning halfway, until golden and crispy.
Serve:
- Plate fish fingers with a side of chips. Add tartar sauce, ketchup, or lemon wedges as preferred.
Notes
- Make Ahead: You can bread the fish fingers ahead of time and store them in the fridge for up to 1 day before baking.
- Customizing the Flavor: Add lemon zest to breadcrumbs for a citrusy twist. Use sweet potatoes for a healthier chip option.
- Serving Suggestions: Serve with peas, coleslaw, or tartar sauce for a complete meal.
- Allergy-Friendly Options: Use gluten-free flour and breadcrumbs if needed.
- Storage Tips: Store leftovers in an airtight container in the fridge for up to 2 days. Reheat in the oven for best crispiness.




Comments
No Comments