
Chicken drumsticks don't get nearly enough credit. They're cheap, they cook beautifully in the oven, and my family tears through them faster than almost anything else I make. I started making these on nights when I had nothing planned and needed dinner on the table in under an hour — and they've become one of the most requested meals in this house.
The key to getting that crispy skin without a deep fryer is two things: pat the chicken completely dry before you season it, and bake it at a high heat — 425°F the whole way through. I learned this after a few batches that came out with rubbery, soft skin that nobody wanted to eat. Once I started drying the drumsticks properly and giving them enough space on the pan, everything changed. The seasoning here is simple: smoked paprika, garlic powder, onion powder, a little thyme and oregano. Nothing fancy, nothing you need to hunt down at a specialty store.
My husband likes these with rice and a simple raita on the side — old habits from growing up on Pakistani food. Saad eats them with nothing but ketchup, which honestly I've stopped fighting. On nights when I have a little more time, I'll make something like my Creamy Asiago Chicken Skillet — but when I need fast and reliable, these drumsticks are what I reach for.
One thing to know going in: don't crowd the pan. I know it's tempting to fit all 10 drumsticks on one sheet, but they need space to actually crisp up. If they're touching, they steam instead of roast and you get soft skin. I bake mine on a wire rack set over a foil-lined sheet pan — the air circulates underneath and the skin crisps on all sides. If you don't have a wire rack, just flip them halfway through and that gets you most of the way there.
Why You'll Love This Recipe
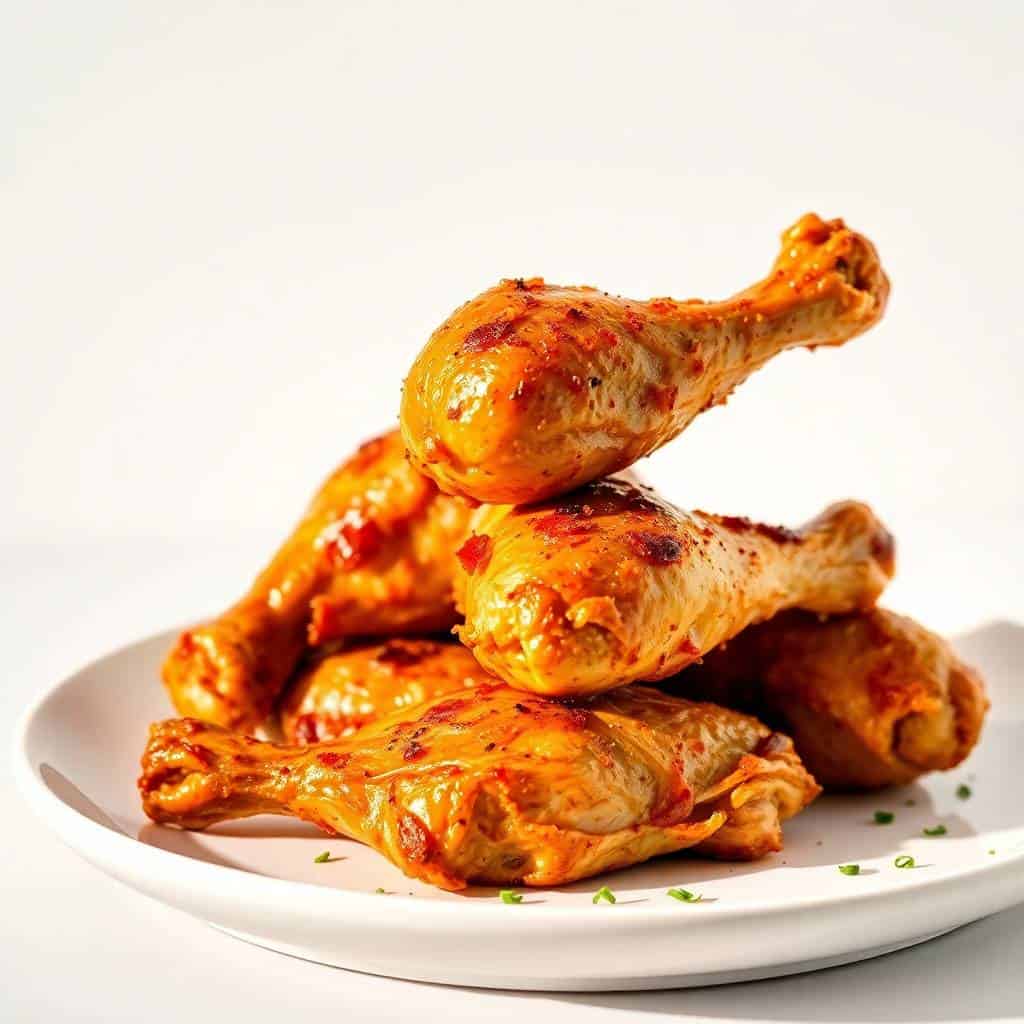
- Crispy skin without frying: Baking at 425°F does most of the work. The high heat draws out the moisture in the skin and lets it go properly golden and crisp. No oil splatter, no standing over a hot pan — just slide them in the oven and let it run. The smoked paprika in the seasoning also helps with that deep, burnished color you want.
- One of the cheapest cuts you can buy: Drumsticks are almost always the most affordable chicken at the grocery store — usually under $5 a pound at Walmart or Aldi. I can feed four people with 10 drumsticks and still have leftovers for lunch the next day. That matters on a regular weeknight when I'm not trying to blow the grocery budget.
- 35 minutes in the oven: Active prep is maybe 10 minutes — pat dry, toss with oil and spices, arrange on the pan. After that the oven does everything. I usually use that time to pull together a side dish or just clean up the kitchen while dinner cooks. It's one of those recipes that runs on autopilot.
- Works for meal prep: These reheat really well, which not all chicken does. I'll make a double batch on Sunday and pack the leftovers for lunches through the week. They stay juicy if you reheat them in the oven at 350°F for about 10 minutes rather than microwaving them — the microwave turns the skin back to rubber, so I avoid it.
- The spice blend is flexible: The base recipe is mild enough for kids but easy to customize. Add cayenne if you want heat, brush with BBQ sauce at the end if you want sticky and sweet, or go in a completely different direction with soy sauce and ginger. I've listed several variations below — this one recipe has turned into at least five different dinners in my house.
Ingredients
- 8–10 chicken drumsticks
- 2 tablespoons olive oil
- 1 teaspoon salt
- ½ teaspoon black pepper
- 1 teaspoon garlic powder
- 1 teaspoon onion powder
- 1 teaspoon smoked paprika
- ½ teaspoon dried thyme (optional but I always add it)
- ½ teaspoon dried oregano
Directions
- Preheat the oven: Set your oven to 425°F (220°C) and line a baking sheet with foil. If you have a wire rack, set it on top of the sheet — this lets air circulate under the drumsticks so the skin crisps all the way around instead of just on top.
- Dry the drumsticks: Pat each drumstick thoroughly with paper towels. I mean really dry them — press the paper towel against the skin and get as much moisture off as you can. This is the step that separates crispy from soggy, so don't rush it.
- Season: In a large bowl, combine the olive oil, salt, pepper, garlic powder, onion powder, smoked paprika, thyme, and oregano. Add the drumsticks and toss until every piece is evenly coated. You can also mix the dry spices together first in a small bowl, which makes it easier to see that everything's distributed evenly.
- Arrange on the pan: Place the drumsticks on your wire rack (or directly on the foil if you don't have one), making sure they aren't touching each other. Space matters here — touching pieces steam and the skin goes soft.
- Bake: Bake for 35–40 minutes, flipping once about halfway through. You're looking for golden-brown skin and an internal temperature of 165°F (74°C) at the thickest part of the meat, not touching the bone. A basic meat thermometer from any grocery store works perfectly for this.
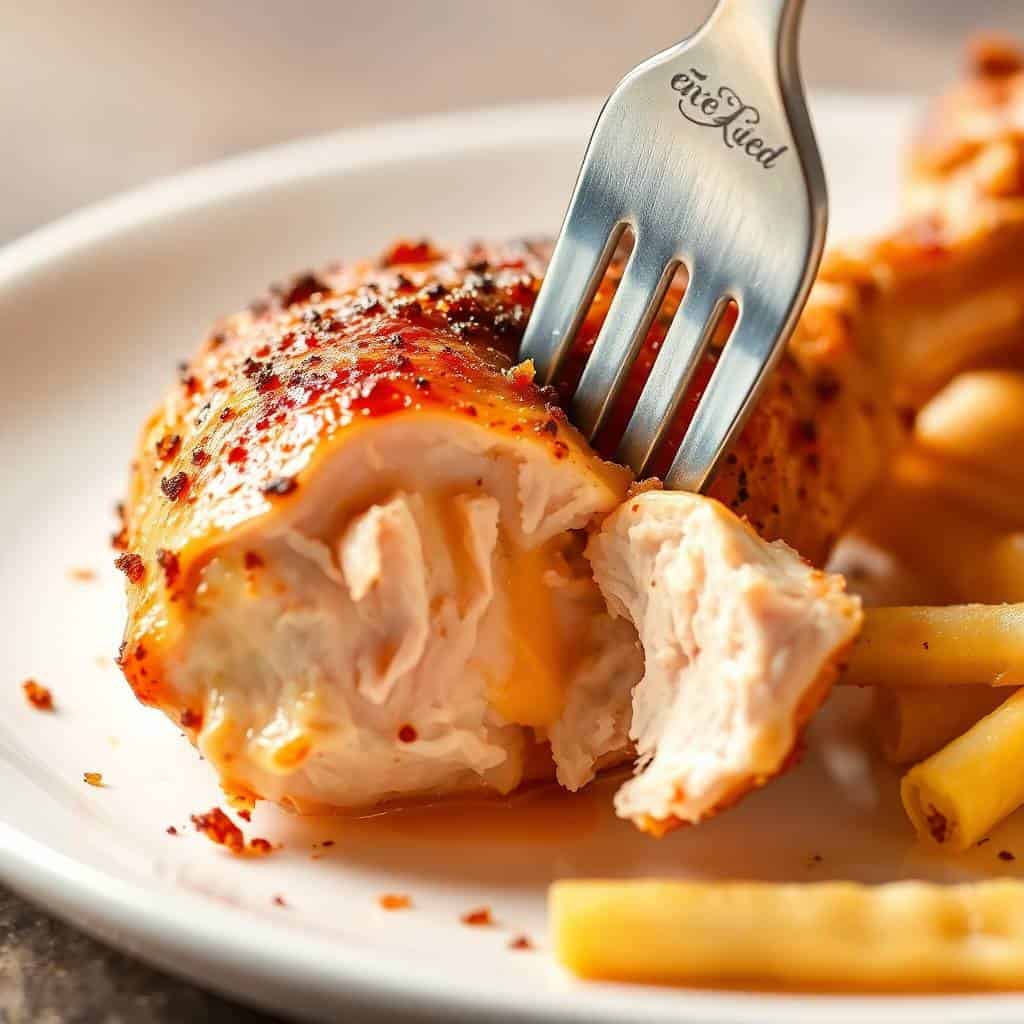
- Rest before serving: Let the drumsticks sit for 5 minutes after pulling them from the oven. The juices redistribute during this time and the meat stays moist when you cut into it. I know it's hard to wait, but it's worth it.
Tips for Success
- Drying the chicken is non-negotiable: I skipped this step once when I was in a hurry and the skin came out completely limp — looked fine but had no crunch at all. The moisture on the surface of the chicken turns to steam in the oven, which is the enemy of crispy skin. Two minutes with paper towels makes a real difference.
- Use a wire rack if you have one: I got a basic cooling rack from a dollar store years ago and it doubles as a roasting rack for exactly this purpose. It holds the drumsticks off the pan surface so the bottoms don't sit in their own juices. If you don't have one, flip the drumsticks halfway through — that gets you a decent result without the rack.
- Don't overcrowd the pan: If you're making more than 8 drumsticks, use two sheet pans. I've tried squeezing 12 onto one pan and regretted it every time — the pieces in the middle stay pale and soft while the ones on the edges go crispy. Two pans in the oven at once is fine, just rotate them top-to-bottom halfway through.
- Check with a thermometer, not just time: Drumstick size varies a lot. Smaller ones might be done at 32 minutes; larger ones can take 42. The only reliable way to know is a meat thermometer — you want 165°F at the thickest part. They're pretty cheap at any grocery store and they're one of the most useful tools in my kitchen.
- Broil for 2–3 minutes at the end if you want extra crispiness: After the drumsticks reach 165°F, switch the oven to broil and give them 2–3 minutes on the top rack. Watch them closely — they can go from golden to burnt quickly. This final blast of heat gets the skin really crackly and deep in color. It's optional but I do it almost every time.
Variations
- Barbecue style: Follow the recipe exactly but about 10 minutes before the drumsticks are done, pull them out and brush on your favorite BBQ sauce — something like Sweet Baby Ray's works great. Put them back in the oven for those last 10 minutes and the sauce caramelizes and gets sticky and slightly charred at the edges. This is Saad's absolute favorite version and he asks for it constantly.
- Honey garlic glaze: Mix 2 tablespoons of honey with 2 minced garlic cloves and a splash of soy sauce. Brush it over the drumsticks in the last 8 minutes of baking. The honey gets glossy and starts to caramelize — it's a good one for when you want something a little more special without much extra effort. Pairs well with rice and a simple cucumber salad.
- Spicy buffalo: Once the drumsticks are done and rested, toss them in buffalo sauce — Frank's RedHot mixed with a little melted butter is what I use. You still get the crispy skin from baking, just coated in sauce at the end rather than baked into it. Serve with a side of ranch or blue cheese dressing for dipping. These disappear fast at any gathering.
- Lemon pepper: Swap the smoked paprika for lemon zest (from one lemon) and add 1 teaspoon of lemon pepper seasoning to the spice mix. Fresh lemon juice squeezed over the top right before serving brightens everything up. This is a lighter, more summery version — good with a simple green salad or served alongside my Chicken Caesar Pasta Salad for a full spread.
- Desi-style with garam masala: Add 1 teaspoon of garam masala and ½ teaspoon of cumin to the spice blend, and squeeze a little lemon over just before serving. This is closer to how I'd make chicken at home in Pakistan — it smells incredible while it bakes. Serve with naan and a yogurt dip. Even if you've never cooked with garam masala before, it's easy to find at most grocery stores now in the spice aisle.
Serving and Storage
Serving
These drumsticks go with almost anything. On weeknights I usually serve them with roasted potatoes or plain white rice and a salad. My husband prefers them with rice and raita; the kids want them with fries. For something a little more put-together, they're great alongside roasted vegetables or even just with good bread to soak up the juices from the pan. If you're putting together a bigger meal, they work well as part of a spread with something like Chicken Caesar Pinwheels as a starter.
Storage
Store leftover drumsticks in an airtight container in the fridge for up to 4 days. To reheat, put them on a baking sheet in a 350°F oven for about 10–12 minutes — this brings back most of the crispiness in the skin. Avoid the microwave if you can; it makes the skin rubbery. I don't recommend freezing them after baking — the texture gets grainy when thawed. If you want to freeze them, freeze raw and marinated instead, then bake from thawed.
Frequently Asked Questions
How do I get the skin really crispy?
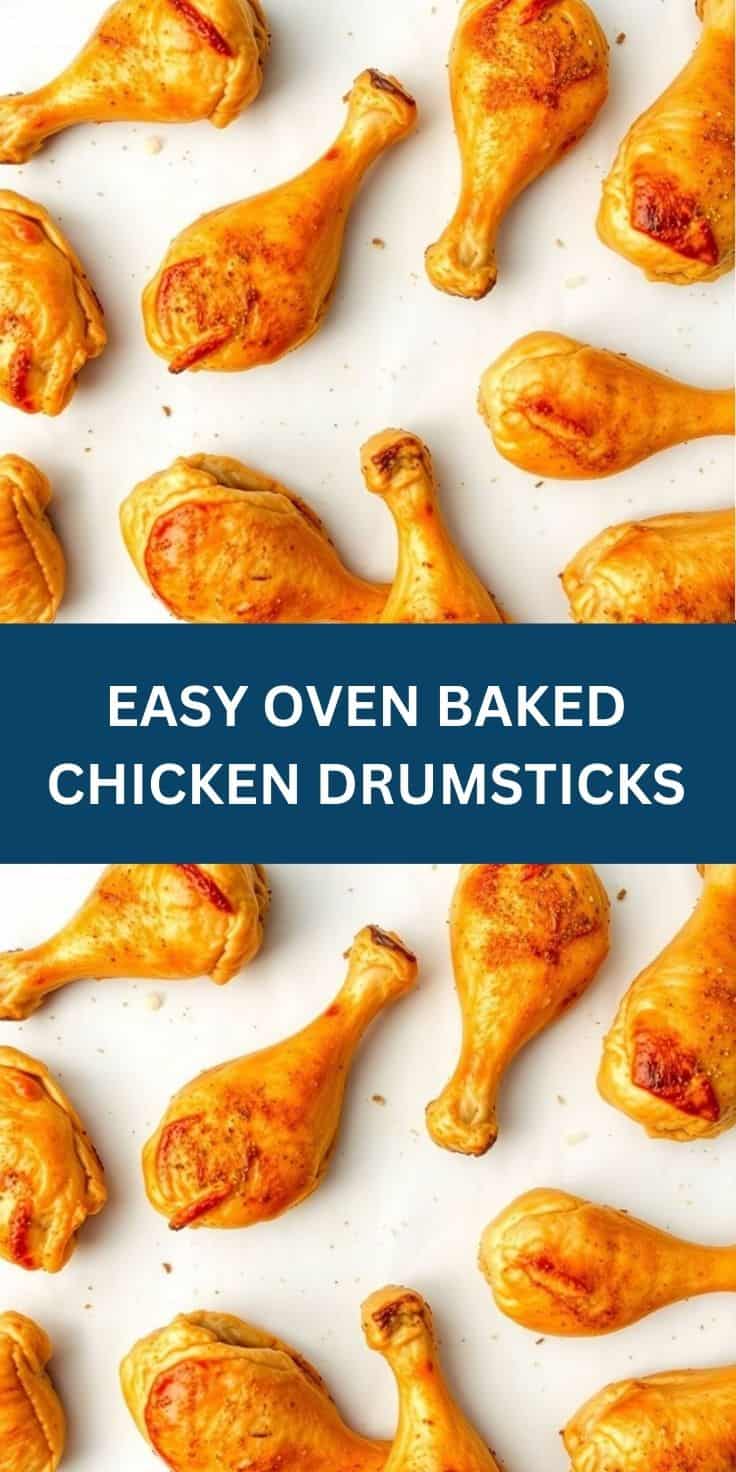
Three things matter most: dry the drumsticks thoroughly with paper towels before seasoning, bake them on a wire rack so air circulates underneath, and make sure they're spaced apart on the pan. If you want to go even further, switch the oven to broil for the last 2–3 minutes — just watch them closely so they don't burn.
Can I use frozen drumsticks?
Yes, but thaw them completely first — either overnight in the fridge or in cold water for a couple of hours. Baking from frozen won't give you crispy skin and the inside tends to cook unevenly. Once they're fully thawed, pat them dry and proceed with the recipe as normal.
Can I marinate the chicken ahead of time?
Absolutely. Toss the drumsticks in the olive oil and spice mix, cover the bowl, and leave them in the fridge for anywhere from 2 hours to overnight. The flavor gets noticeably deeper when they've had time to sit. I do this the night before when I know I'll have a busy next day — it saves time and the results are better.
What if the skin is browning too fast before the chicken is cooked through?
Tent a piece of foil loosely over the top of the drumsticks and continue baking until the internal temperature hits 165°F. This slows down the browning without steaming the chicken. It usually happens if the drumsticks are on the smaller side or if your oven runs hot — worth checking with an oven thermometer if this is a recurring problem.
How long do leftovers keep?
Up to 4 days in the fridge in an airtight container. Reheat in a 350°F oven for 10–12 minutes to get the skin back to something close to its original texture. The microwave technically works but the skin goes soft. Cold leftover drumsticks straight from the fridge are also genuinely good — Zainab eats them that way for lunch the next day.
EASY OVEN BAKED CHICKEN DRUMSTICKS
Ingredients
- 10 –12 chicken drumsticks
- 2 tablespoons olive oil
- 1 teaspoon salt
- ½ teaspoon black pepper
- 1 teaspoon garlic powder
- 1 teaspoon onion powder
- 1 teaspoon smoked paprika
- ½ teaspoon dried thyme optional
Instructions
Preheat the Oven:
- Preheat oven to 425°F (220°C). Line a baking sheet with foil and place a wire rack on top if available.
Prepare the Drumsticks:
- Pat the chicken drumsticks dry with paper towels. Place them in a large bowl and drizzle with olive oil.
Season the Chicken:
- In a small bowl, mix together salt, pepper, garlic powder, onion powder, smoked paprika, and thyme. Sprinkle the seasoning over the drumsticks and toss to coat evenly.
Arrange and Bake:
- Place drumsticks on the prepared baking rack. Bake for 35–40 minutes, turning halfway through, until the skin is crispy and the internal temperature reaches 165°F (74°C).
Rest and Serve:
- Let the drumsticks rest for 5 minutes before serving.
Notes
Season the chicken up to 1 day ahead and refrigerate until ready to bake. Customizing the Flavour:
Try adding cayenne pepper for extra spice or brush with barbecue sauce during the last 5 minutes of baking. Serving Suggestions:
Pair with roasted vegetables, mashed potatoes, or a fresh salad for a complete meal. Allergy-Friendly Options:
Use avocado oil instead of olive oil for a different option. Storage Tips:
Store leftovers in an airtight container in the refrigerator for up to 4 days. Reheat in the oven for the best texture.
These drumsticks have earned their regular spot on my dinner rotation not because they're impressive or complicated, but because they're reliably good and genuinely easy. I can have everything in the oven in 10 minutes. The kids eat without complaining. My husband adds hot sauce to his and calls it a win. That's the whole story.
If you want to keep the chicken theme going for the week, my Creamy Asiago Chicken Skillet is another one that gets made on repeat here — richer and more of a sit-down dinner, but uses a lot of the same pantry basics. And if you're planning a bigger spread with appetizers, the Chicken Caesar Pinwheels are great alongside.
However you serve them — with rice, with fries, with a simple salad, or straight off the pan — I hope they become one of those dinners you come back to without even thinking about it. That's what they are for us. 🍗✨
If you liked this, here are a few more recipes worth trying:
- Creamy Asiago Chicken Skillet (One-Pan Restaurant-Style Dinner)
- Chicken Caesar Pinwheels
- Chicken Caesar Pasta Salad
- Taco Pasta Recipe
- Cheesy Beef and Pasta Casserole



Comments
No Comments