
Every December, I end up with a bag of oranges I bought with good intentions and then don't finish fast enough. Last year I finally started drying them instead of watching them go soft on the counter — and now it's become one of those small kitchen rituals I genuinely look forward to.
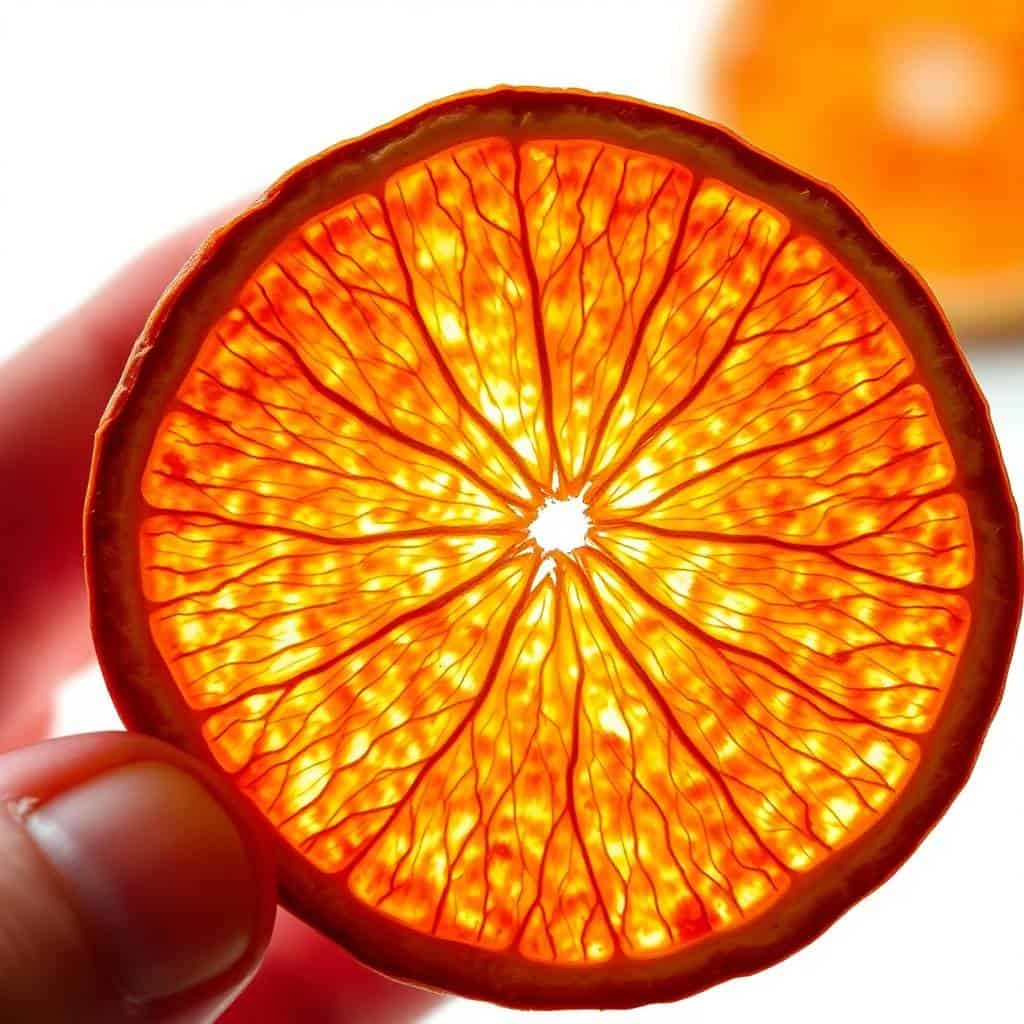
The process is almost embarrassingly simple. You slice the oranges thin, blot them dry, and let the oven do the rest at a low temperature for a few hours. No dehydrator, no special equipment, nothing fancy. What you get are these beautiful translucent rounds that smell incredible and last for months in a jar. I use them to garnish my Coffee Tiramisu Cake during the holidays, tie them onto gift boxes, and drop them into hot tea on cold mornings.
Zainab gets excited about the decorating part — she'll spend twenty minutes arranging dried slices on a garland or pressing them into ribbon knots for gifts. Saad, predictably, just wants to eat them. He dips them in melted chocolate, which I highly recommend even if you think it sounds like overkill.
One thing to know going in: patience is the whole skill here. The oven needs to be low — 200°F — and the slices need time. My first attempt I cranked the heat to 250°F thinking I'd speed things up. They came out dark and slightly bitter around the edges. Set your timer, walk away, and let the slow heat work. The smell that fills the kitchen is worth it anyway.
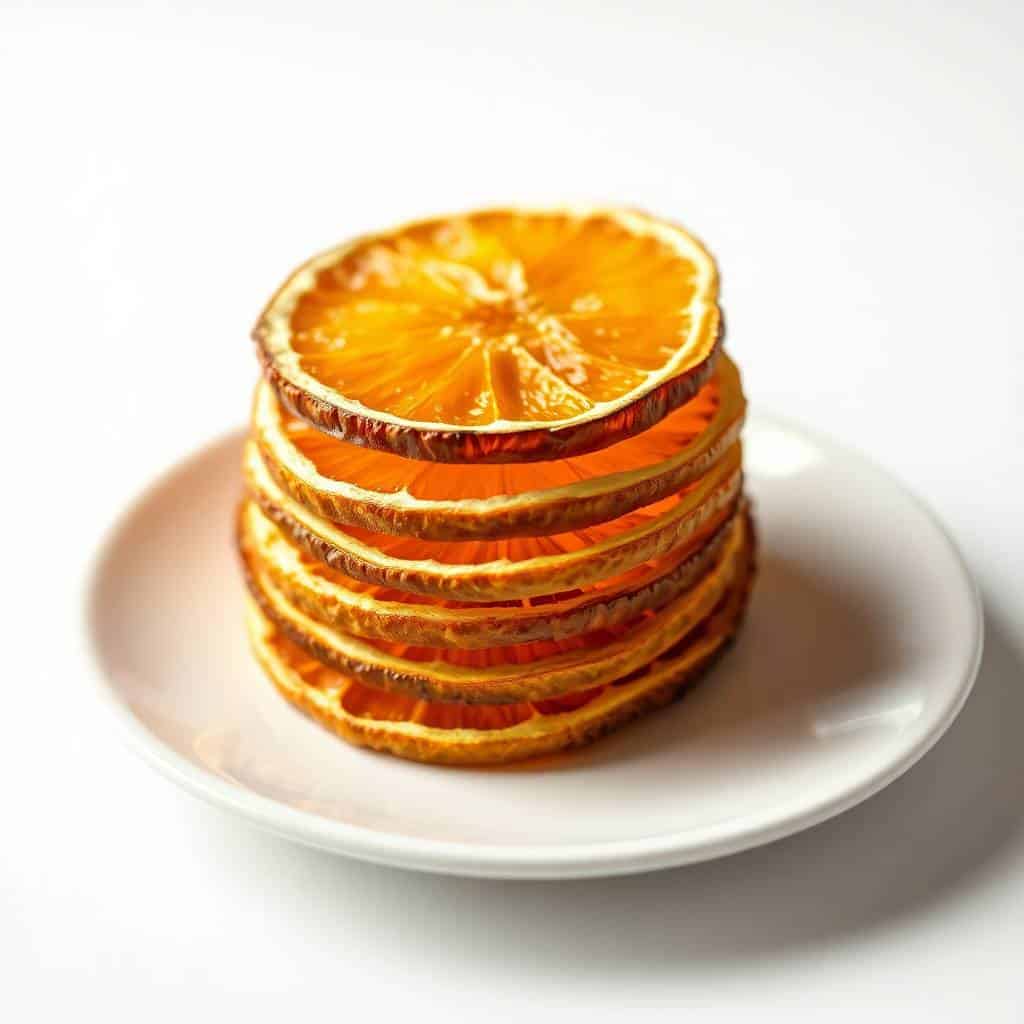
Why You'll Love This Recipe
- One ingredient, zero fuss: You literally just need oranges. That's it. No sugar syrup, no preservatives, no special equipment beyond a baking sheet and parchment paper. On days when I want to feel productive in the kitchen without committing to a full recipe, this is what I make.
- They last for months: Store them properly in an airtight jar and they'll sit on your counter for up to three months without going bad. I make a big batch at the start of December and pull from it all the way through January. They're genuinely useful to have around.
- Works for eating AND decorating: Most dried fruit recipes are one or the other. These genuinely do both. The same batch that goes on my holiday wreath can also end up as a garnish on a cake or a snack dipped in chocolate. I love a recipe that earns its counter space.
- Works with any citrus: I've made these with blood oranges, Cara Cara oranges, and regular navels. Each one looks different and tastes slightly different. Blood oranges come out a deep ruby red that looks almost too pretty to use. If you can find a mixed bag of citrus at Trader Joe's or Costco, a mixed batch is even better.
- Low hands-on time: You spend maybe 15 minutes prepping the slices and then the oven handles everything else for 2½ to 3½ hours. I usually start them after lunch and they're done by dinnertime. There's very little that can go wrong if you keep the heat low and flip them once.
Ingredients
- 3–4 medium oranges (navel, blood, or Cara Cara work well)
- Optional: powdered sugar or ground cinnamon for dusting after drying
- Optional: melted dark or white chocolate for dipping
Directions
- Preheat the oven: Set your oven to 200°F (93°C) and line a baking sheet with parchment paper. If you have a wire rack that fits inside the baking sheet, place it on top — this helps air circulate around the slices. If not, parchment paper directly on the sheet works fine.
- Slice the oranges: Wash the oranges well, then slice them into rounds about ⅛ inch thick. A sharp chef's knife works, but if you have a mandoline, use it — the slices will be more uniform and dry more evenly. Discard the ends and remove any visible seeds.
- Blot the slices: Press each slice gently between two paper towels to absorb the surface moisture. This step cuts down your drying time noticeably. Don't skip it.
- Arrange on the baking sheet: Lay the slices flat in a single layer with no overlapping. They need air around them to dry rather than steam. Use two baking sheets if you're doing a large batch.
- Bake low and slow: Slide them into the oven and bake for 2½ to 3½ hours, flipping once about halfway through. Thicker slices will need closer to 3½ hours. The goal is slices that are dry to the touch and feel like slightly flexible paper — not sticky, not brittle.
- Check and cool: When the slices look done, turn off the oven and leave the door cracked open. Let them sit inside for another 15–20 minutes. This helps them firm up without over-browning. Cool completely on the pan before storing.
- Optional finishing: Once fully cooled, dust with powdered sugar or cinnamon if you want a festive look, or dip halfway into melted chocolate for a snack version. Let the chocolate set on a clean piece of parchment before stacking.
Tips for Success
- Keep the heat at 200°F — not higher: I know it's tempting to turn it up to get them done faster. I tried 250°F once and the edges went brown and the flesh turned bitter. The low temperature is what keeps the color bright and the flavor clean. Two and a half hours at 200°F beats 90 minutes at 275°F every time.
- Cut slices as uniform as possible: Slices that vary in thickness dry at different rates, which means some will be done while others are still wet in the middle. If you don't have a mandoline, just take your time with a sharp knife and aim for ⅛ inch across the board. I use a $10 mandoline from Walmart and it does a perfectly decent job.
- Don't rush the cooling step: Slices that go straight from oven to jar will release steam inside the container, which creates condensation. Condensation creates mold. I always let mine cool completely on the pan — at least 30 minutes at room temperature — before I even think about storing them.
- Use parchment, not foil: Foil conducts heat differently and can cause the bottom of the slices to brown faster than the top. Parchment paper is the safer choice. A silicone baking mat works too if you have one.
- Test for doneness before pulling them out: Press a slice with your finger. It should feel dry and slightly firm, not tacky or wet in the center. If the center feels soft, give them another 20–30 minutes. The rind will dry faster than the flesh, so always test the middle.
Variations
- Mixed citrus batch: Use a combination of navel oranges, blood oranges, lemons, and limes on the same tray. The color range is stunning — deep red from the blood oranges, pale yellow from the lemons, bright green from the limes. I've done this for holiday gift boxes and people always ask about it. Just note that lemons and limes are thinner-skinned and may dry a little faster, so check them earlier.
- Chocolate-dipped for gifting: Dip the bottom half of each cooled slice into melted dark chocolate and set on parchment. Once the chocolate sets, stack them in a small box or glass jar tied with ribbon. Paired with some Chocolate Blossom Cookies, this makes a really nice edible gift that doesn't cost much at all.
- Cinnamon-spiced for holiday décor: Sprinkle each slice lightly with ground cinnamon before baking. The heat intensifies the spice smell and the slices come out with a warm, festive scent that's perfect for garlands or wreaths. My house smells like a Christmas market when I do this version.
- Cocktail and mocktail garnishes: Prop a dried slice on the rim of a glass or float it in a drink. It adds instant visual interest and a subtle citrus note as it softens in the liquid. I use these on a simple sparkling water with a sprig of rosemary when I want something festive without the effort. They'd also look great sitting next to my Eggnog French Toast on a holiday brunch table.
- Dehydrator method: If you have a food dehydrator, set it to 135°F and dry the slices for 6–8 hours. The result is essentially the same — you just free up your oven. I don't own a dehydrator, so I always use the oven method, but it's good to know the option exists.
Serving and Storage
Serving
Use dried orange slices as garnishes on cakes, tarts, and desserts. They look especially good pressed against the side of a frosted layer cake or propped on top of a tart. Drop one into a mug of hot tea or mulled apple cider for flavor and visual effect. For snacking, eat them as-is for a chewy, tangy bite, or dip in chocolate for something more indulgent. On a charcuterie board they work beautifully alongside nuts, cheese, and dried figs.
Storage
Store fully cooled slices in an airtight glass jar or container at room temperature. Keep them in a cool, dry spot away from direct sunlight. They'll stay in good condition for up to 3 months. If you live somewhere humid, tuck a food-safe silica gel packet into the jar — it helps prevent any moisture from sneaking in. Do not refrigerate; the humidity in a fridge can make them sticky and soft.

Frequently Asked Questions
Can I use a dehydrator instead of the oven?
Yes, absolutely. Set your dehydrator to 135°F and run it for 6–8 hours, checking near the end for doneness. The result is the same as the oven method — you just free up your oven for other things. I don't own a dehydrator myself, so I always go the oven route, but either works well.
Why did my orange slices turn brown or bitter?
Almost always this comes down to oven temperature. If the heat is above 200°F, the natural sugars in the orange peel start to caramelize and eventually burn. I made this mistake my first time when I tried to speed things up at 250°F. Keep the oven at 200°F and give them the full time they need.
How do I stop the slices from curling up during baking?
Slice them evenly, blot them well before baking, and flip them halfway through. Slices that are too thick in the center tend to curl more as moisture escapes unevenly. If curling is still a problem, you can place a second sheet of parchment on top of the slices and weight it down lightly with another baking sheet for the first hour.
Can I sweeten the slices before baking?
You can dust them lightly with powdered sugar or brush them with a thin layer of honey before they go into the oven. The sugar will caramelize very gently at 200°F without burning. I usually add any sweetener or cinnamon after baking and cooling, just to keep the color as clean as possible during the drying process.
How long do dried orange slices actually last?
Properly dried and stored in an airtight container at room temperature, they last up to 3 months. The key is making sure they're fully dry before storing — any residual moisture shortens their life significantly. I've had a jar last closer to 4 months with a silica packet tucked inside, but 3 months is the safe estimate I'd go by.
DRIED ORANGE SLICES
Ingredients
- 2 –3 medium oranges navel, blood, or Cara Cara
Instructions
Preheat the Oven:
- Preheat oven to 200°F (93°C). Line a baking sheet with parchment paper or a wire rack.
Slice the Oranges:
- Wash oranges thoroughly. Slice into thin rounds, about ⅛ inch thick, removing any seeds.
Arrange and Dry:
- Place slices in a single layer on the baking sheet. Bake for 2½–3½ hours, flipping every 45 minutes, until completely dried.
Cool and Store:
- Cool completely before storing in an airtight container.
Notes
Store dried slices in an airtight container for up to 1 month. Customizing the Flavor:
Sprinkle lightly with cinnamon or dip half in dark chocolate for a festive twist. Serving Suggestions:
Use as drink garnishes, gift toppers, tree ornaments, or to flavour tea. Storage Tips:
Keep in a cool, dry place. Use silica packets for longer shelf life.
I make a double batch every December now — one jar goes on the kitchen counter for snacking and garnishing, and another gets used for wrapping gifts and decorating. It's become one of those small things I do every year that makes the season feel a little more intentional. The house smells incredible while they're in the oven, which is honestly half the reason I keep doing it.
If you're putting together a holiday dessert spread, dried orange slices look stunning pressed onto the side of a frosted cake or layered onto a tart. I used them recently alongside my Coffee Tiramisu Cake for a dinner party and several people thought I'd bought them at a specialty store. They take almost no effort to make — that's the part I love most about them.
This isn't a recipe that requires precision or technique. It requires a sharp knife, a low oven, and about three hours of patience. If you've never tried drying fruit at home before, this is the one to start with. And once you have a jar of them sitting on the counter, you'll find a use for them constantly — drinks, gifts, baked goods, wreaths. They earn their place. 🍊✨
If you liked this, you'll probably like these too:
- Chocolate Blossom Cookies (Soft, Fudgy, and Holiday-Ready)
- Eggnog French Toast with Warm Spices (Holiday Brunch in 20 Minutes)
- Coffee Tiramisu Cake
- Classic Stuffed Shells with Ricotta (Cheesy Baked Comfort Dinner)
- BBQ Chicken Stromboli (Cheesy, Smoky & Gone in Minutes)





Comments
No Comments