
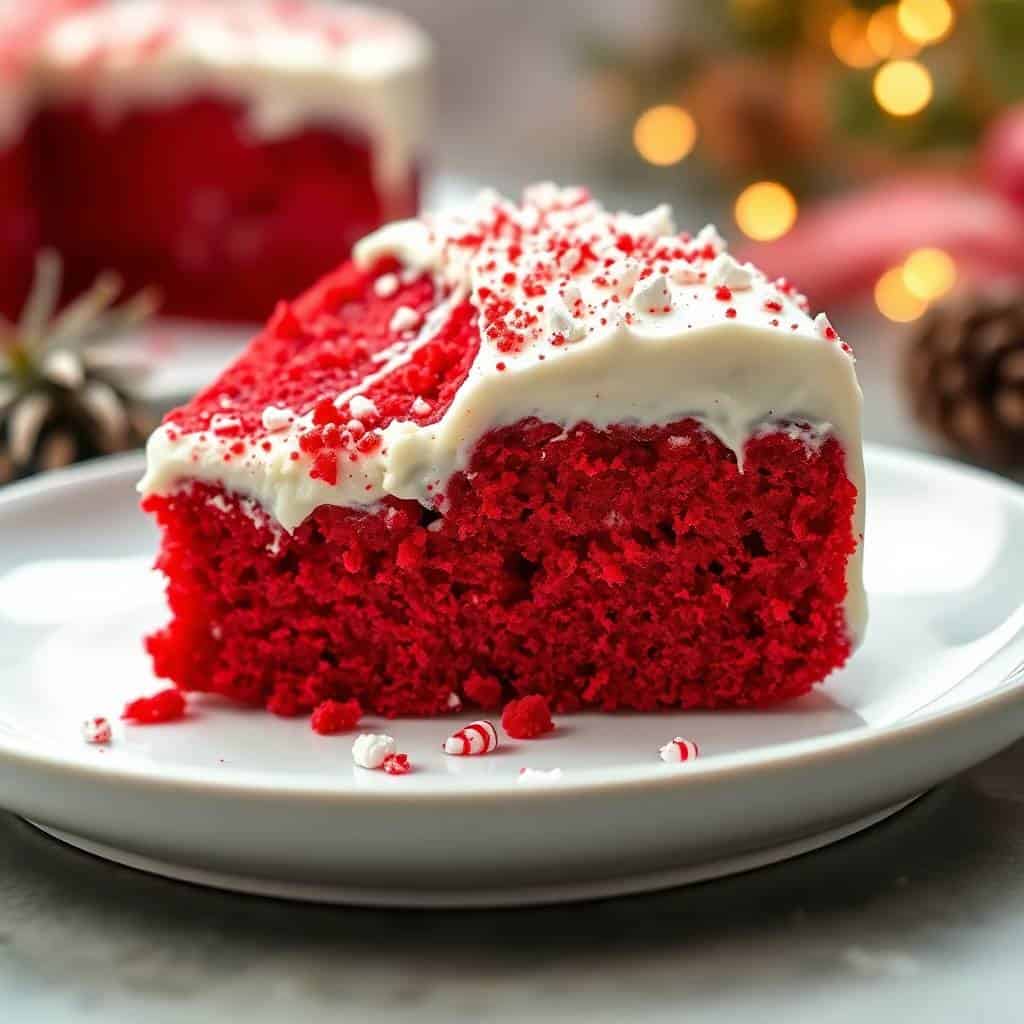
Zainab called this "the red Christmas cake" the first time I made it, and honestly that's the best description I've heard. It's that bright, dramatic red, topped with a thick layer of cool whipped cream, and every single slice has those visible lines of pudding soaked into the crumb. It looks like something you'd order at a bakery.
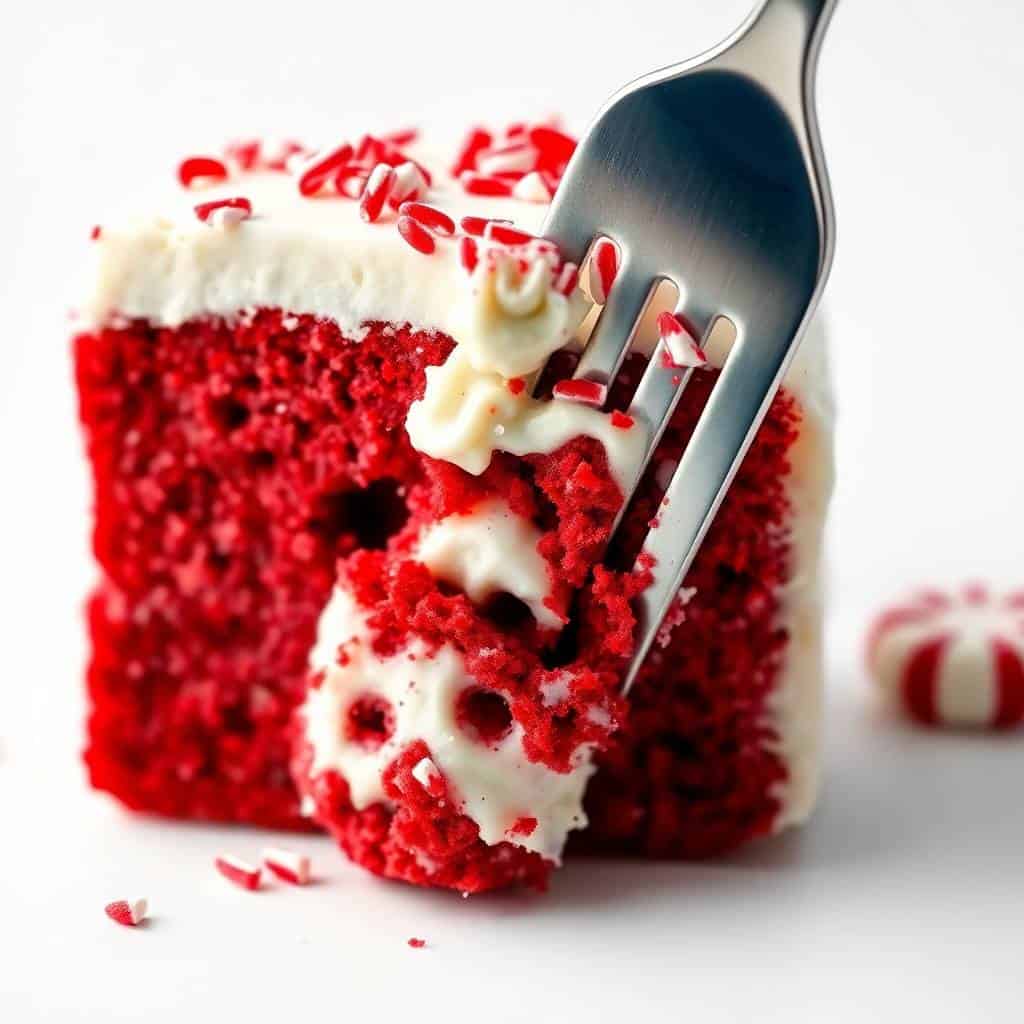
What makes this work — and what I didn't fully appreciate until I'd made it a couple of times — is the poke method. You're not just baking a red velvet cake and frosting it. You poke deep holes all over the top and pour in a pudding mixture that seeps down into the cake while it chills. By the time you slice it, the filling is threaded through every bite. No dry spots. No plain crumb. Just soft, moist cake all the way through.
I first brought this to a family Christmas gathering two years ago and made a double batch because I knew the single 9x13 pan wasn't going to last. I was right — it was gone before the main course dishes were even cleared. My husband prefers it with the cream cheese pudding filling (I'll explain that below), but Zainab just wants extra sprinkles on top. Saad, predictably, wanted to eat the leftover slice for breakfast the next morning. I said no. Then I said yes.
One thing to know going in: this cake needs time. Not hands-on time — there's very little of that — but chilling time. You need at least an hour after the pudding goes in, and another 30 minutes after you frost it. I usually make it the night before any holiday dinner. It genuinely tastes better the next day, once everything has had time to settle. If you're looking for something else to prep ahead for a big gathering, my French Toast Casserole with Croissants works the same way — assemble the night before, bake in the morning.
Why You'll Love This Recipe
- It looks far more impressive than it is: I've had people at Christmas parties ask me how long this took to make, genuinely expecting me to say "all day." The answer is about 20 minutes of actual work, plus chilling time. The red colour does most of the heavy lifting visually. Set it on a table next to other desserts and it will always get looked at first.
- The texture is genuinely different from regular cake: Most cakes dry out after a day in the fridge. This one does the opposite — the pudding filling keeps soaking into the crumb overnight, so it gets more moist as it sits. I've eaten this three days after baking and it was still soft and creamy all the way through.
- Beginner-friendly, no special equipment needed: You don't need a stand mixer, a piping bag, or any special tools. A 9x13 pan, a wooden spoon (for poking the holes), a whisk, and a spatula. That's genuinely it. I've made this in a vacation rental kitchen with the bare minimum and it came out perfectly fine.
- Make-ahead is not just possible, it's recommended: Unlike a lot of desserts that need to be served fresh, this cake is actually better the next day. Make it the night before your Christmas dinner, cover it, put it in the fridge, and it'll be ready when you need it. One less thing to stress about on the day itself.
- Easy to decorate at any level: You can keep it simple with store-bought Christmas sprinkles, or go further with crushed candy canes, fresh raspberries, or even a drizzle of white chocolate. I usually do the sprinkles because Zainab picks them out of the bag and I end up with "custom" topping whether I planned it or not.
Ingredients
- 1 box red velvet cake mix (plus eggs, oil, and water as listed on the box — Duncan Hines or Betty Crocker both work well)
- 1 box (3.4 oz) instant cheesecake or white chocolate pudding mix
- 2 cups cold milk
- 1 tub (8 oz) whipped topping, thawed (Cool Whip is what I use — find it at Walmart or Costco)
- Christmas sprinkles for garnish
- Nonstick spray or butter for greasing the pan
Directions
- Step 1: Bake the cake — Preheat your oven and grease a 9x13-inch baking pan well. Prepare the red velvet cake mix according to the box instructions and pour the batter into the pan. Bake until a toothpick inserted in the center comes out clean, then pull it out of the oven and let it cool for 5–10 minutes. You want it warm but not hot when you poke it.
- Step 2: Poke the holes — Use the handle end of a wooden spoon to poke holes all over the surface of the cake, spacing them about 1 inch apart. Press down firmly so the holes go deep into the cake — not just the top layer. This is where the filling travels, so deep holes mean better coverage.
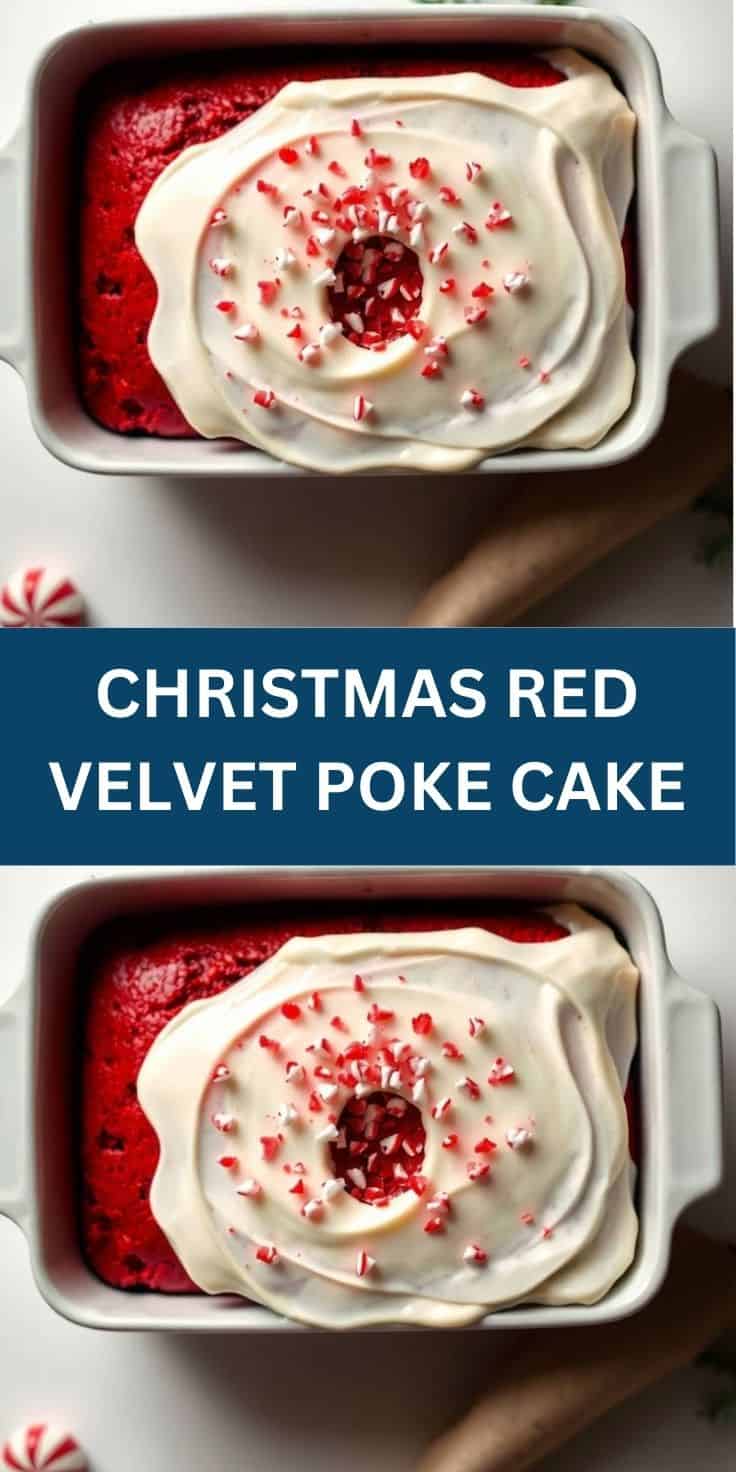
- Step 3: Make and pour the pudding — In a bowl, whisk together the pudding mix and 2 cups of cold milk for about 2 minutes until smooth and just starting to thicken. Pour it evenly over the entire cake right away, before it sets, so it can flow down into the holes. Use a spatula to push it into any spots that didn't get coverage. Then refrigerate the whole pan for at least 1 hour.
- Step 4: Frost the cake — Once the cake is chilled and the pudding has set, spread the thawed Cool Whip evenly over the top using a spatula. Work gently — the cake top is soft and can pull if you press too hard. A light spreading motion works better than dragging.
- Step 5: Decorate and chill again — Scatter Christmas sprinkles over the frosted top, or add whatever garnishes you're using (crushed candy cane, raspberries, white chocolate drizzle). Pop it back in the fridge for at least 30 minutes before serving so the topping firms up slightly.
- Step 6: Slice and serve — Cut into squares and serve cold. Each piece should show the pudding filling running through the crumb — those visible cream-colored streaks are exactly what you're going for.
Tips for Success
- Poke deep, not just wide: The first time I made this, my holes were too shallow — I was being careful not to "damage" the cake. What happened is the pudding sat on top and ran toward the edges instead of soaking in evenly. Push that spoon handle all the way down. The cake can handle it, and the filling will be distributed so much better.
- Pour the pudding while it's still liquid: Instant pudding thickens fast — within 3–4 minutes of mixing it starts to set. Pour it over the cake immediately after whisking, while it's still pourable. If you wait too long, it won't flow into the holes properly and you'll end up with a thick layer sitting on top rather than soaking in.
- Make sure your Cool Whip is fully thawed: Cold Cool Whip straight from the freezer is dense and hard to spread — it'll drag across the cake surface and tear it. Leave it in the fridge overnight to thaw, or on the counter for about 30 minutes before you need it. You want it soft and spreadable, not frozen solid.
- Don't skip the second chill: After frosting, that 30-minute chill is what lets the whipped topping firm up slightly so it slices cleanly. If you try to cut right after frosting, the topping smears and the slices look messy. Patience here pays off when you actually set it on the table.
- Add sprinkles right before serving if you want crunch: If you're making this the night before, hold off on the sprinkles until you're ready to serve. Sprinkles sitting in the fridge overnight absorb moisture and go soft. Not a dealbreaker — just something I noticed. Everything else holds up beautifully overnight, but the sprinkle crunch is better fresh.
Variations
- Peppermint filling: Stir ¼ teaspoon of peppermint extract into the pudding mixture before pouring it over the cake. It gives the filling a cool, minty edge that works really well with the cocoa note in the red velvet. If you're serving this at a Christmas party, the peppermint version tends to disappear fastest — at least in my experience.
- Cream cheese frosting instead of whipped topping: If you want something richer and more stable, swap the Cool Whip for a cream cheese frosting. My Homemade Peanut Butter Frosting post has a section on cream cheese frosting ratios if you want to make your own — or use store-bought. The cream cheese version is tangier and a bit more indulgent, and it holds its shape better if the cake is sitting out for a while at a party.
- White chocolate pudding swap: White chocolate instant pudding instead of cheesecake flavor gives the filling a slightly sweeter, more buttery taste. Either works — the cheesecake pudding has a slight tang that cuts through the sweetness a bit more, which is why I default to it. But white chocolate is what my husband prefers, so we've made it both ways.
- Fresh fruit topping: Fresh raspberries or halved cherries scattered over the whipped topping looks stunning against the white — red fruit on white cream on a red velvet cake is a genuinely beautiful combination. The fruit also balances the sweetness a bit. I do this version when I want it to look a little more elegant and less "kids' party."
- Mini cupcake pokes: Bake the batter as cupcakes instead of a 9x13 pan. Once cooled, use a straw to poke a hole in the center of each cupcake and fill it with the pudding mixture using a piping bag or a zip-lock bag with the corner snipped. Frost each one individually. These are great for parties where people want individual servings — and honestly easier to transport.
Serving and Storage
Serving
Serve this cold, straight from the fridge, cut into squares. Each piece looks best when you can see the pudding streaks in the cross-section — that's your visual cue that the filling soaked in properly. I usually cut it in the pan and serve it from there rather than trying to transfer slices to a platter, especially if the whipped topping is soft. A cold glass of eggnog alongside it is genuinely a good combination if you want to lean into the Christmas thing. For holiday parties, this works well on a dessert table next to the Mini Christmas Cheesecakes — different textures, both festive, both make-ahead.
Storage
Cover the pan tightly with plastic wrap or aluminum foil and store in the refrigerator. It keeps well for up to 3 days — and as I mentioned, the texture actually improves after day one. Don't leave it sitting out at room temperature for more than about 2 hours, especially once it's frosted, because the whipped topping will start to weep. I wouldn't recommend freezing the frosted cake — the Cool Whip doesn't thaw well once it's been layered over a poked cake. You can freeze the bare, baked, poked cake (before adding any filling), then thaw it in the fridge and add the pudding and topping fresh.
Frequently Asked Questions
Can I use a homemade red velvet cake instead of a box mix?
Yes, a homemade red velvet cake works great — just make sure you bake it in a 9x13-inch pan so the depth is right for poking and filling. The box mix is honestly what I use most of the time because it's consistent and reliable, but homemade gives you a bit more control over the flavor and color intensity if that matters to you.
What's the best pudding flavor to use for the filling?
Instant cheesecake pudding is my go-to — the slight tang balances the sweetness of the cake really well. White chocolate pudding is a close second and gives a sweeter, creamier filling. Vanilla works too if that's what you have on hand. Whatever you use, make sure it's instant pudding (not cook-and-serve), because you need it to set while cold in the fridge.
How far in advance can I make this cake?
Up to 24 hours in advance is ideal — honestly the sweet spot. The filling has fully soaked in, the whipped topping is set, and the whole thing is cold and firm enough to slice cleanly. I'd add the sprinkles right before serving so they stay crunchy. You can also make just the baked cake a day or two ahead and refrigerate it, then add the pudding and frosting the next day.
Can I freeze this poke cake?
I wouldn't freeze it once it's been filled and frosted — the pudding and Cool Whip don't hold up well after freezing and thawing, and the texture gets watery. If you want to prep ahead and freeze something, freeze just the baked cake (no filling, no topping) wrapped tightly in plastic. Thaw it overnight in the fridge, poke the holes, add the pudding, chill, then frost and serve.
Can I use whipped cream instead of Cool Whip?
You can, but freshly whipped cream is less stable than Cool Whip — it can start to weep or deflate after a few hours in the fridge. If you use real whipped cream, I'd frost the cake closer to serving time (within 1–2 hours) rather than the night before. Cool Whip holds its shape overnight without any issues, which is why it works better for a make-ahead dessert like this.
CHRISTMAS RED VELVET POKE CAKE
Ingredients
For the Cake:
- 1 box red velvet cake mix plus ingredients listed on the box: usually eggs, oil, and water
- 1 3.4 oz box instant cheesecake or white chocolate pudding mix
- 2 cups cold milk
- 1 tub 8 oz whipped topping (e.g., Cool Whip), thawed
- Christmas sprinkles for garnish
Instructions
Bake the Cake:
- Prepare and bake the red velvet cake according to package instructions in a 9×13-inch pan. Let it cool for 5–10 minutes.
Poke the Cake:
- Use the handle of a wooden spoon to poke holes all over the cake.
Add the Pudding:
- In a bowl, whisk together the pudding mix and cold milk until smooth. Pour it evenly over the cake, filling the holes. Refrigerate for at least 1 hour to set.
Frost and Decorate:
- Spread the whipped topping evenly over the chilled cake. Top with festive Christmas sprinkles.
Serve:
- Slice and serve chilled. Keep leftovers refrigerated.
Notes
This cake can be made a day in advance and kept refrigerated. Customizing the Flavor:
Swap pudding flavours like vanilla, white chocolate, or even peppermint for variety. Serving Suggestions:
Serve with crushed candy canes or a drizzle of white chocolate for an extra festive touch. Storage Tips:
Store covered in the refrigerator for up to 3 days.
This is one of those recipes I keep coming back to every December because it just works. The effort-to-impact ratio is genuinely lopsided in your favor — a box of cake mix, a box of pudding, a tub of Cool Whip, and some sprinkles, and you end up with something that looks like you planned it for weeks. The poke method is so simple once you've done it once, and the results are dramatically better than just baking and frosting a regular sheet cake.
I'll be honest: poke cakes weren't something I grew up with in Pakistan. This is firmly an American dessert tradition that I discovered after seeing it on a holiday table at a neighbor's house years ago. I asked for the recipe, made my own version, and it's been a holiday staple ever since. This isn't a traditional Pakistani dessert by any stretch — it's my version of an American classic, and I've fully embraced it.
If you make this for a Christmas gathering, set it in the pan and bring it out cold. Let people see those pudding lines when you cut the first square. That moment — when the slice comes out and you can see the filling woven through the crumb — is genuinely satisfying every single time. Pair it on your dessert table with the Mini Christmas Cheesecakes and you'll have two make-ahead desserts that cover completely different textures.
Make it the night before. Add the sprinkles right before you serve it. Watch it disappear. 🎄❤️🍰
If you liked this recipe, here are a few more you might want to try:
- Mini Christmas Cheesecakes (Festive Bites for Holiday Parties)
-
{"@context":"https://schema.org","@type":"Article","headline":"CHRISTMAS RED VELVET POKE CAKE","description":"This Christmas Red Velvet Poke Cake is festive, moist, and filled with creamy goodness—perfect for holiday gatherings and dessert tables.","datePublished":"2025-05-03T13:26:29+00:00","dateModified":"2026-05-04T03:51:22+00:00","author":{"@type":"Person","name":"Sana Umer","url":"https://forfoodiefriends.com/about/","description":"Self-taught home cook with 10+ years of kitchen experience. Mom of two who develops every recipe in her own kitchen.","jobTitle":"Recipe Developer & Food Blogger","image":"https://forfoodiefriends.com/wp-content/uploads/sana-umer-author-photo.jpg"},"publisher":{"@type":"Organization","name":"For Foodie Friends","url":"https://forfoodiefriends.com/","logo":{"@type":"ImageObject","url":"https://forfoodiefriends.com/wp-content/uploads/forfoodiefriends-logo.png"}},"mainEntityOfPage":{"@type":"WebPage","@id":"https://forfoodiefriends.com/christmas-red-velvet-poke-cake/"},"image":"https://forfoodiefriends.com/wp-content/uploads/2025/05/CHRISTMAS-RED-VELVET-POKE-CAKE.jpg"}



Comments
No Comments