
Every December, I end up promising myself I'll bake a proper tray of individual Christmas cookies — you know, the kind you cut into little stars and trees and decorate with royal icing. And every December, I run out of time and patience about halfway through that plan. These Christmas cookie bars are what actually happen in my kitchen instead, and honestly, I've stopped feeling guilty about it.
The dough is a simple one-bowl situation — melted butter, brown sugar, eggs, vanilla, flour, and then you fold in the M&Ms, white chocolate chips, and sprinkles. No chilling, no cookie cutters, no rolling pin. You press it into a 9x13 pan and bake. What comes out is this thick, chewy, golden slab that you slice into bars and they look genuinely festive. The red and green M&Ms do all the decorating work for you.
I first made these when Zainab's school asked for holiday treats and I had about 45 minutes between school pickup and the party. I made a double batch — one for school, one for us — because I knew they'd disappear fast. They did. Both pans. My husband ate four bars before I even sliced the second pan properly. Now these show up every single holiday season without fail, right alongside my berry shortcakes for whenever we need a crowd-friendly dessert that actually comes together fast.
One thing worth knowing before you start: the bars look a bit underdone when you pull them from the oven. The center will still have a slight jiggle at the 22-minute mark and that's fine — they set up as they cool. The first time I made these, I left them in an extra five minutes because I panicked, and they came out dry. Pull them when the edges are golden and the center looks just barely set. You'll thank me later.
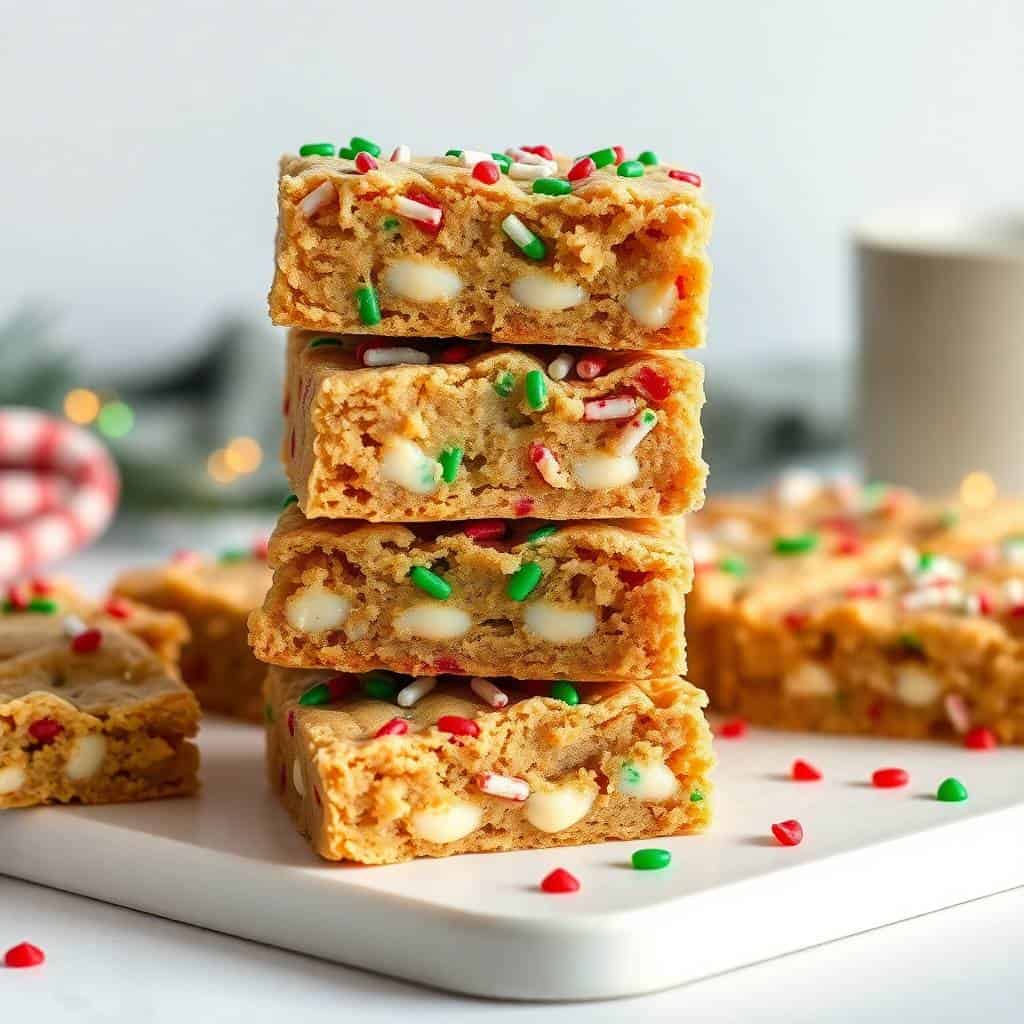
Why You'll Love This Recipe
- No chilling, no shaping, no stress: I cannot overstate how much this matters during December when I have about fifteen other things happening. You mix the dough in one bowl, press it into the pan with your hands, and that's it. There's no waiting around for dough to firm up in the fridge, no floury rolling pin situation, no cookie cutter cleanup. The whole thing is in the oven within 15 minutes of starting.
- They look festive without any effort: The red and green M&Ms and the holiday sprinkles do all the visual work here. Once you press a few extra candies on top before baking, these bars look like you actually tried. I've brought them to two school parties and a cookie exchange and people always assume I spent much longer on them than I did.
- Chewy in the middle, slightly crisp at the edges: This is the texture that makes people reach for a second bar. The melted butter (rather than softened) gives the bars a denser, fudgier chew throughout, and the edges get this satisfying little crunch. If your family is like mine and someone always wants the corner piece, budget for a small argument over that.
- Easy to pack up and give away: I stack these in layers with parchment paper between them, tuck them into a tin, and they travel really well. They don't crumble the way individual cookies sometimes do, and they hold their shape for days. I've mailed a tin to my sister-in-law and they arrived in perfect condition.
- Kids can actually help: This is one of those recipes where small hands are genuinely useful. Zainab loves pressing the extra M&Ms into the top of the dough before it goes in the oven. Saad stirs the batter. There are no tricky steps that require precision, so I don't have to hover the whole time.
Ingredients
- 1 cup unsalted butter, melted
- 1 cup light brown sugar, packed
- ½ cup granulated sugar
- 2 large eggs
- 2 teaspoons vanilla extract
- 2¼ cups all-purpose flour
- 1 teaspoon baking soda
- ½ teaspoon salt
- ¾ cup red and green M&Ms
- ½ cup white chocolate chips
- ¼ cup holiday sprinkles
Directions
- Prep the oven and pan: Preheat your oven to 350°F (175°C). Line a 9x13-inch baking pan with parchment paper, leaving a little overhang on the sides so you can lift the whole slab out later. This makes slicing so much cleaner.
- Mix the wet ingredients: In a large bowl, whisk together the melted butter, brown sugar, and granulated sugar until combined and glossy. Add the eggs one at a time, then the vanilla, and stir until the mixture is smooth. It should look a bit like caramel at this point.
- Add the dry ingredients: Stir in the flour, baking soda, and salt directly into the wet mixture. Mix until just combined — don't overwork it or the bars get tough. A few floury streaks are fine; they'll disappear as you fold in the mix-ins.
- Fold in the M&Ms, chips, and sprinkles: Reserve a small handful of M&Ms, a few white chocolate chips, and some sprinkles for the top. Gently fold the rest into the batter. The dough will be thick and sticky — that's normal.
- Spread and top: Press the dough evenly into the prepared pan using your hands or a lightly greased spatula. Scatter the reserved M&Ms, chips, and sprinkles over the top and press them in gently so they stick. This step is what makes them look bakery-level.
- Bake: Bake for 22–25 minutes, until the edges are golden and the center looks just set — it might still have a very slight jiggle. Pull them out even if you're not sure. They will firm up as they cool, I promise.
- Cool completely, then slice: This is the hardest part. Let the bars cool in the pan for at least 45 minutes before slicing. I use a sharp chef's knife and wipe it between cuts for clean edges. Slice into bars of whatever size you like — I usually do 24 squares from one pan.
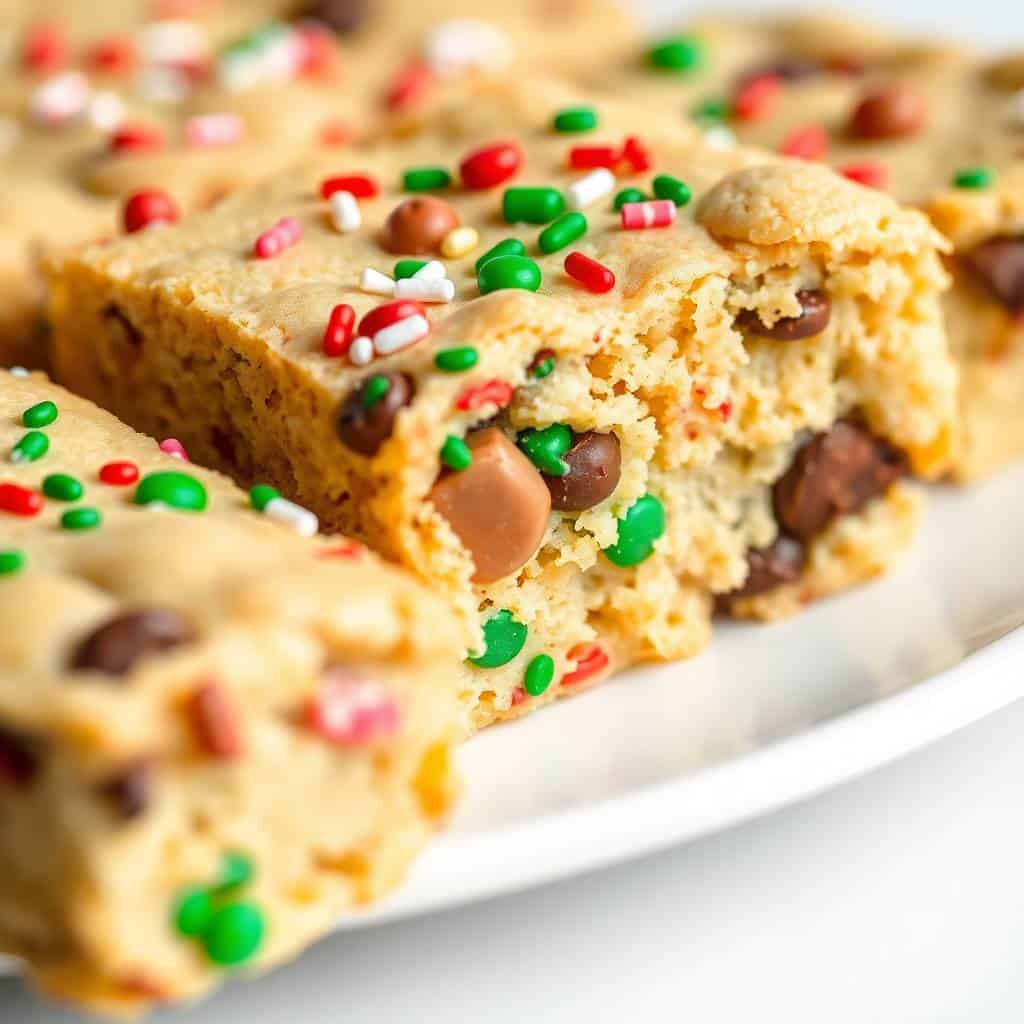
Tips for Success
- Use melted butter, not softened: The WPRM recipe card calls for melted butter specifically, and that's what gives these bars their dense, fudgy chew. I tried making them once with softened butter because I was impatient to melt it, and the texture was noticeably different — more cakey, less chewy. Melt the butter and let it cool for a minute before mixing so you don't accidentally scramble the eggs when you add them.
- Don't overbake — pull them early: I learned this the hard way. Cookie bars keep cooking from residual heat after you take them out of the oven, so if they look perfectly done in the oven, they'll be overbaked by the time they cool. The edges should be golden and the center should look just barely set. If you poke it gently and it doesn't jiggle like liquid, it's ready to come out.
- Line the pan with parchment: I know it feels like an extra step but it makes a real difference. Without parchment, the bars can stick — especially around the edges where the sugar caramelizes. With parchment, you lift the whole slab out, set it on a cutting board, and slice cleanly. I use the standard parchment paper roll from Walmart and it works perfectly.
- Press the dough evenly: The dough is thick, so take a minute to spread it all the way to the corners of the pan. Uneven thickness means the thin spots overbake while the thick center stays underdone. I use damp fingers or a lightly oiled spatula to press it flat — takes about 90 seconds and it's worth doing properly.
- Cool fully before slicing: I know. Waiting is hard. But if you slice these warm, they'll fall apart and look messy. Forty-five minutes on the counter does it, or you can pop the whole pan in the fridge for 20 minutes if you're in a hurry. A sharp knife wiped clean between cuts gives you those neat edges that look great in a gift tin.
Variations
- Crushed candy cane version: Swap half the sprinkles for crushed candy canes and use white chocolate chips only — no M&Ms. The peppermint flavor comes through in a really subtle, not-overwhelming way. This is actually my personal favorite version, and I make it specifically for the adults in the family who find M&Ms a bit too sweet.
- Dark chocolate swap: Replace the white chocolate chips with dark chocolate chips for a deeper, less-sweet bar. My husband prefers this version — he's not a white chocolate person. It also looks more rustic and works well if you're baking for adults rather than kids.
- Dried cranberry and white chocolate: Skip the M&Ms and fold in ½ cup of dried cranberries along with the white chocolate chips. This is the version I'd make if I'm baking for a more grown-up holiday gathering — it feels a bit more elegant and the tartness from the cranberries cuts through the sweetness nicely.
- Frosted finish: Once the bars are completely cooled, spread a thin layer of vanilla buttercream or cream cheese frosting over the top and add another scatter of sprinkles. This makes them look extra special for a cookie exchange. I don't always have time for this step, but when I do, they disappear even faster than usual.
- Gluten-free version: I haven't tested this myself, so I can't promise perfect results, but a 1:1 gluten-free flour (like the Bob's Red Mill or King Arthur versions you'd find at most grocery stores) should work here. The texture might be slightly different but the flavor should hold up. Just double-check that your M&Ms and sprinkles are also gluten-free if that matters for your household.
Serving and Storage
Serving
These bars are sturdy enough to stack on a platter and serve at room temperature — no special presentation required. I usually cut them into 24 squares for parties, or into 12 bigger bars if I'm packing them into gift tins. If you're serving them at a party buffet, line them up on a board with a few extra sprinkles scattered around for visual effect. They also work nicely nestled into paper cupcake liners for individual serving at school events. For a cozy night in, a couple of these alongside a mug of hot cocoa is genuinely one of my favorite December evenings.
Storage
Store cooled bars in an airtight container at room temperature for up to 5 days — they actually get chewier and better on day two. Layer them between sheets of parchment if stacking so the M&Ms don't stick together. For longer storage, freeze in a zip-lock bag or airtight container for up to 2 months. Thaw at room temperature for about 30 minutes and they taste nearly fresh-baked. I always freeze a portion of the second batch specifically so we have them through the holiday week without making another pan.
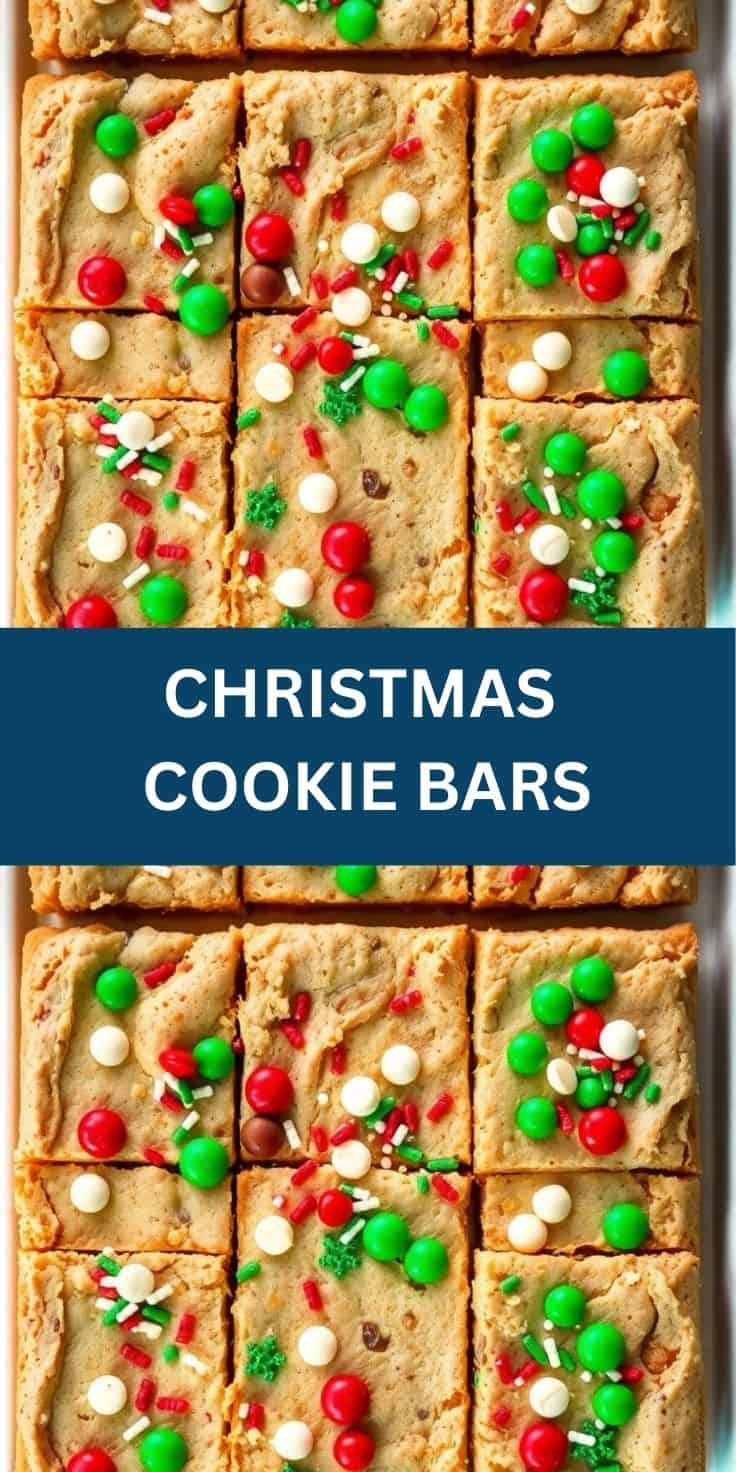
Frequently Asked Questions
Can I make these bars ahead of time?
Yes, and I actually recommend it. These bars taste even better on day two once the flavors have had time to settle. Bake them up to three days ahead and store in an airtight container at room temperature, or freeze them for up to two months. I usually bake my holiday batches a week before I need them and freeze in layers with parchment between them.
Do I need to chill the dough before baking?
No chilling needed at all — that's one of the best things about this recipe. Because the dough goes into a pan rather than being scooped into individual cookies, there's no spreading issue to worry about. Mix, press, bake. You can go from starting the recipe to pulling it out of the oven in under 40 minutes.
My bars came out cakey instead of chewy — what happened?
This usually means the butter was softened instead of melted, or the bars were overbaked. Melted butter is key to that dense, fudgy chew. Also check your oven temperature — ovens can run hotter than they say, and an extra five minutes at a higher temp will dry the bars out. I'd suggest checking at the 22-minute mark the first time you make them.
Can I use different candies or mix-ins?
Absolutely. The base dough is flexible and works with almost any mix-in combination. Dried cranberries, crushed candy canes, chopped pecans, Reese's Pieces, dark chocolate chips — all good options. Just keep the total mix-in volume around 1 to 1½ cups so the dough can hold everything together without falling apart when you slice it.
How do I get clean cuts when slicing?
Two things: let the bars cool completely (warm bars crumble), and use a sharp knife that you wipe clean between each cut. If the M&Ms on top are making it hard to cut smoothly, press the knife down firmly rather than dragging it. Lifting the whole slab out onto a cutting board using the parchment overhang before slicing also helps a lot.
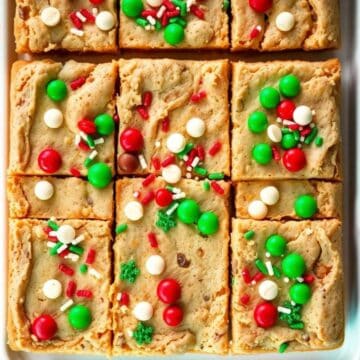
CHRISTMAS COOKIE BARS
Ingredients
- 1 cup unsalted butter melted
- 1 cup light brown sugar packed
- ½ cup granulated sugar
- 2 large eggs
- 2 teaspoons vanilla extract
- 2¼ cups all-purpose flour
- 1 teaspoon baking soda
- ½ teaspoon salt
- ¾ cup red and green M&Ms
- ½ cup white chocolate chips
- ¼ cup holiday sprinkles
Instructions
Prep Oven:
- Preheat oven to 350°F (175°C). Line a 9x13-inch baking pan with parchment paper or grease well.
Make Batter:
- In a large bowl, whisk together melted butter, brown sugar, and granulated sugar. Add eggs and vanilla; mix until smooth.
Dry Ingredients:
- Stir in flour, baking soda, and salt. Mix until combined.
Add the Fun:
- Fold in M&Ms, white chocolate chips, and sprinkles. Reserve a few to press on top before baking.
Bake:
- Spread batter evenly into prepared pan. Press remaining candies and chips on top. Bake for 22–25 minutes, or until golden and set in the middle.
Cool and Cut:
- Let cool completely before slicing into bars.
Notes
Keep in an airtight container at room temperature for up to 5 days or freeze for up to 2 months. Variation:
Add crushed candy canes or swap in dark chocolate chips for a richer flavour.
These bars have become my most-requested December bake — which I did not see coming when I first threw them together out of desperation. I make at least two pans every holiday season: one to give away, one that stays home because my family has made it very clear that gifting the only pan is not acceptable. The fact that they come together in under an hour, start to finish, means I can slot them in between all the other holiday chaos without clearing my whole afternoon.
What I love most is that this recipe is genuinely forgiving. I've forgotten to reserve the topping mix-ins before folding them into the batter (just pressed a few extras straight from the bag onto the top). I've pulled them out at 22 minutes looking nervous and they were fine. I've made them with whatever chocolate chips I had — white, dark, semi-sweet — and they work every time. If you're newer to baking and want something that won't punish small mistakes, this is a good one to start with.
If you're planning a holiday baking day, these pair really well with a pot of something warm on the stove. I sometimes make my creamy butternut squash soup for lunch while the bars bake — the oven's already on, the kitchen smells amazing, and we eat well. And if you need another crowd-friendly dessert for a holiday table, my poke cake uses a similar one-pan, slice-and-serve approach that works for any celebration.
I hope these make your December a little easier and a lot sweeter. Pack them into a tin, bring them to a party, or just eat them standing at the kitchen counter after the kids are in bed — I won't judge. That's my favorite way. 🍪✨
If you liked this recipe, you might also enjoy these:
- Star-Spangled Berry Shortcakes — another easy, crowd-friendly dessert that slices and serves beautifully
- Patriotic Poke Cake — a one-pan dessert with the same easy-to-transport appeal
- Blueberry Cream Cheese French Toast Casserole — for holiday mornings when you want something special with minimal effort
- Velvety Butternut Squash Soup — a cozy winter recipe that pairs perfectly with a baking day
- Honey Garlic Meatballs — if you're hosting and need a savory crowd-pleaser to balance the sweets


Comments
No Comments