
My husband doesn't really love fried food — except for this one. The first time I made chicken chimichangas, he ate two in one sitting and then asked if there were more. There weren't. I've been making a double batch ever since.
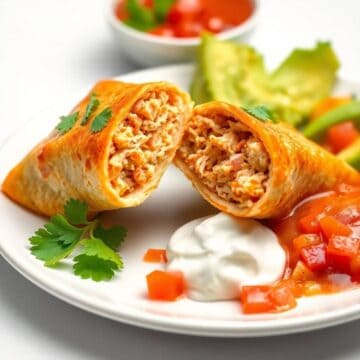
What I love about this recipe is how forgiving it is. The filling comes together in one bowl — shredded chicken, black beans, cheese, and a handful of spices you probably already have in your pantry. I use rotisserie chicken from Costco because it saves me 40 minutes and honestly tastes just as good as cooking the chicken myself. The tortillas get pan-fried until they're golden and crackly on the outside, and inside everything melts together into something genuinely satisfying.
I make these on nights when I want something that feels a little more special than a regular weeknight dinner but I don't have the energy for a complicated recipe. They pair well with a simple side — if you want something easy alongside, my Barbecue Chicken Street Corn Tacos post has a great quick pickled jalapeño trick that works beautifully as a topping here too. Saad loads his with sour cream and salsa. My husband skips the toppings entirely and just eats them straight off the plate.
One thing to know going in: these are pan-fried, not deep-fried. I use about 2 tablespoons of oil in a skillet, cook them seam-side down first so they seal up, then turn them until every side is golden. You don't need a deep fryer or a bucket of oil. A regular heavy skillet works perfectly — I use a cast iron one I picked up for under $25 and it gives a beautiful crust every time.
Why You'll Love This Recipe
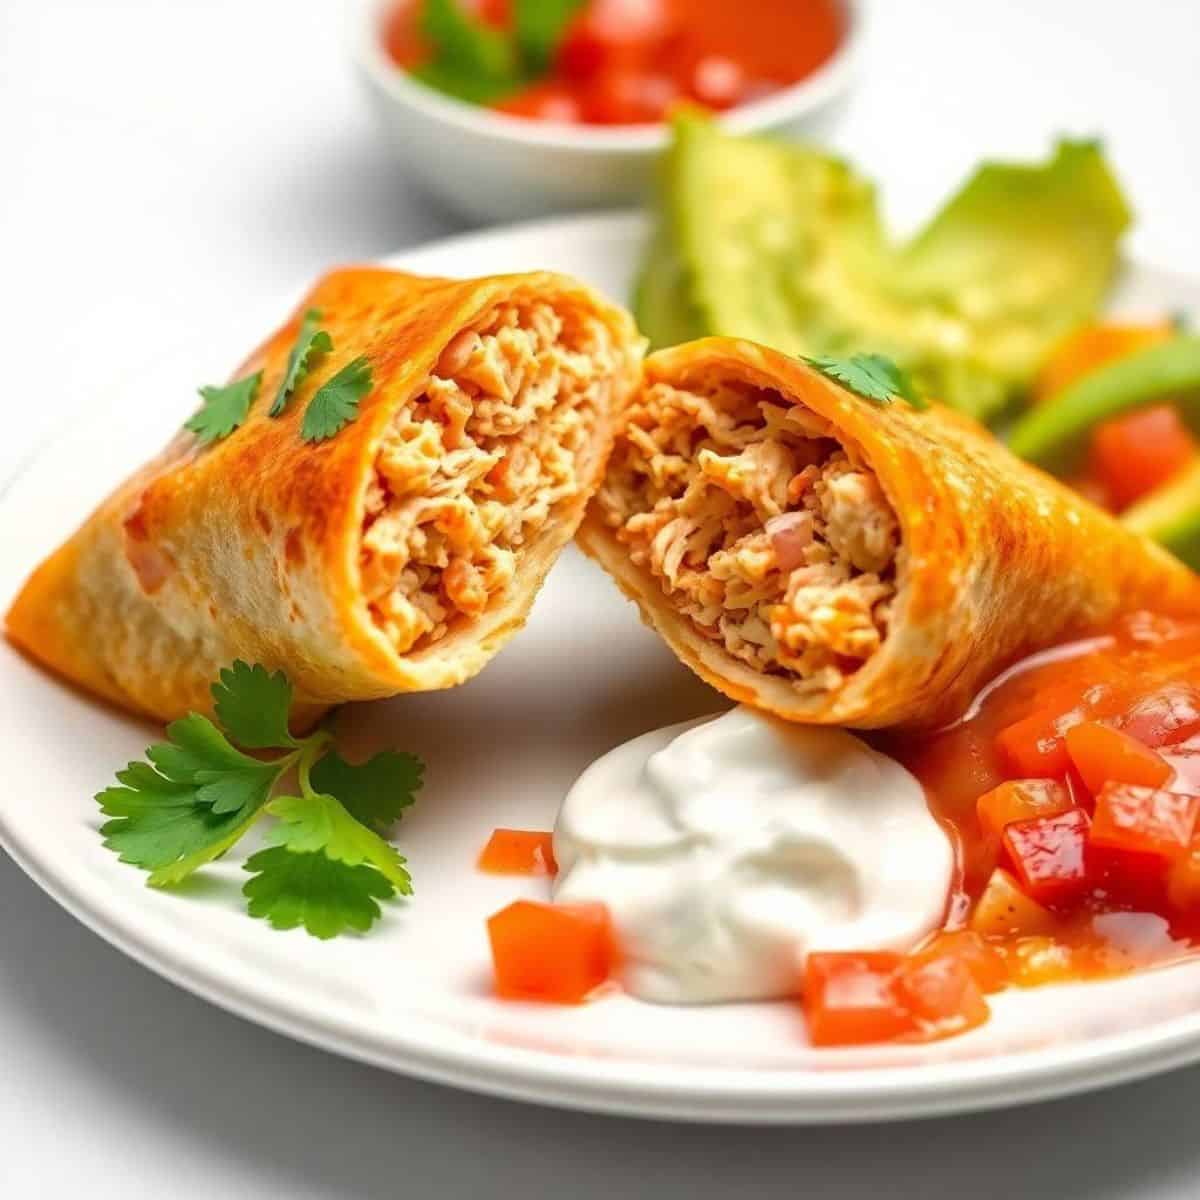
- Ready in under 30 minutes: From bowl to plate, this comes together fast. I mix the filling while the tortillas warm up, then fry four chimichangas in two quick batches. It moves quickly enough that I can make these on a school night without stressing about the clock.
- Crispy outside, melty inside: The contrast is what makes these work. The tortilla gets this crackly golden shell while the cheese and chicken inside stay soft and warm. Getting that texture right took me a couple of tries — more on that in the tips section.
- Rotisserie chicken makes it weeknight-friendly: I don't cook the chicken from scratch for this. A store-bought rotisserie bird gives you exactly the right texture — already tender, easy to shred, and well-seasoned. It cuts the prep down to about 10 minutes of actual work.
- Filling is easy to adjust: I've made this with cheddar, with Monterey Jack, and with a pre-shredded Mexican blend from the store — all of them work. You can add rice, swap the beans, toss in jalapeños if you want heat. The base recipe is solid enough to take whatever direction you want to take it.
- Works as a make-ahead meal: I've assembled these in the morning, wrapped them in plastic wrap, and fried them at dinner. They hold together well in the fridge for up to a day before frying. It's one of those recipes that actually rewards a little planning ahead.
Ingredients
- 2 cups cooked, shredded chicken (rotisserie chicken works great)
- 1 cup shredded cheese (cheddar, Monterey Jack, or a Mexican blend)
- ½ cup black beans, drained and rinsed
- ¼ cup onion, finely chopped
- 1 teaspoon ground cumin
- 1 teaspoon chili powder
- ½ teaspoon garlic powder
- Salt and pepper to taste
- 4 large flour tortillas
- 2 tablespoons olive oil (for frying — or vegetable oil works fine)
- ¼ cup sour cream, for topping
- ¼ cup salsa, for topping
- ¼ cup guacamole, optional
- Fresh cilantro for garnish, optional
Directions
- Make the filling: In a large bowl, combine the shredded chicken, cheese, black beans, chopped onion, cumin, chili powder, garlic powder, salt, and pepper. Stir everything together until evenly mixed. Taste it here — this is your only chance to adjust seasoning before everything gets wrapped up.
- Warm the tortillas: Microwave the flour tortillas for 15-20 seconds to make them pliable. Cold tortillas crack when you try to roll them, and then your filling spills out into the oil. I learned that the hard way on my first batch.
- Assemble the chimichangas: Lay one tortilla flat on your work surface. Spoon about ½ cup of the filling into the center. Fold in the two sides, then roll from the bottom up like a burrito, keeping it tight. Press the seam side down onto your plate while you assemble the rest.
- Heat the oil: Heat 2 tablespoons of olive oil in a large heavy skillet over medium heat. You want the oil hot enough that a tiny piece of tortilla sizzles immediately when it touches the pan. If the oil is too cool, the chimichangas absorb it and go greasy instead of crispy.
- Fry the chimichangas: Place them seam-side down in the skillet first — this seals the fold so they don't open up. Cook 3-4 minutes per side, turning with tongs, until all four sides are golden and crispy. Work in batches if your pan is small; crowding them causes steaming instead of frying.
- Drain and serve: Transfer to a paper towel-lined plate for a minute to catch any excess oil. Serve hot with sour cream, salsa, guacamole, and cilantro if you like.
Tips for Success
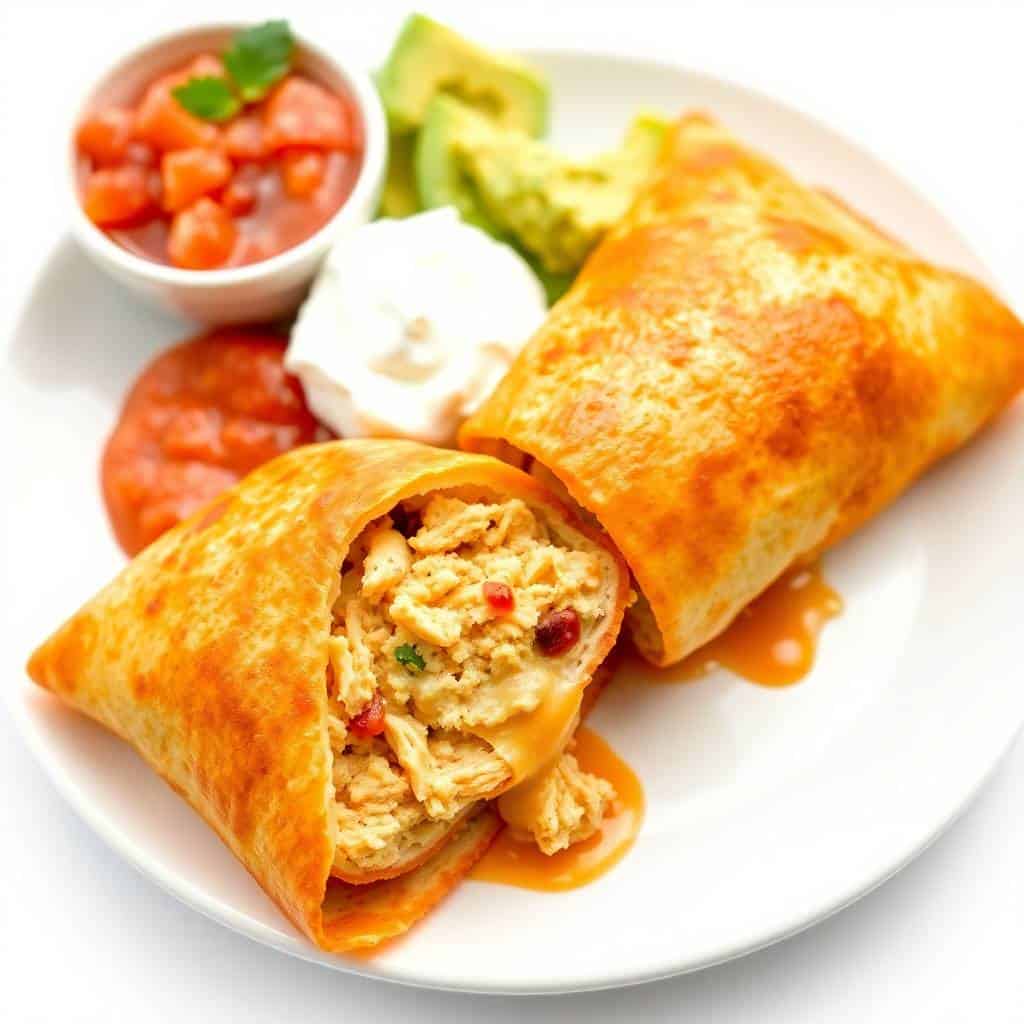
- Don't skip warming the tortillas: I mentioned this in the directions but it's worth repeating. Cold flour tortillas crack at the edges when you fold them, and once they crack, the filling escapes into the hot oil and makes a mess. 15 seconds in the microwave under a damp paper towel is all it takes.
- Don't overfill: Half a cup of filling per chimichanga is about right. My instinct the first time was to pack them as full as possible — bad idea. Overfilled chimichangas don't roll tight enough, they burst at the seams in the pan, and the whole thing falls apart. Less filling rolls cleaner and actually stays together.
- Start seam-side down: Always place them seam-side down in the oil first. This welds the fold shut with heat so it doesn't unravel when you flip. If you skip this and put them in at a random angle, they'll open up and your filling will leak out into the pan.
- Medium heat, not high: The first time I tried to rush these by cranking the heat up too high, the outside burned before the cheese inside had a chance to melt properly. Medium heat gives you a steady golden crust without scorching. It takes a little longer but the result is much better.
- Bake them if you prefer: Brush the assembled chimichangas lightly with olive oil, place them on a sheet pan seam-side down, and bake at 400°F for 20-25 minutes, flipping halfway through. They don't get quite as crackly as pan-fried, but they're still really good and a lot less hands-on.
Variations
- Spicy version: Add ¼ cup of diced pickled jalapeños to the filling, or stir in a teaspoon of hot sauce with the spices. My husband does this every single time. The heat cuts through the richness of the cheese really nicely. If your kids are eating too, just set the jalapeños on the side so everyone can customize.
- Vegetarian chimichangas: Skip the chicken and double the beans — use both black beans and pinto beans, and add sautéed bell peppers and zucchini. Season everything the same way. This is actually a really filling vegetarian option, not a watered-down version. I've made it for meatless Mondays and nobody complained.
- BBQ chicken chimichangas: Replace the cumin and chili powder with 3 tablespoons of your favorite BBQ sauce mixed into the chicken. The sweet smoky flavor works surprisingly well wrapped in a crispy tortilla. This is a great option if you're cooking for kids who find the spiced version too strong.
- Extra cheesy: Add a second layer of shredded cheese on top of the chimichangas right after they come out of the pan while they're still hot, then cover loosely with foil for one minute so it melts. It's completely over the top and Saad thinks it's the best version. I'm not going to argue with him.
- With rice inside: Stir in ½ cup of cooked rice to the filling along with the chicken and beans. It makes the chimichangas more substantial and stretches the recipe further if you're feeding more people. In Pakistan, wrapping rice inside something isn't common, but my family here loves this version — it reminds them of a fully loaded burrito.
Serving and Storage
Serving
Serve these hot, straight from the pan. Set out small bowls of sour cream, salsa, and guacamole so everyone can top their own — it makes dinner feel a little more interactive. I usually put out some fresh cilantro too, though my kids ignore it entirely. If you want a proper side dish, these Mongolian Ground Beef Noodles are a wildly different cuisine pairing but somehow both get demolished at the same dinner at my house. For something simpler, a basic green salad or a scoop of Mexican rice works well.
Storage
Leftover chimichangas keep in an airtight container in the fridge for up to 3 days. To reheat, put them in a 350°F oven for 10-12 minutes — this brings the crust back to life in a way the microwave just can't. The microwave makes them soft and a little soggy, so I avoid it unless I'm in a real hurry. To freeze, wrap assembled but unfried chimichangas individually in plastic wrap, then in foil, and freeze for up to 2 months. Bake straight from frozen at 375°F for 25-30 minutes, flipping once.
Frequently Asked Questions
Can I assemble these ahead of time?
Yes, and I do this regularly. Assemble them, wrap each one in plastic wrap, and refrigerate for up to 24 hours. When you're ready to eat, unwrap and fry them straight from the fridge — just give the oil an extra minute to heat up properly since they'll be cold going in.
Can I use corn tortillas instead of flour?
You can, but corn tortillas are more fragile and tend to crack when you roll them. If you want to try it, warm them in a damp paper towel in the microwave for about 30 seconds first to make them as pliable as possible, and fill them a little less than you would a flour tortilla. Flour tortillas are genuinely easier here and give a better crust.
Can I bake these instead of frying?
Yes. Brush or spray the assembled chimichangas with olive oil, place them seam-side down on a sheet pan, and bake at 400°F for 20-25 minutes, flipping halfway through. They won't be quite as crackly as pan-fried, but they're still genuinely good and a lot less hands-on if you're making a big batch.
Can I freeze chicken chimichangas?
Absolutely. Assemble them but don't fry them. Wrap each one individually in plastic wrap and then in foil, and freeze for up to 2 months. When you want to eat them, bake straight from frozen at 375°F for 25-30 minutes until heated through and golden. This is genuinely one of the better freezer meals I've found — they come out almost as good as fresh.
What's the best cheese to use?
A pre-shredded Mexican blend from Walmart or any grocery store is what I use most of the time — it melts well and has a little sharpness from the cheddar in it. Monterey Jack melts beautifully and gives a mild, creamy result. Sharp cheddar alone works but can get a little greasy. Avoid anything pre-sliced or processed — it doesn't melt the same way inside the filling.
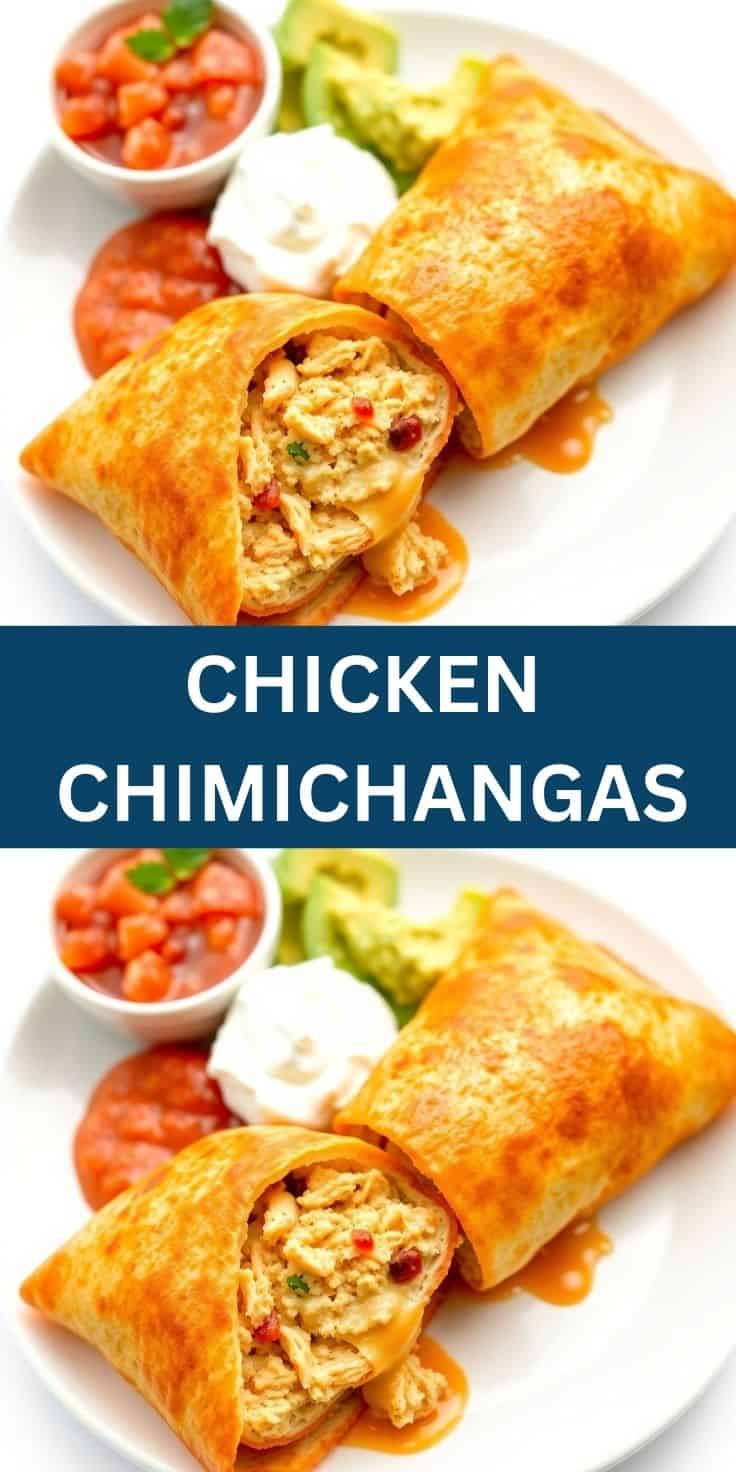
These chimichangas are one of those recipes I keep coming back to because they deliver every time without requiring much from me on a busy evening. The filling takes ten minutes to throw together, the frying goes fast, and the result is genuinely satisfying in a way that simple ingredients don't always produce. This isn't traditional Mexican food — I'll be clear about that. It's Tex-Mex at home, made in a normal kitchen with a regular skillet and a bag of rotisserie chicken. And that's exactly what makes it work.
If you're making these for the first time, I'd say start with the basic recipe exactly as written before you start customizing. Get a feel for how they roll, how the oil temperature works, how fast they color. Once you've made them once, you'll know where you want to take them — more heat, different beans, extra cheese, baked instead of fried. The base recipe is flexible enough to handle all of it.
On the nights I serve these, dinner gets eaten fast and quietly, which in my house is the highest possible compliment. If you want another easy weeknight dinner with a similar satisfying energy, the beef stew variations post on this site has some genuinely great options depending on what equipment you're working with. But for tonight — make the chimichangas. 🌯✨
If you liked this recipe, here are a few more you might want to try:
- Barbecue Chicken Street Corn Tacos (Ready in 30 Minutes)
- Mongolian Ground Beef Noodles
- Beef Stew Variations (Classic, Slow Cooker, Instant Pot, and More)
- Brown Sugar Glazed Carrots (One-Pan Side Everyone Loves)
- Breakfast Stuffed Puff Pastry Bars (Flaky, Cheesy and Freezer-Friendly)
CHICKEN CHIMICHANGAS
Ingredients
- 2 cups cooked shredded chicken (rotisserie chicken works well)
- 1 cup shredded cheese cheddar, Monterey Jack, or Mexican blend
- ½ cup black beans drained and rinsed
- ¼ cup onion finely chopped
- 1 teaspoon ground cumin
- 1 teaspoon chili powder
- ½ teaspoon garlic powder
- Salt and pepper to taste
- 4 large flour tortillas
- 2 tablespoon olive oil for frying
- ¼ cup sour cream for topping
- ¼ cup salsa for topping
- ¼ cup guacamole optional for topping
- Fresh cilantro for garnish optional
Instructions
- In a large bowl, combine the shredded chicken, cheese, black beans, onion, cumin, chili powder, garlic powder, salt, and pepper. Stir to mix everything together.
- Warm the flour tortillas in the microwave for 15-20 seconds to make them more pliable.
- Place a generous amount of the chicken mixture in the center of each tortilla, then fold in the sides and roll it up tightly into a burrito shape.
- In a large skillet, heat olive oil over medium heat. Once hot, add the chimichangas seam-side down and cook for about 3-4 minutes per side, until golden brown and crispy.
- Remove the chimichangas from the skillet and place them on a paper towel-lined plate to drain excess oil.
- Serve the chimichangas hot with a dollop of sour cream, salsa, guacamole, and a sprinkle of fresh cilantro, if desired.
Notes
- You can bake the chimichangas instead of frying them for a healthier version. Brush them lightly with olive oil and bake at 400°F (200°C) for 15-20 minutes, flipping halfway through.
- For a spicier kick, add diced jalapeños to the chicken mixture or top with hot salsa.
- If you prefer a more vegetarian version, you can omit the chicken and use sautéed vegetables like bell peppers, zucchini, and mushrooms.
- These chimichangas can be made ahead of time and frozen for later. Just wrap them tightly in foil or plastic wrap and store in the freezer. To reheat, bake at 375°F for 20-25 minutes until heated through.



Comments
No Comments