
I made these chicken alfredo lasagna rolls for the first time on a random Tuesday when I had leftover rotisserie chicken sitting in the fridge and no plan for dinner. I expected them to be fine — something to use up the chicken — and instead my husband went back for thirds and asked me to put it on permanent rotation. That doesn't happen often.
What I like about this recipe is the format. Regular lasagna is great but it's a slab — you cut it, it slides, the layers shift. These rolls stay neat. Everyone gets their own portion, the filling-to-noodle ratio is the same in every single one, and somehow they feel a bit more intentional on the plate even though they take roughly the same effort as a regular bake. I'm not saying it's fancy. I'm saying it looks like you tried harder than you did.
My family eats this about once a month now. If you want something even easier on a weeknight, my Dump and Bake Chicken Fajita Casserole is even less assembly work — but for nights when I want something a little more satisfying, I come back to these rolls. Saad declared the leftovers "better than the first day," which is high praise from an eight-year-old who usually forgets what he ate twenty minutes ago.
One thing to set expectations on: this is not a quick 20-minute dinner. The rolling and assembling takes a bit of time, especially if you're doing it for the first time. Budget about 20 minutes of prep and 35-40 minutes of baking. On the upside, you can assemble these the night before and just pop them in the oven when you get home — which is how I usually do it now.
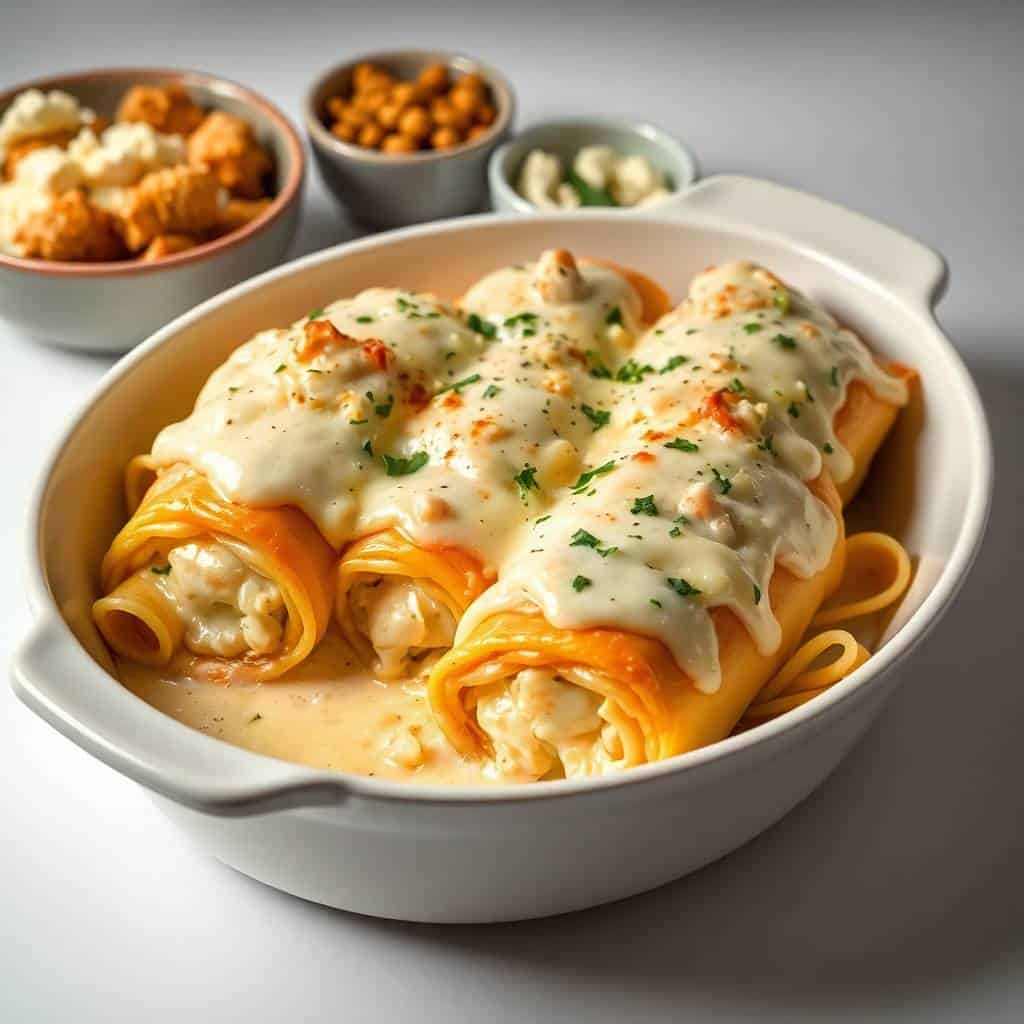
Why You'll Love This Recipe
- Individual portions that actually hold together: Regular lasagna has a way of collapsing when you serve it — especially if it hasn't rested long enough, which in my house it never has. These rolls stay contained because each one is its own unit. You lift them out with a spatula and they hold their shape on the plate. No sad sliding layers, no messy serving spoon situation.
- Uses rotisserie chicken or any leftover cooked chicken: This recipe was basically designed for that half-eaten rotisserie chicken sitting in your fridge. I've also used leftover baked chicken thighs, shredded grilled chicken, even canned chicken in a pinch. The filling absorbs the seasonings well enough that the original cooking method doesn't really matter.
- Make-ahead friendly in a real way: I assemble the whole dish the night before, cover it with plastic wrap, and refrigerate it. In the morning I move it to the counter about 30 minutes before baking so it's not ice cold going into the oven. This genuinely reduces my evening stress. It's one of those dishes where doing the work ahead of time doesn't sacrifice anything.
- Freezes well before baking: I've frozen a full assembled dish (unbaked, wrapped tightly in foil) and baked it from frozen — just add about 20 extra minutes covered and then uncover to brown. It's exactly the kind of thing I like to have in the freezer for weeks when cooking feels impossible.
- Store-bought alfredo works completely fine here: I know there are people who will insist you must make homemade alfredo. I've done both. The jarred Rao's or even the Walmart store brand works well when it gets baked with the cheese — the oven does a lot of the work and it all melds together. On days when I have ten extra minutes, I'll make a quick pan sauce. But on a Tuesday? Jarred is fine.
Ingredients
- 9 lasagna noodles, cooked al dente and drained
- 2 cups cooked chicken, shredded (rotisserie works great)
- 1 ½ cups ricotta cheese
- 2 cups shredded mozzarella cheese, divided
- ½ cup grated Parmesan cheese
- 2 cups alfredo sauce, store-bought or homemade
- 2 cloves garlic, minced
- 1 teaspoon Italian seasoning
- Salt and pepper to taste
- Fresh parsley, chopped (optional, for garnish)
Directions
- Preheat and prep the dish: Preheat your oven to 375°F (190°C) and grease a 9×13-inch baking dish. Spread a thin layer of alfredo sauce on the bottom of the dish — this keeps the rolls from sticking and adds sauce to the underside as they bake.
- Make the filling: In a large bowl, combine the shredded chicken, ricotta, 1 cup of the mozzarella, minced garlic, Italian seasoning, salt, and pepper. Mix until everything is evenly distributed. The filling should be thick and scoopable, not runny — if your ricotta is very wet, drain it through a strainer for a few minutes first.
- Lay out and dry the noodles: Lay your cooked lasagna noodles flat on a clean baking sheet or cutting board. Pat each one dry with paper towels. This is a step I skipped the first time and ended up with watery rolls — the moisture from the noodles thins out the filling and makes the rolls harder to seal.
- Assemble the rolls: Spread 2–3 tablespoons of the chicken filling evenly over each noodle, leaving about half an inch at the far end so it doesn't squeeze out when you roll. Roll each noodle tightly from one end to the other and place seam-side down in the prepared baking dish.
- Add sauce and cheese: Pour the remaining alfredo sauce evenly over the top of all the rolls, making sure the ends are covered so they don't dry out. Sprinkle the remaining 1 cup of mozzarella and all the Parmesan over the top.
- Bake: Cover the dish tightly with foil and bake for 25 minutes. Remove the foil and bake for another 10–15 minutes until the cheese is bubbly and lightly golden on top. Don't skip uncovering it — that last stretch without the foil is what gives you the slightly browned, cheesy top.
- Rest and serve: Let the dish sit for 5–10 minutes before serving. I know it's tempting to dig straight in, but it genuinely helps everything set so the rolls don't fall apart when you lift them. Garnish with fresh parsley and serve warm.
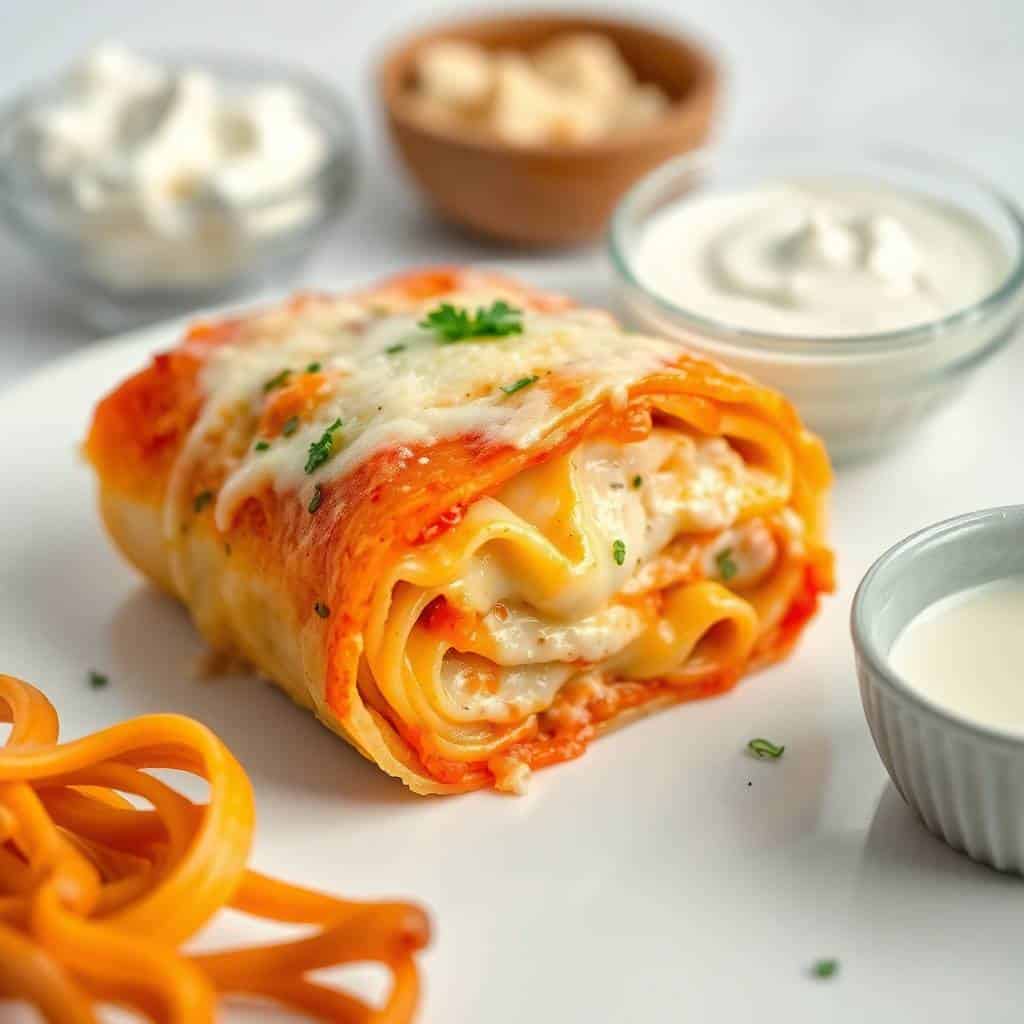
Tips for Success
- Cook noodles al dente, not fully soft: The noodles continue cooking in the oven, so if they're already fully soft when you roll them, they'll turn mushy by the time the dish is done. Pull them out when they're just barely tender — still with a little bite. I usually shave 2 minutes off whatever the box says.
- Don't overfill the rolls: My first batch I was generous with the filling because I wanted maximum cheese-to-noodle ratio. Half of them burst open in the oven and the filling spilled into the sauce. Two to three tablespoons per noodle is actually enough — the ricotta puffs a little as it bakes and fills out the roll nicely.
- Pat the noodles dry before filling: I mentioned this in the directions but it deserves its own callout. Wet noodles make the filling slide around and the whole roll is harder to handle. Give each noodle a quick pat with a paper towel — it takes 30 seconds and makes a real difference.
- Cover the ends with sauce: The ends of the rolls are the most exposed part and they dry out first if they're not covered. Make sure you spoon sauce over the ends, not just the tops. I sometimes even tuck the rolls in close together in the dish so they're touching — this also helps them stay sealed during baking.
- Let cold cheese come to room temperature before mixing: I learned this with a different recipe but it applies here too — cold ricotta straight from the fridge is stiff and doesn't mix as smoothly. Let it sit out for 15 minutes while your noodles cook. The filling comes together much more evenly and is easier to spread.
Variations
- Spinach and chicken: Add about 1 cup of cooked, well-squeezed spinach to the filling. The key is squeezing out as much water as possible — I roll it in a clean dish towel and wring it out. It adds a little color to the filling and my husband barely notices it's there, which is a win. This pairs nicely with the garlic and Italian seasoning already in the recipe.
- Pesto alfredo twist: Stir 2–3 tablespoons of basil pesto into your alfredo sauce before pouring it over the rolls. It turns the sauce a beautiful pale green and adds a herby brightness that cuts through the richness of the cheese. I started doing this when I had a half-used jar of pesto that needed to be finished — now I do it on purpose.
- Vegetarian version: Skip the chicken and use a mix of sautéed mushrooms and zucchini instead. Cook them down until most of the moisture is gone before adding to the ricotta — you don't want a watery filling. I've made this version for a friend who doesn't eat meat and she asked for the recipe, so it holds up on its own.
- Spicy version: Add ½ teaspoon of crushed red pepper flakes to the filling and another pinch to the sauce. It doesn't make it fiery, just gives it a gentle heat that balances the richness. My husband always adds more chili to his plate anyway, but building it into the recipe means the whole dish has a little warmth from the start.
- Different cheese combination: Try swapping half the mozzarella for provolone or fontina. Both melt well and have a slightly more interesting flavor than plain mozzarella. I've also used smoked mozzarella once, which gave the whole dish a subtle smokiness — unexpected but genuinely good. If you're a fan of bold cheese flavors, these small swaps make a noticeable difference.
Serving and Storage
Serving
I usually serve two rolls per adult and one for each kid, with garlic bread on the side and a simple green salad. The rolls are filling — they're basically a compact portion of lasagna — so you don't need much else. If I'm serving guests, I'll also do Spicy Garlic Parmesan Grilled Shrimp as a starter to round out the meal. A squeeze of lemon over the finished rolls right before serving also brightens everything up if you want a little freshness against the cream sauce.
Storage
Leftovers keep in an airtight container in the fridge for up to 4 days. To reheat, I put them in a small baking dish, add a splash of water or extra alfredo sauce so they don't dry out, cover with foil, and warm at 350°F (175°C) for about 15 minutes. Microwaving works too for a single portion — cover it loosely so the steam keeps the noodles from drying out. For freezing, assemble the whole dish, cover tightly with foil (don't bake), and freeze for up to 3 months. Bake from frozen covered at 375°F for about 45–50 minutes, then uncover for the last 15.
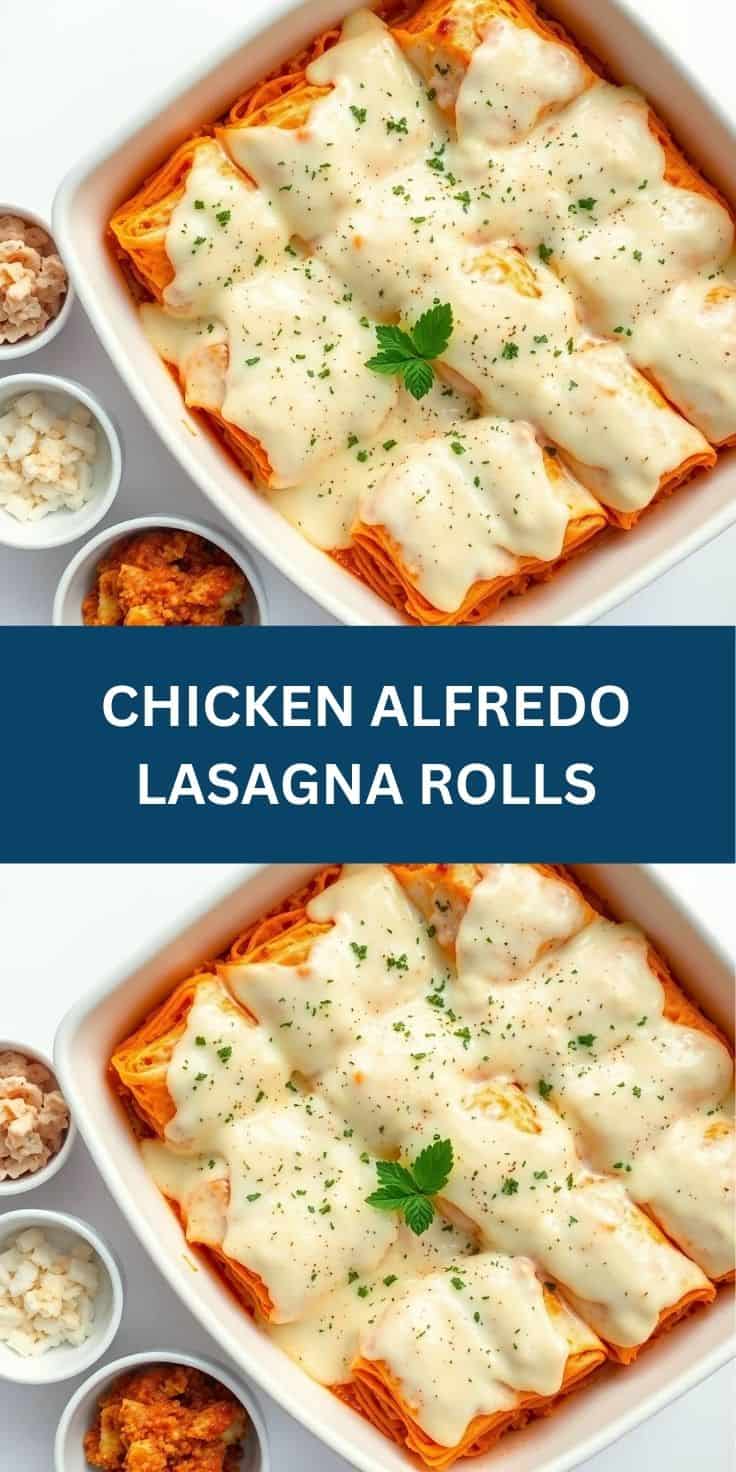
Frequently Asked Questions
Can I assemble these the night before and bake the next day?
Yes, and honestly this is how I prefer to do it. Assemble everything, pour the sauce and cheese on top, cover the dish tightly with plastic wrap, and refrigerate overnight. Take it out about 30 minutes before baking so it's not stone cold going into the oven — that helps it heat through evenly without overcooking the cheese on top.
Can I use jarred alfredo sauce instead of homemade?
Absolutely. I use jarred sauce regularly for this recipe. Rao's is my go-to when I can find it, but the store brand from Walmart or Aldi works just fine once it's baked with the cheese — everything melds together in the oven and you really can't tell the difference. Homemade is slightly richer if you have the time, but don't stress over it.
Can I freeze these before baking?
Yes — assemble the whole dish, pour the sauce and cheese on top, cover with foil, and freeze for up to 3 months. When you're ready to bake, go straight from freezer to oven at 375°F, covered, for about 45–50 minutes, then uncover for 15 more to brown the cheese. I make a double batch specifically so one goes in the freezer for a week when I know I won't have time to cook.
Can I use no-boil lasagna noodles for rolling?
I wouldn't. No-boil noodles are more brittle and tend to crack when you try to bend and roll them — I broke several when I tried this once. Regular lasagna noodles cooked al dente are much more flexible and hold their shape through the rolling and baking. It's worth the extra step of boiling them.
How do I reheat leftovers without drying them out?
The oven method works best: put the rolls in a baking dish, add a spoonful of extra alfredo sauce or a splash of water, cover tightly with foil, and heat at 350°F for about 15 minutes. The foil traps the steam and keeps everything moist. If you're microwaving a single portion, cover it with a damp paper towel — it takes about 2 minutes and does a decent job of keeping the noodles from turning rubbery.
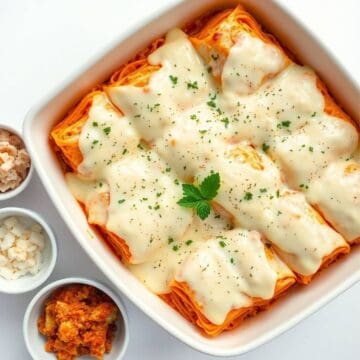
CHICKEN ALFREDO LASAGNA ROLLS
Ingredients
- 9 lasagna noodles cooked and drained
- 2 cups cooked chicken shredded
- 1 ½ cups ricotta cheese
- 2 cups shredded mozzarella cheese divided
- ½ cup grated Parmesan cheese
- 2 cups Alfredo sauce store-bought or homemade
- 2 cloves garlic minced
- 1 teaspoon Italian seasoning
- Salt and pepper to taste
- Fresh parsley chopped (optional, for garnish)
Instructions
- Preheat Oven: Preheat oven to 375°F (190°C). Grease a 9×13-inch baking dish.
- Prepare Filling: In a bowl, mix shredded chicken, ricotta, 1 cup mozzarella, garlic, Italian seasoning, salt, and pepper.
- Assemble Rolls: Spread 2 tablespoons of Alfredo sauce on each cooked lasagna noodle. Spread filling evenly over noodles and roll up tightly.
- Arrange in Dish: Place rolls seam-side down in the prepared baking dish. Pour remaining Alfredo sauce over the top. Sprinkle with remaining mozzarella and Parmesan cheese.
- Bake: Cover with foil and bake for 25 minutes. Remove foil and bake an additional 10–15 minutes until cheese is melted and bubbly.
- Serve: Garnish with chopped parsley and serve warm.
Notes
- Make Ahead: Prepare rolls and cover with sauce, refrigerate for up to 24 hours before baking.
- Add Veggies: Spinach or sautéed mushrooms can be added to the filling for extra nutrition.
- Serving Suggestion: Serve with garlic bread and a side salad for a complete meal.
This is one of those recipes I keep coming back to because it consistently works. I've made it when I was tired and not paying close attention, I've made it as a freezer meal, I've made it for a dinner with friends who don't cook much and they wanted the recipe before they left. It's not the most complicated thing I make, but it delivers every single time.
If you're someone who finds regular lasagna intimidating because of the layering, these rolls are actually easier to assemble in my experience — each noodle is its own self-contained unit, so there's no juggling of sauce layers and trying to spread filling evenly across a whole pan. And if you want another easy rolled-and-filled idea for a party or snack spread, my Chicken Caesar Pinwheels use a similar concept and come together even faster.
I usually make a double batch when I know the week ahead is going to be busy — one goes on the table that night, one goes in the freezer. Future-me is always grateful. If you try these and make any of the variations, I'd genuinely love to know what worked for you. The pesto-alfredo version in particular is one I think more people need to try. 🍝❤️
If you liked this recipe, here are a few more from my kitchen that might be worth your time:
- Dump and Bake Chicken Fajita Casserole (Easy One-Dish Dinner)
- Chicken Caesar Pinwheels
- Spicy Garlic Parmesan Grilled Shrimp with Lemon-Herb Aioli
- Blueberry & Cream Cheese French Toast Casserole
-
{"@context":"https://schema.org","@type":"Article","headline":"CHICKEN ALFREDO LASAGNA ROLLS","description":"Chicken Alfredo lasagna rolls are creamy, cheesy, and filled with tender chicken—a comforting, delicious twist on classic lasagna.","datePublished":"2025-10-11T09:43:58+00:00","dateModified":"2026-05-03T20:51:59+00:00","author":{"@type":"Person","name":"Sana Umer","url":"https://forfoodiefriends.com/about/","description":"Self-taught home cook with 10+ years of kitchen experience. Mom of two who develops every recipe in her own kitchen.","jobTitle":"Recipe Developer & Food Blogger","image":"https://forfoodiefriends.com/wp-content/uploads/sana-umer-author-photo.jpg"},"publisher":{"@type":"Organization","name":"For Foodie Friends","url":"https://forfoodiefriends.com/","logo":{"@type":"ImageObject","url":"https://forfoodiefriends.com/wp-content/uploads/forfoodiefriends-logo.png"}},"mainEntityOfPage":{"@type":"WebPage","@id":"https://forfoodiefriends.com/chicken-alfredo-lasagna-rolls/"},"image":"https://forfoodiefriends.com/wp-content/uploads/2025/08/CHICKEN-ALFREDO-LASAGNA-ROLLS.jpg"}




Comments
No Comments