
Every Fourth of July, I make something that looks like I spent hours in the kitchen but actually comes together in under 30 minutes. These cherry pie stars have been on our table for the last three years in a row — little star-shaped hand pies with flaky pastry and that dark, glossy cherry filling inside. The first time I made them, Zainab asked me if I bought them from a bakery. That's the reaction I live for.
What makes these work is that they're genuinely simple. Two refrigerated pie crusts, a can of cherry filling, one egg, and a star cookie cutter. That's it. I press the edges with a fork, brush them with egg wash, and the oven does everything else. No lattice work, no crimping, no pastry skills required. I've made these on hectic summer mornings when I had a cookout starting in two hours and I needed something that looked intentional.
My husband usually doesn't pay much attention to desserts — he's more of a biryani-before-sweets person — but he eats three or four of these in one sitting, which tells me everything I need to know. Zainab loves helping cut out the stars. Saad's job is taste-testing, which he takes very seriously. If you're looking for something fun to bake before a summer party, this is a good one to try alongside some other crowd favorites like my Kool-Aid gummy treats — kids absolutely go wild for that table.
One thing I'll say upfront: don't skip chilling the shaped pies before baking. I skipped it twice and they spread slightly and lost that crisp star shape. Ten minutes in the fridge makes a visible difference. Also, one teaspoon of filling per pie is enough — I overstuffed my first batch and had cherry lava all over the parchment paper. Delicious but messy.
Why You'll Love This Recipe
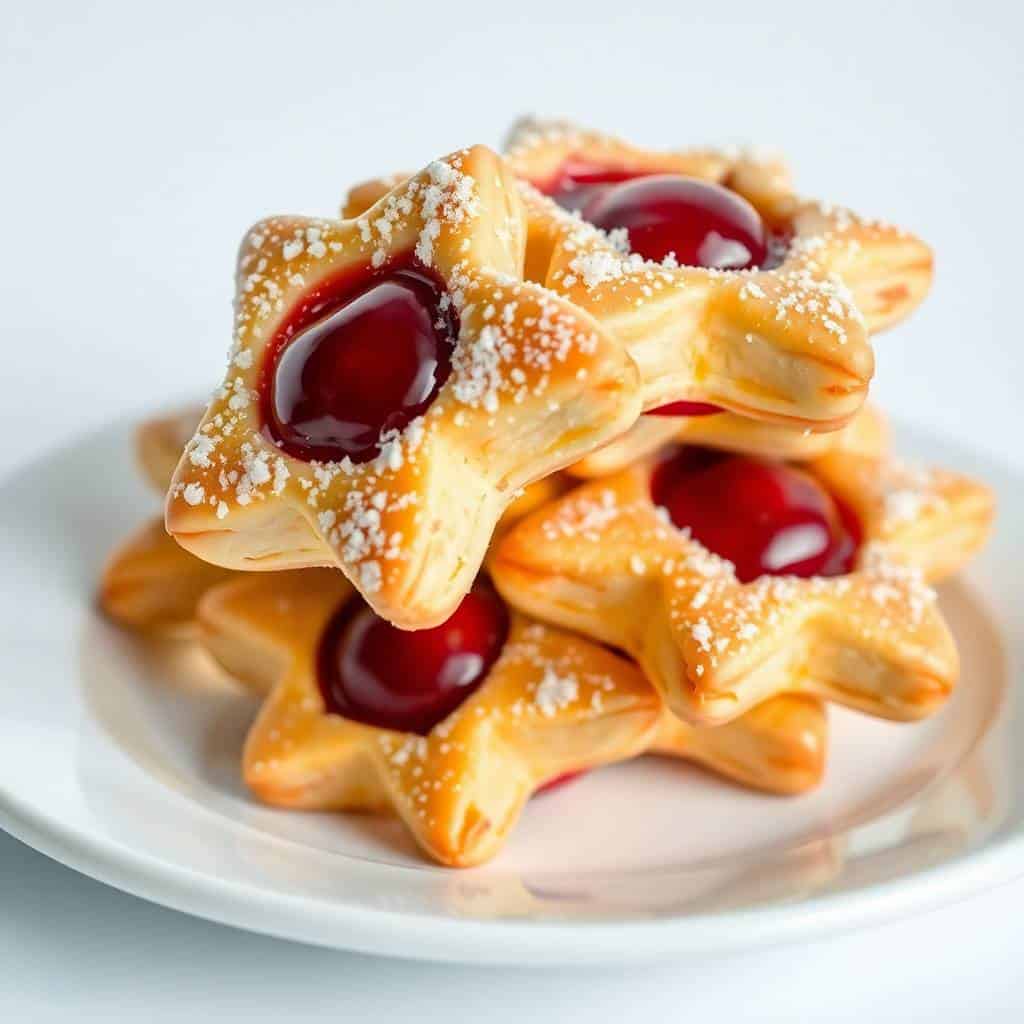
- They actually hold their shape: Star-shaped hand pies look impressive on a dessert table, and people always reach for them first. I've brought these to three different Fourth of July parties and they're gone before the burgers are done. The shape is what makes them feel special even though the technique is completely straightforward.
- Store-bought shortcuts that don't taste like shortcuts: I use Pillsbury refrigerated pie crusts most of the time, which you can find at Walmart, Kroger, or any grocery store. Once they're baked with egg wash and coarse sugar on top, they taste genuinely buttery and flaky. Nobody at the party will know you didn't roll your own dough, and I'm not going to tell them either.
- No plates, no forks, no mess: These are proper hand pies — you pick them up and eat them standing by the grill. For outdoor parties and picnics, that's a huge deal. I've spent too many summers chasing paper plates in the wind. These travel well, stack in a container, and kids can eat them without supervision after the first minute.
- Ready in under 30 minutes: I've made a full batch — around 12 pies — in 25 minutes from a cold kitchen start. Most of that time is the oven doing its thing. The prep itself takes maybe 10 minutes once the dough is unrolled. On a day when you've got a lot of cooking happening, having one dish that comes together this fast is genuinely useful.
- Easy to make ahead: I usually assemble these the night before a big gathering and keep them unbaked in the fridge on the sheet pan, covered with plastic wrap. The next morning, I just brush with egg wash, add sugar, and bake. Freshly baked pies with zero morning stress — that's the goal.
Ingredients
- 2 refrigerated pie crusts (1 standard box, like Pillsbury — thawed if refrigerated)
- 1 cup cherry pie filling (store-bought canned works perfectly; I use Lucky Leaf)
- 1 large egg, beaten (for egg wash)
- 1 tablespoon coarse sugar (optional but worth it — adds crunch and sparkle)
- Flour for dusting your surface
- Powdered sugar or simple glaze for drizzling after baking (optional)
Directions
- Step 1: Preheat your oven and prep the pan. Set your oven to 375°F (190°C) and line a baking sheet with parchment paper. Parchment is important here — cherry filling sticks badly to an unlined pan, and I learned that the hard way cleaning a burned sheet at midnight before a party.
- Step 2: Roll and cut the dough. Lightly flour your surface and unroll both pie crusts. Use a star-shaped cookie cutter to cut out as many stars as you can. Re-roll the scraps gently once to get more stars — just don't overwork the dough or it gets tough. Aim for an even number since each pie needs a top and a bottom.
- Step 3: Add the filling. Place half your stars on the prepared baking sheet, spaced a couple of inches apart. Spoon about 1 teaspoon of cherry pie filling into the center of each star. One teaspoon sounds like not enough but trust me — too much and the filling boils out and you lose the shape entirely.
- Step 4: Seal the pies. Lay a second star directly on top of each filled one. Press the edges down firmly with a fork all the way around — go slow on the star points because those corners are where leaks happen most often. If an edge isn't sticking, dab a tiny bit of water with your finger first and then press again.
- Step 5: Chill the shaped pies. Slide the sheet pan into the fridge for 10–15 minutes. This firms up the butter in the dough and helps the stars hold their shape in the oven instead of puffing into blobs. Don't skip this.
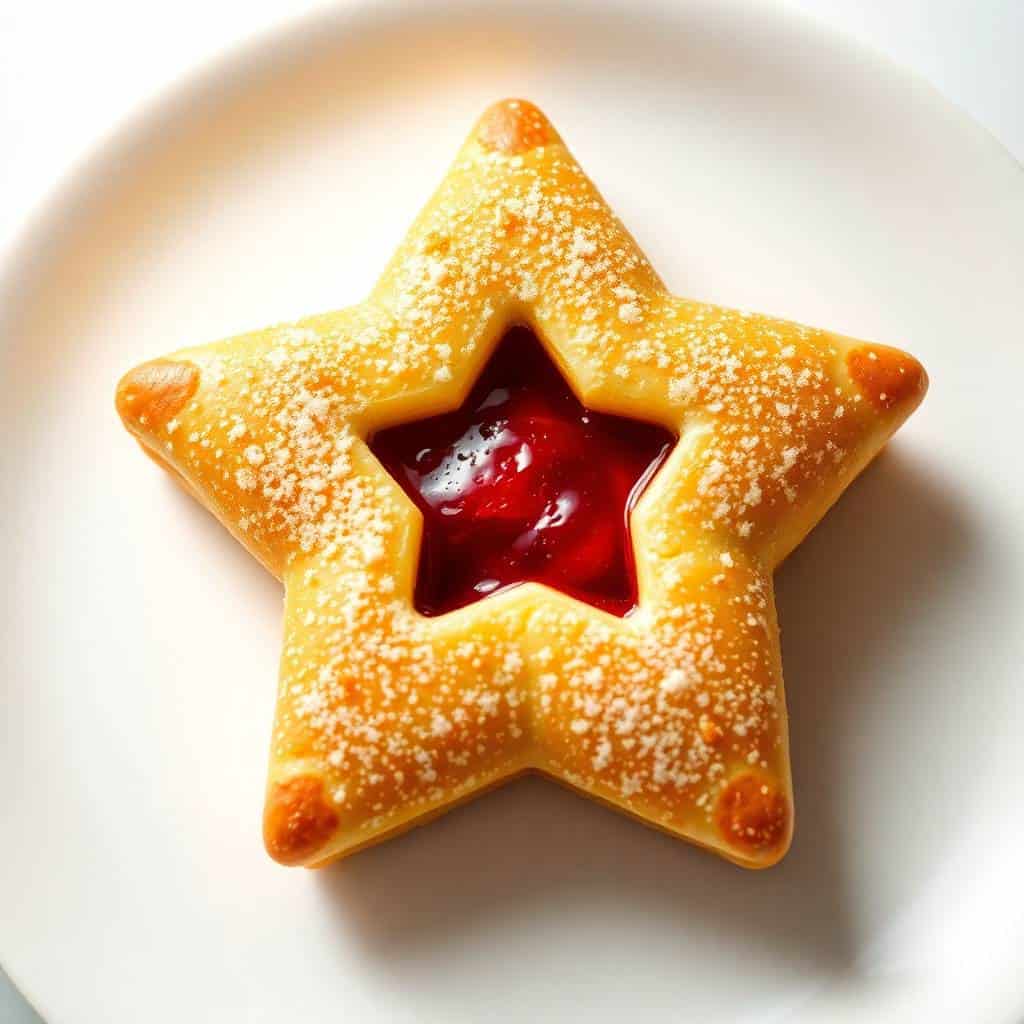
- Step 6: Brush and sugar. Take the pan out of the fridge and brush the tops with beaten egg. Sprinkle coarse sugar over each pie if using. The egg wash is what gives them that deep golden color and the light shine that makes them look bakery-made.
- Step 7: Bake until golden. Bake for 15–18 minutes, rotating the pan halfway through. They're done when the tops are deep golden brown and you can see just a little filling bubbling at the edges. Pull them out and let them sit on the pan for 5 minutes before moving them.
- Step 8: Cool and decorate. Transfer to a wire rack and let them cool for at least 10 minutes before eating — the filling gets very hot inside. Once cool, dust with powdered sugar or drizzle a simple glaze (powdered sugar + a splash of milk) if you want them to look extra festive.
Tips for Success
- Keep the dough cold the whole time: If your kitchen is warm and the dough starts feeling soft and greasy, put it back in the fridge for 5 minutes before continuing. Cold dough is easier to cut cleanly, seals better, and bakes flakier. I do all my cutting fast and then immediately chill the assembled pies — that combination gives the best result.
- Use a sharp cutter and press straight down: A dull or wobbly cookie cutter drags the dough and distorts the star points. Press straight down firmly in one motion and lift straight up. If you don't have a star cutter, you can find a basic metal one at Walmart or Dollar Tree for under $5 — or honestly, any shape works. I've made these as circles in a pinch and they were just as good.
- Don't skip the fork seal on the star points: The points are the weak spots. If you only press the center edges and skip the tips, cherry filling will escape right through those corners during baking. Go all the way around, tip to tip. It takes an extra 20 seconds per pie and saves you from sticky messes on your parchment.
- Rotate the pan midway through baking: Most home ovens have hot spots. The back of my oven runs hotter than the front, and I've gotten unevenly browned pies when I forgot to rotate. At the 8-minute mark, just spin the pan 180 degrees. Takes two seconds and makes a real difference in even color.
- Let them cool before you bite in: I know it's tempting, but hot cherry filling holds heat like lava. I burned the roof of my mouth the first time I tested one straight from the oven. Give them at least 8–10 minutes. The filling sets slightly as it cools and actually tastes better — not so sharp and syrupy.
Variations
- Blueberry filling for a red-white-and-blue spread: Make one batch with cherry filling and one with blueberry, and arrange them together on a platter. The red and deep blue together look genuinely stunning for Fourth of July. Blueberry canned filling is just as easy to work with as cherry — same quantity, same method, same bake time.
- Puff pastry instead of pie crust: If you want something even flakier and more layered, swap the pie crust for a sheet of thawed puff pastry. The texture is different — more crisp and airy — but it works beautifully with cherry filling. Watch the oven a little more carefully since puff pastry can go from golden to overdone faster than pie dough.
- White chocolate drizzle after baking: Melt a handful of white chocolate chips in the microwave in 30-second bursts, stir until smooth, and drizzle over the cooled pies. This is the version I make when I'm trying to make the dessert table look fancy. It firms up in about 10 minutes and adds a sweet richness that pairs really well with the tart cherry. My husband prefers this version.
- Different shapes for different holidays: The same recipe works year-round with a different cookie cutter. Heart-shaped for Valentine's Day, Christmas tree for December — I've even done round ones just for a regular Sunday when the kids wanted something warm and sweet after dinner. The filling and technique stay identical; only the cutter changes. If you're a regular baker, my snowball cookies with pecans follow the same logic — simple formula, adjustable for any occasion.
- Cream cheese layer under the filling: Mix 2 tablespoons of softened cream cheese with 1 tablespoon of powdered sugar and a tiny pinch of vanilla. Spread a thin layer on the bottom star before adding the cherry filling. It adds a subtle richness and helps the filling sit more neatly without sliding. I stumbled on this by accident and it's now my preferred version for dinner parties.
Serving and Storage
Serving
These are best served warm or at room temperature. For a simple dessert plate, set a few on a platter with a bowl of whipped cream or a scoop of vanilla ice cream on the side. At outdoor parties I just pile them on a tray and let people grab as they go — no serving utensils needed. If you're doing a full summer dessert spread, they look great next to something cool and creamy like a no-bake cheesecake or even my monster cookie peanut butter cheesecake pie for contrast.
Storage
Store cooled pies in an airtight container at room temperature for up to 2 days. For longer storage, refrigerate for up to 5 days — the crust softens slightly but they're still good. To freeze, place fully baked and completely cooled pies in a single layer on a sheet pan, freeze until solid (about 1 hour), then transfer to a zip-lock bag. They keep frozen for up to 2 months. Reheat from frozen in a 300°F (150°C) oven for 8–10 minutes until warmed through and the crust crisps back up. I don't recommend the microwave — it makes the pastry soggy.
Frequently Asked Questions
Can I make these cherry pie stars ahead of time?
Yes, and I actually recommend it. Assemble the unbaked pies, place them on a parchment-lined sheet pan, cover tightly with plastic wrap, and refrigerate for up to 24 hours. When you're ready to bake, brush with egg wash, add the sugar, and bake straight from the fridge — you may need to add 1–2 extra minutes to the bake time. This makes party morning a lot less stressful.
Can I freeze cherry pie stars after baking?
Yes. Let them cool completely, freeze in a single layer on a sheet pan until solid, then transfer to a freezer bag. They keep for up to 2 months. Reheat in a 300°F oven for 8–10 minutes — the crust comes back nicely that way. Avoid the microwave, which turns the pastry limp.
What can I use instead of cherry pie filling?
Any canned pie filling works — blueberry, apple, strawberry, and peach are all great options. Blueberry is my second favorite for Fourth of July because of the color. If you want to use fresh or frozen fruit, cook it down with sugar and a little cornstarch first until it's thick enough that it won't run everywhere when you cut the pie open.
Do I need a star-shaped cookie cutter?
Not strictly — any shape works with this recipe. A round biscuit cutter, a heart, even a simple square cut with a knife will give you the same result taste-wise. That said, the star shape is what makes these feel special for the Fourth of July, and a basic metal star cutter costs under $5 at most kitchen or dollar stores. Worth it if you plan to make these more than once.
Can I use puff pastry instead of pie dough?
Yes, puff pastry works well here. The texture is different — crispier and more layered — but the flavor is great. Thaw it fully before cutting, work quickly so it stays cold, and watch the oven closely because puff pastry can brown faster than pie dough. Start checking at 13 minutes instead of 15.
CHERRY PIE STARS
Ingredients
- 1 box refrigerated pie crusts 2 crusts, thawed
- 1 cup cherry pie filling
- 1 large egg beaten (for egg wash)
- Coarse sugar for sprinkling (optional)
- Flour for dusting
Instructions
Preheat Oven:
- Preheat to 375°F (190°C). Line a baking sheet with parchment paper.
Cut Shapes:
- Unroll pie crusts on a lightly floured surface. Use a star-shaped cookie cutter to cut out star shapes. Re-roll scraps to get more stars.
Add Filling:
- Place half of the stars on the baking sheet. Spoon 1–2 teaspoons cherry pie filling into the center of each.
Seal & Top:
- Top with remaining stars. Press edges gently with a fork to seal. Brush tops with egg wash and sprinkle with coarse sugar.
Bake:
- Bake for 15–18 minutes or until golden brown. Let cool slightly before serving.
Notes
- Make Ahead: Prepare and refrigerate unbaked stars up to 24 hours in advance.
- Fruit Options: Swap cherry for blueberry, apple, or strawberry filling.
- Festive Tip: Mix red and blue fillings for patriotic flair.
- Serving Suggestion: Serve warm with vanilla ice cream or whipped cream.
- Kid-Friendly: Great activity for little hands with supervision.
I've made a lot of Fourth of July desserts over the years — flag cakes, fruit skewers, the works — and these cherry pie stars have stayed in the rotation longer than anything else. They take almost no skill, they look genuinely pretty, and they're gone within the first 20 minutes every single time. I make a double batch now because one batch just doesn't make it to sunset.
What I love most is that this recipe doesn't require me to be a pastry chef or own any special equipment beyond a $5 cookie cutter. A regular sheet pan, a fork, a pastry brush (or just my fingers for the egg wash — no judgment), and a hot oven. That's the whole setup. If you're planning a bigger sweet spread this summer, my 3-ingredient almond cookies are another one that looks fancy with almost no effort.
These are the kind of recipe I'll keep making until the kids are grown and off making their own summer parties. And I suspect they'll make them too, because Zainab already knows the steps by heart. That feels like the best thing a recipe can do. 🌟🍒✨
If you liked these, here are a few more things worth making:
- Kool-Aid Gummy Treats — kids' favorite, endlessly customizable for summer parties
- Monster Cookie Peanut Butter Cheesecake Pie — for when you want a showstopper dessert with zero oven stress
- Snowball Cookies with Pecans




Comments
No Comments