
Caramel frosting is one of those things that sounds like it should be complicated — the kind of thing you leave to professional bakers. It isn't. My first batch came together in about 20 minutes on a Tuesday night when I needed something to top a spice cake I'd thrown together, and I've been making it the same way ever since.
What makes this version work is the stovetop caramel base. You melt butter, cook brown sugar into it, splash in some milk, and let that cool before you even touch the powdered sugar. That cooling step is the one I skipped the first time — and I ended up with grainy frosting that I had to throw out. Give the caramel ten minutes to settle down before you add anything else, and it comes out smooth every time.
My kids are total opposites when it comes to dessert. Zainab will eat anything with caramel on it — she once asked me to put this frosting on a banana bread, which honestly turned out great. Saad is more of a chocolate person, but even he comes back for seconds when this is on the table. I usually make this for birthday cakes and holiday bakes, but it's also become my go-to rescue frosting when I need something that looks like I put in more effort than I actually did.
One practical thing: this frosting sets as it cools, so you want to have your cake or cupcakes ready to go before you start. Don't make it and then walk away to do something else — you'll come back to a solid slab. Have everything prepped, frost quickly, and you'll be fine. If you're a fan of no-fuss desserts, you might also love my No Bake Oreo Icebox Dessert for days when you don't want to turn on the stove at all.
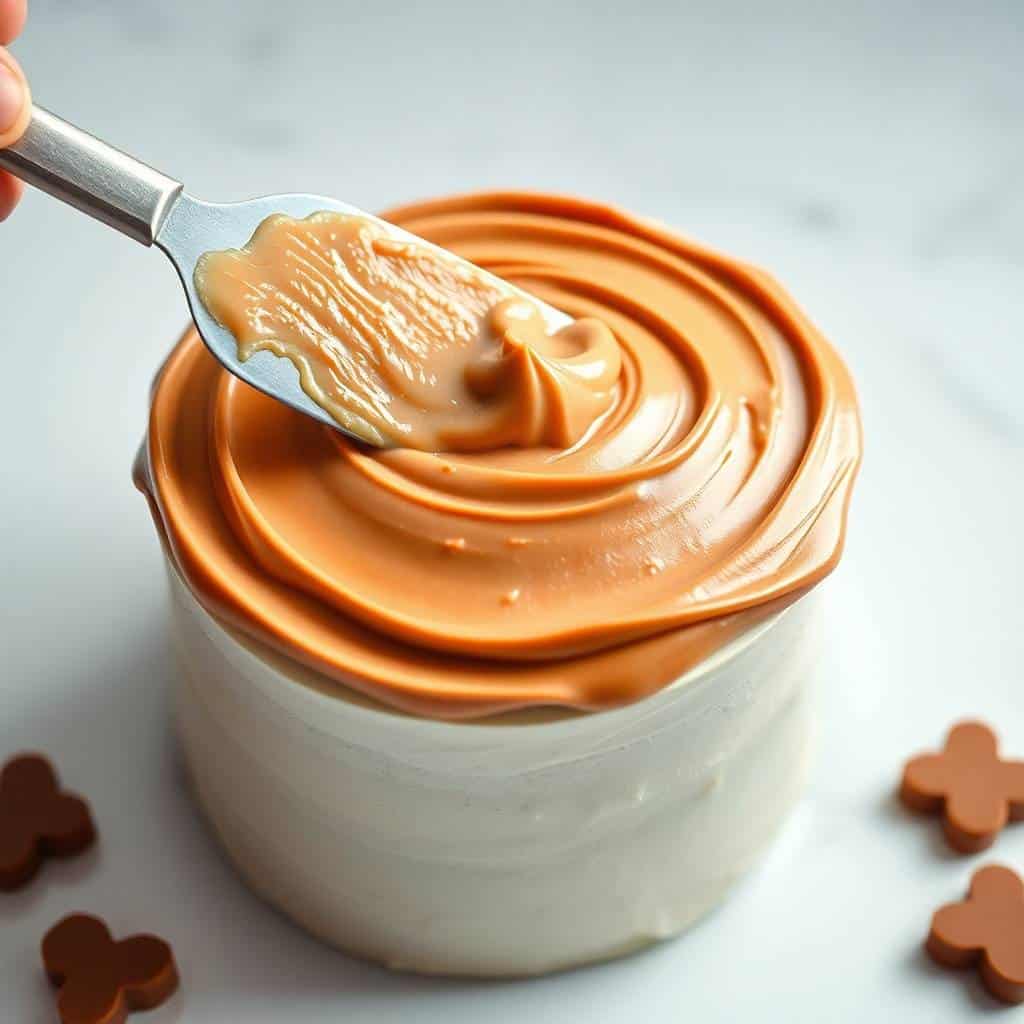
Why You'll Love This Recipe
- Real caramel flavor from a stovetop base: This isn't just powdered sugar and butter. You actually cook the brown sugar into the butter on the stove, and that step is what gives it the deep, buttery caramel flavor. The difference between this and a basic buttercream is noticeable. It tastes like caramel, not just sweet.
- Smooth and spreadable every time: As long as you let the caramel cool before adding the powdered sugar, this frosting comes out silky and even. It spreads beautifully without tearing up the cake. I've used it on everything from layer cakes to simple sheet cakes and it behaves well on all of them.
- Works on almost anything you bake: Spice cake, apple cake, banana bread, cupcakes, brownies — caramel frosting is one of those things that pairs well across the board. It's especially good on my Carrot Cake Cookies if you want something a little different. The flavor is sweet but not one-note, so it doesn't overpower what's underneath.
- Simple ingredients, nothing specialty: Butter, brown sugar, milk, powdered sugar, vanilla. That's it. Everything on this list is already in most kitchens or available at any grocery store. No specialty extracts, no corn syrup, no candy thermometer required.
- Easy to adjust for what you're making: Need it thinner for drizzling over a loaf? Add a splash more milk. Need it stiffer for piping rosettes on cupcakes? Add a little more powdered sugar. It's forgiving and adjustable, which matters when you're trying to hit a specific look for a birthday cake.
Ingredients
- ½ cup (1 stick) unsalted butter
- 1 cup packed brown sugar (dark brown gives a deeper flavor, light brown is milder — both work)
- ¼ cup whole milk or heavy cream
- 1½ to 2 cups powdered sugar, sifted
- 1 teaspoon vanilla extract
- Pinch of salt (optional, but I always add it)
Directions
- Step 1: Build the caramel base. In a medium saucepan over medium heat, melt the butter completely. Add the brown sugar and stir constantly for 2–3 minutes until the sugar is fully dissolved and the mixture bubbles up. Don't walk away here — it can scorch fast if you leave it.
- Step 2: Add the milk. Slowly pour in the milk or cream while stirring. Let it bubble for about 1 minute, then take the pan off the heat. The mixture will look glossy and smell incredible at this point.
- Step 3: Cool the caramel. Pour the caramel into a mixing bowl and let it cool for 10–15 minutes. This step is non-negotiable — adding powdered sugar to hot caramel gives you gritty frosting, which is exactly what happened to me the first time I tried to rush it.
- Step 4: Beat in the powdered sugar. Using a hand mixer (or a wooden spoon and some arm strength), gradually beat in the powdered sugar, starting with 1½ cups. Mix until smooth and spreadable, adding more sugar if you want a thicker consistency.
- Step 5: Add vanilla and salt. Stir in the vanilla extract and the pinch of salt. Give it one final mix until everything is combined and the frosting looks light and creamy.
- Step 6: Frost immediately. Use the frosting right away on your cooled cake, cupcakes, or brownies. It sets as it cools, so work with a sense of purpose — don't leave it sitting in the bowl while you're doing other things.
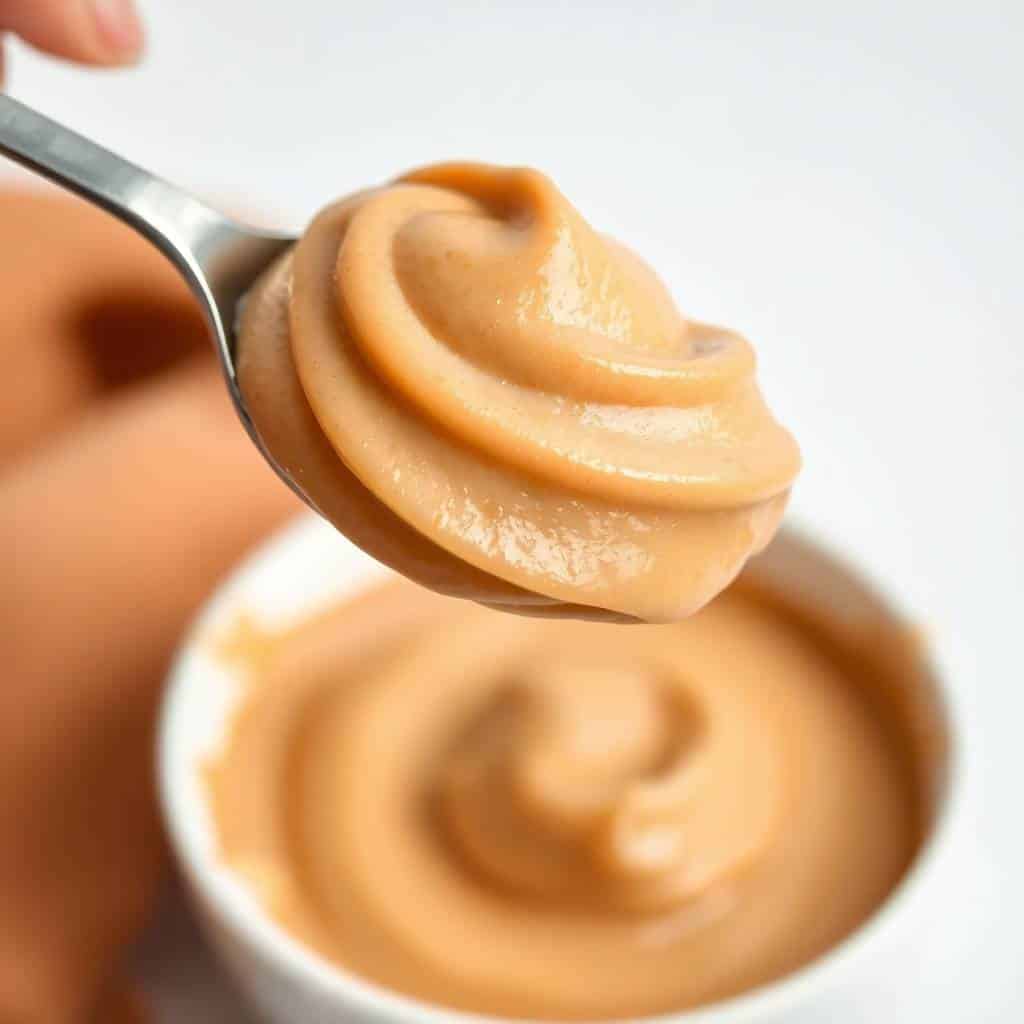
Tips for Success
- Don't skip the cooling time: I know it's tempting to just dump the powdered sugar in while everything is hot and save yourself the wait. I did exactly that once and ended up with frosting that was grainy and slightly crunchy in a bad way. Ten to fifteen minutes of cooling makes the difference between smooth frosting and one you have to throw out.
- Sift your powdered sugar: Unsifted powdered sugar can have small clumps that don't fully break down when you mix. I sift mine straight into the bowl as I go. It takes thirty extra seconds and results in noticeably smoother frosting. A fine mesh strainer works if you don't have a sifter — just shake it over the bowl.
- Have your cake ready before you start: This frosting sets firm as it cools. If you make the frosting and then spend ten minutes leveling your cake layers, you'll find the frosting has already started to stiffen in the bowl. Prep everything first — cake cooled, layers stacked, workspace ready — and then make the frosting.
- Thin it out if needed: If the frosting gets too thick before you finish spreading, add milk a teaspoon at a time and mix again. A little goes a long way — I usually need no more than a teaspoon to loosen it back up. Don't add too much at once or you'll overshoot and end up with something too runny to spread.
- Use dark brown sugar for a deeper flavor: Both light and dark brown sugar work in this recipe, but they taste different. Dark brown sugar has more molasses in it, which gives the frosting a richer, more complex caramel flavor. If I'm making this for a birthday cake or something where the frosting is the star, I always reach for the dark brown sugar.
Variations
- Salted caramel version: Add ½ teaspoon of flaky sea salt along with the vanilla. This is my personal favorite — the salt cuts through the sweetness and makes the caramel flavor pop in a way that the plain version doesn't. Zainab thinks it's too salty but my husband and I eat this version straight off the spoon.
- Maple caramel frosting: Stir in 1 tablespoon of pure maple syrup when you add the vanilla. It gives the frosting a warm, slightly earthy sweetness that works really well on apple cake or anything with fall spices. I've also used this on my Chocolate Chip Banana Snack Cake and it's a surprisingly good combination.
- Chocolate caramel frosting: Whisk in 2 tablespoons of unsweetened cocoa powder with the powdered sugar, or stir in a tablespoon of melted dark chocolate at the end. You get a mocha-caramel hybrid that is genuinely excellent on brownies. This isn't traditional caramel frosting — it's something different, but it's worth trying.
- Spiced caramel: Add ¼ teaspoon of cinnamon and a tiny pinch of nutmeg with the vanilla. This version is what I make in fall and winter, especially for spice cakes. It smells incredible while it's coming together and tastes like the holiday baking section of a really good bakery.
- Dairy-free version: Use vegan butter (I like Earth Balance) and swap the milk for full-fat coconut milk or oat milk. The texture comes out slightly softer and the flavor is a little less rich, but it still works. This isn't my go-to version but it's a solid option if you're baking for someone who can't do dairy.
Serving and Storage
Serving
Use this frosting immediately after it's made — it spreads most easily when it's still warm and fluid. It works on layer cakes, sheet cakes, cupcakes, brownies, and quick breads. For layer cakes, work fast and use an offset spatula if you have one (a regular butter knife is fine too). If you're piping it, work quickly and keep the piping bag warm between uses.
Storage
Store leftover frosting in an airtight container in the refrigerator for up to 5 days. When you're ready to use it again, let it sit at room temperature for about 20 minutes, then re-whip it with a hand mixer and a splash of milk until it's smooth and spreadable again. It won't look great straight out of the fridge — don't panic, just re-whip it. I don't recommend freezing it; the texture changes in a way that's hard to fix.
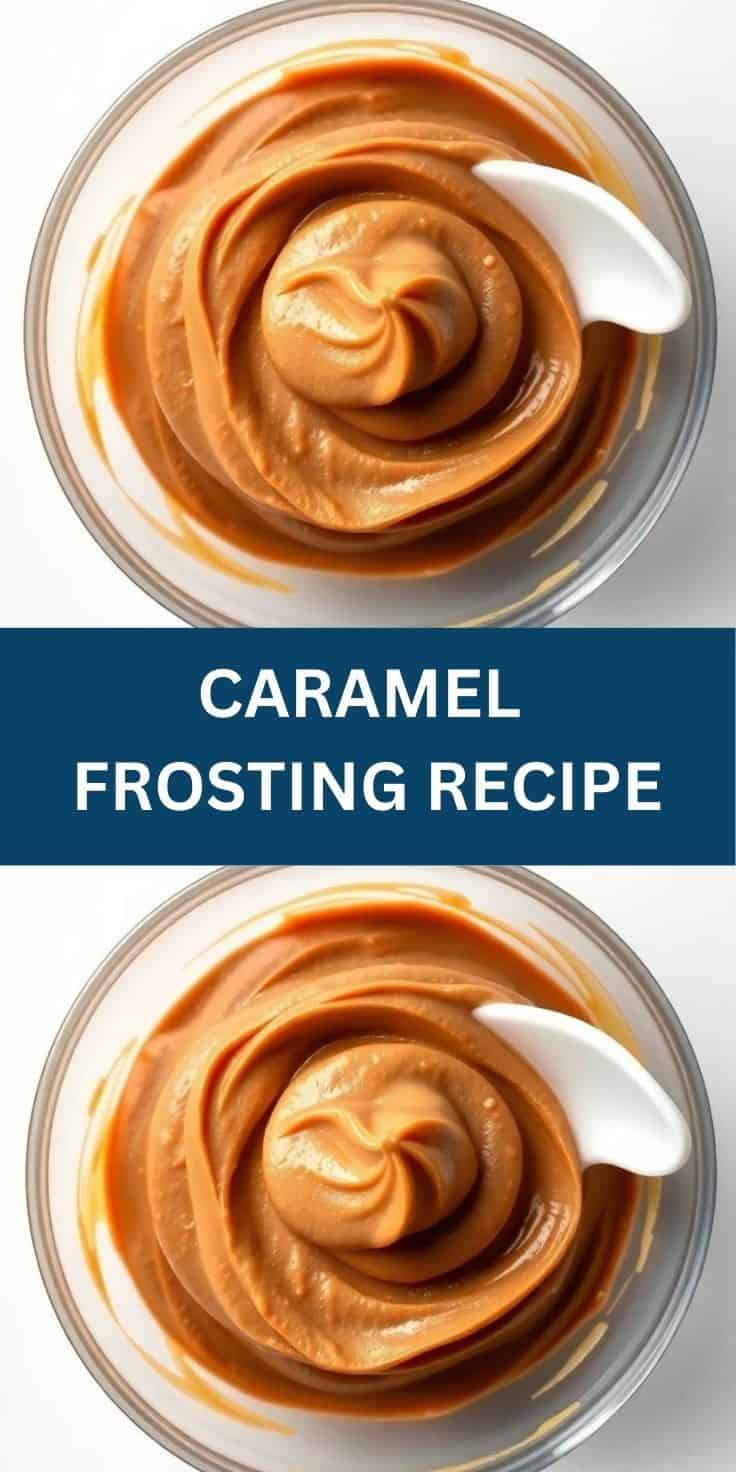
Frequently Asked Questions
Can I pipe this caramel frosting onto cupcakes?
Yes, but you have to work fast. This frosting sets as it cools, so if you're piping rosettes, fill your piping bag and go immediately. If it starts to stiffen mid-way through, add a teaspoon of milk and re-mix. Warming the piping bag slightly between cupcakes also helps.
Does this frosting harden completely?
It firms up as it cools but doesn't go completely hard. Once set, it holds its shape on a cake without sliding, but when you bite into it, it's still soft and creamy. Think of it as a firm buttercream — not a candy shell.
Can I make this caramel frosting ahead of time?
Yes, up to 2 days ahead. Store it in an airtight container in the fridge, then let it come to room temperature and re-whip with a splash of milk before using. It won't look right straight from the fridge — give it time and a good mix and it comes back together well.
Can I use light brown sugar instead of dark brown sugar?
Both work. Dark brown sugar has more molasses content, so it produces a deeper, richer caramel flavor. Light brown sugar gives you something a little milder and sweeter. For everyday use either is fine — for a special occasion where you really want that caramel depth, go dark.
Can I freeze caramel frosting?
I'd skip freezing it. The texture after thawing tends to be grainy or separated, and even re-whipping doesn't always rescue it fully. If you make a big batch, refrigerating for up to 5 days is a much better option. It re-whips cleanly from the fridge with just a splash of milk.
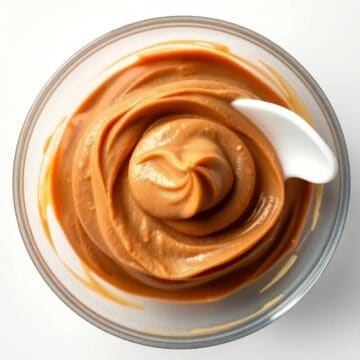
CARAMEL FROSTING RECIPE
Ingredients
- ½ cup 1 stick unsalted butter
- 1 cup packed brown sugar
- ¼ cup milk
- 2 cups powdered sugar
- 1 teaspoon vanilla extract
- Pinch of salt optional, enhances flavour
Instructions
Make Caramel Base:
- In a saucepan over medium heat, melt the butter. Add brown sugar and stir until fully dissolved (2–3 minutes).
Add Milk:
- Stir in milk and bring the mixture to a gentle boil. Let it simmer for 1–2 minutes, then remove from heat.
Mix Frosting:
- Let the mixture cool slightly, then whisk in powdered sugar, vanilla extract, and salt until smooth and fluffy.
Frost:
- Use immediately to frost cakes or cupcakes. It sets as it cools, so work quickly.
Notes
- If too thick, add 1 tablespoon of milk at a time.
- For a deeper flavour, use dark brown sugar.
- Pairs perfectly with spice cake, apple cake, or banana bread.
This is one of those frostings I keep coming back to because it actually tastes like something — not just sugar. The stovetop caramel step takes five extra minutes compared to a basic buttercream, and those five minutes are completely worth it. Once you've tasted the difference, the plain powdered sugar and butter version feels a bit flat.
I make a double batch whenever I'm doing a two-layer cake, because a single batch is just barely enough and I hate scrambling to make more frosting mid-way through assembly. If you're doing cupcakes, a single batch covers about 12–15 generously. And if you're making something like my Carrot Cake Cookies, a small dollop of this on each one turns a good cookie into something people remember.
The salted caramel version — with ½ teaspoon of flaky sea salt added at the vanilla stage — is probably my favorite of all the variations I've tried. My husband agrees. We've had it on apple cake, on a basic yellow cake, and once on brownies at midnight when we couldn't sleep and needed something. All three were excellent decisions. 🍮✨
If you're looking for more baking ideas to go with your frosting, here are some things from the blog I'd pair it with:
- Chocolate Chip Banana Snack Cake — caramel frosting on banana cake is a genuinely great combination
- Carrot Cake Cookies — a small swipe of this on top takes them somewhere special
- No Bake Oreo Icebox Dessert — for when you want dessert without turning on the oven at all
- Fig and Goat Cheese Pinwheels — if you're hosting and need a savory app to balance all the sweetness





Comments
No Comments