
Every December, Saad starts asking for "the peppermint brownies" before I've even dug out the holiday cookie tins. That's how I know it's officially Christmas baking season in our house — not the decorations, not the carols, but this specific request.
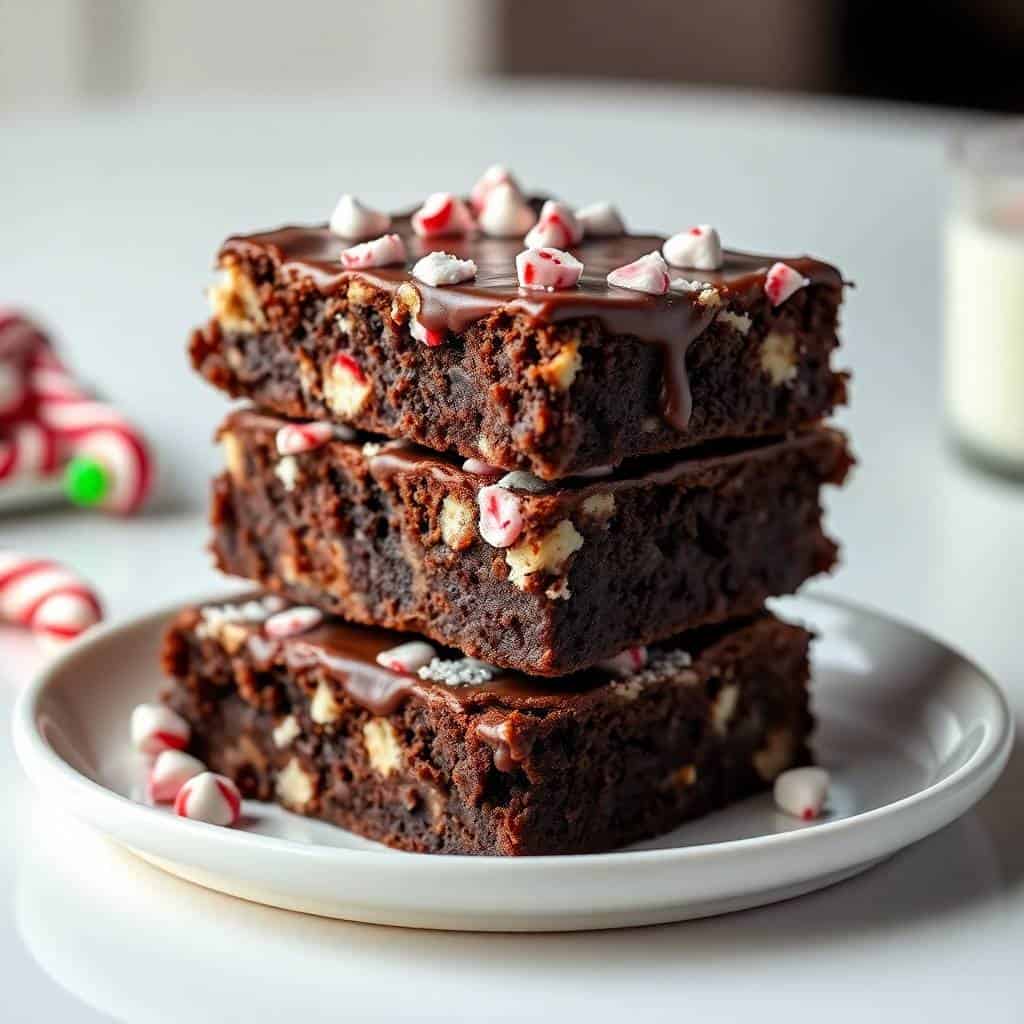
What makes these work is the brownie base itself. I use real cocoa powder and melted butter instead of the creamed-butter method, which gives you that dense, fudgy texture rather than a cakey one. The chocolate chips stirred in add little pockets of melted chocolate through the middle. And the candy canes on top? They get slightly sticky on the edges from the oven heat, which means they actually stick to the brownie instead of falling off when you slice them.
These come together in one bowl with no mixer — I've made them with Saad on a busy weekday afternoon and still had them cooled and sliced before dinner. They're also one of those bakes that genuinely tastes better the next day, once everything has settled. I make a double batch every time because a single pan disappears the same night I make it.
One thing I want to set expectations on: these are not a delicate bakery brownie. They're a proper home brownie — thick, fudgy, and a little rustic. Don't stress about perfect edges. If you're looking for other no-fuss holiday desserts, my no-bake white chocolate cheesecakes with mulled wine fruit are another December favourite that requires zero oven time.
Why You'll Love This Recipe
- One bowl, no mixer: Everything goes into a single mixing bowl in about ten minutes. I don't own a stand mixer and I never needed one for this recipe — a whisk and a wooden spoon is all it takes. On busy December days when I'm already juggling a hundred things, that matters a lot to me.
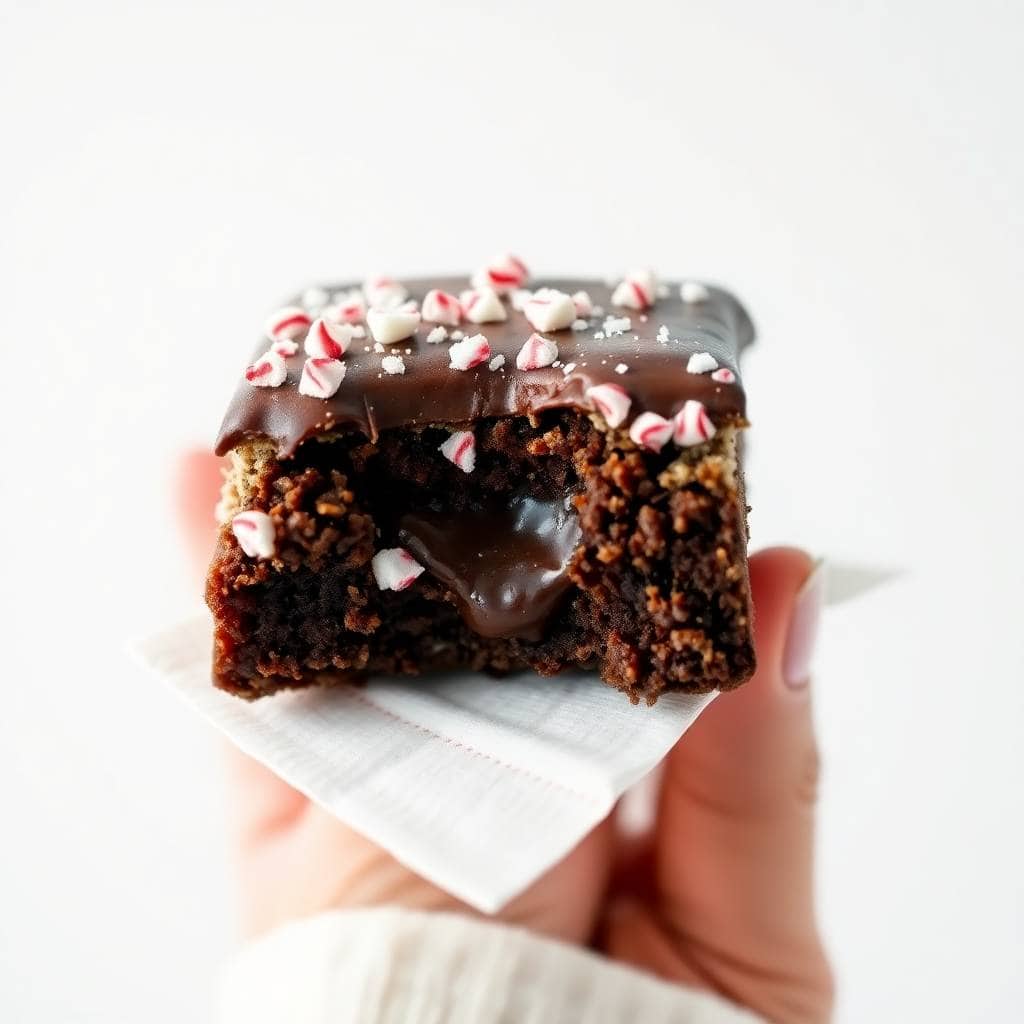
- Actually fudgy, not cakey: I've tried a lot of brownie recipes over the years and most of them come out more like chocolate cake than a proper brownie. The melted butter method here, combined with not overmixing, gives you that dense, gooey middle that makes a brownie worth eating. The toothpick test is your friend — pull them when there are still a few moist crumbs clinging on.
- The peppermint crunch on top: There's something about that contrast — soft, rich chocolate underneath and the snappy crunch of candy cane on top — that just works. The peppermint isn't overwhelming. It cools everything down just enough to make you reach for another piece.
- Good for gifting: I've wrapped these up in cellophane bags tied with ribbon and dropped them off for neighbours every Christmas for the last three years. They hold up well, they look festive, and they don't crumble when you handle them. Slice them into clean squares once fully cooled and they stack nicely.
- Freezer-friendly: I always make a double batch in mid-December and freeze half for Christmas Eve. Wrap individual squares in cling film and they'll keep in the freezer for up to two months. Pull them out an hour before you need them — they thaw beautifully at room temperature.
Ingredients
- ½ cup unsalted butter, melted
- 1 cup granulated sugar
- 2 large eggs
- 1 teaspoon vanilla extract
- ⅓ cup unsweetened cocoa powder
- ½ cup all-purpose flour
- ¼ teaspoon salt
- ¼ teaspoon baking powder
- ½ cup semi-sweet chocolate chips
- ½ cup crushed candy canes (plus a small handful more for topping — about 3–4 candy canes total)
Directions
- Prep your pan and oven: Preheat your oven to 350°F (175°C). Line an 8x8-inch baking pan with parchment paper and let it hang over the edges — this overhang is your handle when you lift the brownies out later. I've tried skipping this step and regretted it every time.
- Mix the wet ingredients: In a large bowl, whisk together the melted butter and sugar until combined, then add both eggs and the vanilla. Whisk until the mixture looks glossy and smooth — about a minute of good stirring. This step matters because it builds the shiny, crinkled top.
- Add the dry ingredients: Sift in the cocoa powder, flour, salt, and baking powder. Switch to a wooden spoon or spatula and stir gently until just combined. Stop as soon as you can't see dry flour — overmixing is what makes brownies turn cakey instead of fudgy.
- Fold in the chocolate chips: Stir in the chocolate chips. They'll melt a little from the residual warmth of the batter and create little pockets of extra chocolate through the middle. Don't skip these — they make a real difference in the final texture.
- Pour and top with candy cane: Spread the batter evenly in your prepared pan. Sprinkle the crushed candy canes evenly over the top before the batter goes in the oven. Some pieces will partially sink in; that's fine and actually helps them stick.
- Bake: Bake for 28–32 minutes. Start checking at 25 minutes. You want a toothpick inserted in the center to come out with a few moist crumbs — not wet batter, but definitely not dry. Err on the side of slightly underdone rather than overdone.
- Cool completely before slicing: This is the hardest part. Let the brownies cool completely in the pan — at least an hour at room temperature. Once cool, lift using the parchment, set on a cutting board, and slice into squares with a sharp knife. Sprinkle a little more crushed candy cane on top if you want extra crunch and colour.
Tips for Success
- Crush candy canes properly: Put them in a zip-lock bag and use a rolling pin. You want pieces that are roughly the size of small pebbles — not a fine powder. Powder disappears into the batter and you lose the crunch. I made this mistake my first time and the topping was barely noticeable once baked.
- Use fresh candy canes: Old candy canes from last Christmas get sticky and humid and they'll clump together in an unpleasant way on your batter. A fresh box from Walmart or Target — or even the mini candy canes from Trader Joe's — will give you the cleanest crunch and the brightest red colour on top.
- Don't overmix after adding the flour: I know I said it in the directions but it's worth saying again here because it's the single thing that determines whether your brownies are fudgy or cakey. The moment you add the dry ingredients, switch to a slow hand. Ten to twelve gentle stirs is usually all you need.
- Let them cool all the way: I have cut into these too early more than once because I was impatient or because the kids were asking. The result is a smeared, falling-apart mess. The brownies need time to set in the center. If you're in a hurry, put the whole pan in the fridge for 30 minutes after they come out of the oven — that speeds up the process a bit.
- Clean your knife between cuts: Run the blade under warm water and wipe it dry between each slice. It makes a huge difference in how clean the edges look — especially important if you're gifting these or putting them on a holiday tray.
Variations
- White chocolate drizzle: Melt about ¼ cup of white chocolate chips (any brand works — I usually have Ghirardelli on hand) and drizzle it over the cooled brownies before adding the extra candy cane on top. It looks like a professional bakery item and takes two minutes. My husband always asks for this version.
- Extra minty batter: Add ¼ teaspoon of peppermint extract directly to the wet ingredients if you want a stronger mint flavour all the way through. Start with less than you think — peppermint extract is potent and it's easy to overdo it. A quarter teaspoon is genuinely enough.
- Gluten-free version: Swap the all-purpose flour 1:1 with a gluten-free baking blend (Bob's Red Mill or King Arthur both work well for brownies). The texture is nearly identical — I've made this swap for a friend who can't have gluten and she couldn't tell the difference.
- Peppermint frosting layer: Spread a thin layer of peppermint buttercream (just butter, powdered sugar, a drop of peppermint extract, and a splash of cream) over the cooled brownies before sprinkling the candy cane on top. It adds another layer of flavour and makes them look really polished. This is the version I'd make for a holiday dessert table alongside something like this caramel turtle poke cake.
- Mini brownie bites: Bake the batter in a greased mini muffin tin at the same temperature for about 12–15 minutes. These are great for holiday gift boxes because each one is already portion-sized. Sprinkle candy cane on each immediately after pulling from the oven while they're still warm enough to hold it.
Serving and Storage
Serving
These are genuinely good at room temperature — just cut into squares and serve. If you want to dress them up for a holiday spread, dust a little powdered sugar over the top before plating. They go well with a mug of hot cocoa or a strong black coffee. In my house we usually just eat them straight off the cutting board, honestly. Zainab likes hers with a glass of cold milk.
Storage
Store in an airtight container at room temperature for up to 4–5 days. They actually taste better on day two once the flavours have had time to settle. If your kitchen runs warm, keep them in the fridge — they'll last up to a week refrigerated and the texture stays firm and fudgy rather than going soft. To freeze, wrap individual squares in cling film and place in a freezer bag. They keep well for up to two months. Thaw at room temperature for about an hour before eating.

Frequently Asked Questions
Can I use peppermint extract instead of candy canes?
Yes, but keep in mind you'll lose the crunch and visual effect that makes these look festive. If you go this route, add ¼ teaspoon of peppermint extract to the wet ingredients and skip the candy cane topping, or replace it with crushed peppermint hard candies, which are often easier to find than candy canes outside of December. Start with less extract than you think — peppermint is strong and a little goes a long way.
How do I stop the candy canes from melting completely in the oven?
Keep the pieces chunky rather than powdery — that's the key. Fine powder dissolves almost entirely in the heat. Also, sprinkle the candy cane on top of the batter just before it goes in, not after mixing into the batter (the recipe calls for some in the batter per the WPRM card, and some on top — the top layer is what gives you the visible crunch). A few pieces will always melt a little at the edges and that's normal and actually looks nice.
Can I make these ahead of time?
Absolutely — these are actually better made a day ahead. Bake them the night before, let them cool completely, and slice in the morning. Store the sliced brownies in an airtight container and they'll be at their best the next day. This is what I do every year when I'm preparing Christmas Eve desserts in advance so I'm not baking on the day itself.
Can I use a boxed brownie mix instead?
You can. Prepare the boxed mix according to its package directions, then top with the crushed candy canes before baking. The from-scratch version in this recipe is genuinely easy though — it takes about the same time as preparing a box mix and the result tastes better. But if you're short on time or pantry ingredients during the holiday chaos, a box mix plus candy cane topping is still a solid outcome.
Do these freeze well?
Really well. Slice the cooled brownies into squares, wrap each one individually in cling film, then place them in a zip-lock freezer bag. They keep for up to two months. Thaw at room temperature for about an hour — no microwave needed. The texture after thawing is almost exactly the same as fresh. I keep a stash in the freezer every December for unexpected guests.
CANDY CANE BROWNIES
Ingredients
- ½ cup unsalted butter melted
- 1 cup granulated sugar
- 2 large eggs
- 1 teaspoon vanilla extract
- ⅓ cup unsweetened cocoa powder
- ½ cup all-purpose flour
- ¼ teaspoon salt
- ¼ teaspoon baking powder
- ½ cup semi-sweet chocolate chips
- ½ cup crushed candy canes plus more for topping
Instructions
Prepare Batter:
- Preheat oven to 350°F (175°C). Line an 8x8-inch baking pan with parchment paper. In a bowl, mix melted butter and sugar. Add eggs and vanilla; whisk until smooth.
Mix Dry Ingredients:
- Stir in cocoa powder, flour, salt, and baking powder until combined. Fold in chocolate chips and crushed candy canes.
Bake:
- Pour batter into prepared pan and smooth top. Bake for 28–32 minutes, or until a toothpick comes out with a few moist crumbs.
Cool & Top:
- Let brownies cool completely. Sprinkle additional crushed candy canes on top before slicing.
Notes
Keep in an airtight container at room temperature for 3–4 days or refrigerate up to a week. Optional Frosting:
Top with a thin layer of peppermint glaze or ganache for extra richness.
These candy cane brownies have become one of those recipes I just don't mess with anymore because they work. Dense, chocolatey, with that peppermint snap on top — they hit the right note every time. I make a batch in early December to get it out of my system and then inevitably end up making two or three more batches before Christmas because people keep asking for them.
What I like most about this recipe is how unfussy it is. No stand mixer, no double boiler, no chilling the dough for two hours. Melt the butter, mix the bowl, bake it, wait for it to cool. That's really it. For a holiday baking season that can feel overwhelming, having something this straightforward in my rotation matters. If you're building out your December baking list, the caramel turtle poke cake is another crowd-favourite that comes together without much fuss.
If you make a batch, I'd love to know how they turned out — especially if you tried the white chocolate drizzle variation or the peppermint frosting layer. Drop a comment below. And if you're making them for a gift box, wrap them individually and they'll stay fresh for days. That's my December sorted. 🍫🎄✨
If you liked these, here are a few more recipes worth bookmarking:
- No-Bake White Chocolate Cheesecakes with Mulled Wine Fruit — a stunning holiday dessert that requires zero oven time
- Caramel Turtle Poke Cake — rich, indulgent, and an absolute hit at any winter gathering
- Old Fashioned Goulash (One-Pot Ground Beef & Macaroni) — for when you need a proper dinner after all the holiday sweet-eating
- Healthier Broccoli Chicken Casserole — a weeknight dinner that comes together fast and makes great leftovers
- Vegan Garlic Noodles (Bold, Saucy & Ready in 15 Minutes) — when you want something savoury and quick between all the holiday baking





Comments
No Comments