
I made my first batch of brown butter chocolate chip cookies on a Tuesday evening when I had nothing planned and a full cup of butter sitting on the counter. I'd been reading about browning butter for months — seen it on a few posts, kept meaning to try it — and I finally just did it. The smell that came off that pan stopped my husband mid-conversation. He walked into the kitchen and said, "what are you making?" That was the moment I knew this was going to be a keeper recipe.
What browning the butter actually does is cook off the water in the butter and toast the milk solids, which turns them nutty and slightly caramel-y. It sounds fancier than it is — the whole process takes about 7 minutes on the stove. The result is a cookie that tastes more complex than a regular chocolate chip cookie without being more complicated to make. No mixer, no creaming, no special tools. I use a wooden spoon and a regular heavy saucepan, and it works every single time.
My husband asks for these almost every week. Saad has declared them better than store-bought, which in his world is the highest possible compliment. I usually make a double batch because a single batch disappears within a day, and I like having a few tucked away in the freezer for when someone needs a cookie and I don't feel like baking. If you're also a cookie person, my Blueberry Heaven Cookies are worth bookmarking too — different vibe, equally dangerous.
One thing I'll warn you upfront: the dough needs to chill for at least 30 minutes before baking. I skipped this the first time and the cookies spread out flat and thin. They still tasted good, but they weren't the thick, chewy bakery-style cookies I was going for. Chill the dough. I know it's annoying to wait, but it genuinely matters here.
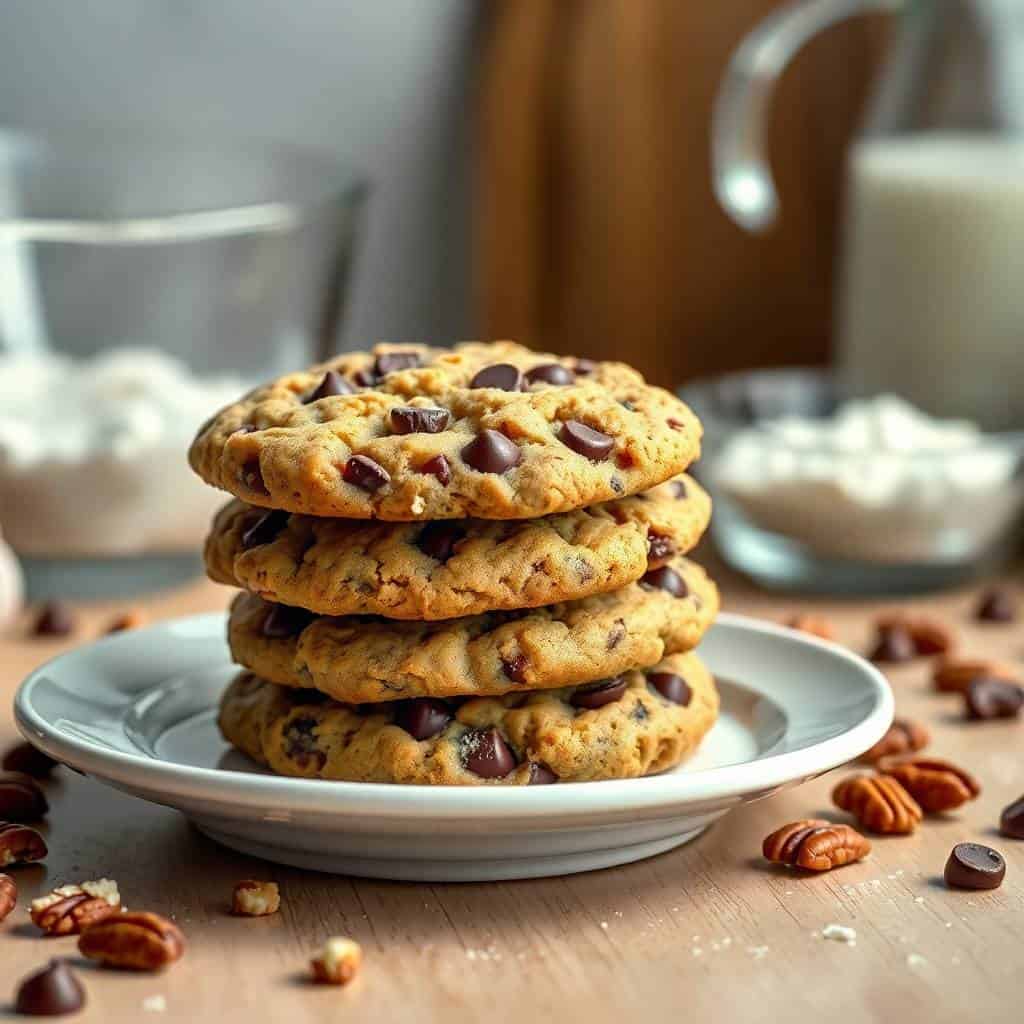
Why You'll Love This Recipe
- The brown butter does all the heavy lifting: You don't need fancy ingredients or a complicated technique to get a cookie that tastes different from every other homemade chocolate chip cookie. Browning the butter takes about 7 minutes and it's mostly just watching and stirring. That one step gives the cookies a toasted, nutty depth that you genuinely can't get any other way. I've gone back to regular melted butter once since figuring this out, and the difference was obvious.
- No mixer needed: I don't own a stand mixer, and I made these with a wooden spoon the very first time. A hand mixer speeds things up slightly, but it's honestly not necessary — the butter is already melted and liquid, so there's nothing to "cream." You just stir everything together in a bowl. Fewer appliances also means fewer things to wash, which I always appreciate.
- Crispy edges, soft middle: When I bite into a cookie that's hard all the way through, I'm disappointed every time. These have that contrast — the edges go golden and slightly crisp, and the center stays soft and a little fudgy. The trick is pulling them out of the oven when the centers still look just barely underdone. They finish cooking on the hot tray in those 5 minutes of resting.
- Make-ahead friendly: The dough actually gets better after a night in the fridge. The brown butter flavor deepens and the texture tightens up. I often make the dough Sunday evening and bake a few cookies Monday morning. You can also scoop and freeze the dough balls and bake them straight from frozen — just add 2-3 extra minutes to the baking time.
- Everyday ingredients: Everything in this recipe is something I keep stocked anyway — butter, brown sugar, flour, eggs, vanilla, chocolate chips. You don't need to hunt anything down at a specialty store. I get my chocolate chips from Walmart or Costco, whichever I happen to be at that week.
Ingredients
- 1 cup unsalted butter
- ¾ cup brown sugar, packed
- ½ cup granulated sugar
- 2 large eggs, at room temperature
- 2 teaspoons vanilla extract
- 2¼ cups all-purpose flour
- 1 teaspoon baking soda
- ½ teaspoon salt
- 1½ cups semisweet or dark chocolate chips
- Flaky sea salt for topping (optional, but I always do it)
Directions
- Brown the butter: Put the butter in a medium saucepan over medium heat. Let it melt, then keep stirring as it foams up and starts to turn golden. You'll start to smell something toasty and nutty — that's your cue it's almost done. Watch for the color: you want amber-brown with dark specks at the bottom (those are the toasted milk solids). This takes 5–7 minutes. Pour it immediately into a large mixing bowl so it stops cooking, and let it cool for about 15–20 minutes before moving on. Don't skip the cooling — warm brown butter will melt your sugars too fast.
- Mix the wet ingredients: Add both sugars to the cooled brown butter and stir until combined. Add the eggs and vanilla and mix until the batter looks smooth and slightly glossy, about 1–2 minutes of good stirring. The mixture should thicken a bit and lighten slightly in color.
- Add the dry ingredients: In a separate bowl, whisk together the flour, baking soda, and salt. Add this to the wet mixture in two parts, stirring after each addition until just combined. Don't overmix — stop as soon as you can't see dry flour anymore.
- Fold in the chocolate chips: Add the chocolate chips and fold them in gently with a spatula or wooden spoon. If you want that bakery look, set aside a small handful to press on top of the scooped dough balls before baking.
- Chill the dough: Cover the bowl with plastic wrap and refrigerate for at least 30 minutes, or up to 48 hours. I know it's the annoying step, but it's what gives you thick cookies that don't spread flat. If you skip it, they'll still taste good — just flatter.
- Scoop and bake: Preheat your oven to 350°F (175°C). Line two baking sheets with parchment paper. Scoop the dough into balls about 2 tablespoons each and place them at least 2 inches apart. Press a few extra chips on top if you set some aside. Bake for 10–12 minutes, until the edges are golden and the centers look just barely set. Sprinkle with flaky sea salt right out of the oven if using. Let them cool on the tray for 5 minutes before moving to a rack — they'll firm up as they cool.
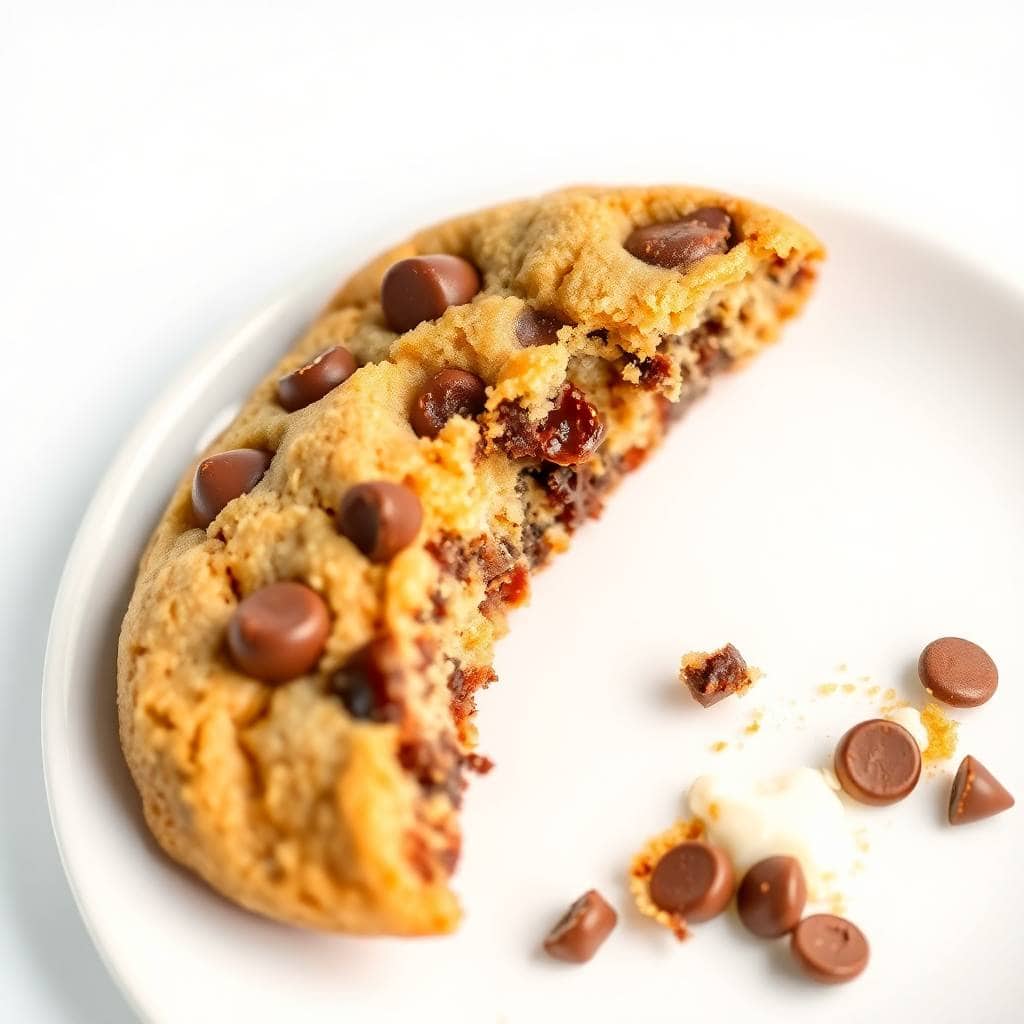
Tips for Success
- Watch the butter the whole time: Brown butter goes from perfect to burnt in about 30 seconds. I burned my first batch because I walked away to check my phone. Stay at the stove, keep stirring, and the moment it smells nutty and looks golden-amber, pull it off the heat and pour it into your bowl. The carryover heat in the pan will keep cooking it, so don't wait.
- Let the butter cool before mixing: This is the step I skipped my first time and regretted. If the brown butter is still hot when you add the sugars, it can partially dissolve them and make the dough greasy. Give it 15–20 minutes on the counter. You can test it by touching the bowl — it should feel warm, not hot.
- Chill the dough — seriously: I tested this recipe both ways. Without chilling, the cookies spread quite flat and the edges go crispy but there's not much center. With 30 minutes of chilling, you get a taller, chewier cookie with a soft middle. With overnight chilling, the flavor actually deepens and the brown butter comes through even more. An hour is my usual sweet spot when I'm impatient.
- Pull them out early: The centers should still look soft and slightly underdone when you take them out of the oven. They finish setting up as they cool on the tray. I overbaked my second batch because I thought they looked undone and left them in an extra 2 minutes — they came out fine but much crispier than I wanted. Trust the 10–12 minute window.
- Use room temperature eggs: Cold eggs don't mix as smoothly into the cooled brown butter and can cause the batter to look slightly broken or lumpy. I just set my eggs out on the counter when I start browning the butter — by the time the butter has cooled enough, the eggs are at the right temperature.
Variations
- Flaky sea salt on top: This is less a variation and more something I consider mandatory at this point. Sprinkle a pinch of flaky sea salt — Maldon is what I use when I can find it, but any coarse flaky salt works — on each cookie right when they come out of the oven. It cuts through the sweetness and makes the chocolate taste more chocolatey. My husband was skeptical the first time. Now he asks for it every time.
- Espresso powder: Add 1 teaspoon of instant espresso powder to the dry ingredients. You won't taste coffee in the finished cookie — what it does is make the chocolate flavor more intense and the brown butter nuttiness more pronounced. I started doing this after my third or fourth batch and it's become my standard version now.
- Toasted pecans or walnuts: Fold in ½ cup of roughly chopped toasted pecans or walnuts along with the chocolate chips. Toast them in a dry pan for 3–4 minutes first so they're fragrant. The nuttiness of the brown butter and the nuttiness of the toasted pecans together is a combination I make for every holiday cookie tray now.
- Stuffed with caramel: Flatten a ball of dough slightly, place a soft caramel candy in the center (Werther's soft caramels work well, as do Kraft caramel squares), wrap the dough around it and seal it shut. When the cookie bakes, the caramel melts into a gooey center. These take a little more effort to assemble but they're worth it for a special occasion. I made them for a school bake sale and Saad was very annoyed that I gave any away.
- Gluten-free version: I've tested this with a 1:1 gluten-free flour blend (Bob's Red Mill and King Arthur both work) and the result is very close to the original. The texture is slightly less chewy but still good. Chill the dough a full hour rather than 30 minutes — gluten-free doughs tend to spread more. If you're baking for someone with celiac disease, also check that your chocolate chips and baking soda are certified gluten-free.
Serving and Storage
Serving
These are best eaten slightly warm, about 10 minutes out of the oven when the chocolate chips are still soft. If they've cooled completely and you want that warmth back, 10 seconds in the microwave does it. I serve them plain at home, but if I'm bringing them somewhere, I'll stack them in a clear bag tied with a ribbon — they look bakery-made without any extra effort. They also pair nicely alongside a scoop of vanilla ice cream if you want to turn a simple cookie into a proper dessert.
Storage
Store baked cookies in an airtight container at room temperature for up to 5 days. To keep them soft longer, you can add a slice of white bread to the container — it sounds odd, but the cookies pull moisture from the bread and stay soft for an extra day or two. For the dough, it keeps in the fridge for up to 3 days covered tightly. For longer storage, scoop the dough into balls, freeze them on a parchment-lined tray until solid, then transfer to a zip-lock bag. They keep frozen for up to 2 months. Bake from frozen at 350°F — just add 2–3 extra minutes to the usual baking time.

Frequently Asked Questions
Why does browning the butter make such a difference?
When you brown butter, the water cooks off and the milk solids toast. Those toasted milk solids develop a nutty, almost caramel-like flavor that you can't get from regular melted butter. In a cookie where butter is the main fat, that flavor comes through clearly in every bite. It's a small extra step that makes the final cookie taste noticeably different — more complex, less one-dimensional.
Do I really have to chill the dough?
Technically no, but I strongly recommend it. Unchilled dough spreads more during baking because the butter is already liquid (unlike a traditional recipe where you cream cold butter). Chilling firms the dough back up so the cookies hold their shape and come out thicker and chewier. Thirty minutes is the minimum. If you have an hour, even better. The flavor also improves the longer the dough rests — overnight chilled dough produces noticeably richer cookies.
Can I use salted butter instead of unsalted?
Yes, just reduce the added salt from ½ teaspoon to ¼ teaspoon. Different brands of salted butter have different salt levels, so taste the dough before adding the full amount of salt and adjust from there. I prefer unsalted so I can control it exactly, but salted butter in a pinch is completely fine.
Can I freeze the baked cookies or just the dough?
Both work. For baked cookies, let them cool completely, then freeze in a single layer on a tray before transferring to a bag or container. Reheat at 300°F for about 5 minutes and they're close to fresh. For dough, I prefer freezing it as pre-scooped balls — that way I can bake just a few at a time straight from frozen without thawing the whole batch. Add 2–3 minutes to the baking time when baking from frozen.
My cookies came out flat — what went wrong?
A few things can cause flat cookies: the dough wasn't chilled, the brown butter was still too warm when you mixed in the sugars, or your baking soda is old and not active anymore. The most common culprit I've seen (and experienced) is skipping the chill. If you chilled the dough and they still spread, check your baking soda — add a pinch to a cup of hot water, and if it doesn't fizz vigorously, it's time to replace the box.

BROWN BUTTER CHOCOLATE CHIP COOKIES
Ingredients
- 1 cup unsalted butter
- ¾ cup brown sugar packed
- ½ cup granulated sugar
- 2 large eggs
- 2 teaspoons vanilla extract
- 2 ¼ cups all-purpose flour
- 1 teaspoon baking soda
- ½ teaspoon salt
- 1 ½ cups chocolate chips semi-sweet or dark
- Optional: flaky sea salt for topping
Instructions
Brown the Butter:
- In a saucepan over medium heat, melt butter and cook until it turns golden brown and smells nutty (5–7 minutes). Let it cool slightly.
Mix Wet Ingredients:
- In a large bowl, beat browned butter, brown sugar, and granulated sugar until combined. Add eggs and vanilla, and mix well.
Add Dry Ingredients:
- Whisk together flour, baking soda, and salt in a separate bowl. Gradually mix into wet ingredients until just combined.
Fold in Chocolate Chips:
- Stir in chocolate chips evenly. Chill dough for at least 30 minutes for best results.
Bake the Cookies:
- Preheat oven to 350°F (175°C). Scoop dough onto lined baking sheets. Bake 10–12 minutes or until edges are golden. Sprinkle with sea salt, if using.
Notes
- Chilling Tip: Chilling dough helps prevent spreading and enhances flavour.
- Butter Tip: Watch closely while browning butter—it can burn fast.
- Storage: Store in an airtight container at room temperature for 4–5 days.
- Freezer-Friendly: Freeze unbaked dough balls and bake as needed.
This recipe has become one of those things I just make on autopilot now. The brown butter step sounds intimidating the first time, but after you've done it once, you'll realize how straightforward it is — it's just butter in a pan with some patience. The cookies that come out on the other side are genuinely different from any other chocolate chip cookie I've made, and I've made a lot of them over the years trying to land on a version my family actually agrees on.
I make these most often on weekends when I have a little more time to let the dough chill properly. Sometimes I double the batch, scoop the extras into frozen dough balls, and bake them off through the week whenever someone asks for something sweet. Having frozen cookie dough in the freezer is genuinely one of the best things about this recipe. If you're in a baking mood this weekend, my Peach Pie Crumble Bars and Blueberry Cheesecake Cookies are also worth making — different textures, same kind of satisfaction.
If you make these, the flaky sea salt on top is not optional in my kitchen. I know it's listed as optional in the recipe, but trust me — press a pinch onto each cookie right out of the oven. It changes the whole thing. That's the detail that makes people ask for the recipe.





Comments
No Comments