
BBQ ribs are the ultimate Dad food — smoky, sticky, fall-off-the-bone tender, and deeply satisfying in a way that no other meal quite achieves. This BBQ ribs recipe produces the most extraordinary baby back ribs imaginable through a foolproof low-and-slow technique that works in the oven, on the grill, or in any combination of both, finished with a sticky homemade BBQ glaze that caramelizes into the most irresistible lacquered coating possible.
The secret to truly extraordinary BBQ ribs is patience — low heat for a long time breaks down the collagen in the connective tissue between the bones and converts it to gelatin, which creates the silky, self-basting interior quality that makes genuinely excellent ribs genuinely different from merely acceptable ones.
This recipe uses baby back ribs — the most tender, most widely available, and most universally loved rib cut — and a homemade dry rub that can be applied the night before for deep flavor penetration, making this the ideal Father's Day make-ahead recipe that requires almost no work on the morning of cooking.
Make these once and they become the most requested recipe in your collection. Dad is going to absolutely love these BBQ ribs.
Let's make Dad's favorite ribs!
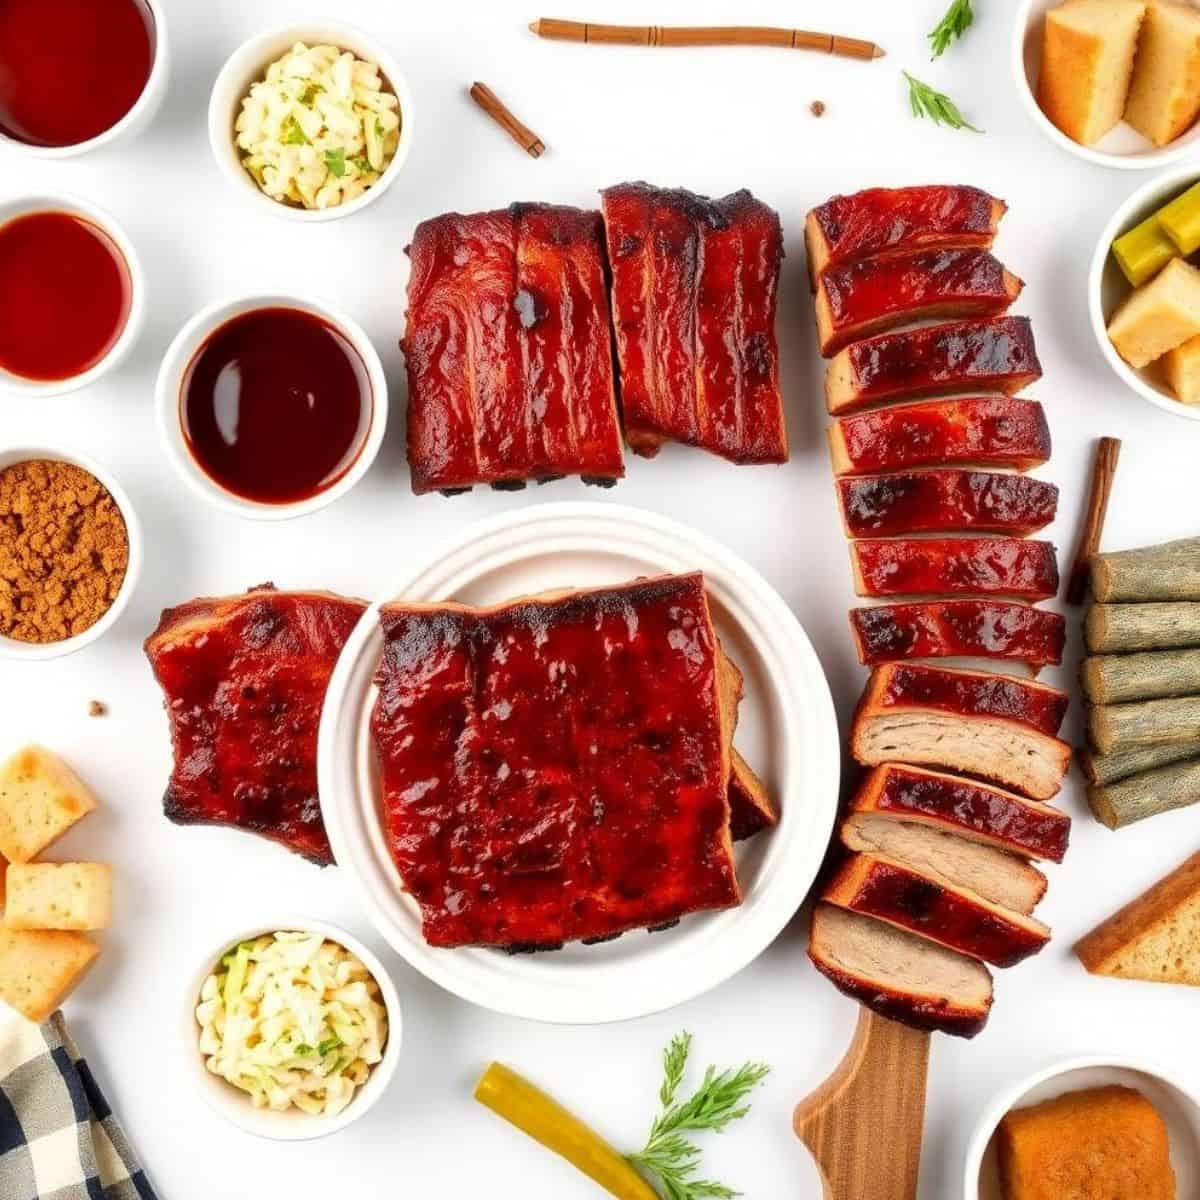
WHY YOU WILL LOVE THIS RECIPE
- Genuinely Fall-Off-the-Bone Tender: The low-and-slow cooking method converts the tough collagen between the bones into silky gelatin — the kind of tender where the meat slides cleanly off the bone with the lightest pull, not the kind where you're wrestling with chewy, tough ribs that required more time.
- Homemade Dry Rub That Makes All the Difference: The custom blend of brown sugar, smoked paprika, health benefits of garlic, cumin, and spices creates a deeply flavored bark on the exterior that is the defining characteristic of truly great BBQ ribs — a complexity and depth that store-bought seasonings simply cannot replicate.
- Works In the Oven or on the Grill: This BBQ ribs recipe produces extraordinary results entirely in the oven (most convenient and reliable) or with a combination of oven cooking and grill finish for the best char and caramelization. No smoker required — genuinely incredible ribs are achievable in any home kitchen.
- The Best Homemade BBQ Sauce: A from-scratch BBQ sauce built on ketchup, brown sugar, apple cider vinegar, and spices — dramatically better than any bottled sauce and completely worth the 20-minute preparation that produces a deeply flavored, perfectly balanced, sticky glaze.
- Make-Ahead Friendly: Season the ribs with the dry rub the night before, wrap, and refrigerate. The next day's active work is only 3 hours of completely hands-off oven time followed by 20 minutes of glazing. Father's Day morning is completely relaxed when the ribs are already seasoned and waiting.
- The Meal That Makes Dad Feel Most Celebrated: There is no Father's Day meal that generates more visible joy, more enthusiastic eating, and more requests for the recipe than a platter of perfectly glazed, fall-off-the-bone BBQ ribs made entirely from scratch. This is the Father's Day recipe that becomes a permanent annual tradition.
INGREDIENTS
- 2 racks baby back ribs (3-4 lbs each)
- Dry Rub:
- 3 tablespoons brown sugar, packed
- 2 tablespoons smoked paprika
- 1 tablespoon kosher salt
- 1 tablespoon coarsely ground black pepper
- 1 tablespoon garlic powder
- 1 tablespoon onion powder
- 1 teaspoon cumin
- 1 teaspoon dry mustard powder
- ½ teaspoon cayenne pepper
- Homemade BBQ Sauce:
- 1½ cups ketchup
- ½ cup apple cider vinegar
- ½ cup brown sugar, packed
- 3 tablespoons Worcestershire sauce
- 2 tablespoons yellow mustard
- 2 teaspoons smoked paprika
- 1 teaspoon garlic powder
- ½ teaspoon black pepper
- Hot sauce to taste
DIRECTIONS
- Step No.1: Remove the membrane and apply the dry rub
Remove the thin membrane from the underside (bone side) of each rack — this is the single most important prep step that most people skip and the one that most directly determines whether ribs are truly tender or merely cooked. Slip a butter knife under the membrane at one end of the rack, then grab it firmly with a paper towel for grip and pull it away in one long strip. The membrane prevents seasoning from penetrating the bone side and becomes unpleasantly chewy when cooked, so its removal is non-negotiable. Mix all dry rub ingredients together thoroughly. Apply the rub very generously to both sides of each rack, pressing it firmly into the meat surface rather than just dusting it on. Wrap each rack tightly in plastic wrap and refrigerate overnight or minimum 4 hours — the longer the rub sits, the more deeply the spices penetrate.
- Step No.2: Make the homemade BBQ sauce
Combine all BBQ sauce ingredients in a medium saucepan over medium heat. Stir thoroughly to dissolve the brown sugar completely. Bring to a gentle simmer and cook uncovered for 15-20 minutes, stirring every 5 minutes, until the sauce has thickened slightly and reduced by about 20% from its original volume. Taste and adjust — more apple cider vinegar for tang, more brown sugar for sweetness, more hot sauce for heat. The finished sauce should taste bold, slightly sweet, tangy, and deeply savory. Cool completely before using. The BBQ sauce keeps refrigerated for 3 weeks in a sealed jar and is dramatically better than any store-bought version — it's worth making a double batch to keep on hand throughout grilling season.
- Step No.3: Low and slow oven cooking
Preheat oven to 275°F. Remove ribs from refrigerator 30 minutes before cooking to take the chill off slightly. Place each rack meat-side-up on a double layer of heavy-duty aluminum foil large enough to completely seal into a packet with room for steam to circulate inside. Wrap each rack very tightly, crimping all edges firmly with multiple folds to create a completely airtight packet — no steam should be able to escape during cooking. The steam created inside the sealed foil packet is what creates the extraordinarily moist, tender cooking environment that makes fall-off-the-bone ribs possible. Place foil-wrapped racks on rimmed sheet pans. Bake at 275°F for 2 hours 30 minutes to 3 hours without opening.
- Step No.4: Test for tenderness
After 2 hours 30 minutes, carefully open one foil packet — steam will escape forcefully, so always open away from yourself and any bystanders. Using tongs, lift one end of the rack about 6 inches from the pan. When the rack is properly done, it will bend noticeably in the middle under its own weight and the meat between two bones in the center will have a visible crack showing the meat beginning to separate from the bone. If the rack feels stiff and doesn't bend, rewrap tightly and return to the oven for 20-30 more minutes before testing again. This bend test is significantly more reliable than timing alone since rib racks vary considerably in size and thickness. The meat should look very dark and the bone tips should be beginning to show as the meat contracts away from them during cooking.
- Step No.5: Apply the BBQ glaze
Increase oven temperature to 400°F, or preheat the grill to medium-high heat. Remove racks from foil completely and place directly on sheet pans (for oven) or directly on grill grates, meat-side-up. Brush BBQ sauce generously and evenly across the entire meat side of each rack — a thick, complete coat from edge to edge with no bare spots. Bake or grill for 10 minutes until the sauce begins to caramelize and bubble. Remove and apply a second generous coat of BBQ sauce over the first caramelized layer. Return for 10 more minutes until the sauce has built up to a deeply glossy, sticky lacquer. For the most extraordinary finish, apply a third coat and return for a final 8-10 minutes — a triple-glazed rib with three caramelized layers is the difference between very good ribs and genuinely unforgettable ones.
- Step No.6: Rest, cut, and serve
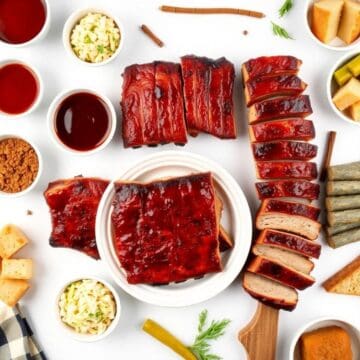
Rest the finished BBQ ribs for 10-15 minutes before cutting — this resting period allows the juices to redistribute throughout the meat for the most moist, most satisfying eating experience. Cut between the bones using a sharp chef's knife, counting the bones to find each cut rather than guessing. Arrange individual ribs in overlapping rows on a large platter or wooden cutting board with the glazed side facing up — the glossy, deeply caramelized glaze should be the first thing every guest sees. Serve with additional warm BBQ sauce alongside in a small bowl, plus all the classic accompaniments: coleslaw, corn on the cob, baked beans, potato salad, and plenty of napkins. Great BBQ ribs are emphatically not a utensil-required meal.
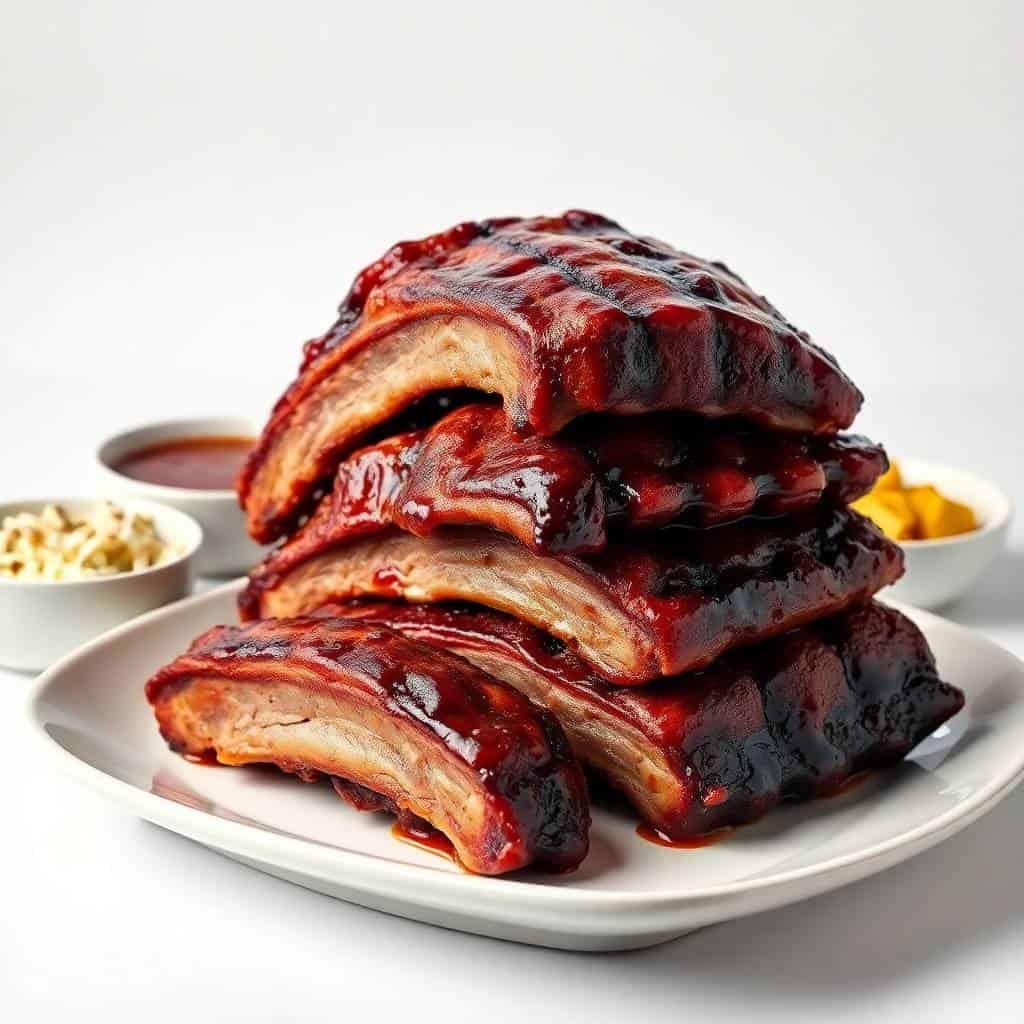
TIPS FOR SUCCESS
- Remove the Membrane — Every Single Time: The membrane on the bone side of the rack doesn't become tender during cooking — it stays tough, chewy, and impenetrable to seasoning regardless of how long the ribs cook. Removing it takes 2 minutes and produces a noticeably more tender result on every rib in the rack. Use a paper towel for grip when pulling since the membrane is slippery and difficult to grasp with bare fingers.
- 275°F Is Non-Negotiable: Higher temperatures rush the collagen-to-gelatin conversion that creates fall-off-the-bone tenderness and produce tougher, drier ribs more quickly. 275°F is the sweet spot that produces extraordinarily tender results in 2.5-3 hours without drying out the meat. Do not be tempted to increase the temperature to speed up the process — the only result is inferior ribs.
- Seal the Foil Perfectly: Any gap in the foil seal allows steam to escape during cooking, which reduces the moist steamy environment that is central to this technique. Use a double layer of heavy-duty foil and crimp all edges with multiple firm folds to ensure a completely airtight packet around each rack. Tears in the foil discovered partway through cooking should be immediately double-wrapped in a fresh piece of foil.
- Multiple Glaze Layers Create the Best Finish: One coat of BBQ sauce produces good ribs. Two coats produce very good ribs. Three coats applied in layers — each allowed to caramelize and set before the next is added — produces the deeply lacquered, sticky exterior that is the defining visual and textural characteristic of outstanding BBQ ribs. The additional 20-30 minutes this layering requires is worthwhile every time.
- The Bend Test Is More Reliable Than the Clock: Rib racks vary significantly in size, thickness, and fat content, making cooking time an unreliable sole indicator of doneness. The bend test — the rack bends noticeably in the middle under its own weight when held at one end with tongs — confirms that collagen conversion is complete and the ribs are genuinely tender throughout. Always use the bend test as the final determination of doneness.
- Season the Night Before for the Best Results: Overnight dry-brining produces noticeably more flavorful ribs than ribs seasoned immediately before cooking. The salt in the rub draws moisture from the meat, which dissolves the seasonings and reabsorbs carrying them deeper into the surface. The resulting bark development during cooking is also significantly more pronounced with longer-seasoned ribs — this make-ahead step costs no additional effort and produces meaningfully better results.
VARIATIONS
- St. Louis Style Spare Ribs: Use the identical technique but increase the cooking time to 3-4 hours at 275°F due to spare ribs' larger size and higher fat content. St. Louis spare ribs have more meat between the bones and a more pronounced pork flavor than baby backs — the preferred rib for many serious BBQ enthusiasts despite (or because of) the additional cooking time required.
- Smoked Ribs on a Smoker: Use the 3-2-1 method at 225°F: 3 hours uncovered with smoke for bark development, 2 hours wrapped tightly in foil for tenderness, 1 hour unwrapped and glazed for the caramelized finish. Apple wood, cherry wood, and hickory are the best wood choices for pork ribs — each imparts a distinct character to the finished smoke ring.
- Asian-Inspired Ribs: Replace the dry rub with Chinese five-spice, garlic powder, fresh ginger benefits, and salt. Replace the BBQ sauce with a hoisin-soy-honey glaze for sticky, lacquered Asian-style ribs that are a completely different but equally extraordinary rib experience from the traditional American BBQ direction.
- Kansas City Style: Add 1 tablespoon chili powder and ½ teaspoon allspice to the dry rub. Make the BBQ sauce thicker and sweeter by increasing brown sugar to ¾ cup and adding 2 tablespoons of molasses — Kansas City style is defined by its thick, sweet, tomato-heavy sauce and is one of America's most beloved regional BBQ traditions.
- Carolina Vinegar Style: Replace the entire BBQ sauce with a simple Carolina vinegar sauce: 1 cup apple cider vinegar, 1 tablespoon red pepper flakes, 1 teaspoon black pepper, 1 teaspoon salt, and 2 tablespoons brown sugar. The thin, tangy, pepper-forward vinegar sauce is the antithesis of the thick Kansas City style and produces a completely different but equally authentic American BBQ rib experience.
- Dry Ribs Memphis Style: Skip the BBQ sauce glaze entirely. After the low-and-slow foil phase, finish the ribs uncovered at 350°F for 20-25 minutes with no sauce applied, letting the dry rub bark caramelize and crisp into a deeply flavored exterior crust. Memphis-style dry ribs emphasize the spice rub's character without any sauce obscuring it — a completely different but genuinely extraordinary expression of BBQ rib excellence.
SERVING AND STORAGE
Serving
Arrange sliced ribs in overlapping rows on a large wooden board or platter with the glazed side facing upward. Serve with additional warm BBQ sauce in a small bowl alongside, coleslaw, corn on the cob, baked beans, and potato salad for the complete Father's Day BBQ spread. Provide large stacks of napkins — genuinely great BBQ ribs require them. Cold beer is the traditional and most appropriate beverage pairing for BBQ ribs of this caliber.
Storage
Store leftover BBQ ribs in an airtight container in the refrigerator for up to 4 days. Reheat individual ribs in the oven at 300°F covered with foil for 20-25 minutes until heated through — this gentle reheating method preserves the tenderness better than the microwave, which can make the meat slightly tough. Add a small splash of water or apple juice to the container before covering with foil to prevent drying. The BBQ sauce keeps refrigerated separately for up to 3 weeks.
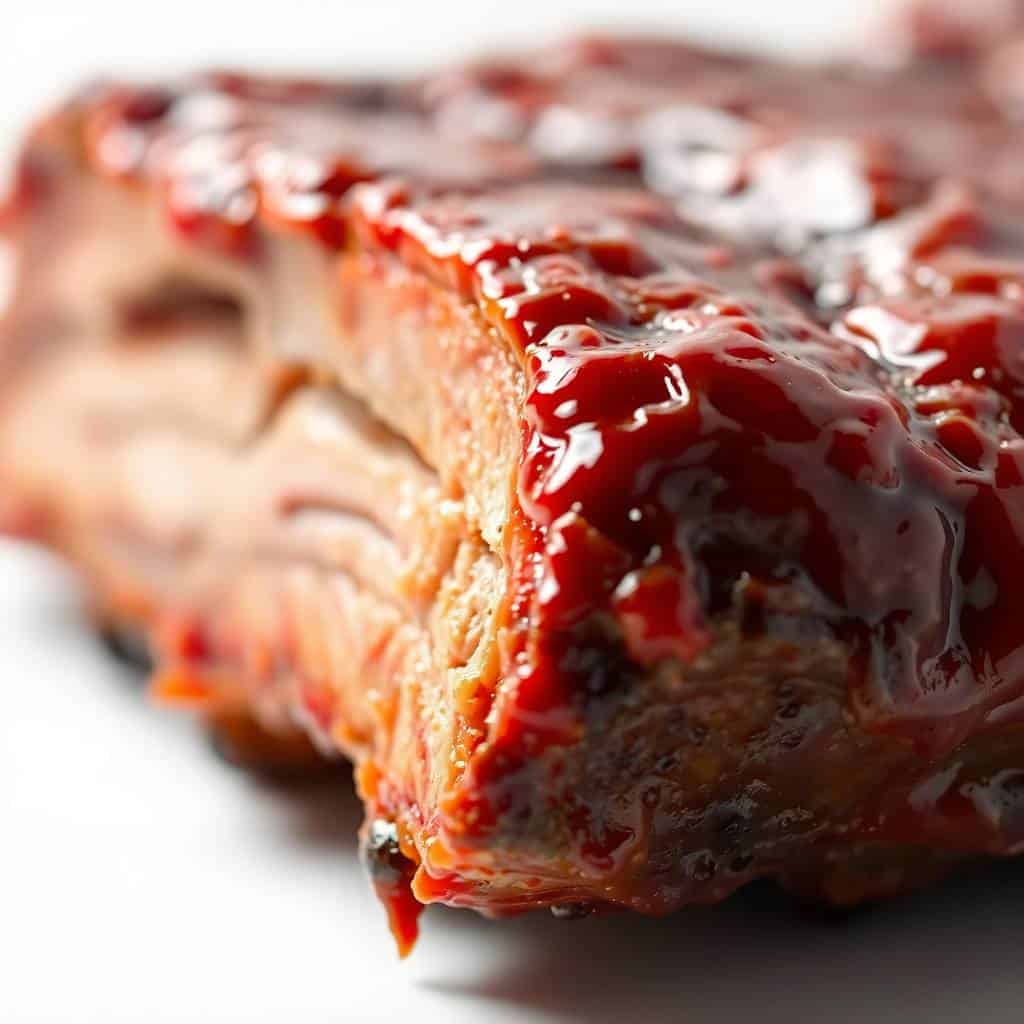
FAQ
275°F is the ideal oven temperature for BBQ ribs that achieves the perfect balance of tenderness and cooking time. This low temperature gives the collagen between the bones adequate time to convert to gelatin — which is what creates fall-off-the-bone tenderness — without drying out the meat. Higher temperatures produce tougher, drier ribs faster. At 275°F, baby back ribs take 2.5-3 hours and spare ribs take 3-4 hours for genuinely tender results.
Yes — always. The membrane on the bone side of the rack doesn't become tender during cooking regardless of how long the ribs cook. It stays chewy and tough and prevents the dry rub from penetrating the bone side at all. Removing it takes 2 minutes: slip a butter knife under the membrane at one end, grab it with a paper towel for grip, and pull it away in one strip. This single step makes a noticeable and meaningful difference in the tenderness of the finished ribs.
Baby back ribs come from the upper back of the pig near the spine and are shorter, leaner, more tender, and faster to cook — typically 2.5-3 hours at 275°F. Spare ribs come from the lower chest area and are larger, fattier, and more flavorful but require longer cooking at 3-4 hours. St. Louis style spare ribs are trimmed spare ribs with the cartilage removed for a more uniform shape. Both are excellent — baby backs are the most convenient and most universally tender, while spare ribs reward the extra time with deeper flavor.
Yes — BBQ ribs actually reheat very well and are an excellent make-ahead option. Cook the ribs completely including the glazing phase, cool, and refrigerate. The next day, reheat covered with foil at 300°F for 25-30 minutes until hot throughout, then brush with a final coat of BBQ sauce and place under the broiler for 2-3 minutes to refresh the caramelized glaze. The ribs will be virtually indistinguishable from freshly made and this make-ahead approach is ideal for stress-free Father's Day entertaining.
The bend test is the most reliable doneness indicator: using tongs, lift one end of the rack about 6 inches from the surface. Properly done ribs will bend noticeably in the middle under their own weight and show a visible crack in the meat between two bones in the center section where the meat is beginning to separate from the bone. A stiff rack that doesn't bend needs more cooking time. Visual indicators include very dark, caramelized-looking meat and visible bone tips where the meat has contracted away from the ends of the bones.
This BBQ ribs recipe produces the most tender, most flavorful, most deeply satisfying ribs possible from a home kitchen — the recipe that makes Dad feel genuinely celebrated every single year it appears on the Father's Day table.
Make them this Father's Day and watch them become the most requested meal of the year. For the complete Father's Day dinner spread, see our best Father's Day recipes.
The ribs that make every dad feel like the king of Father's Day. For more BBQ inspiration, browse our best backyard BBQ recipes.
Add this permanently to your Father's Day tradition. For more grilling ideas, see our best backyard BBQ sides.
Dads Favorite BBQ Ribs Recipe (Fall-Off-The-Bone Perfect Every Time)
Equipment
- Oven or smoker or grill
- Aluminum foil
- Baking sheet
- Mixing Bowl
- Basting brush
- Tongs
Ingredients
For the Dry Rub
- 3 tablespoons brown sugar packed
- 2 tablespoons smoked paprika
- 2 tablespoons garlic powder
- 2 tablespoons onion powder
- 1 tablespoon black pepper freshly ground
- 1 tablespoon sea salt
- 1 teaspoon cayenne pepper optional
For the Ribs and BBQ Glaze
- 3 pounds baby back ribs 2 racks, membrane removed
- 1 cup ketchup
- ½ cup apple cider vinegar
- ¼ cup honey
- 2 tablespoons Worcestershire sauce
- 2 tablespoons butter
- 1 tablespoon smoked paprika
- 2 cloves garlic minced
Instructions
Prepare the Ribs
- Remove the membrane from the back of the ribs by sliding a knife under it and peeling it away. This allows the seasonings to penetrate the meat more effectively.
- Pat the ribs dry with paper towels. Mix all the dry rub ingredients together in a small bowl, combining the brown sugar, smoked paprika, garlic powder, onion powder, black pepper, sea salt, and cayenne pepper.
- Generously coat both sides of the ribs with the dry rub, pressing the seasonings firmly into the meat. If possible, cover the ribs and refrigerate overnight to allow the flavors to penetrate deeply.
Cook the Ribs Low and Slow
- Preheat your oven to 250F. Place the seasoned ribs meat-side up on a large baking sheet lined with foil. Cover tightly with another sheet of foil to trap moisture. Bake for 4 to 5 hours, until the meat is extremely tender and pulls back from the bones.
- While the ribs cook, prepare the BBQ glaze by combining the ketchup, apple cider vinegar, honey, Worcestershire sauce, butter, smoked paprika, and minced garlic in a saucepan over medium heat. Simmer for 10 to 15 minutes, stirring occasionally, until the sauce thickens slightly and the flavors meld together.
Finish and Serve
- During the final 30 minutes of cooking, remove the foil covering from the ribs and generously brush both sides with the BBQ glaze. Return to the oven uncovered to allow the glaze to caramelize and create a sticky, lacquered coating.
- Remove the ribs from the oven and let them rest for 5 minutes. Cut between the bones to separate individual ribs and arrange on a serving platter. Drizzle with any remaining BBQ sauce and serve immediately with your favorite sides such as coleslaw, cornbread, and baked beans.
Notes

Comments
No Comments