
Zainab looked over my shoulder at three blackening bananas on the counter and said, "Can you make something fudgier this time?" That one question sent me in a completely different direction from the banana loaf I'd been planning, and honestly, I haven't looked back since.
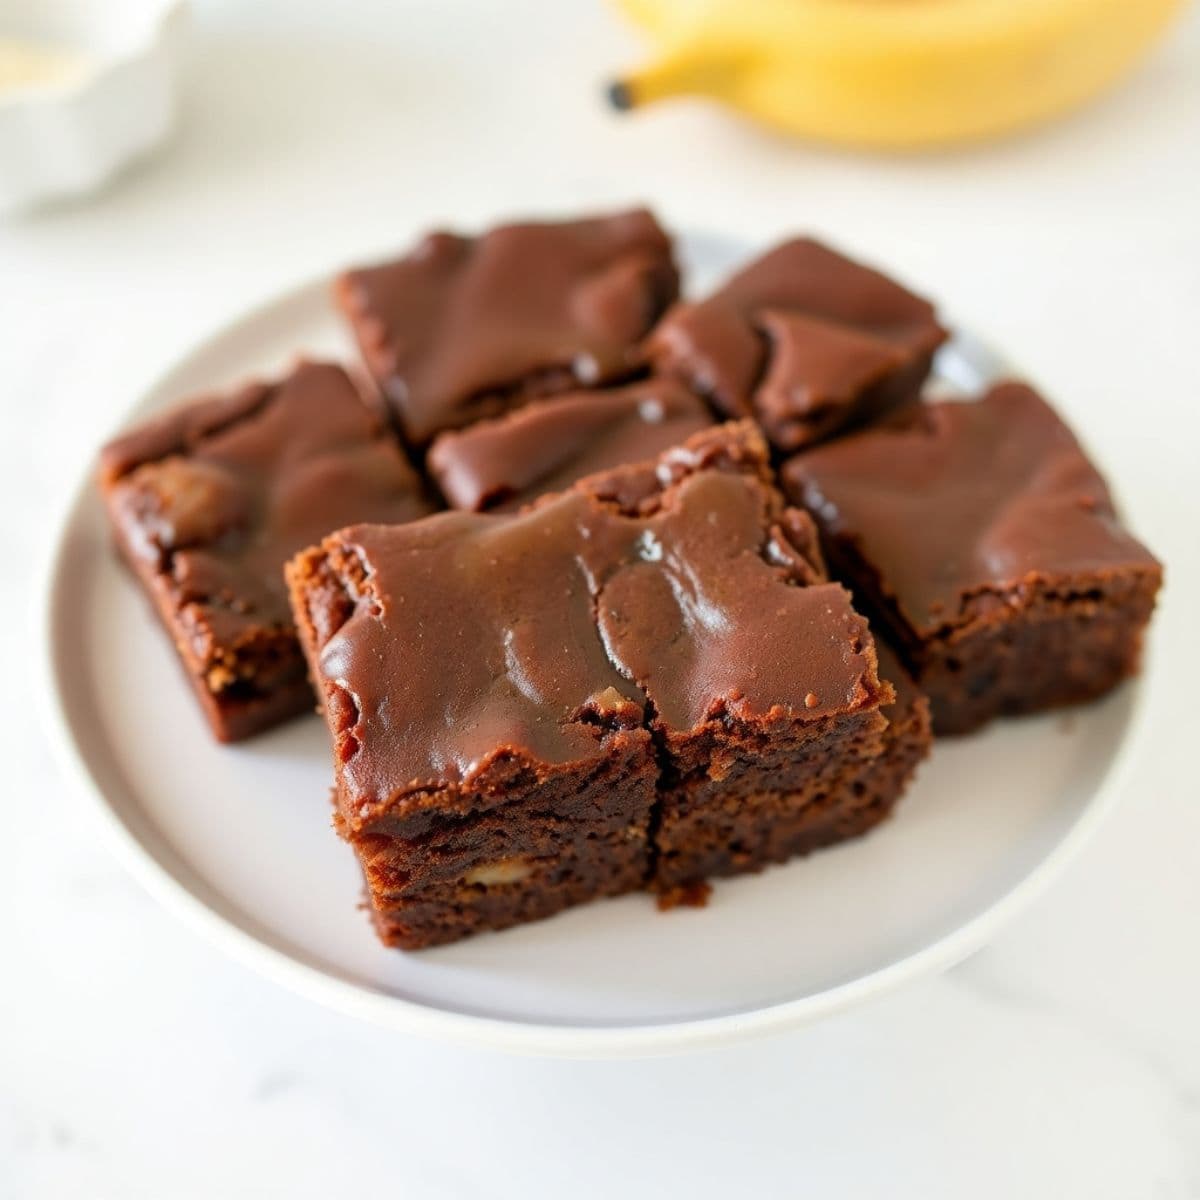
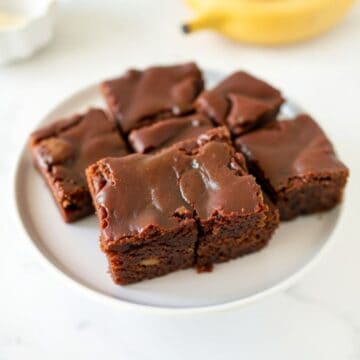
What makes these work is the ratio — less flour than banana bread, more butter, and just enough banana to keep everything moist without making it cakey. I played around with the proportions over several batches before landing here. The result slices clean, holds together, and has that slightly chewy edge that makes a brownie satisfying in a way a loaf never quite is. The vanilla glaze is optional in theory, but I almost always make it because it only takes two minutes and it genuinely changes how the whole thing looks and tastes.
Zainab eats these warm with a scoop of vanilla ice cream. My husband eats them cold the next morning with his tea. After the first batch, Saad suggested chocolate chips and I'll admit he was right — they melt into little pockets throughout and it's very good. I've made this six or seven times now and it comes together in one bowl, which matters to me on a weeknight when I don't want to babysit a complicated bake.
One thing worth knowing before you start: this isn't a traditional brownie. There's no cocoa powder, no melted chocolate base. The "brownie" here is all about texture — dense, fudgy, slightly chewy — not chocolate flavor. If you have overripe bananas sitting on your counter right now, this is exactly where they should go. And if you're in the mood for something completely different to round out a snack spread, my avocado and bacon pinwheels are another crowd-friendly option that comes together without much fuss.
Why You'll Love This Recipe
- One bowl, no mixer needed: I made this the first time with just a whisk and a wooden spoon — no stand mixer, no hand mixer, nothing electric. The batter comes together in about 10 minutes of actual hands-on time. There's no creaming butter and sugar separately, no switching between bowls and attachments. Mash, whisk, stir, pour, bake. Fewer dishes at the end is always the right answer in my kitchen.
- Uses bananas that have gone past their prime: The blacker and softer those bananas are, the better these brownies will be. I used to feel bad about letting bananas go overripe, but now I almost do it on purpose. The natural sugars intensify as they ripen, the moisture is exactly right, and you end up with real banana flavor all the way through — not just a faint hint.
- Genuinely fudgy, not cakey: This is the thing that separates this recipe from just calling banana bread "brownies." The lower flour ratio and extra butter give you that dense, slightly gooey bite that banana bread never quite achieves. The toothpick should come out with a few moist crumbs — not wet batter, but definitely not clean and dry either. That middle ground is what you're aiming for.
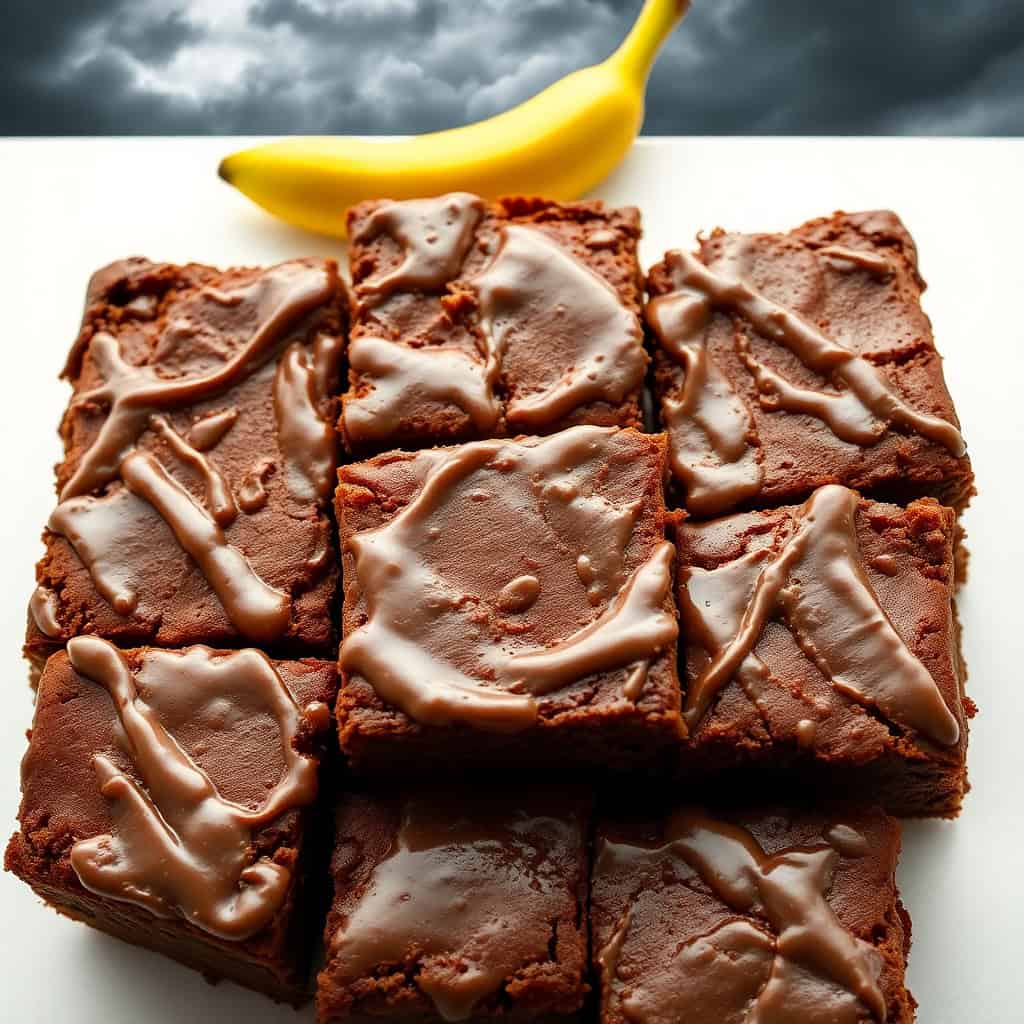
- The glaze does a lot of work in two minutes: Three ingredients, two minutes of whisking, and it transforms what looks like a simple bar into something you'd put on a plate at a gathering. It sets quickly, adds just enough sweetness to balance the banana underneath, and makes every square look finished. I've skipped it exactly twice. Both times I wished I hadn't.
- Works as breakfast or dessert without much adjustment: Without the glaze, these are a reasonable breakfast bar — not too sweet, filling, with real banana flavor. With the glaze and a scoop of ice cream, it's dessert. My family has eaten these at 8am and 8pm on the same day without anyone finding that strange.
Ingredients
For the Banana Bread Brownies:
- 2 ripe bananas, mashed (the blacker the better)
- ½ cup unsalted butter, melted
- 1 cup granulated sugar (or brown sugar — see FAQ)
- 2 large eggs
- 1 teaspoon vanilla extract
- 1½ cups all-purpose flour
- ½ teaspoon baking powder
- ½ teaspoon baking soda
- ¼ teaspoon salt
- ½ teaspoon ground cinnamon (optional, but I always add it)
- ½ cup chocolate chips (optional — Saad says not optional)
For the Glaze (optional but recommended):
- ½ cup powdered sugar
- 1 tablespoon milk
- ½ teaspoon vanilla extract
Directions
- Preheat your oven: Set it to 350°F (175°C). Grease a 9x9-inch baking pan or line it with parchment paper. I always use parchment — it makes lifting the whole slab out so much easier when it's time to slice, and the edges come out cleaner.
- Mash the bananas: In a large bowl, mash your bananas thoroughly with a fork until very few lumps remain. The smoother the mash, the more evenly the banana flavor distributes through the finished brownie. This is the step where overripe bananas really pay off — they break down without much effort.
- Mix the wet ingredients: Add the melted butter, sugar, eggs, and vanilla to the mashed bananas. Whisk everything together until smooth and combined. Don't rush this — you want the sugar mostly dissolved into the butter and banana before the flour goes in.
- Add the dry ingredients: In a separate bowl, whisk together the flour, baking powder, baking soda, salt, and cinnamon if using. Add the dry ingredients to the wet and stir until just combined. Stop as soon as you stop seeing dry flour streaks — overmixing is what makes baked goods dense in the wrong way.
- Fold in chocolate chips: If you're using them, gently fold them in now with a spatula. A few folds is all it needs. You're not trying to fully incorporate them — just distribute them through the batter.
- Bake: Pour the batter into your prepared pan and spread it into an even layer. Bake for 25–30 minutes. Start checking at 25 minutes — a toothpick inserted in the center should come out with a few moist crumbs, not wet batter. Every oven is different, so watch yours in those last few minutes.
- Cool completely: Let the brownies cool in the pan for at least 10 minutes, then lift out using the parchment and let them finish cooling on a wire rack. I know it's hard to wait, but slicing too early means crumbly edges and the texture hasn't set yet. Give them the full time.
- Make the glaze: Whisk the powdered sugar, milk, and vanilla together in a small bowl until smooth. If it's too thick, add a few drops more milk. Drizzle over the completely cooled brownies and let it set for about 10 minutes before slicing.
- Slice and serve: Once the glaze has set, cut into squares with a sharp knife (run it under hot water and dry it first for clean edges) and serve.
Tips for Success
- Wait for truly black bananas: Yellow bananas with a few brown spots will work, but the flavor will be noticeably milder. Nearly-black bananas have almost a caramel sweetness to them that carries through the entire brownie. If yours aren't ripe enough, place them unpeeled on a sheet pan in a 300°F oven for 15–20 minutes — the skins turn black and the insides get soft and sweet. I've done this in a pinch and it works.
- Don't overmix the batter: The first time I made these I kept stirring to make absolutely sure everything was incorporated, and they came out dense in the wrong way — almost gummy throughout. Once you add the flour, mix until you stop seeing dry streaks and then put the spoon down. The batter will look slightly lumpy from the banana, and that's completely fine.
- Check at 25 minutes, not 30: My oven runs hot and mine are usually done at 24–25 minutes. The edges will look set and slightly pulled from the sides of the pan. The center will look just barely firm when you gently shake the pan — that's exactly what you want. If the toothpick comes out completely clean with nothing clinging to it, they've probably gone a minute or two too long.
- Let them cool before slicing: I have rushed this step twice and regretted it both times. These brownies are structurally soft while still warm and will crumble when you try to cut them. Give them a full 20–30 minutes out of the oven before slicing. They firm up nicely as they cool and you'll get much cleaner squares with far less frustration.
- Use a sharp knife for slicing: Run a large, sharp knife under hot water, dry it off, and then cut straight down through the glaze. This gets you clean edges without dragging or cracking the glaze across the top. It sounds fussy but it takes five seconds and makes a real difference in how the squares look on a plate.
Variations
- Chocolate chip version: Fold in ½ cup of semi-sweet chocolate chips before baking. The chips melt into small pockets of chocolate throughout the brownie and the result is genuinely better than the plain version. Mini chips work especially well because they distribute more evenly through the batter. This has basically become the default in my house — Saad won't eat them the other way anymore.
- Walnut or pecan version: Add ½ cup of roughly chopped walnuts or pecans to the batter. Toast the nuts first — just 5 minutes in a dry skillet over medium heat — and the difference in flavor is noticeable. The crunch is a nice contrast to the fudgy base. This is my husband's preferred version, and he'll request it specifically when he sees the bananas going black.
- Peanut butter swirl: Drop 3–4 tablespoons of peanut butter over the batter once it's in the pan, then use a knife or skewer to swirl it through. It creates rich ribbons of peanut butter throughout the brownie and adds a salty contrast that works really well against the sweet banana base. Use a creamy peanut butter here — the natural kind can be too oily and will pool rather than swirl.
- Vegan version: Replace each egg with a flax egg (1 tablespoon ground flaxseed mixed with 2 tablespoons water, rested for 5 minutes until it gels) and use vegan butter in place of regular butter. The texture is slightly less fudgy but still very good. I made this version for a friend who doesn't eat eggs and she asked me to send her the recipe afterward, so I consider that a passing grade.
- Gluten-free version: Swap the all-purpose flour 1:1 with a gluten-free flour blend. Bob's Red Mill 1-to-1 and King Arthur Measure for Measure both work well here — both are available at Walmart and most major grocery stores. The texture is very close to the original and honestly, if you didn't tell someone it was gluten-free, I'm not sure they'd notice.
Serving and Storage
Serving
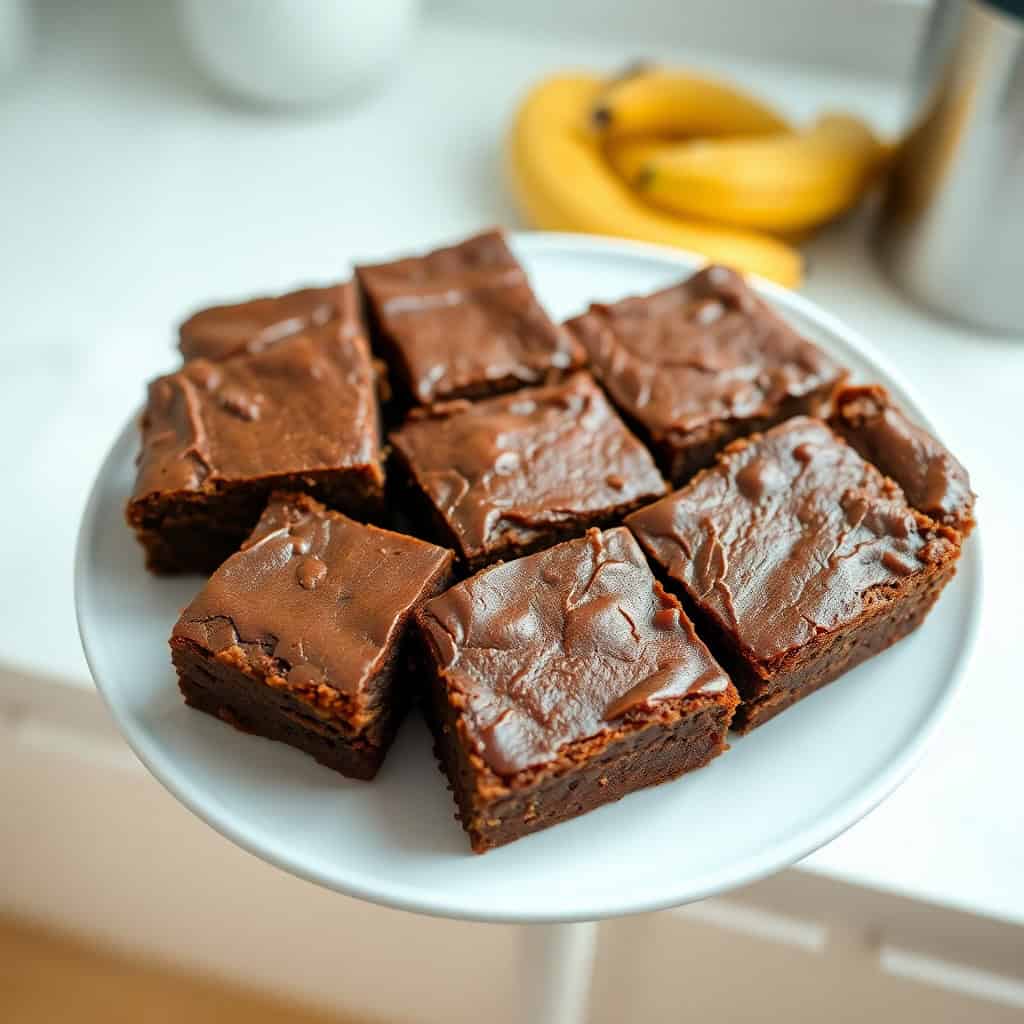
These are good warm, at room temperature, and cold — genuinely all three work depending on what you want. Warm from the oven with a scoop of vanilla ice cream is Zainab's requested version. At room temperature with a cup of tea is how my husband eats them the next morning. I've packed them in lunchboxes cold and they disappear just as fast. If you're serving them at a gathering, cut them into smaller squares than you think you need — people always come back for seconds. The glaze makes them look put-together without any extra effort on your part.
Storage
Store in an airtight container at room temperature for up to 3 days. They actually get slightly more fudgy on day two as they settle, so don't feel like you need to rush through them. For longer storage, wrap individual squares in plastic wrap and freeze in a zip-lock bag for up to 2 months. Thaw at room temperature for about an hour, or microwave for 20–25 seconds from frozen. Skip the glaze before freezing — drizzle it fresh after thawing instead. It takes two minutes and tastes much better that way.
Frequently Asked Questions
Can I use frozen bananas for this recipe?
Yes, frozen bananas work well here. Thaw them completely first and drain off any excess liquid that collects as they thaw — too much extra moisture can make the batter too loose and the brownies won't set properly. The flavor from frozen-then-thawed bananas is usually great because they tend to be very ripe when you freeze them in the first place.
Can I use brown sugar instead of granulated sugar?
Yes, and I actually prefer it. Brown sugar adds a slight molasses depth that pairs really well with the banana flavor. The brownies come out a shade darker and slightly more moist. Use the same amount — 1 cup — and everything else stays exactly the same.
Can I freeze these brownies?
Absolutely. Let them cool completely and skip the glaze if you're planning to freeze them. Wrap individual squares tightly in plastic wrap and store in a freezer bag for up to 2 months. Thaw at room temperature for about an hour. Make the glaze fresh after thawing — it takes two minutes and is much better than freezing the glaze directly on the brownie.
How do I know when the brownies are done baking?
Start checking at 25 minutes. Insert a toothpick into the center — it should come out with a few moist crumbs clinging to it, not wet batter. If it comes out completely clean, they're likely overdone and will be drier than you want. The edges should look set and the center should look just barely firm when you gently shake the pan.
Can I make these brownies gluten-free?
Yes. Swap the all-purpose flour with a 1:1 gluten-free flour blend — Bob's Red Mill and King Arthur both work well, and you can find them at Walmart or most major grocery stores. Don't use almond flour or coconut flour as a straight swap; the ratios are completely different and the texture won't come out right.
BANANA BREAD BROWNIES
Ingredients
- 2 ripe bananas mashed
- ½ cup unsalted butter melted
- 1 cup granulated sugar
- 2 large eggs
- 1 teaspoon vanilla extract
- 1 ½ cups all-purpose flour
- ½ teaspoon baking powder
- ½ teaspoon baking soda
- ¼ teaspoon salt
- ½ teaspoon ground cinnamon optional
- ½ cup chocolate chips optional, for added richness
Instructions
- Preheat the oven to 350°F (175°C) and grease or line a 9x9-inch baking pan with parchment paper.
- In a large bowl, whisk together the mashed bananas, melted butter, sugar, eggs, and vanilla extract until smooth and well combined.
- In another bowl, mix together the flour, baking powder, baking soda, salt, and cinnamon (if using).
- Gradually add the dry ingredients to the wet ingredients, stirring until just combined. Be careful not to overmix.
- Fold in chocolate chips (if using).
- Pour the batter into the prepared pan and spread it evenly.
- Bake for 25-30 minutes, or until a toothpick inserted into the center comes out clean or with a few moist crumbs.
- Allow to cool completely before cutting into squares.
Notes
- If you want a richer banana flavor, use very ripe bananas. The riper the banana, the better.
- You can add nuts like walnuts or pecans to the batter for extra texture.
- For an even fudgier texture, reduce the baking time by a few minutes, keeping a slightly gooey center.
- Store the brownies in an airtight container for up to 3 days at room temperature.
- You can freeze these brownies for up to 1 month; simply wrap them tightly and thaw before serving.
- If you don’t want to use chocolate chips, you can leave them out or replace them with dried fruits like raisins or cranberries.
- For a gluten-free version, swap all-purpose flour with a 1:1 gluten-free flour blend.
- Drizzle a bit of caramel sauce or peanut butter over the top for an extra indulgent treat.
These banana bread brownies have become one of those recipes I reach for without really thinking about it anymore. When the bananas go black on my counter, this is where they go. The whole process is relaxed: one bowl, a whisk, no complicated timing or equipment. I make a double batch when I know the week ahead is going to be busy because they keep well and they disappear steadily — one or two at a time — rather than all at once in a single sitting.
What I keep coming back to is how they sit comfortably between a treat you'd bring somewhere and something you'd eat quietly on a Tuesday morning. The banana flavor is real and forward, the texture is genuinely fudgy, and the glaze takes them somewhere a plain banana loaf never quite reaches. If you're planning a spread that needs both sweet and savory, my baked ham and





Comments
No Comments