
Baked chicken taquitos are a delicious and healthier twist on a classic Mexican-inspired favorite. Whether you're hosting a party or preparing a family dinner, these taquitos are guaranteed to be a crowd-pleaser.
This recipe is incredibly versatile and works well as an appetizer, snack, or even a main course. Instead of deep-frying, these taquitos are baked to golden perfection, giving you the crunch you love without the grease.
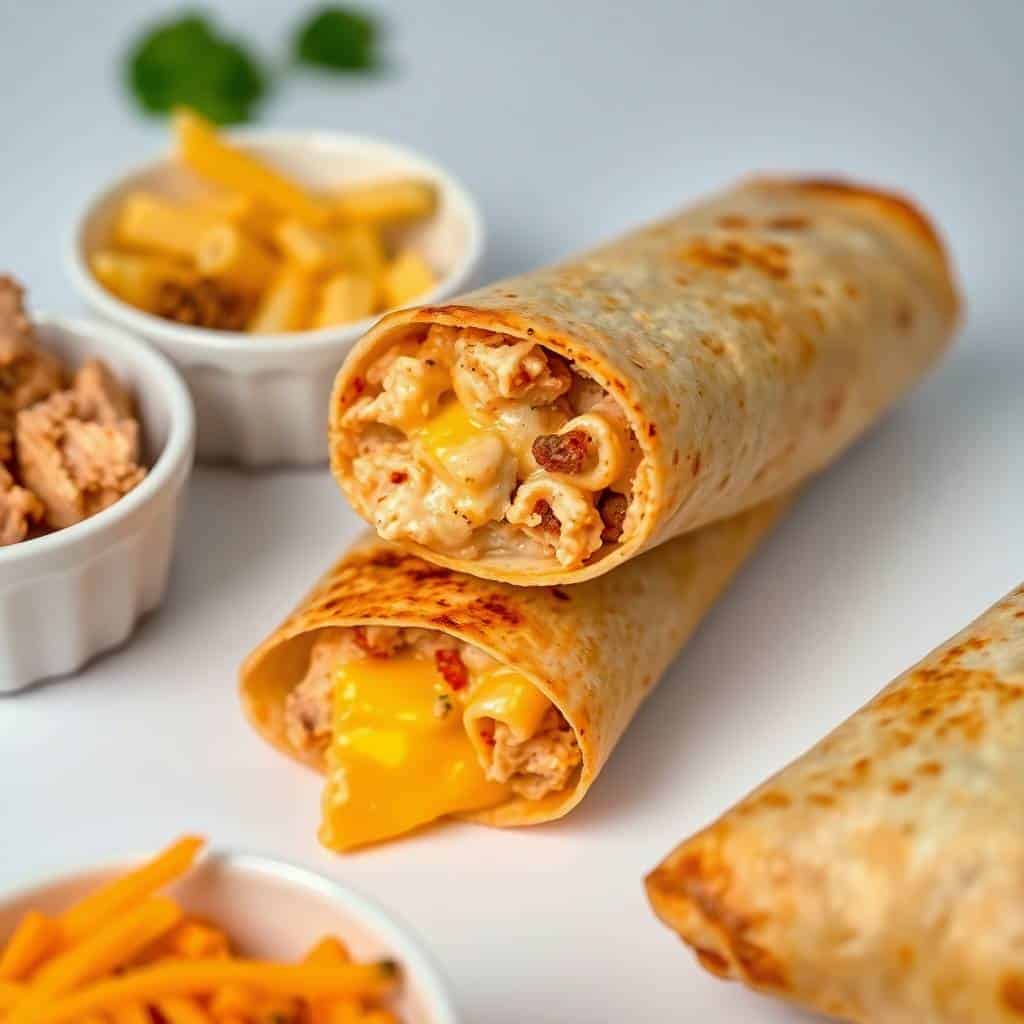
They're stuffed with seasoned chicken, melty cheese, and a blend of flavorful spices that come together in every bite. They’re also a great way to use up leftover chicken and can be customized with your favorite fillings.
They’re simple to make and can be assembled ahead of time, making weeknight dinners much easier. Serve them with your favorite dips like guacamole, sour cream, or salsa for added flavor. Plus, they’re kid-friendly and loved by adults alike.
If you love recipes that deliver maximum taste with minimal fuss, you’re going to love baked chicken taquitos. Once you try them, they’ll become a staple in your kitchen. Plus, they freeze well, so you can always have a batch ready for busy days.
WHY YOU WILL LOVE THIS RECIPE
- Healthier Alternative: Baked instead of fried, these taquitos offer all the crunch without the added oil and calories.
- family favorite: Kids and adults alike love the cheesy, crispy texture and flavorful chicken filling.
- Make-Ahead Friendly: You can assemble these ahead of time and bake when needed—perfect for busy weeknights or party prep.
- Freezer Friendly: These freeze beautifully and can be baked directly from frozen, making meal prep even easier.
- Customizable Fillings: Adjust the spices, cheese, or daily protein needs to suit your preferences or dietary needs.
- Crispy Texture: Baking at high heat ensures a golden, crispy shell that rivals traditional frying.
- Perfect for Dipping: Ideal for pairing with guacamole, salsa, or sour cream to enhance flavor and presentation.
INGREDIENTS
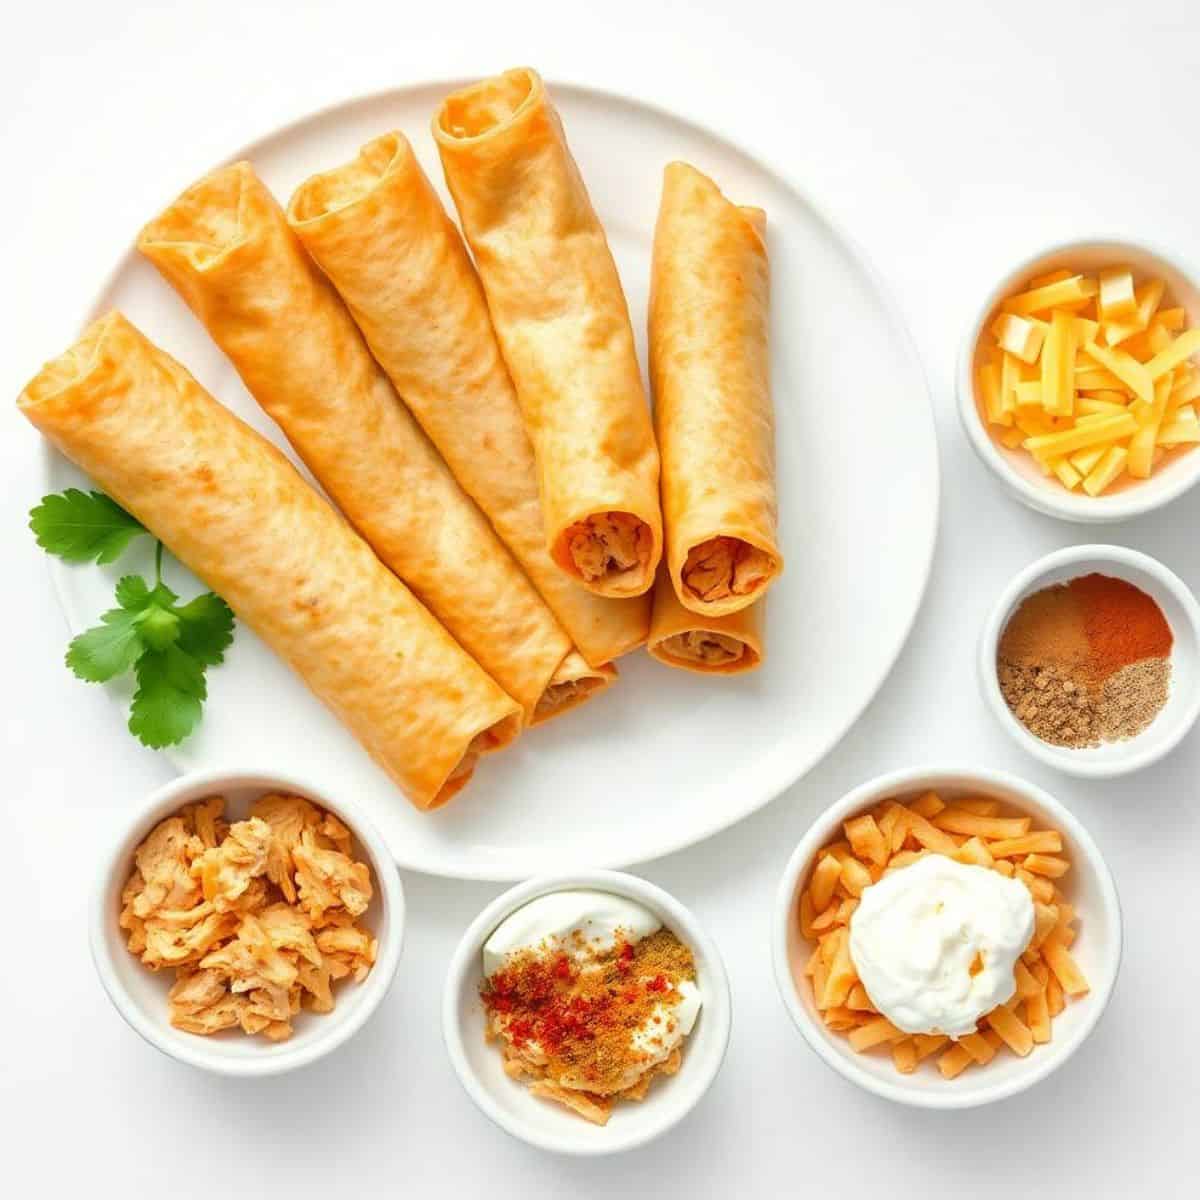
- 2 cups cooked, shredded chicken
- 1 cup shredded cheddar cheese
- ½ cup cream cheese, softened
- ¼ cup salsa (your favorite variety)
- 1 teaspoon garlic powder
- 1 teaspoon cumin
- ½ teaspoon chili powder
- Salt and pepper, to taste
- 12 small flour or corn tortillas
- Cooking spray or oil for brushing
DIRECTIONS
- Step No.1: Preheat your oven
Preheat the oven to 425°F (220°C) and line a large baking sheet with parchment paper or lightly grease it with cooking spray.
- Step No.2: Prepare the filling
In a large bowl, mix the shredded chicken, cream cheese, salsa, shredded cheddar, garlic powder, cumin, chili powder, salt, and pepper until well combined.
- Step No.3: Warm the tortillas
Warm the tortillas slightly in the microwave or on a skillet until pliable. This prevents cracking when rolling the taquitos.
- Step No.4: Assemble the taquitos
Place about 2 tablespoons of filling on one end of each tortilla. Roll tightly and place seam-side down on the baking sheet.
- Step No.5: Bake to crispy perfection
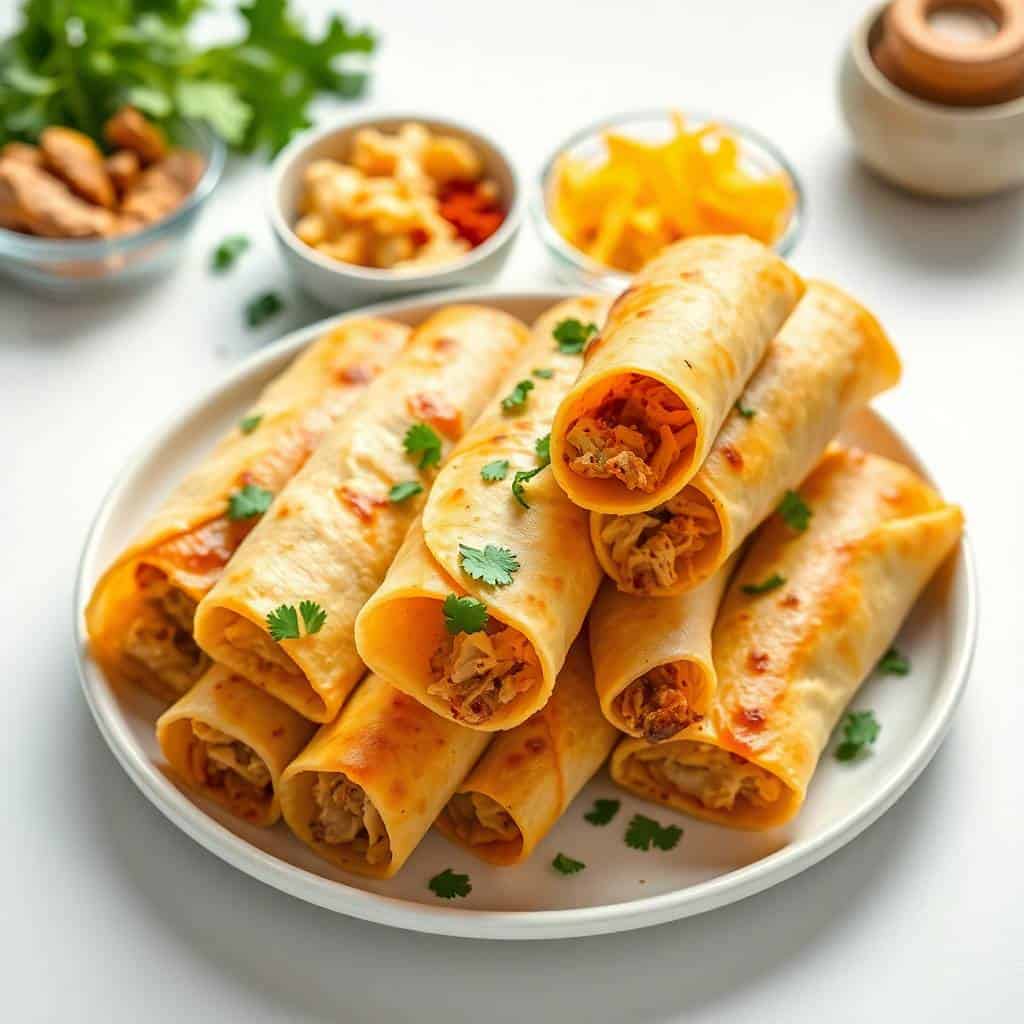
Lightly spray or brush the tops with oil. Bake for 15–20 minutes or until golden brown and crispy, turning once halfway through if desired.
TIPS FOR SUCCESS
- Use Soft Tortillas: Warm your tortillas to prevent tearing and ensure they roll up tightly and hold their shape while baking.
- Don’t Overfill: Keep the filling modest so it doesn't spill out during rolling or baking. A couple of tablespoons per tortilla is ideal.
- Seal the Edge: Place seam-side down when baking to prevent unrolling; a dab of cream cheese can also act as glue.
- Crisp with Oil: Lightly spraying with oil gives that golden, crispy texture even though they're baked instead of fried.
- Flip for Even Browning: Turn taquitos halfway through baking for uniform crispiness on all sides.
- Let Them Rest: Allow them to cool slightly before serving so the filling sets and the outer shell stays crisp.
- Serve Immediately: They're best fresh out of the oven—crispy, hot, and flavorful.
VARIATIONS
- Spicy Kick: Add diced jalapeños or a dash of hot sauce to the filling for extra heat.
- Different Cheese Options: Swap cheddar for Monterey Jack, pepper jack, or a Mexican blend to suit your taste preferences.
- vegetarian diet Version: Replace chicken with black beans, corn, and extra cheese for a delicious meat-free alternative.
- Buffalo Style: Mix chicken with buffalo sauce and blue cheese for a spicy, tangy version of this classic.
- Barbecue Twist: Use shredded BBQ chicken and cheddar for a smoky, sweet spin on traditional taquitos.
- Creamier Texture: Add a bit more cream cheese or sour cream for an extra creamy filling.
- Tortilla Choices: Try using low-carb, whole wheat, or gluten-free diet tortillas to match your dietary needs.
SERVING AND STORAGE
Serving
Serve hot with guacamole, sour cream, and salsa for dipping, garnished with chopped cilantro and lime wedges.
Storage
Store leftovers in an airtight container in the fridge for up to 3 days; reheat in oven or air fryer.
FAQ
Yes, rotisserie chicken works great and saves time—just shred it and mix with the other ingredients.
Absolutely. Freeze unbaked or baked taquitos in a single layer, then store in a freezer bag for up to 3 months.
Flour tortillas roll easier and get crispier, but corn tortillas add authentic flavor—just warm them well before rolling.
Yes, assemble them and refrigerate up to 24 hours in advance. Bake when ready to serve for fresh flavor and texture.
Reheat in the oven or air fryer cooking at 375°F for 8–10 minutes until warmed through and crispy again.
Whether you're feeding a hungry family or prepping snacks for game day, this recipe delivers big on taste and ease.
They’re also a great use of leftover chicken and lend themselves beautifully to endless customizations.
Want it spicy? Add jalapeños. Craving BBQ? Use smoky sauce instead. There’s room to make it your own every time.
With only a handful of ingredients and a quick bake time, they’re ideal for both novice and experienced cooks.
Their crispy exterior and creamy, cheesy filling strike a perfect balance that keeps everyone coming back for more.


BAKED CHICKEN TAQUITOS RECIPE
Ingredients
- 2 cups cooked shredded chicken
- 1 cup shredded cheese cheddar or Monterey Jack
- ½ teaspoon garlic powder
- ½ teaspoon onion powder
- ½ teaspoon cumin
- Salt and pepper to taste
- 12 small flour or corn tortillas
- Cooking spray or 1 tablespoon oil
- Optional toppings: sour cream salsa, guacamole
Instructions
- Preheat Oven: Preheat oven to 425°F (220°C). Line a baking sheet with parchment paper.
- Prepare Filling: In a bowl, combine shredded chicken, cheese, garlic powder, onion powder, cumin, salt, and pepper.
- Assemble Taquitos: Place 2–3 tablespoons of filling on one side of each tortilla. Roll tightly and secure with toothpicks if needed.
- Bake: Place taquitos seam-side down on the prepared baking sheet. Lightly spray with cooking spray or brush with oil. Bake for 18–20 minutes until golden and crispy.
- Serve: Remove toothpicks, serve warm with sour cream, salsa, or guacamole.
Notes
- Make Ahead: Assemble taquitos in advance and refrigerate for up to 1 day before baking.
- Flavor Variations: Add diced jalapeños, black beans, or corn for extra flavor.
- Serving Suggestions: Great as a party appetizer or a main with a side salad.
- Storage Tips: Store leftovers in an airtight container in the fridge for up to 2 days; reheat in the oven for crispiness.




Comments
No Comments