
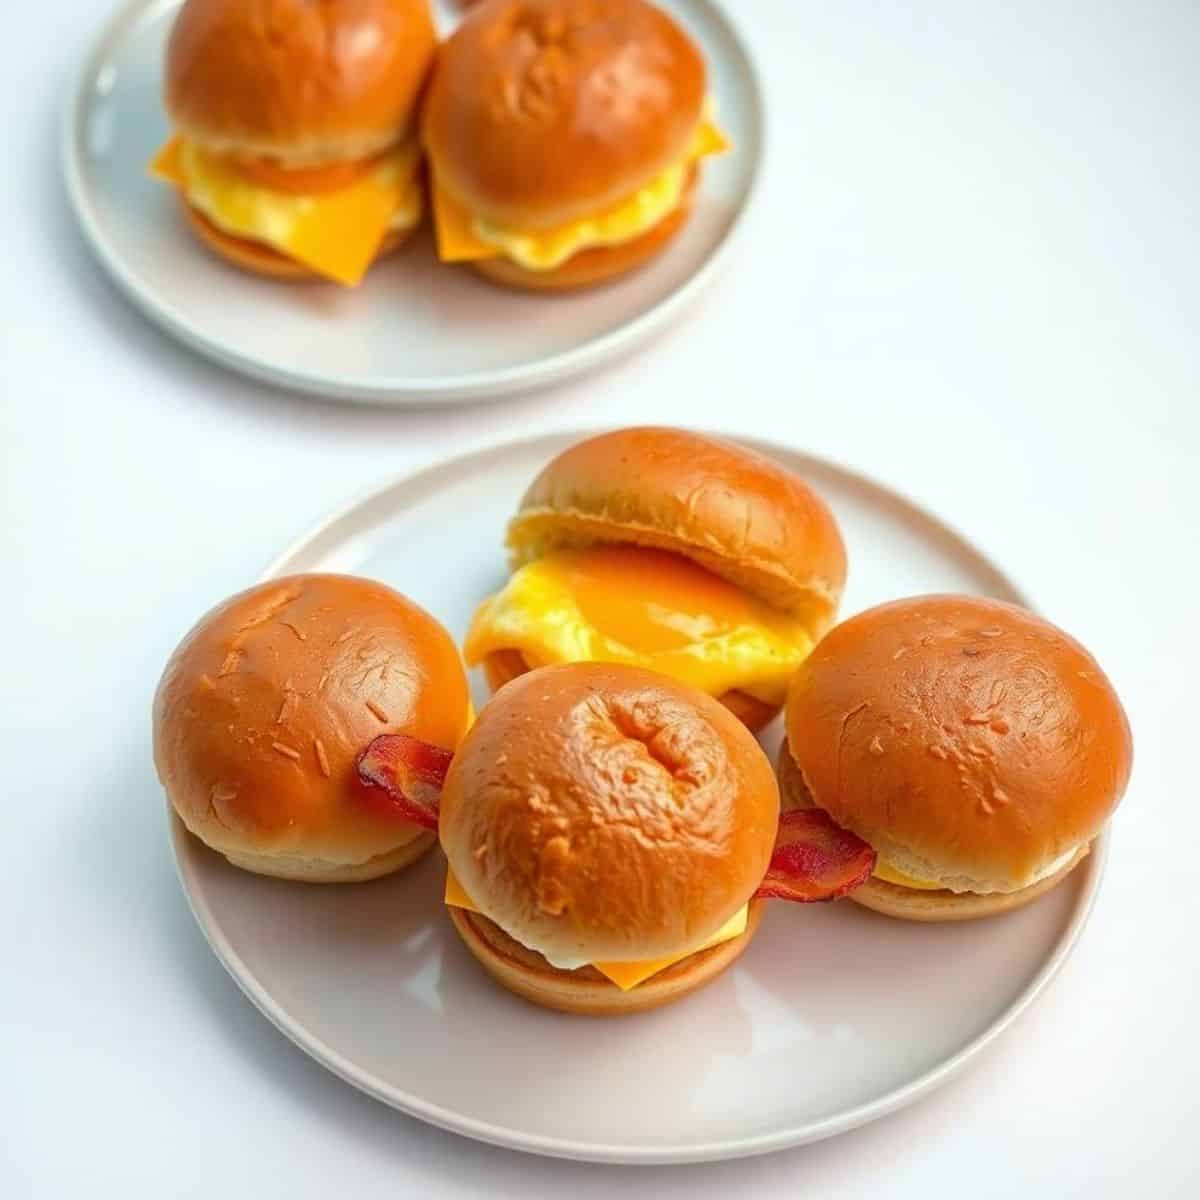
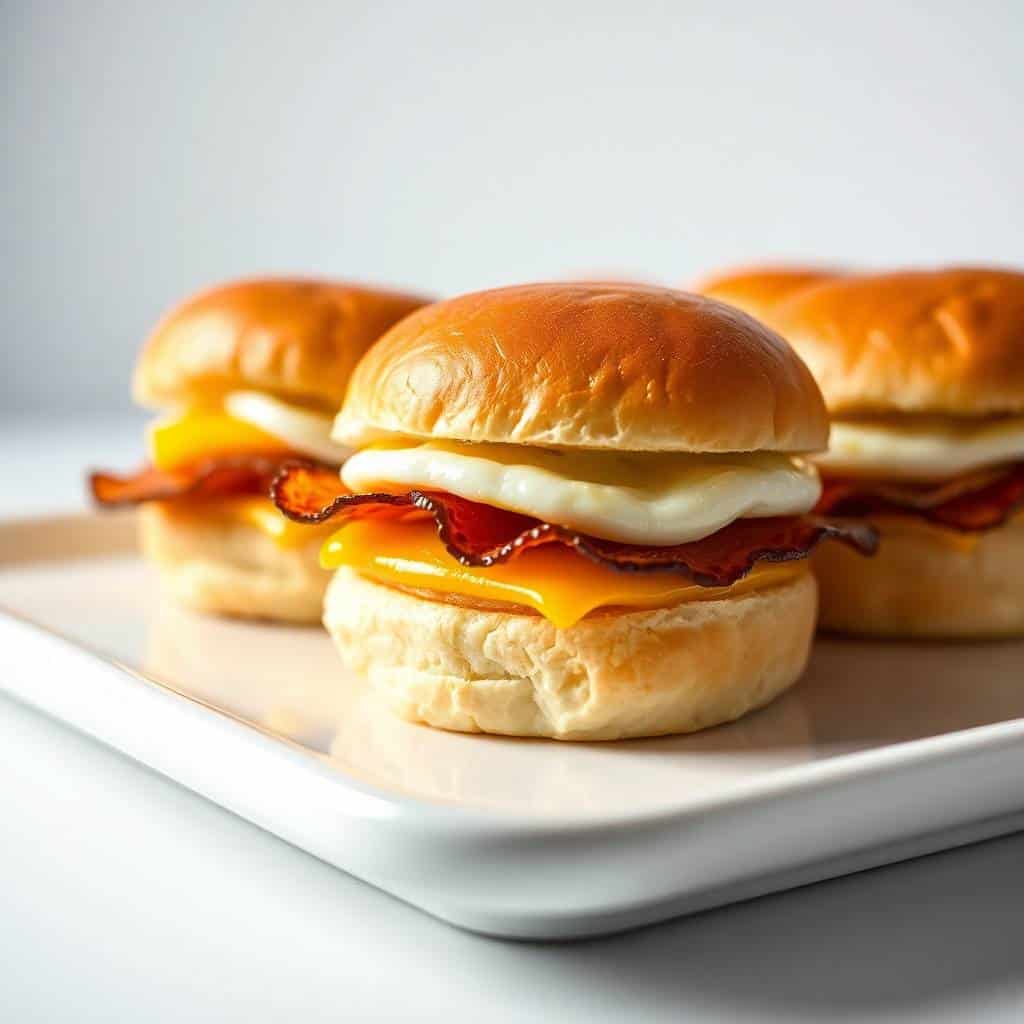
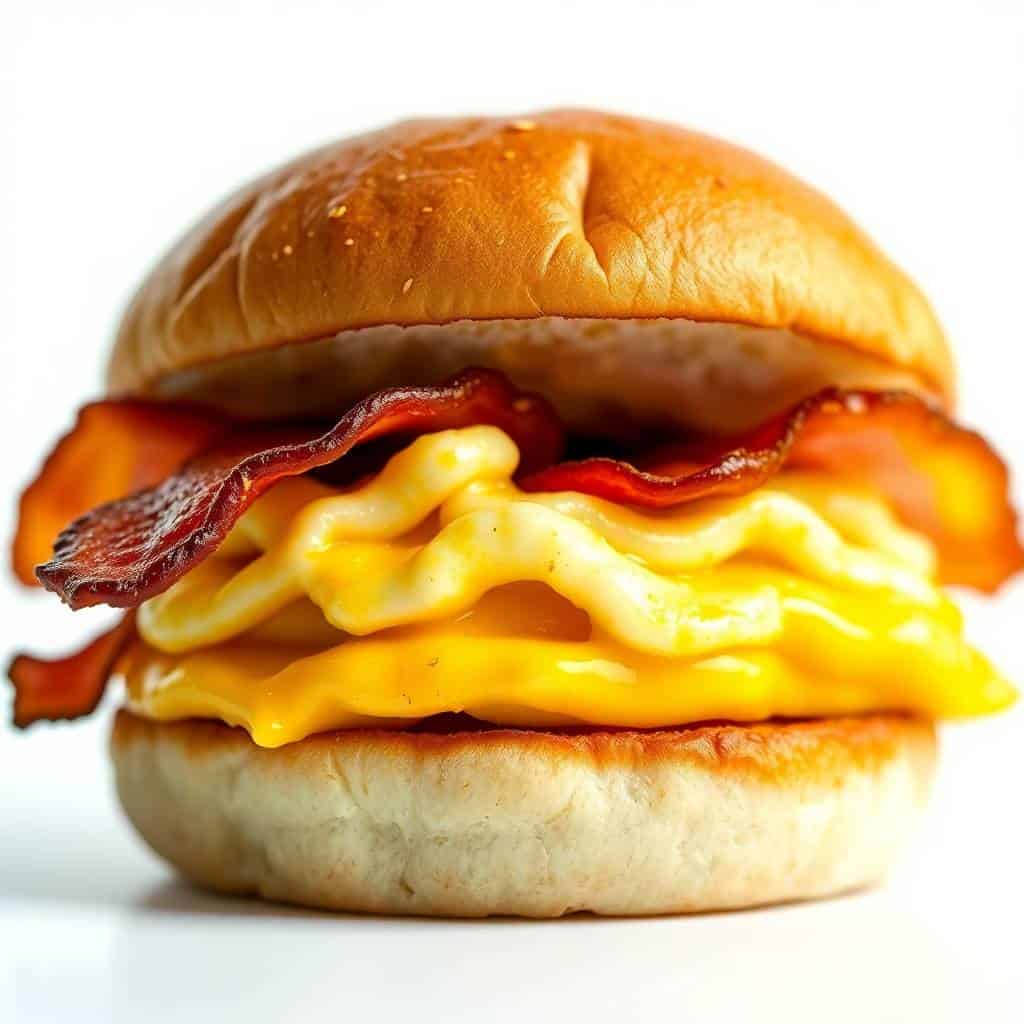
The recipe that disappears fastest from every brunch table I have ever set — faster than the fruit platter, faster than the pastry basket, faster than anything I have spent hours making — is a pan of bacon breakfast sliders: crispy bacon, soft scrambled eggs, and melted cheddar cheese all layered inside fluffy slider buns, brushed with butter, and baked together until the tops are golden and the cheese is completely molten. They are the definition of a crowd-pleasing breakfast, and they take less than 30 minutes from start to finish.
What makes breakfast sliders genuinely better than individually assembled breakfast sandwiches is the baking step — assembling everything into a single pan and baking them together melds the flavors in a way that individual sandwiches never achieve. The butter soaks into the top buns, the cheese melts down into the eggs and bacon, and the whole pan becomes one cohesive, gloriously unified breakfast unit that you slice apart to serve. The visual impact of a full pan of golden sliders presented at a brunch table is genuinely spectacular.
This post covers the classic bacon, egg, and cheddar breakfast slider in full detail, plus six variations including a spicy jalapeño version, a sweet-savory jam version, a sausage swap, a veggie-loaded version, a pepper jack upgrade, and a make-ahead freezer version. Every single version can be assembled the night before and baked fresh in the morning — the ultimate stress-free brunch preparation. Find more morning inspiration in our cowboy breakfast sliders, our best brunch recipes, and our easy breakfast recipes roundup.
Let's make the most satisfying breakfast slider tray of your life!
WHY YOU WILL LOVE THIS RECIPE
- Ready in Under 30 Minutes — Start to Finish: Bacon breakfast sliders are genuinely one of the fastest impressive brunch recipes available — cook the bacon and scramble the eggs (10 minutes), assemble the pan (5 minutes), bake (15 minutes), and serve. The entire process from cold refrigerator to golden pan on the table takes under 30 minutes, and the results look and taste like you spent considerably longer. This is the recipe I reach for every time I need to feed a crowd on a weekend morning without sacrificing an entire morning to cooking.
- Make-Ahead Friendly — Assemble the Night Before: Assemble the entire pan of sliders — bacon, eggs, cheese, buns, butter — cover tightly with plastic wrap, and refrigerate overnight. In the morning, pull the pan from the refrigerator, let it sit at room temperature for 10 minutes while the oven preheats, and bake as directed. The result is a completely fresh-baked, hot-from-the-oven breakfast that required zero morning preparation. This is the approach I use for every holiday brunch, every overnight guest breakfast, and every morning where I want to host without being trapped in the kitchen at 7am.
- Scales Effortlessly for Any Group Size: One 9x13 baking pan holds 12 standard slider buns comfortably and feeds 4–6 adults as a complete breakfast. For a larger gathering, make two pans simultaneously — the recipe doubles without any technique adjustment and both pans bake at the same temperature and time. For parties of 20 or more, three pans assembled the evening before and baked in sequence covers the full crowd from a single simple preparation session. Slider recipes are genuinely the most efficient large-format breakfast option available. Find more ideas in our Mother's Day brunch recipes.
- The Butter-Baked Top Bun Is the Best Part: Brushing the top buns generously with melted butter before baking produces a golden, slightly crisp, deeply flavored top that is entirely different in texture and taste from a plain soft bun. The butter soaks into the top of the bun as it bakes, creating a thin, lightly crunchy surface that gives way to the soft interior, the melted cheese, and the savory egg-bacon layer beneath. This one simple step — brushing the tops with butter — is what separates a good breakfast slider from an exceptional one, and it adds no more than 60 seconds to the preparation.
- Completely Customizable to Any Taste or Dietary Preference: The classic bacon-egg-cheddar combination is the starting point, but the same assembly technique works with any protein (sausage, ham, turkey bacon), any cheese (Swiss, pepper jack, provolone, gouda), and any additions (sautéed peppers and onions, avocado slices, fresh tomato, hot sauce). The slider format is genuinely the most flexible breakfast format available — you can make two or three different flavor variations in the same pan by changing the fillings in different sections of the bun layer. See our best morning breakfast ideas for more inspiration.
- Perfect for Every Morning Occasion from Weekdays to Holidays: Bacon breakfast sliders work equally well as a quick weekday family breakfast (assemble Sunday night, bake Monday morning), a casual weekend brunch, a holiday morning centerpiece, a game-day breakfast spread, or a potluck contribution. The slider format travels well in the pan covered with foil, reheats beautifully in a low oven, and appeals universally to adults and children alike. I have served these at Easter morning, Christmas breakfast, Super Bowl Sunday brunch, and regular Saturday mornings — the response is enthusiastic every single time. See our best brunch recipes for the full spread.
INGREDIENTS
- 8 slider buns (Hawaiian rolls or brioche slider buns work best)
- 8 slices bacon
- 4 large eggs
- 4 slices cheddar cheese
- 1 tablespoon butter, melted (for brushing tops)
- Salt and black pepper, to taste
DIRECTIONS
- Step No.1: Cook the bacon
Lay bacon slices in a cold skillet and cook over medium heat, turning occasionally, until the bacon is crispy and deep golden brown — approximately 8–10 minutes. Crispy bacon is essential for breakfast sliders because soft or underdone bacon turns limp during the baking step and loses its texture entirely. Transfer the cooked bacon to a paper towel-lined plate to drain excess grease and cool slightly. Once cool enough to handle, break or cut each slice in half so each slider gets a full portion of bacon that fits neatly within the bun. If you prefer, the bacon can be baked at 400°F on a foil-lined sheet pan for 15–18 minutes for a hands-free approach that produces very evenly cooked, flat strips.
- Step No.2: Scramble the eggs
Crack the eggs into a bowl, add a generous pinch of salt and several grinds of black pepper, and whisk vigorously until the yolks and whites are fully combined and the mixture is slightly frothy — about 30 seconds of whisking. Melt a small amount of butter in a non-stick skillet over medium-low heat, pour in the eggs, and scramble gently using a rubber spatula — push the eggs slowly from the edges toward the center, allowing large soft curds to form rather than breaking them into small pieces. Remove the pan from the heat when the eggs are just set but still slightly glossy and soft — they will continue cooking from residual heat and will finish cooking during the baking step. Slightly underdone scrambled eggs produce the best texture in baked sliders; fully cooked eggs can turn rubbery after baking.
- Step No.3: Assemble the sliders
Preheat the oven to 350°F (175°C). Without separating the individual buns, use a serrated knife to slice the entire connected block of slider buns horizontally, cutting cleanly through the middle to create one connected top layer and one connected bottom layer. Place the bottom half of the buns in a lightly buttered 9x13 baking dish — the buns should fit snugly with no gaps. Spread the scrambled eggs evenly across the bottom bun layer, covering every bun. Lay the cooked bacon strips across the egg layer, distributing evenly so every slider gets equal bacon coverage. Lay the cheddar cheese slices across the bacon layer, overlapping slightly to create a complete blanket of cheese across the entire top. Set the top bun layer back in place over the cheese, pressing down gently to compact the layers slightly.
- Step No.4: Brush with butter and bake
Brush the top surface of the buns generously with melted butter — use enough that the tops are visibly glistening and the butter seeps into any crevices between the buns. Cover the baking dish loosely with aluminum foil — the foil traps steam and heat to melt the cheese completely without over-browning the bun tops too quickly. Bake at 350°F for 10 minutes covered, then remove the foil and bake for an additional 3–5 minutes until the tops are golden brown and the cheese visible at the sides is fully melted and bubbling. Watch carefully during the uncovered baking — slider bun tops can go from golden to over-browned quickly, particularly Hawaiian rolls which contain extra sugar.
- Step No.5: Rest, slice, and serve
Remove the baking dish from the oven and let the sliders rest for 3–5 minutes before slicing — this brief rest allows the melted cheese to firm slightly so it holds in place when the sliders are separated rather than running out onto the cutting board. Use a sharp serrated knife to slice down between each bun, following the lines of the original individual buns, to separate the sliders. Serve immediately from the pan while the cheese is still warm and molten. Provide napkins — these are genuinely messy in the most satisfying possible way.
TIPS FOR SUCCESS
- Use Thick-Cut Bacon for the Best Texture: Thin-cut bacon crisps up quickly but becomes dry and papery after baking inside the slider. Thick-cut bacon stays meaty and satisfyingly chewy through the baking step, providing a textural contrast against the soft eggs and fluffy bun that makes every bite genuinely better. If you only have thin-cut bacon, undercook it slightly during the initial skillet cook — it will finish in the oven and arrive at the correct crispness rather than becoming overdone.
- Slightly Undercook the Scrambled Eggs Before Assembly: The most important technique point for breakfast sliders is pulling the scrambled eggs off the heat before they are fully done — they will finish cooking during the 15 minutes in the oven, and if they start fully cooked they will be rubbery and dry by the time the sliders are ready to serve. Remove the eggs from the heat when they are just set but still slightly wet-looking and soft. The residual heat of the pan and the subsequent oven time will bring them to the perfect fully cooked but still tender consistency.
- Don't Separate the Buns Before Slicing: The connected block of slider buns is what makes this recipe so easy — you slice the whole block horizontally in one cut, fill the whole bottom layer, top the whole thing, and bake. Separating the individual buns before assembly turns this 5-minute assembly step into a 20-minute fiddly process of filling individual buns one at a time. Keep the buns connected throughout the entire preparation process and only separate them for serving after baking.
- Cover with Foil for the First Half of Baking: Baking covered for the first 10 minutes traps steam inside the baking dish, which melts the cheese completely and warms the filling through without drying or over-browning the tops. The uncovered final 3–5 minutes provides the golden top color and slight crunch that makes the finished sliders look and taste their best. Skipping the foil and baking uncovered throughout produces sliders with over-browned tops and an incompletely melted cheese layer — the foil step is non-negotiable for the best result.
- Use a Serrated Knife for Clean Slicing: A sharp serrated knife cuts cleanly through the soft bun without squishing or tearing it. A plain straight-edged knife or a dull blade drags and compresses the bun as it cuts, which displaces the filling and produces ragged edges. Slice with a gentle sawing motion rather than pressing straight down — sawing through the bun preserves the structure of the slider and keeps all the layers neatly in place for serving.
- Rest the Pan Before Serving: The 3–5 minute rest after removing the sliders from the oven is not optional — during this brief window the melted cheese firms slightly from fully liquid to a stretchy, pull-able consistency that holds in place when the sliders are separated, rather than pouring out in a liquid flood. Sliders served immediately from the oven without resting produce a mess of running cheese. The rest also drops the internal temperature from scalding to comfortably warm and edible without waiting.
VARIATIONS
- Spicy Jalapeño Bacon Breakfast Sliders: Add a layer of pickled or fresh jalapeño slices on top of the bacon layer before adding the cheese, and swap the cheddar for pepper jack for a double heat effect. A drizzle of hot sauce or sriracha mayo across the egg layer before assembly adds yet another dimension of heat. This is the variation for everyone at the table who reaches for the hot sauce first — genuinely addictive and the most popular variation I have ever served. Pair with our bacon jalapeño popper cheese balls for a full spicy brunch spread.
- Sweet-Savory Jam Sliders: Spread a thin layer of strawberry jam or fig jam on the cut surface of the top bun before assembling — the sweet jam against the salty bacon and savory egg creates a flavor combination that surprises every guest who tries it and immediately requests the recipe. This is the elevated brunch party variation, the one that makes breakfast sliders feel genuinely sophisticated. See our jalapeño strawberry jam for a more complex sweet-heat version of this idea.
- Sausage Breakfast Sliders: Replace the bacon with cooked breakfast sausage patties — one patty per slider, slightly flattened to fit the bun dimensions. The sausage version is heartier, meatier, and more deeply savory than the bacon version and pairs particularly well with Swiss cheese and a drizzle of maple syrup across the egg layer. You can also use crumbled breakfast sausage scattered across the egg layer in place of formed patties for a different distribution of sausage flavor throughout every bite. See our sausage egg and cheese breakfast roll-ups for a similar flavor combination in a different format.
- Veggie-Loaded Breakfast Sliders: Sauté ½ cup each of diced bell pepper, diced onion, and fresh spinach in olive oil until softened, then scatter across the egg layer before adding cheese. The vegetables add color, freshness, and a nutritional boost that makes these sliders feel genuinely balanced as a complete breakfast. This is also the variation to make when feeding a mixed crowd of meat-eaters and vegetarians simultaneously — simply arrange the vegetable-only section at one end of the pan and the bacon section at the other. See our vegetable pakoras for more vegetable-forward inspiration.
- Upgraded Cheese Sliders: Swap the cheddar for Swiss, provolone, gouda, or a combination of two cheeses for a more complex, more sophisticated flavor profile. Smoked gouda with crispy bacon is an extraordinary combination — the smokiness of the gouda amplifies the smokiness of the bacon and produces a depth of flavor that makes these taste genuinely gourmet. Gruyère is also exceptional in breakfast sliders and melts beautifully into long, dramatic cheese pulls. See our easy cheese appetizers for more cheese-forward ideas.
- Freezer-Ready Breakfast Sliders: Assemble the sliders completely, wrap the entire baking dish tightly in plastic wrap then foil, and freeze for up to a month. Thaw overnight in the refrigerator, then bake as directed — adding 5 extra minutes covered to account for the chill. Alternatively, freeze individually wrapped sliders for grab-and-go weekday breakfasts — wrap each individual slider in plastic wrap, freeze, and reheat in the microwave for 60–90 seconds from frozen for an instant hot breakfast any morning. This is genuinely one of the most practical freezer breakfast preparations available. See our best freezer meals for more make-ahead ideas.
SERVING AND STORAGE
Serving
Serve bacon breakfast sliders warm directly from the baking dish, sliced apart with a serrated knife. Accompany with fresh fruit, a simple green salad, or a glass of fresh juice for a complete brunch spread. For a more indulgent breakfast presentation, serve alongside our crack breakfast casserole and a pot of strong coffee. The sliders are equally excellent at a sit-down brunch table and served buffet-style at a standing party — the individual slider format means guests can serve themselves without any plating required, making these the most genuinely stress-free brunch party food I know.
Storage
Store cooled leftover sliders in an airtight container in the refrigerator for up to 3 days. Reheat in a 325°F oven covered with foil for 8–10 minutes until warmed through — the oven reheating method restores the slight crust on the bun tops that the microwave cannot. Individual sliders can also be reheated in the microwave for 30–45 seconds if you need a faster option, though the bun will be softer rather than slightly crisp. For freezer storage, wrap individual sliders tightly in plastic wrap and foil and freeze for up to one month — reheat from frozen in the microwave for 60–90 seconds or in a 350°F oven for 12–15 minutes.
FAQ
Yes — this is one of the best make-ahead breakfast recipes available. Assemble the entire pan completely (bacon, eggs, cheese, buns, butter brushed on top), cover tightly with plastic wrap, and refrigerate overnight. In the morning, remove the plastic wrap, let the pan sit at room temperature for 10 minutes while the oven preheats, and bake as directed. The result is a fully fresh-baked hot breakfast with zero morning preparation beyond turning on the oven. Assembled sliders keep refrigerated for up to 24 hours before baking with no quality loss.
Cheddar is the classic choice and the most universally appealing — sharp cheddar provides the boldest flavor contrast against the bacon. Swiss melts beautifully and adds a mild, slightly nutty flavor. Pepper jack provides heat alongside the melt. Provolone is the mildest and most neutral option, letting the bacon flavor dominate. Smoked gouda is the most sophisticated choice and pairs extraordinarily well with bacon. The only cheese to avoid is pre-shredded bagged cheese — the anti-caking powder coating prevents it from melting as smoothly as sliced cheese does.
The best reheating method is the oven — place leftover sliders in a baking dish, cover loosely with foil, and warm at 325°F for 8–10 minutes until heated through. The foil prevents the bun tops from over-browning while the interior warms, and removing the foil for the final 2 minutes restores the slight crust. Microwave reheating (30–45 seconds per slider) is faster but produces a softer, less texturally appealing bun. For frozen sliders, reheat from frozen in the microwave for 60–90 seconds or in a 350°F oven for 12–15 minutes.
Yes, both unbaked assembled sliders and fully baked sliders freeze well. For unbaked: assemble completely, wrap the whole pan tightly in plastic wrap then foil, freeze for up to a month, thaw overnight in the refrigerator, and bake as directed adding 5 extra minutes covered. For baked: cool completely, wrap individual sliders in plastic wrap and foil, freeze for up to a month, and reheat from frozen in the microwave for 60–90 seconds or in a 350°F oven for 12–15 minutes. Fresh-baked from frozen produces the best texture.
Hawaiian sweet rolls are the most popular choice and produce a slightly sweet, pillowy bun that contrasts beautifully with the salty bacon. Brioche slider buns are the richest and most buttery option and produce the most indulgent finished slider. Plain dinner rolls work well for a more neutral flavor that lets the filling dominate. Potato rolls are the softest and most tender option. Avoid crusty artisan rolls — the hard crust makes the sliders difficult to eat as handheld food. Whatever bun you choose, make sure it comes connected in a block rather than individually — the connected block format is what makes the one-pan assembly technique work.
Bacon breakfast sliders are the recipe that earns the most enthusiastic morning responses of anything I make — the golden buttered tops, the molten cheese, the crispy bacon, and the soft scrambled eggs all layered together in a handheld slider is a combination that genuinely makes people happy in a way that few breakfast recipes can match. Make a double batch because a single pan disappears faster than you expect every single time.
Try the jalapeño version for heat lovers, the sweet-savory jam version for your most impressive brunch, and always assemble the night before so your morning stays completely stress-free. Pair with our cowboy breakfast sliders, our crack breakfast casserole, our best brunch recipes, and our easy breakfast recipes for the complete morning spread. 🥓🧀✨

BACON BREAKFAST SLIDERS
Ingredients
For the Sliders:
- 8 pieces slider buns
- 8 slices bacon cooked
- 4 eggs scrambled
- 4 slices cheddar cheese
- 1 tablespoon butter for toasting buns
Instructions
Prepare Ingredients:
- Cook bacon until crispy. Scramble eggs in a skillet until fully cooked.
Assemble Sliders:
- Butter the slider buns and toast lightly. Layer each bun with scrambled eggs, bacon, and a slice of cheddar cheese.
Serve:
- Top with the bun top and serve immediately while warm.
Notes
- Make Ahead: Cook bacon and scramble eggs in advance, assemble sliders just before serving.
- Variation: Add avocado or tomato slices for extra flavor.
- Serving Tip: Perfect for brunch, game day, or breakfast gatherings.




Comments
No Comments