
My husband doesn't really love burgers — except for this one. The first time I made these smash-style beef patties at home, he ate two and asked when I was making them again. That was about a year ago and now they're on regular rotation, especially on weekends when the kids want something that feels like takeout but I want to know exactly what's going in the food.
What makes this recipe work is the technique more than anything else. You flatten the patty in a hot pan, and that contact with the heat creates a crust on the outside — slightly charred, a little crispy — while the inside stays tender. The seasoning is simple on purpose: garlic powder, onion powder, paprika, mustard powder, a bit of Worcestershire. Nothing exotic, nothing you have to hunt for. The fat in the beef does the heavy lifting, so please don't use lean mince for this. I made that mistake once and ended up with dry, sad patties that nobody wanted seconds of.
Saad asks for these at least twice a month. Zainab will only eat hers with extra caramelized onions and no raw tomatoes — she's very specific about it. My husband adds a second slice of cheese and then wonders why his burger won't close. We always make a batch of four but honestly, I should double it because they disappear fast. If you're also cooking for a crowd, see my notes in the variations section about scaling up. And if you're looking for something to serve alongside these, my White Chicken Chili is a great companion on nights when you want something warm and filling on the table too.
One practical thing before you start: don't use a non-stick pan for this. Non-stick coatings aren't meant for the high heat you need to get that crust. I use a heavy stainless steel skillet — mine is an inexpensive one from the grocery store, nothing fancy. A cast iron pan works brilliantly too if you have one. Get it properly hot before the patties go in, and don't touch them for the first minute. That's really the whole secret.
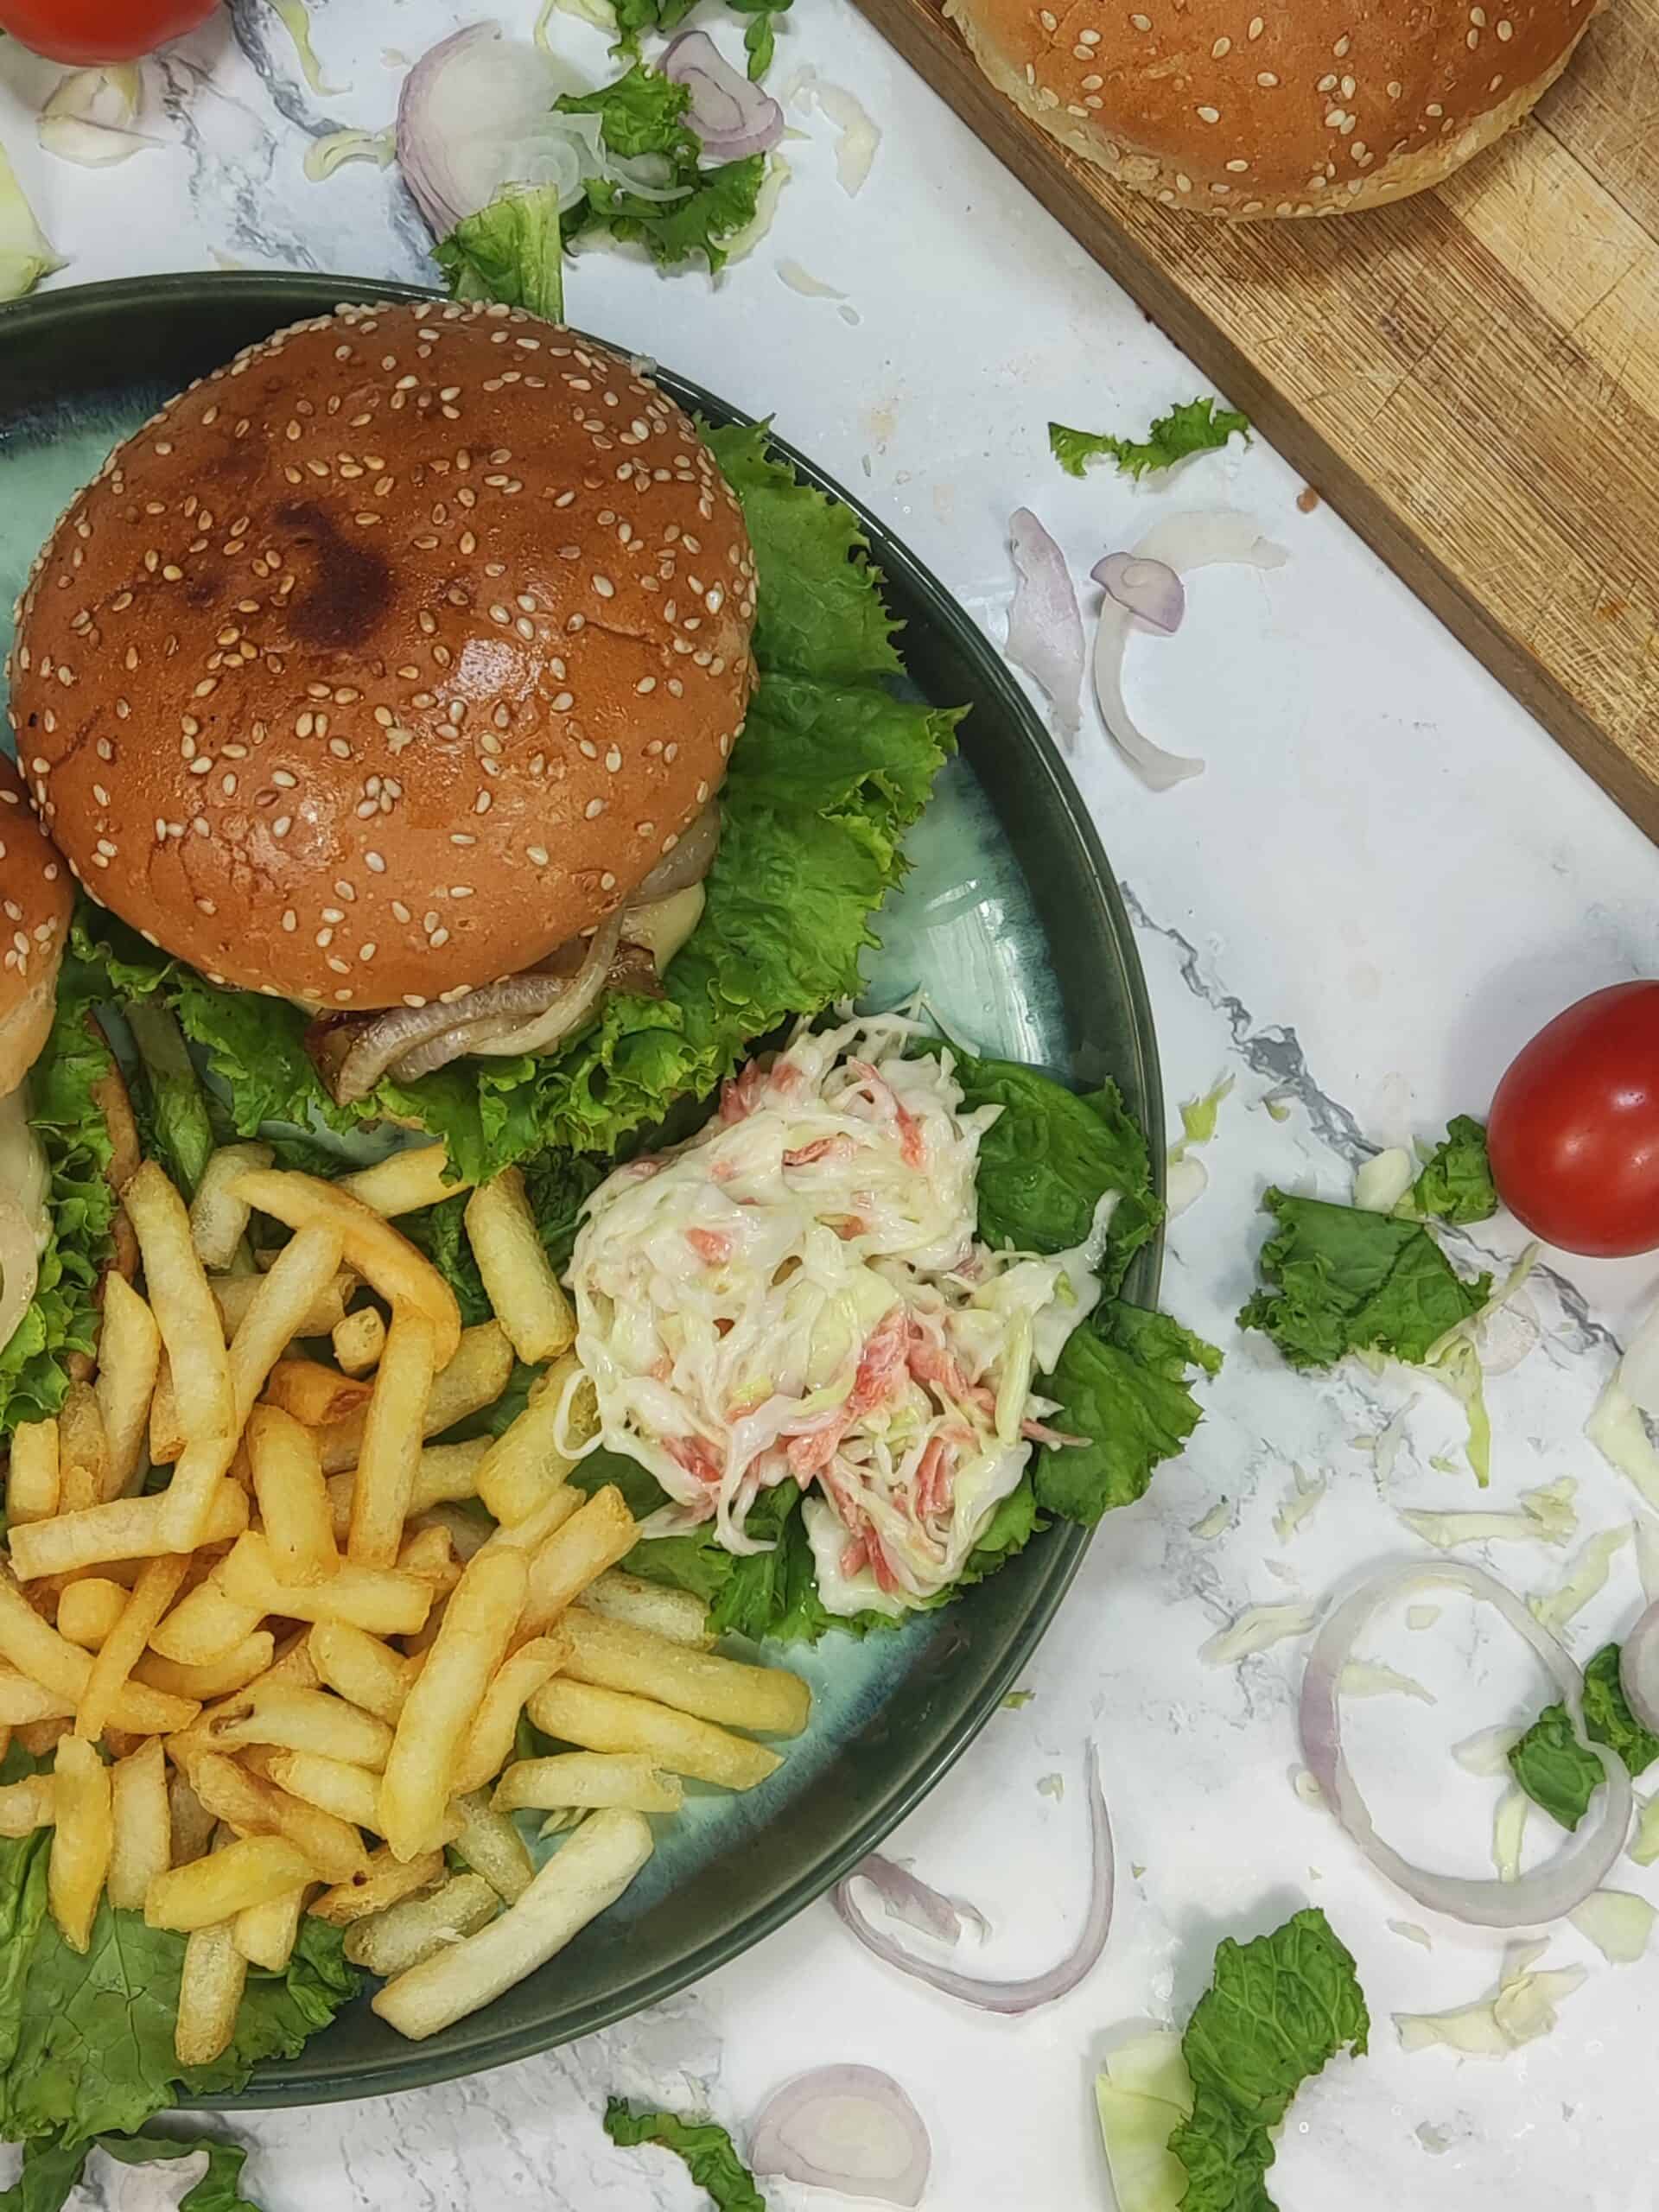
Why You'll Love This Recipe
- That crust is real: The thing that sets smash burgers apart from regular pan-fried patties is the crust that forms when the meat makes full contact with a hot surface. When you flatten the ball of beef down onto the pan, every bit of it touches the heat at once. You get a slightly crispy, slightly charred edge that a thick patty just can't replicate. My family goes quiet when these hit the table, which is the highest compliment I know.
- Fast from start to finish: Once the meat has marinated — which takes about an hour but is mostly hands-off — the actual cooking takes under 15 minutes. The patties fry quickly because they're thin. I can have burgers on the table before the kids finish setting out the plates. On busy weeknights, that matters a lot to me.
- Everything you need is already in your kitchen: Garlic powder, onion powder, paprika, mustard powder, Worcestershire sauce — these are all pantry staples. I'm not sending you to a specialty store for anything here. The only thing worth sourcing carefully is the beef itself: look for ground beef with some fat content, around 20-30% fat. Most grocery stores carry this labeled as 80/20 ground beef.
- Endlessly customizable toppings: Once you have a good patty, the rest is entirely up to you. My family goes three different directions every single time — my husband does caramelized onions and extra cheese, the kids do pickles and ketchup, and I do jalapeños and chili garlic sauce. One recipe, four burgers, four different combinations. It works.
- No special equipment needed: A heavy skillet, a metal spatula, and a blender or food chopper for mixing the meat. That's it. I don't have a griddle, I don't have a burger press. I use whatever heavy pan I have and a spatula I've owned for years. If you can fry an egg, you can make these burgers.
Ingredients
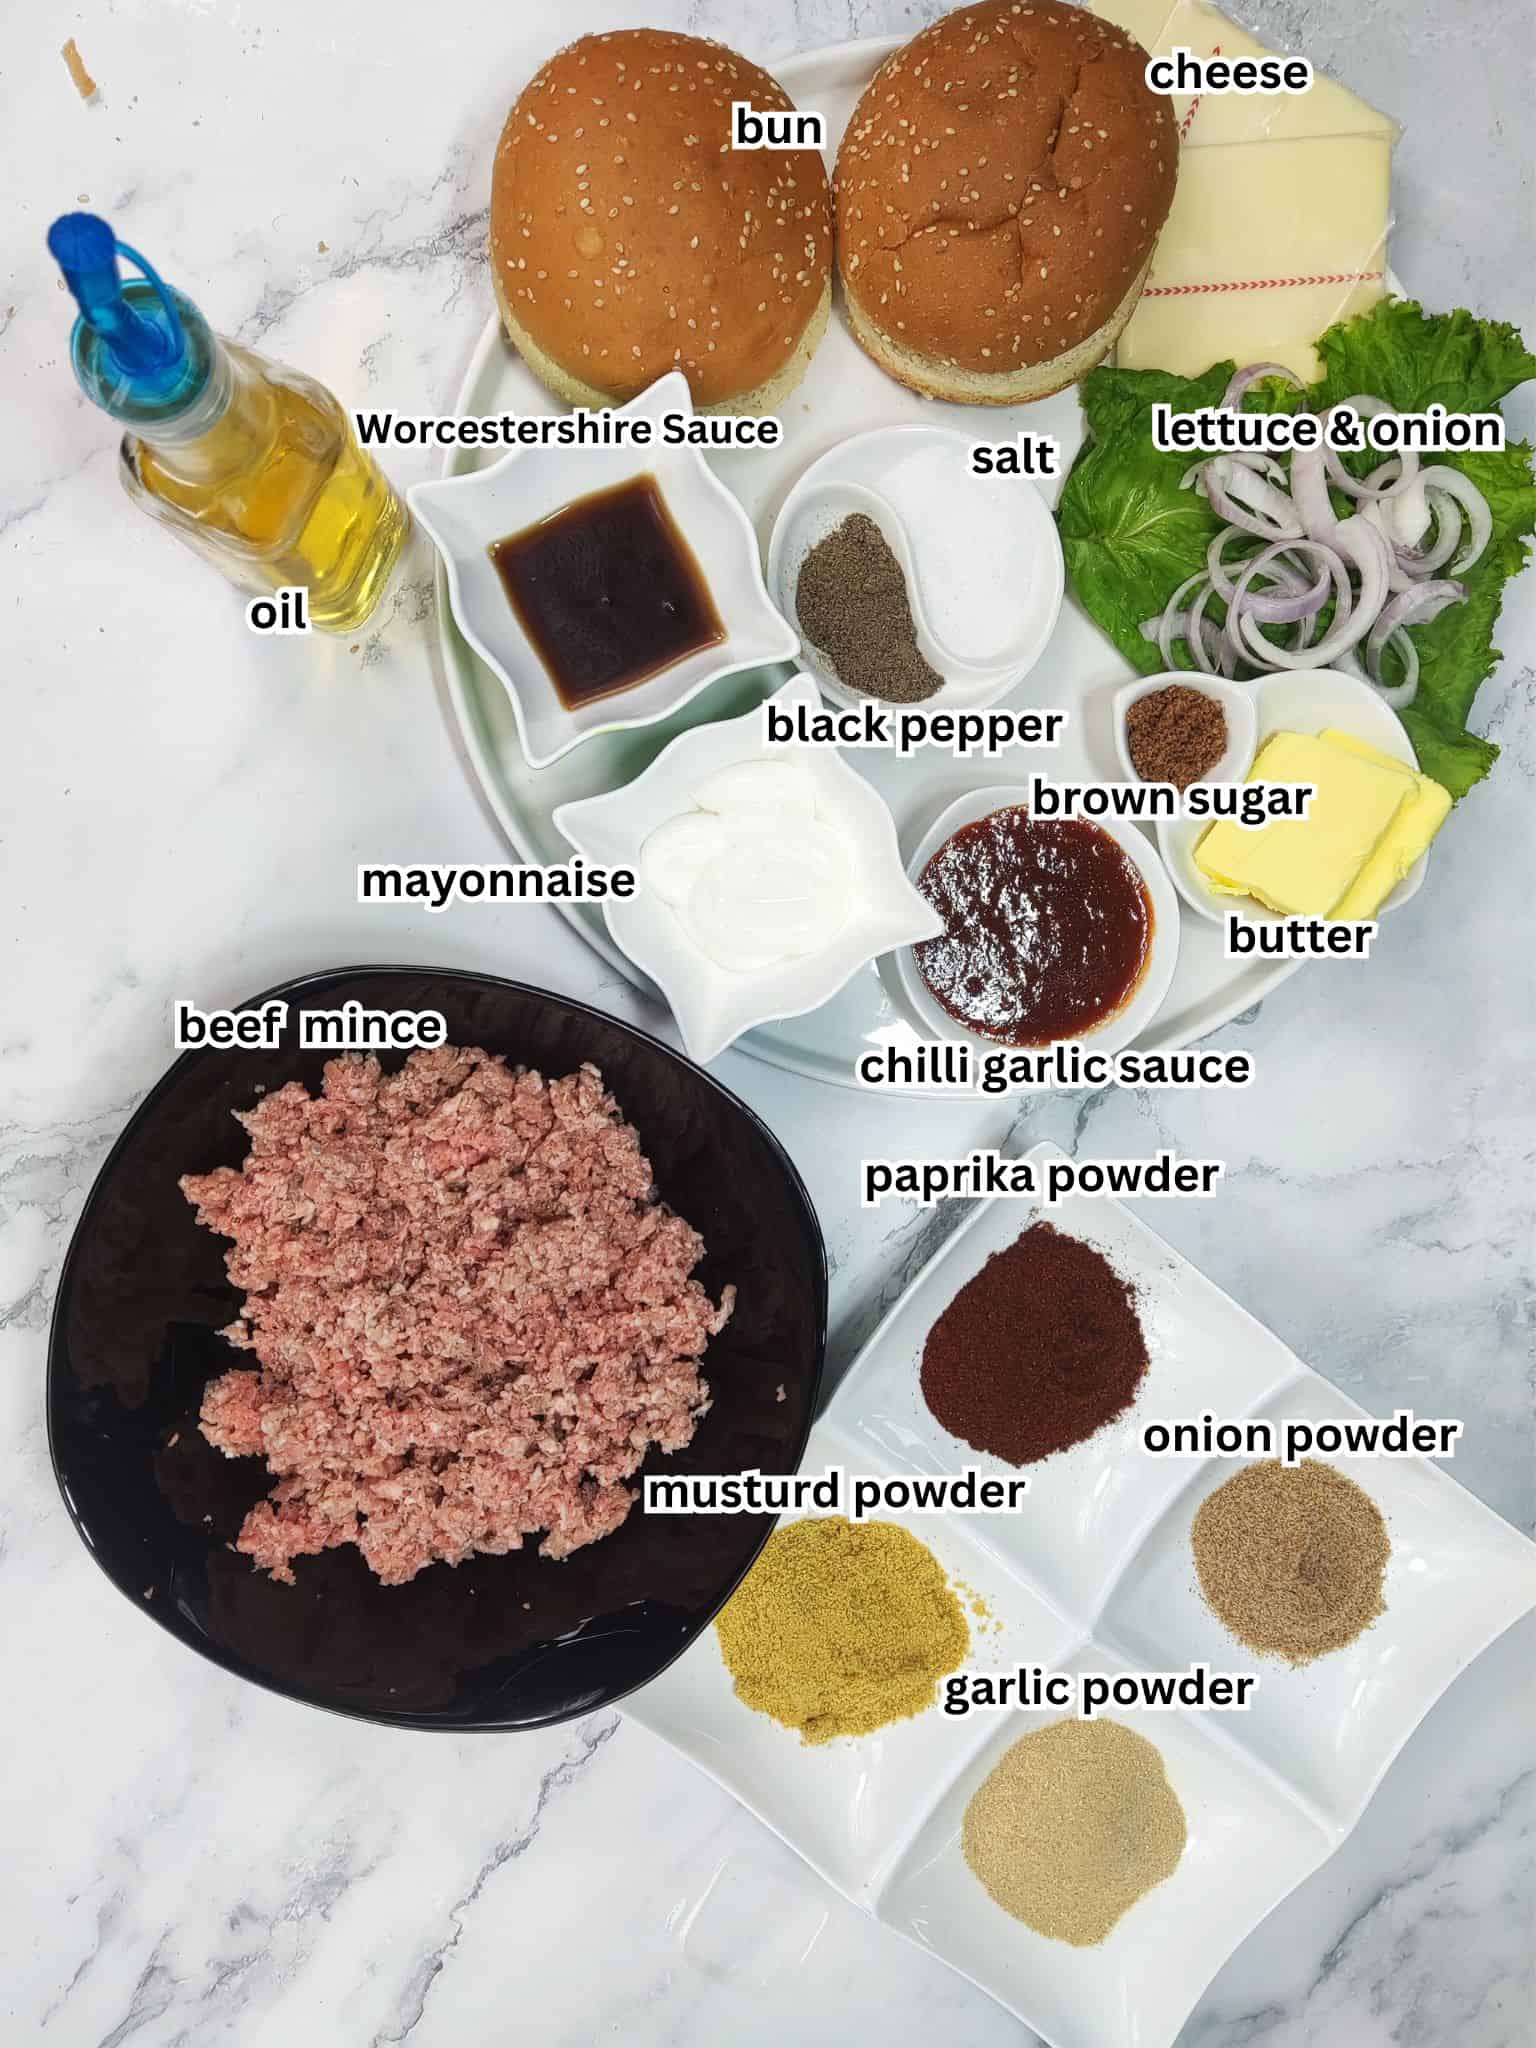
- 14 oz (400g) ground beef — 80/20 fat ratio, or ask your butcher to run it through the mincer twice for a finer texture
- 2-3 tablespoons oil — for frying the patties
- 1 teaspoon garlic powder
- 1 teaspoon onion powder
- 1 teaspoon paprika powder
- ½ teaspoon mustard powder
- 1 teaspoon black pepper powder
- Salt to taste
- 2 tablespoons Worcestershire sauce
- ½ teaspoon brown sugar — for the caramelized onions
- 4 burger buns — brioche or potato buns work great
- Butter — as needed, for toasting the buns
- 4 slices of cheese — American cheese melts best, but cheddar works fine
- 1 medium onion, sliced into rings — for caramelizing
- 1 tablespoon butter — for cooking the onions
- 3-4 tablespoons mayonnaise
- 3-4 tablespoons chili garlic sauce (Sriracha works as a substitute)
- Lettuce, tomatoes, pickles, jalapeños — whatever toppings you like
Directions
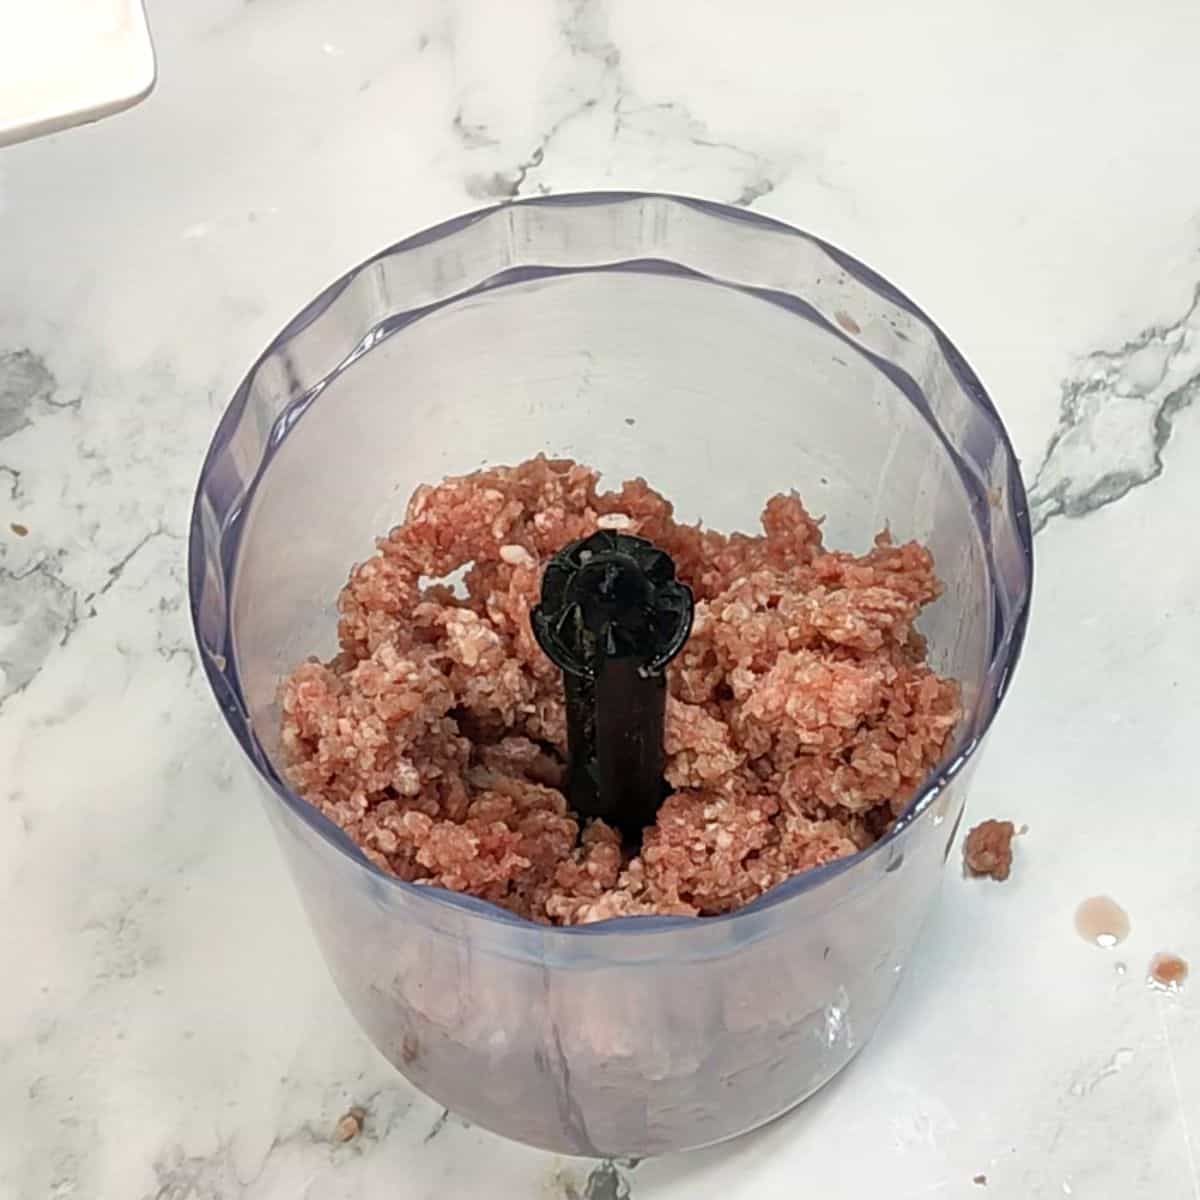
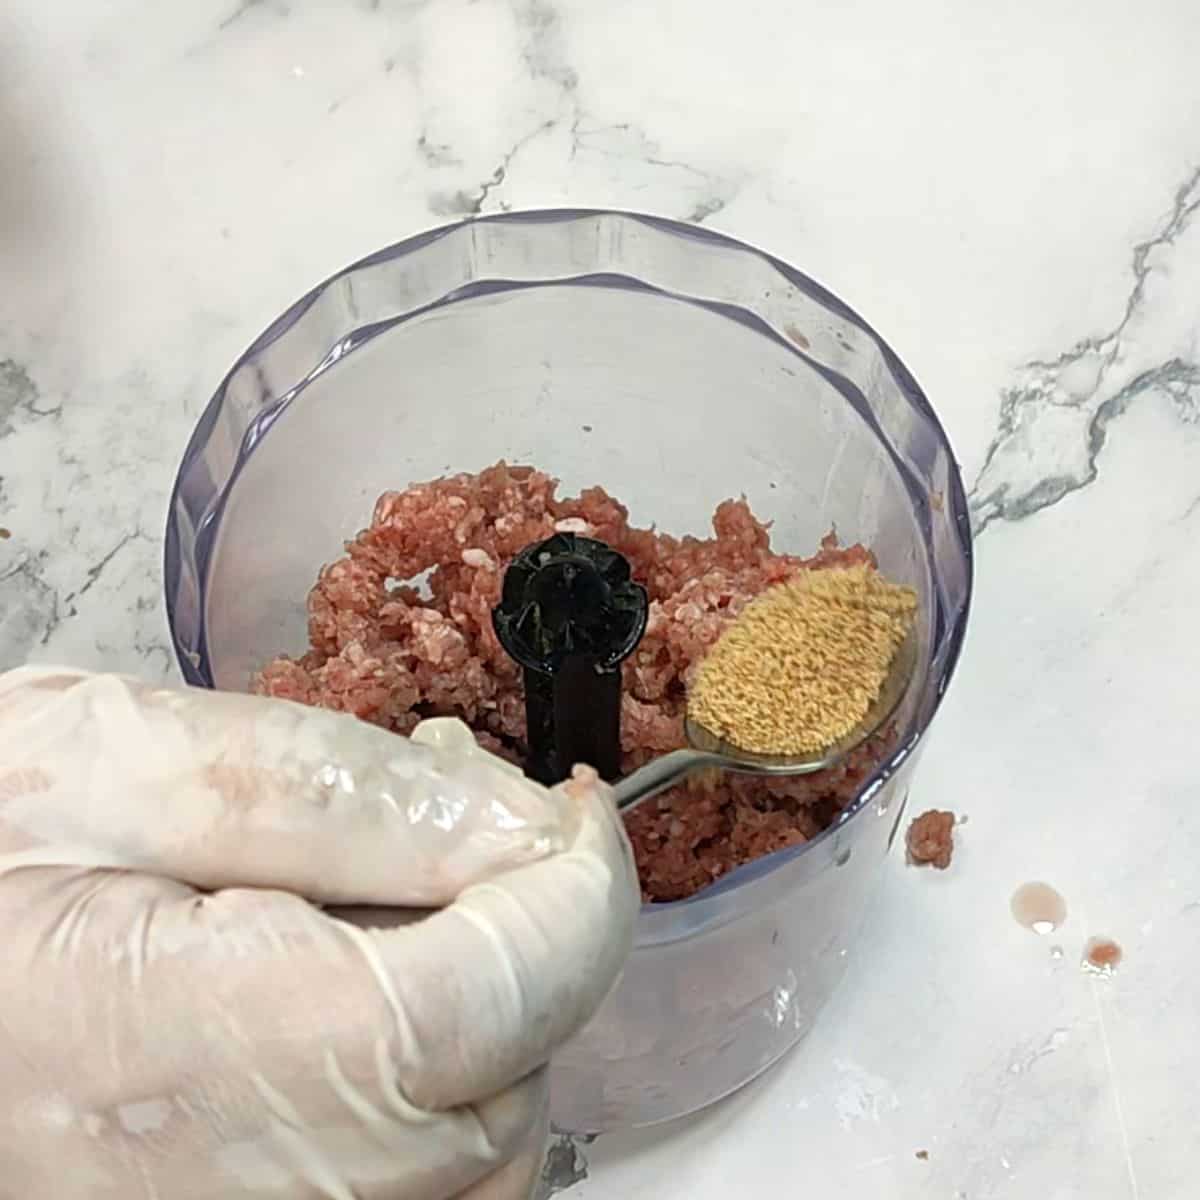
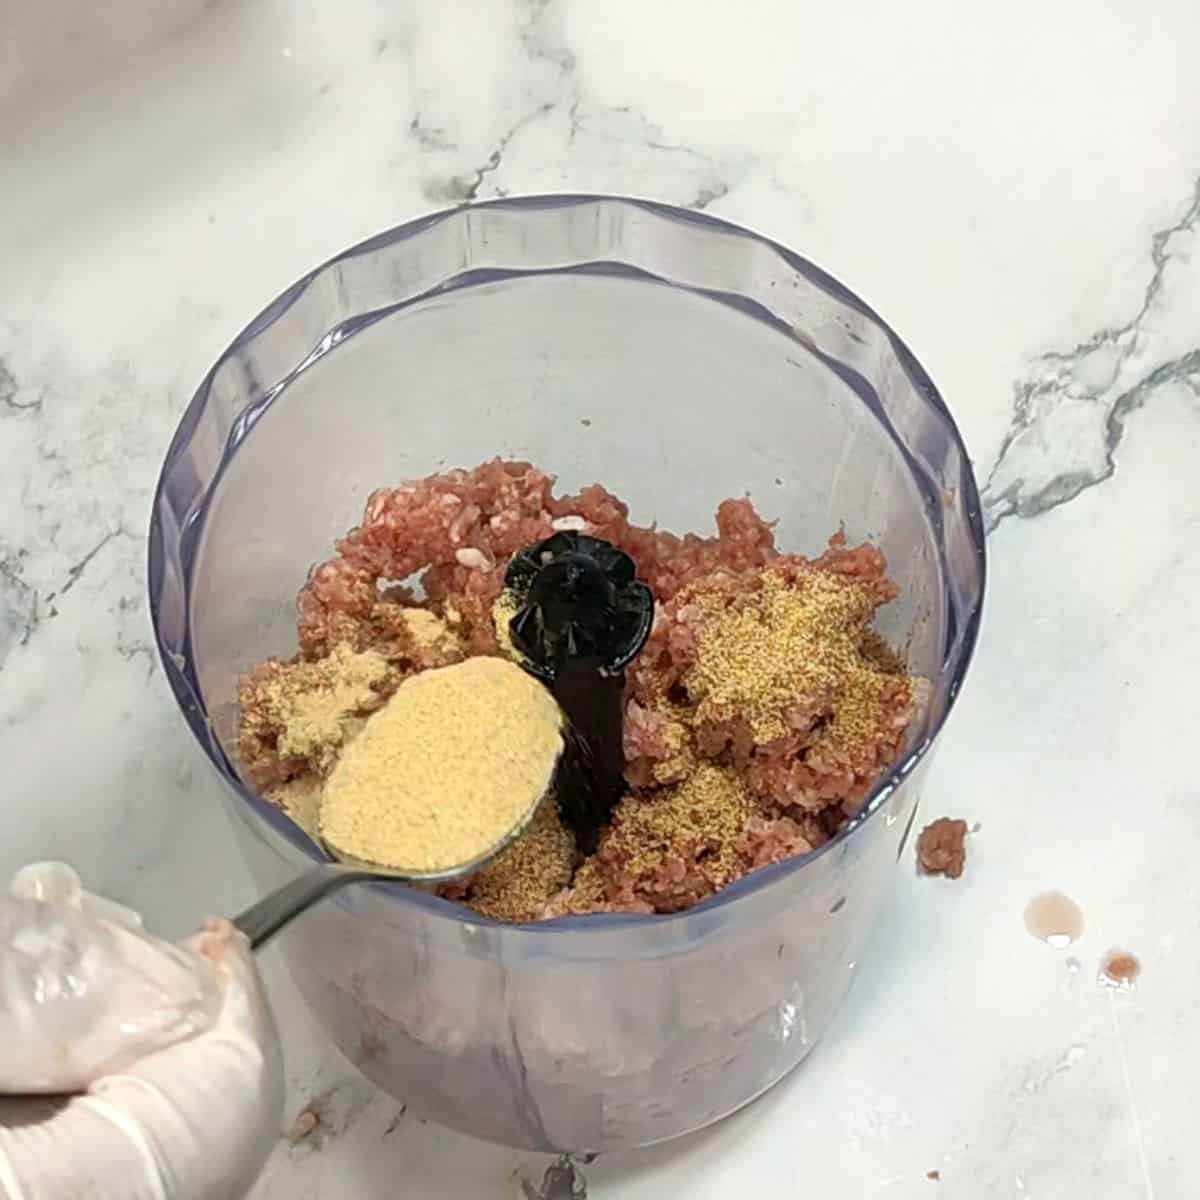
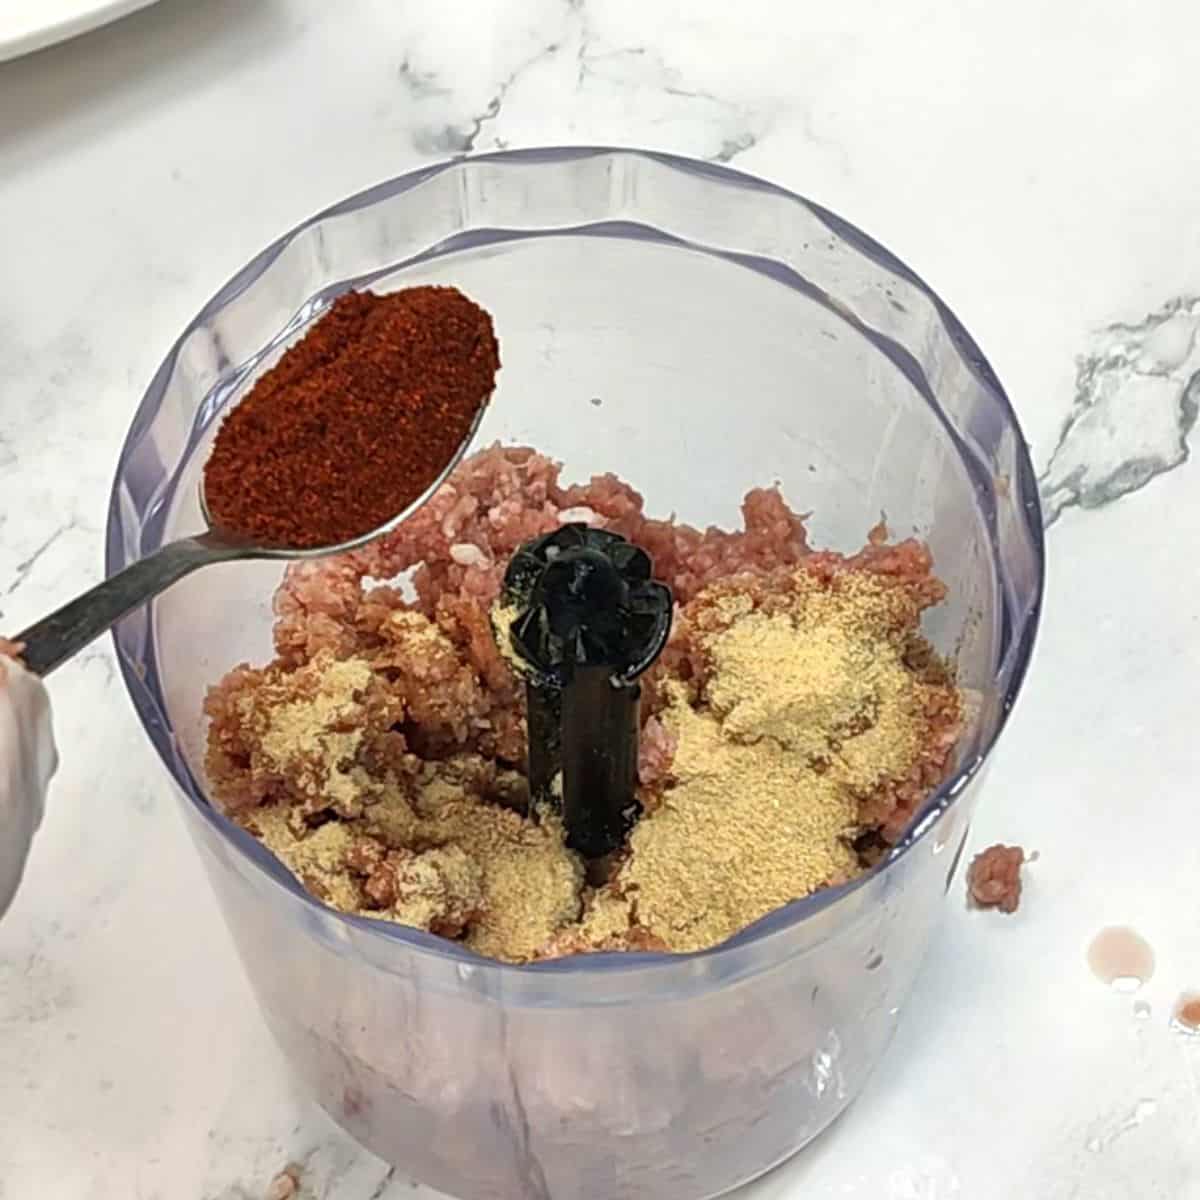
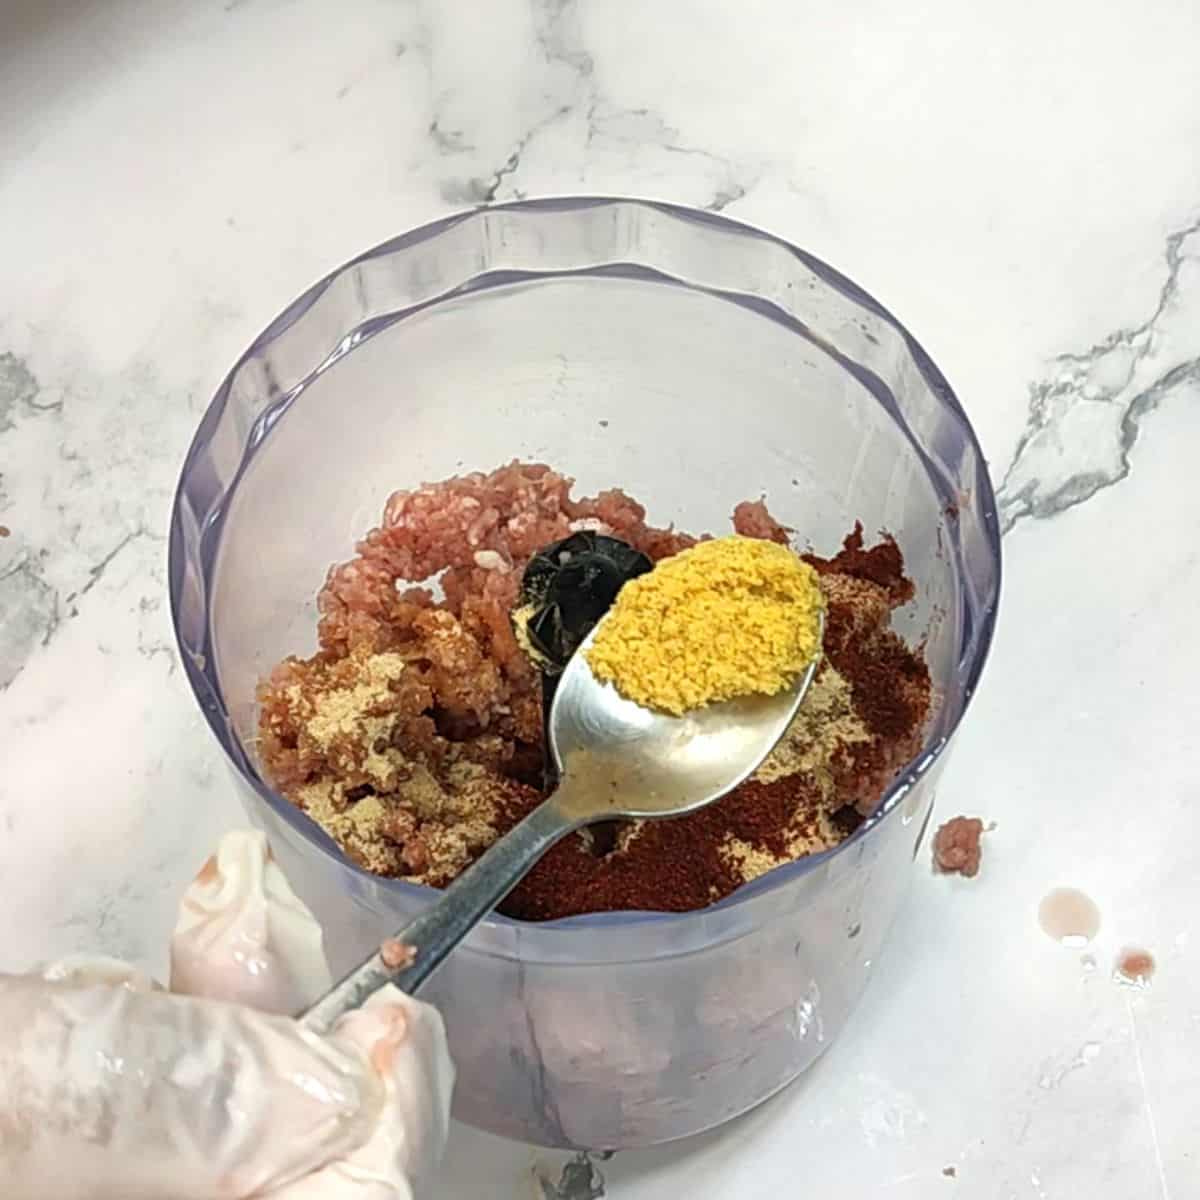
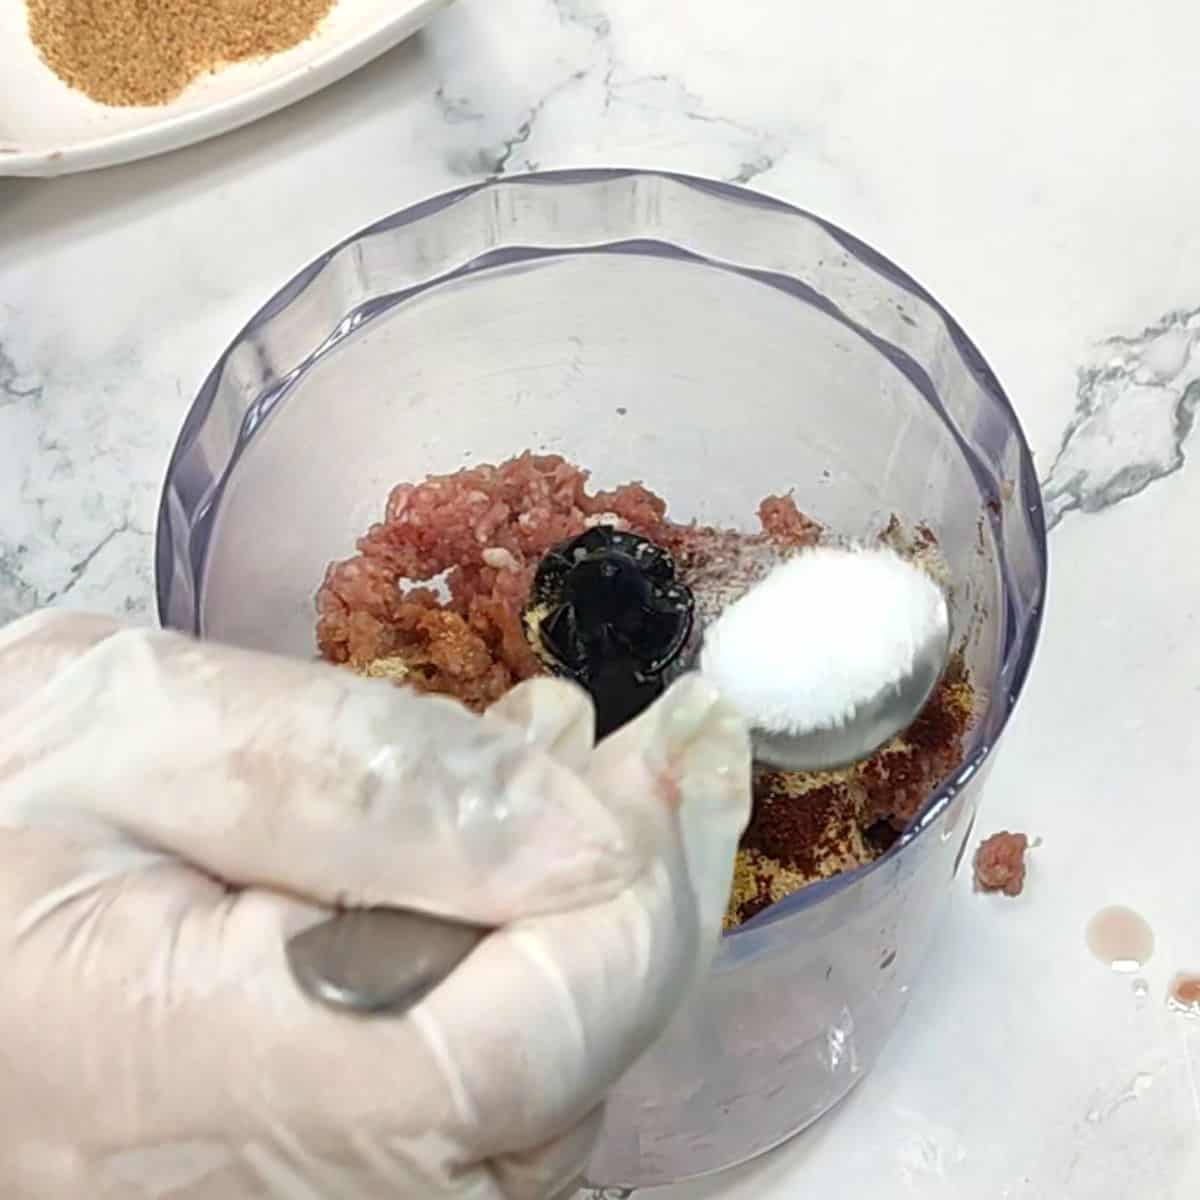
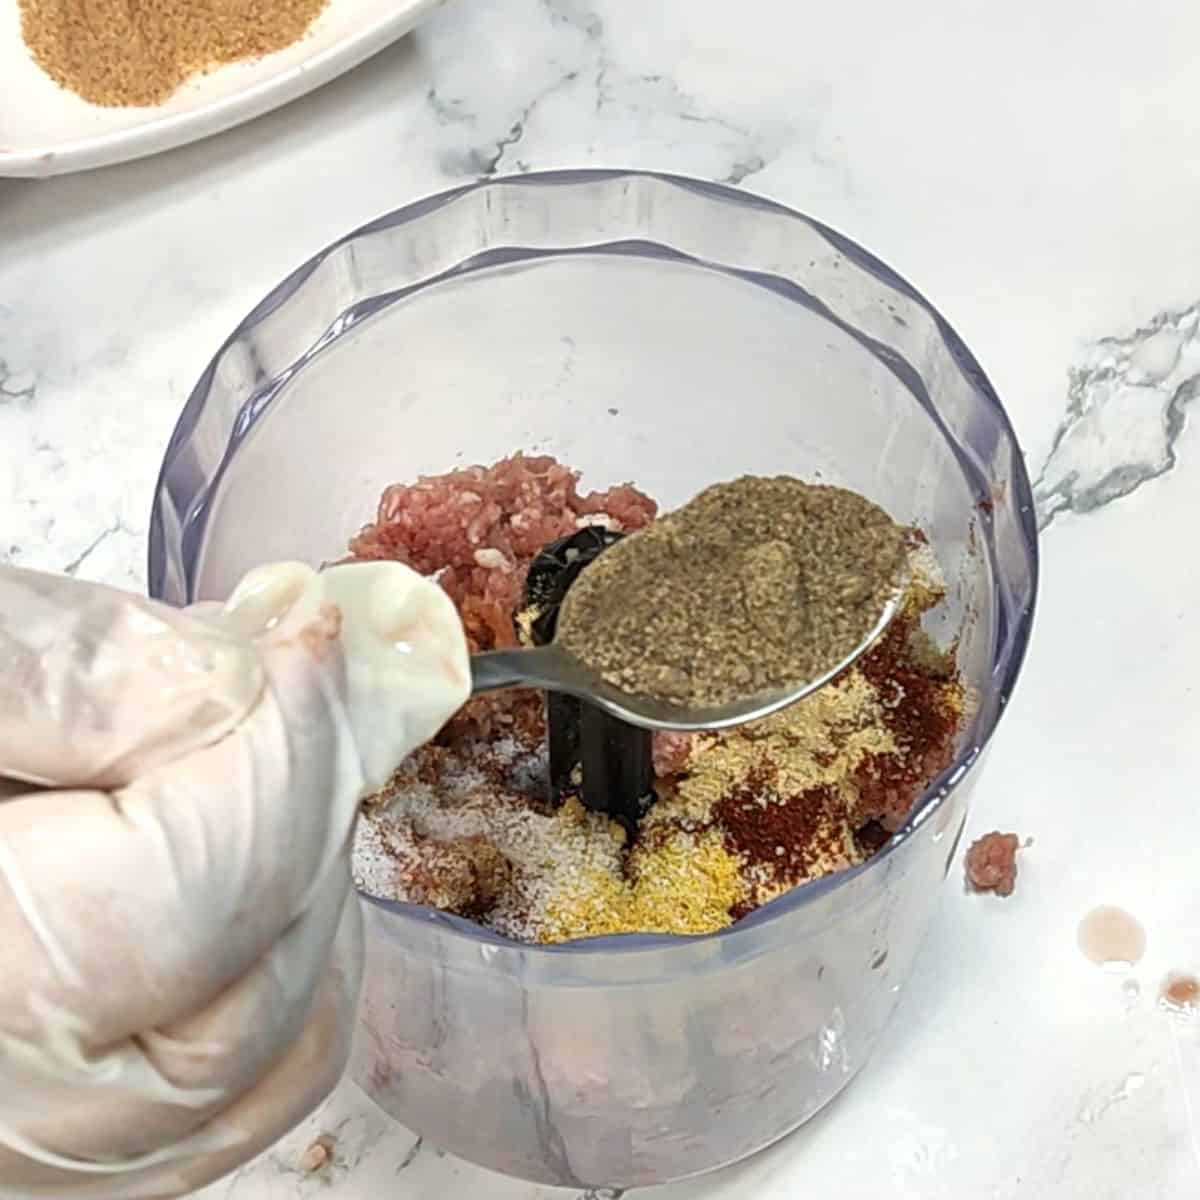
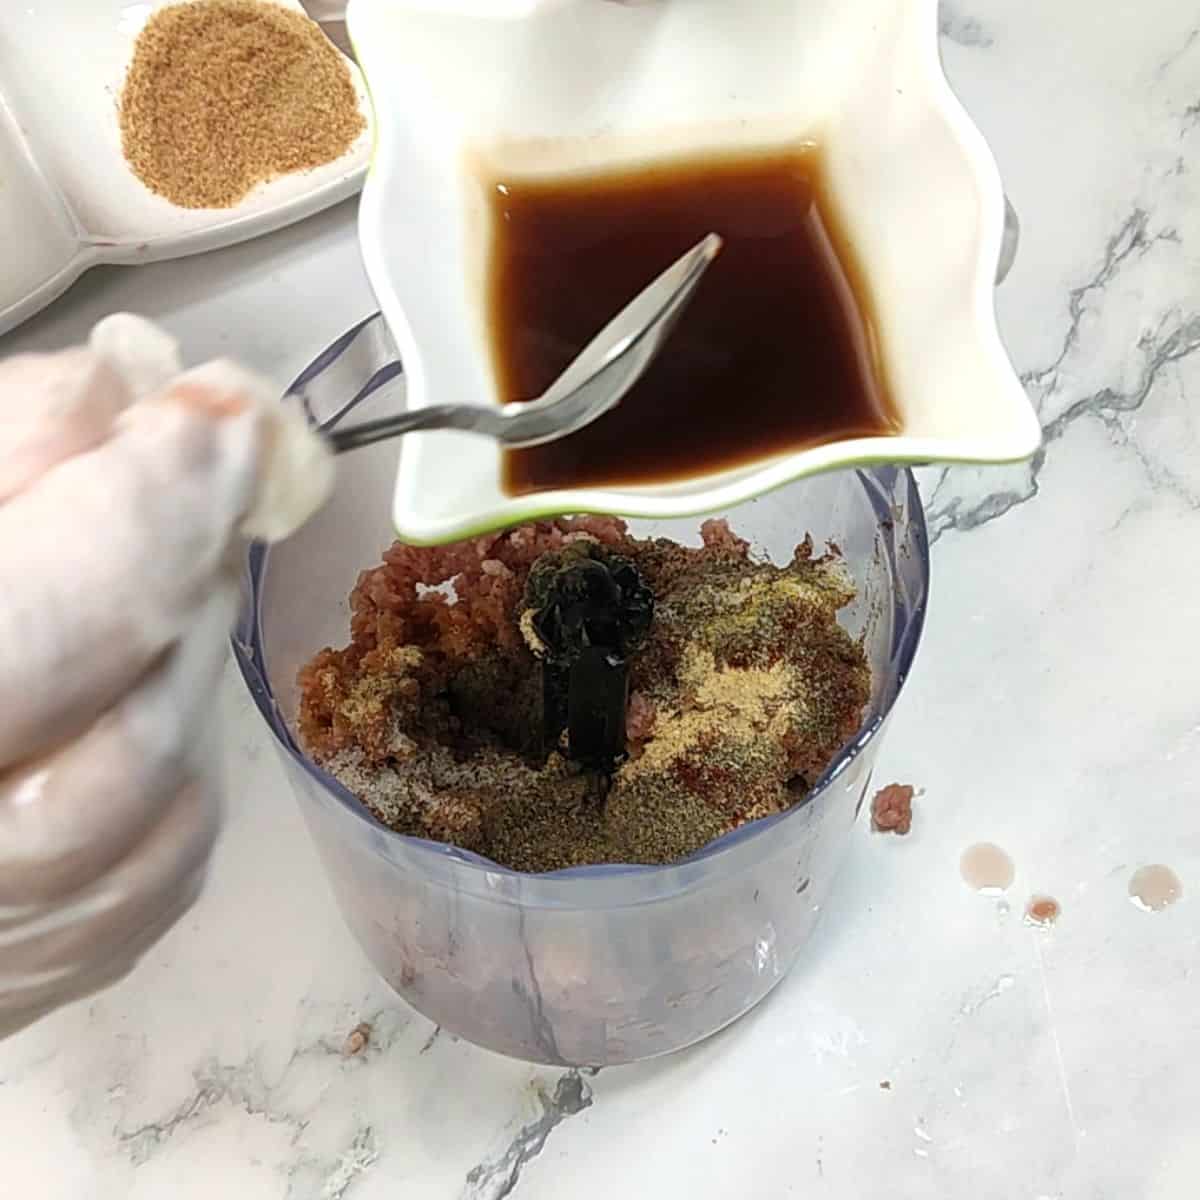
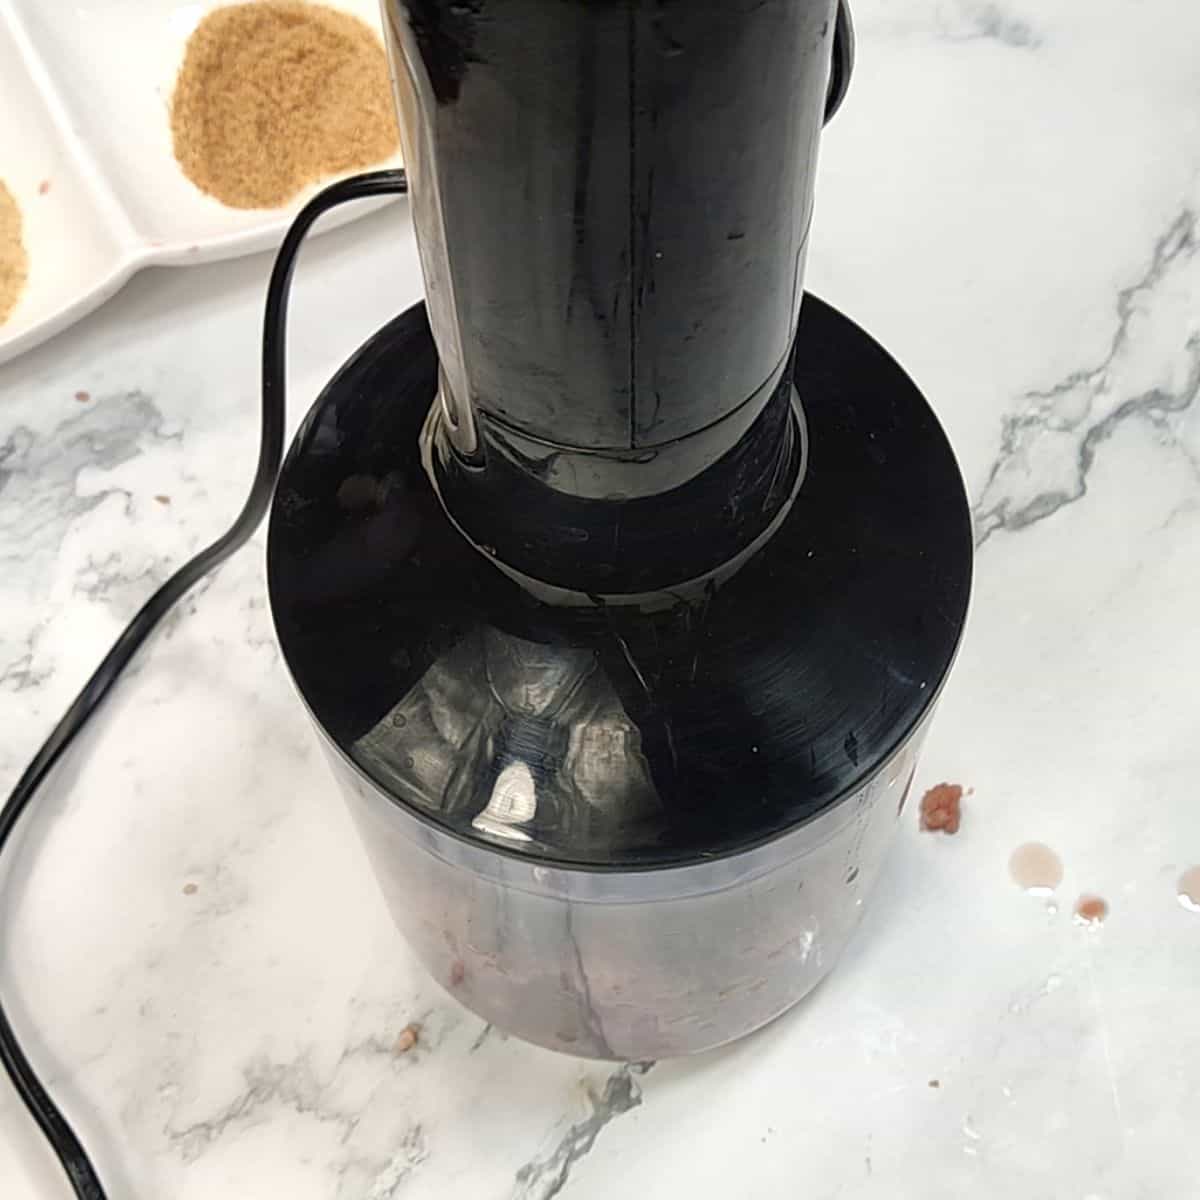
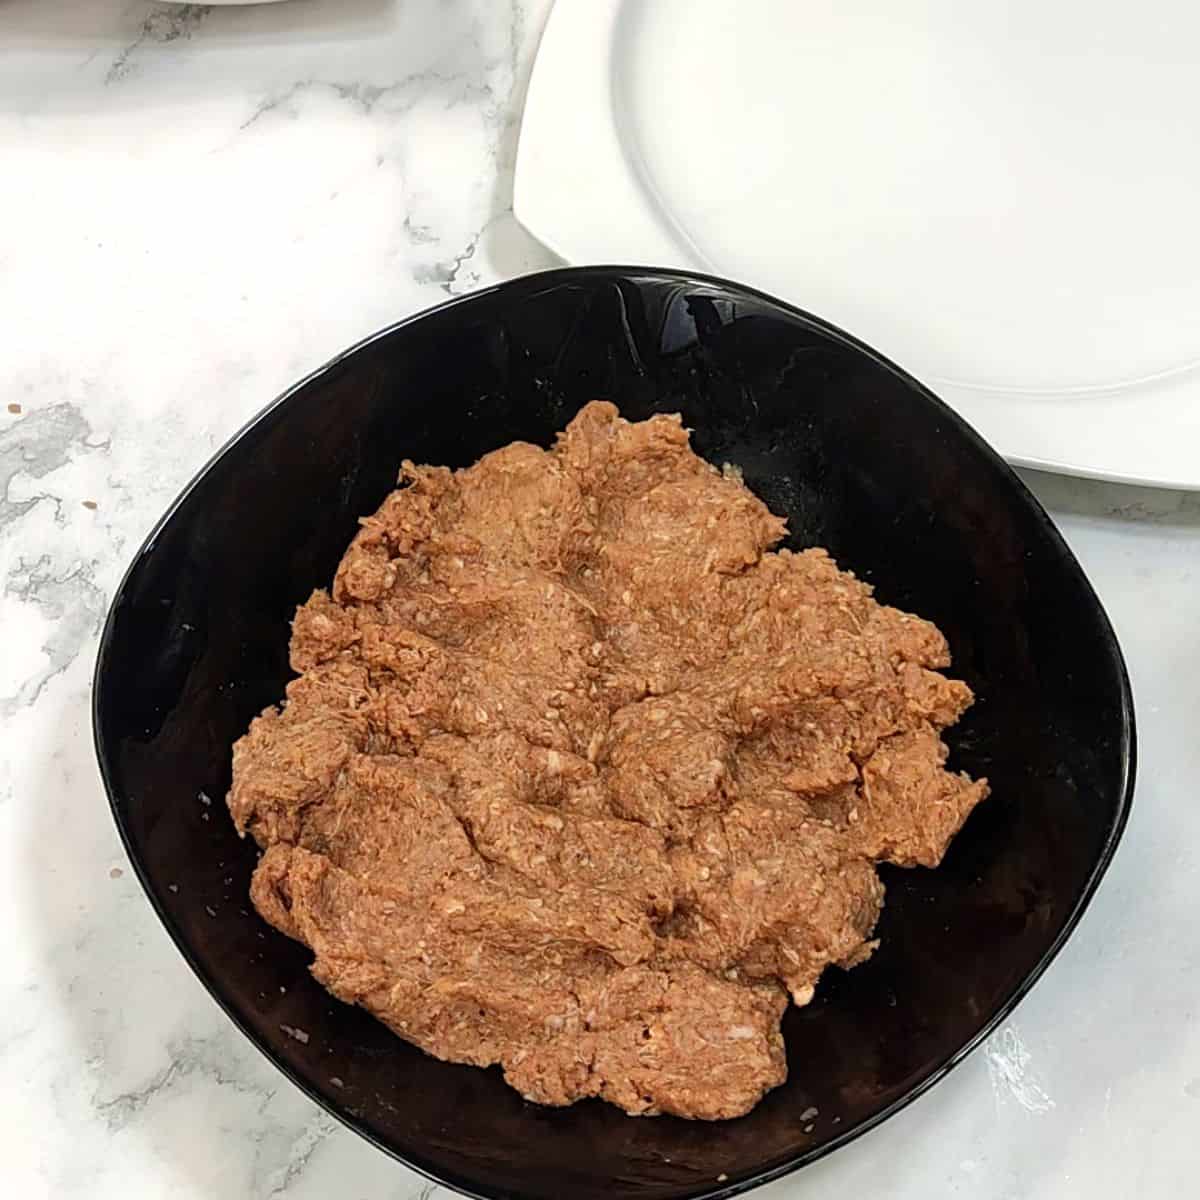
- Season and blend the beef: Put the ground beef into a blender bowl or food chopper. Add the garlic powder, onion powder, paprika, mustard powder, black pepper, salt, and Worcestershire sauce. Blend everything together until the spices are fully worked through the meat. If you don't have a blender, just mix it thoroughly by hand in a bowl — it takes a couple of extra minutes but works perfectly fine.
- Marinate: Once blended, cover the bowl and let the seasoned beef rest for at least 1 hour. I usually do this step in the morning and pull it out at dinner time. The longer rest makes a noticeable difference — the spices really get into the meat.
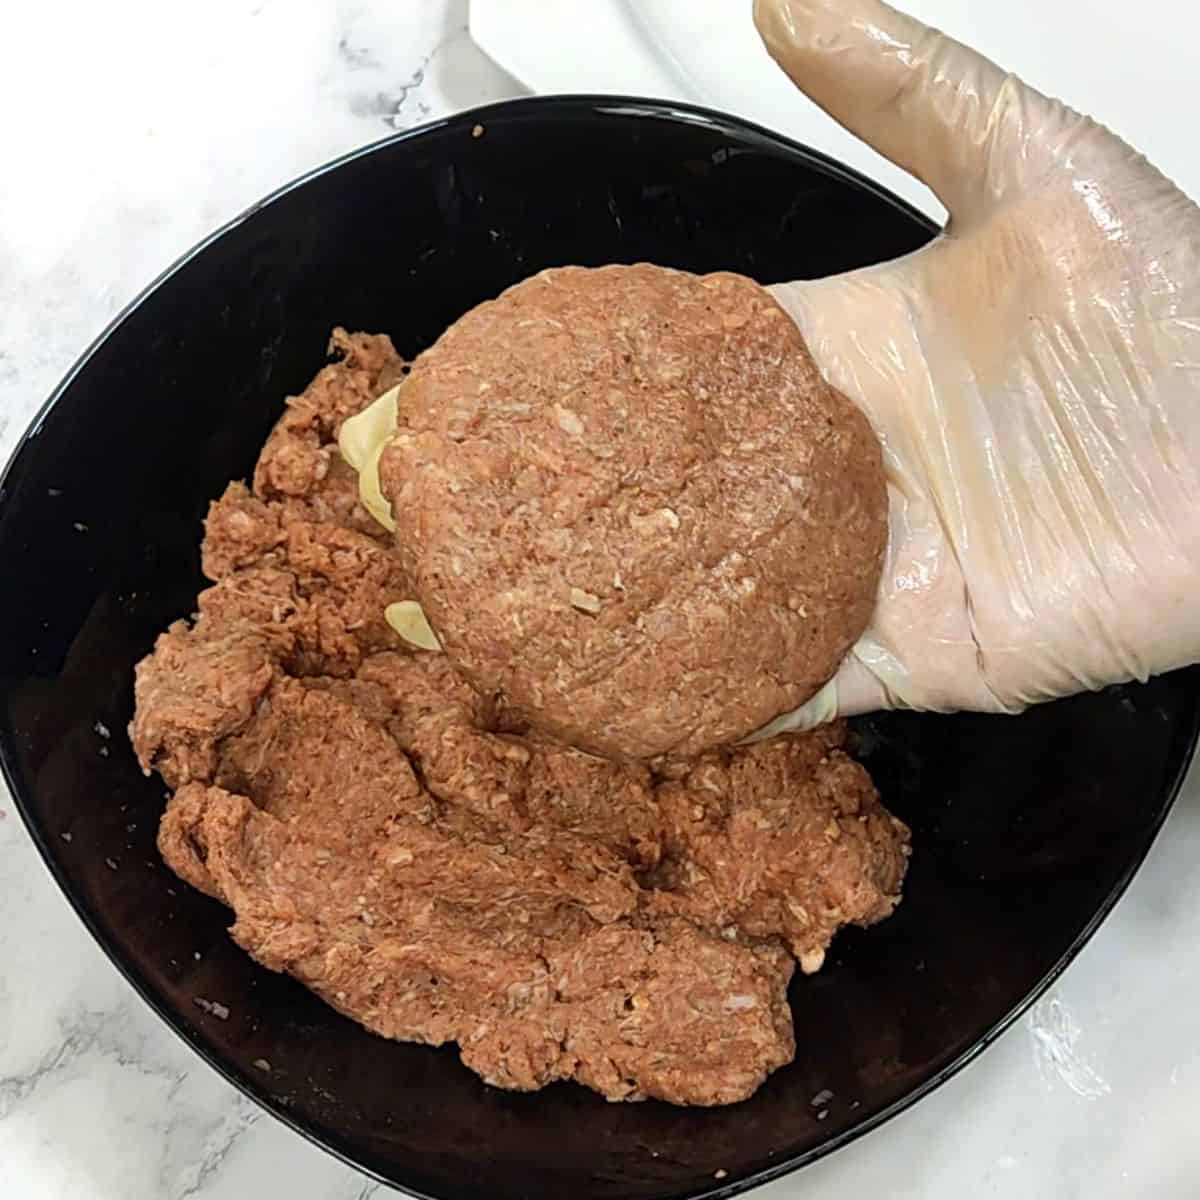
- Shape the patties: Grease your hands lightly with oil. Take a portion of the marinated beef and roll it into a ball, then press it flat into a patty. Make them roughly the same size so they cook evenly. Place the shaped patties on a plate, cover with cling film, and let them rest in the refrigerator until you're ready to fry.
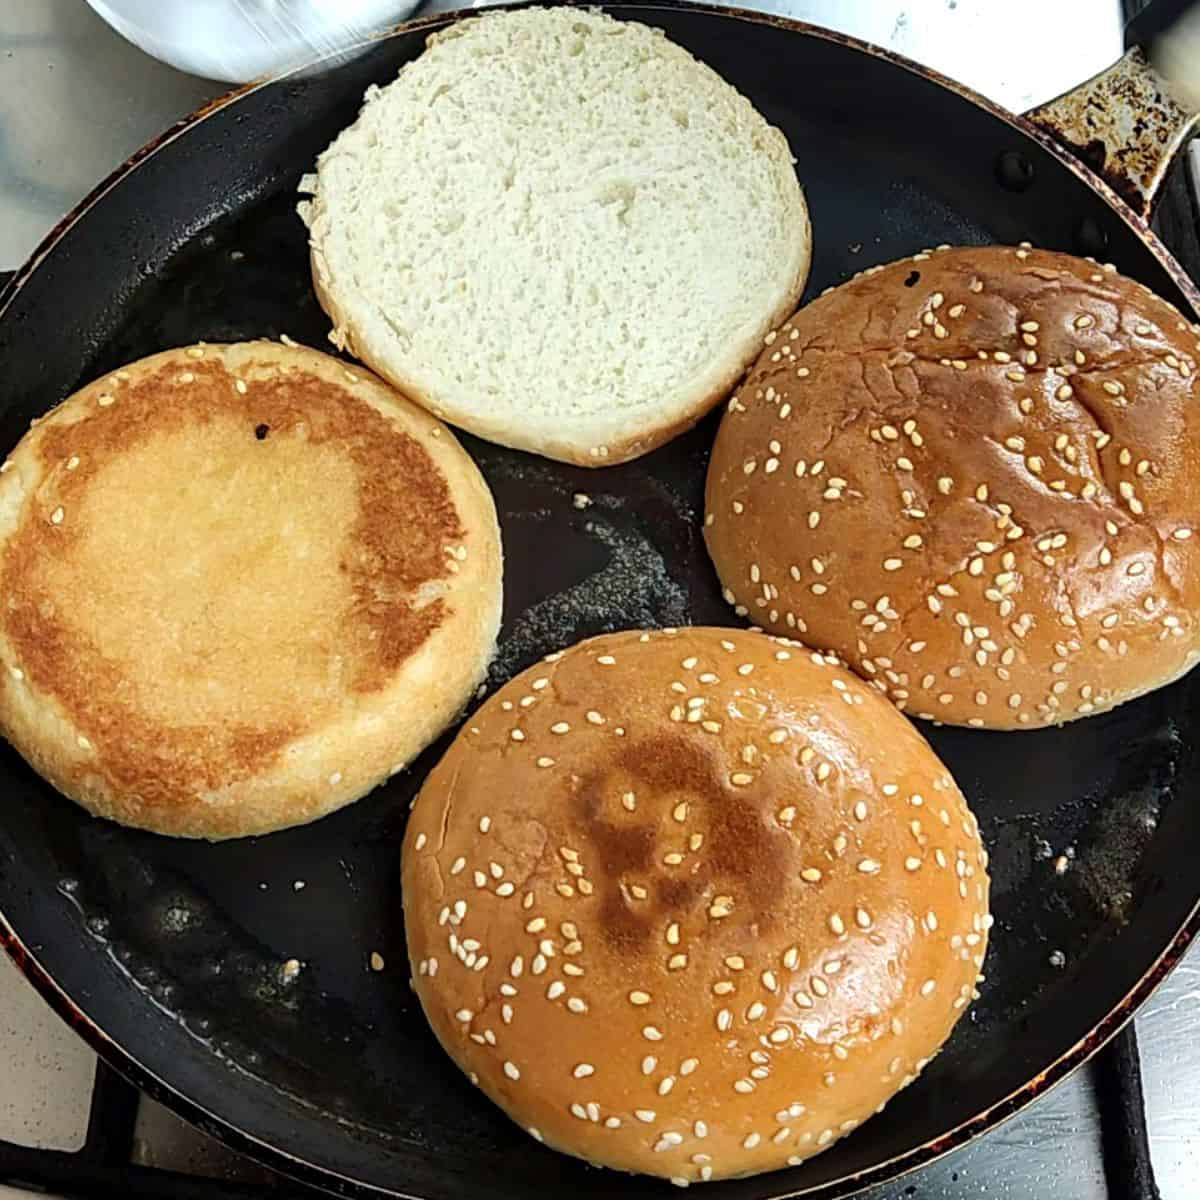
- Toast the buns: Melt a little butter in a skillet over low heat. Place the buns cut-side down and toast until they're golden. Keep an eye on them — they go from golden to burnt quickly on low heat. Set them aside.
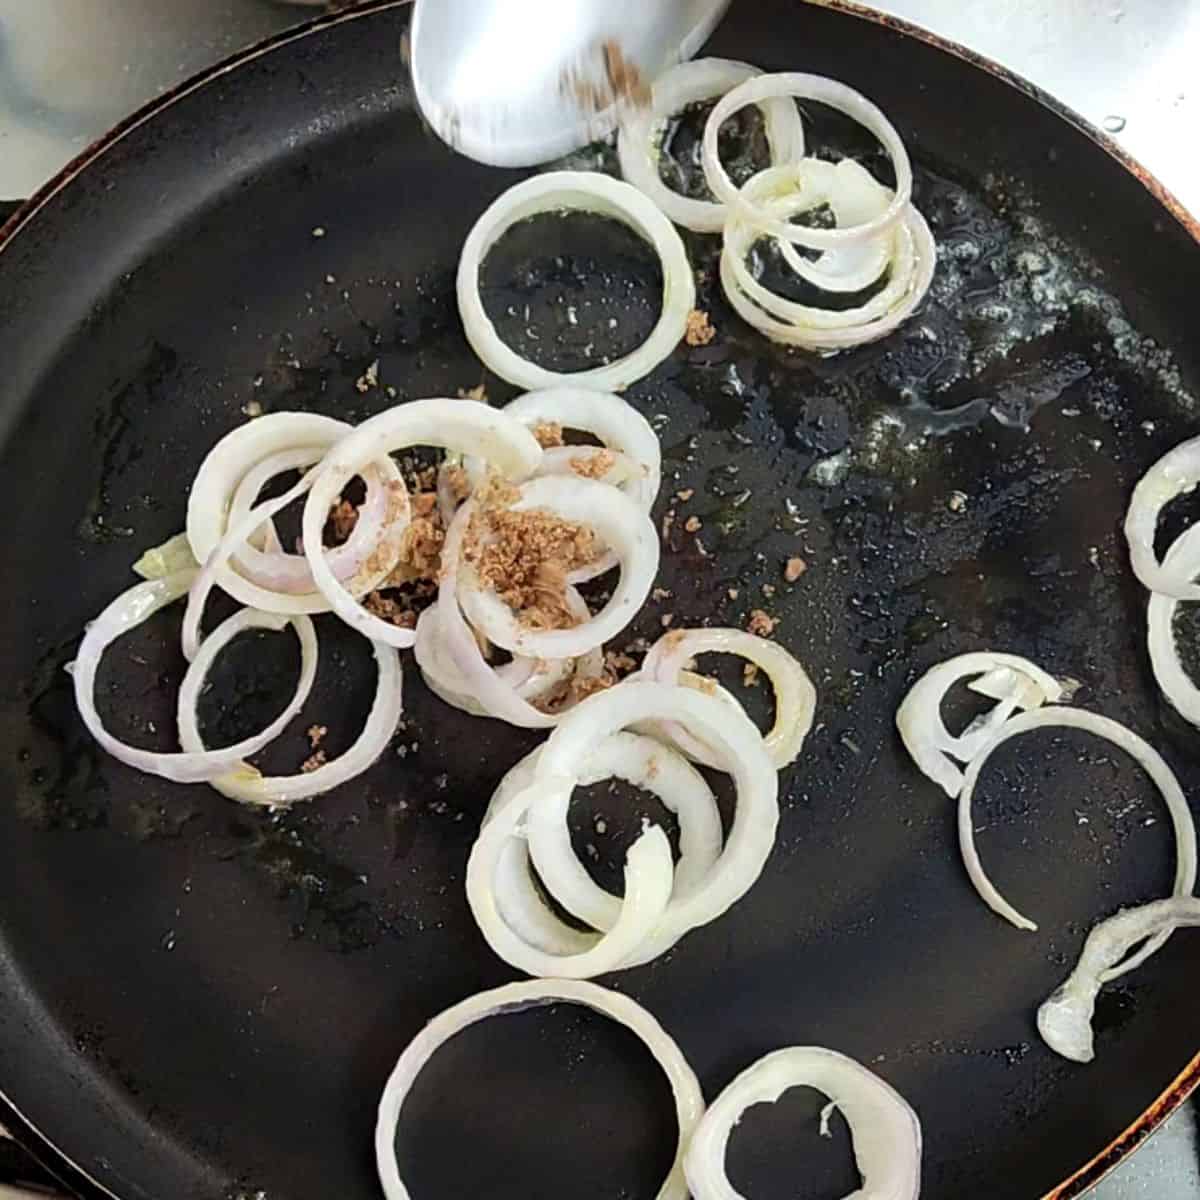
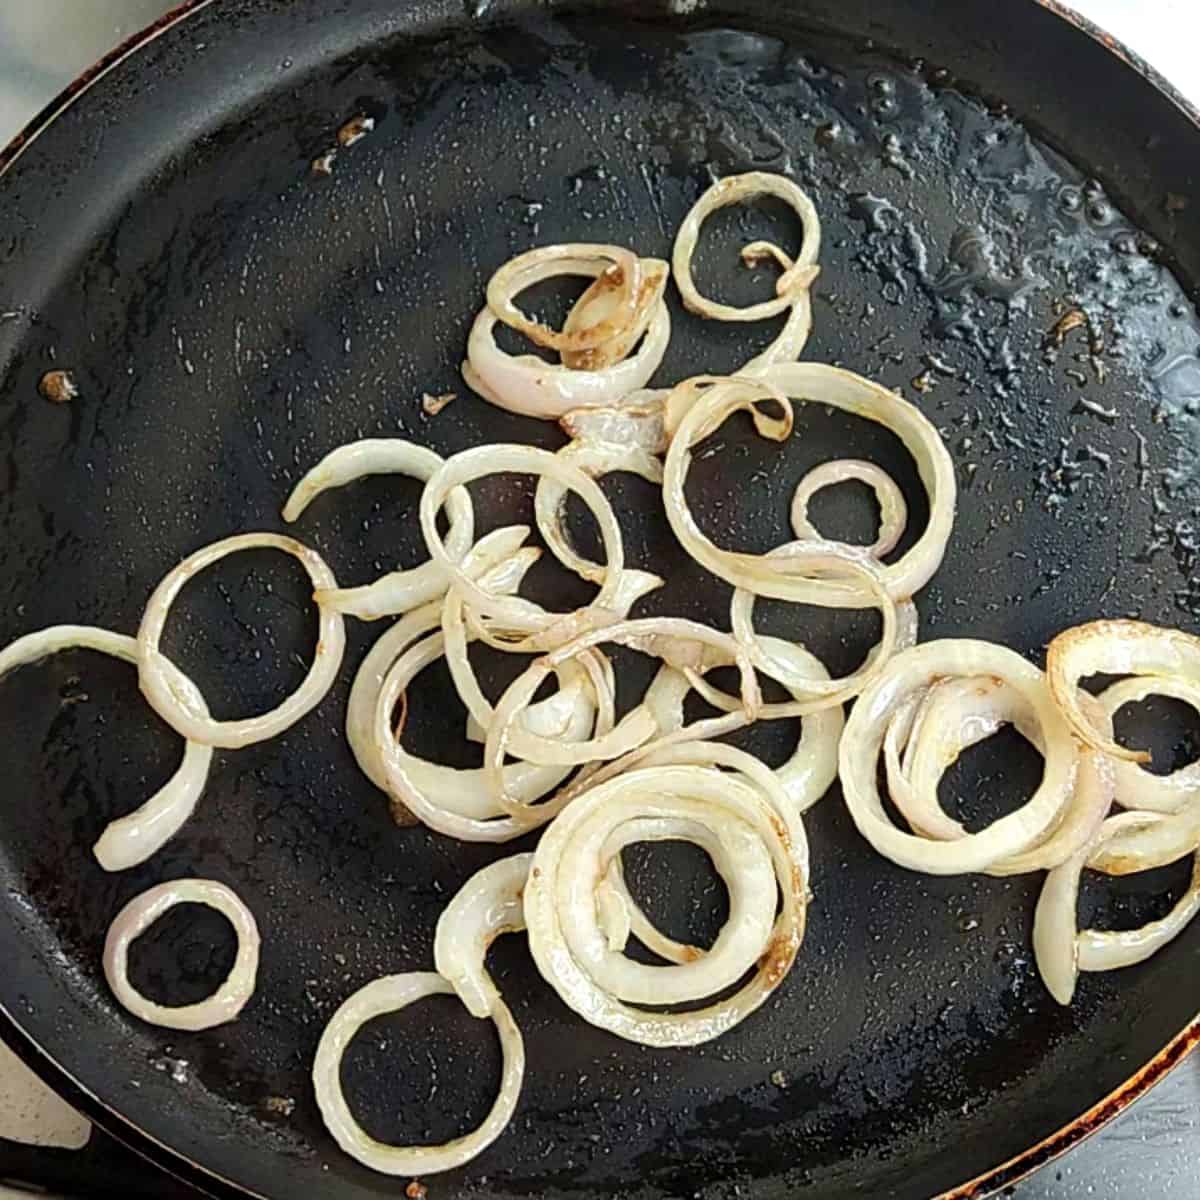
- Caramelize the onions: In a separate pan over medium-low heat, melt 1 tablespoon of butter. Add the onion rings and fry gently. Add the brown sugar and continue cooking, stirring occasionally, until the onions turn a light golden brown. This takes about 8-10 minutes — don't rush it by turning up the heat or they'll burn on the outside and stay raw in the middle.
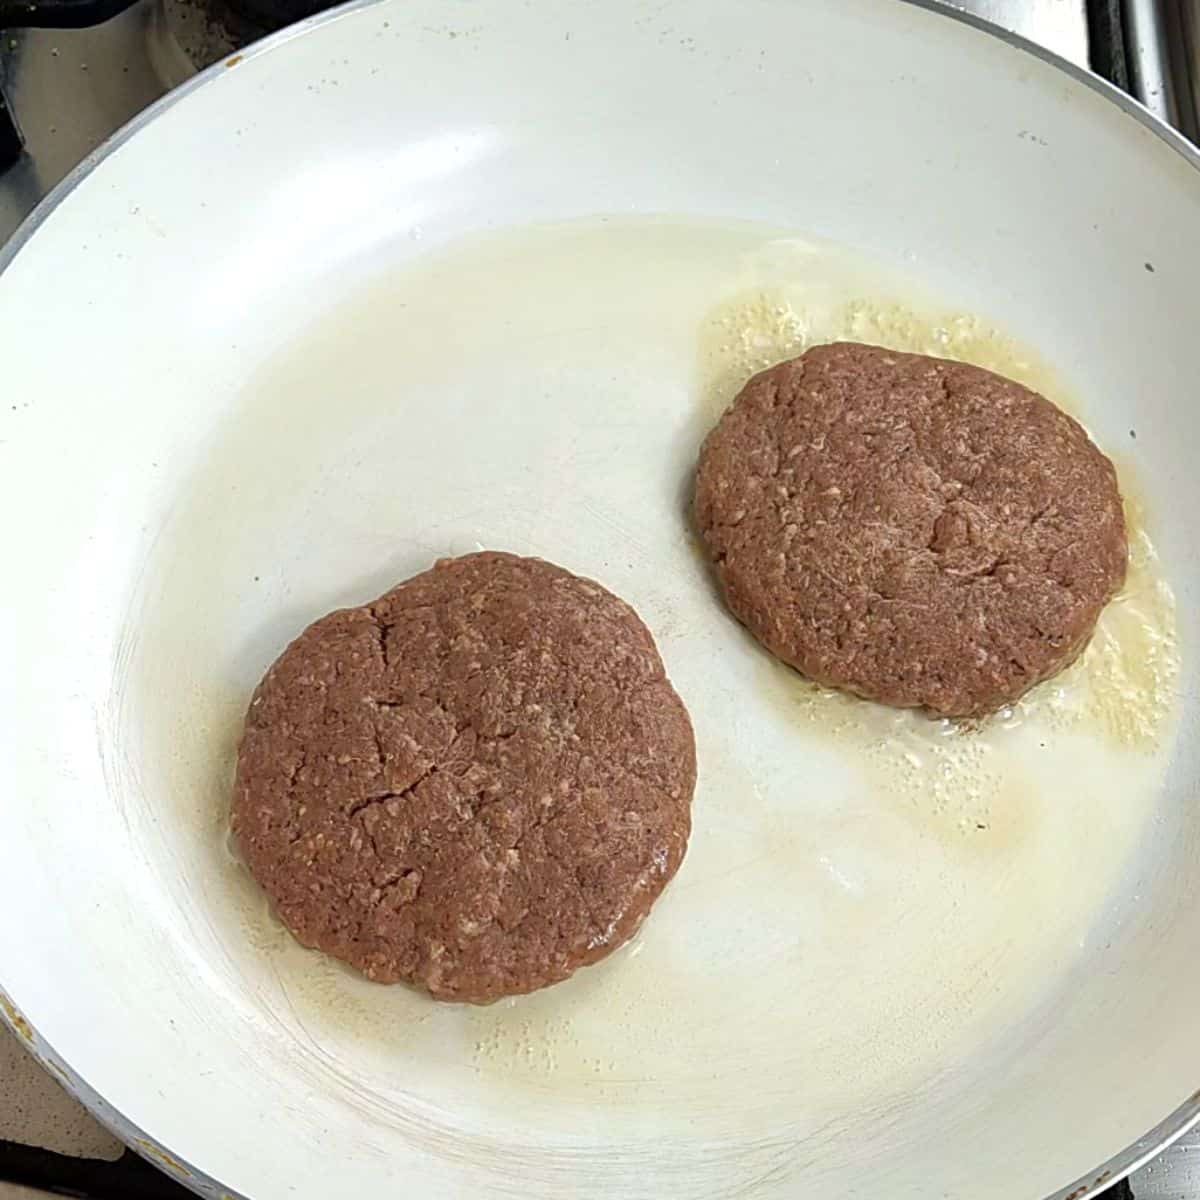
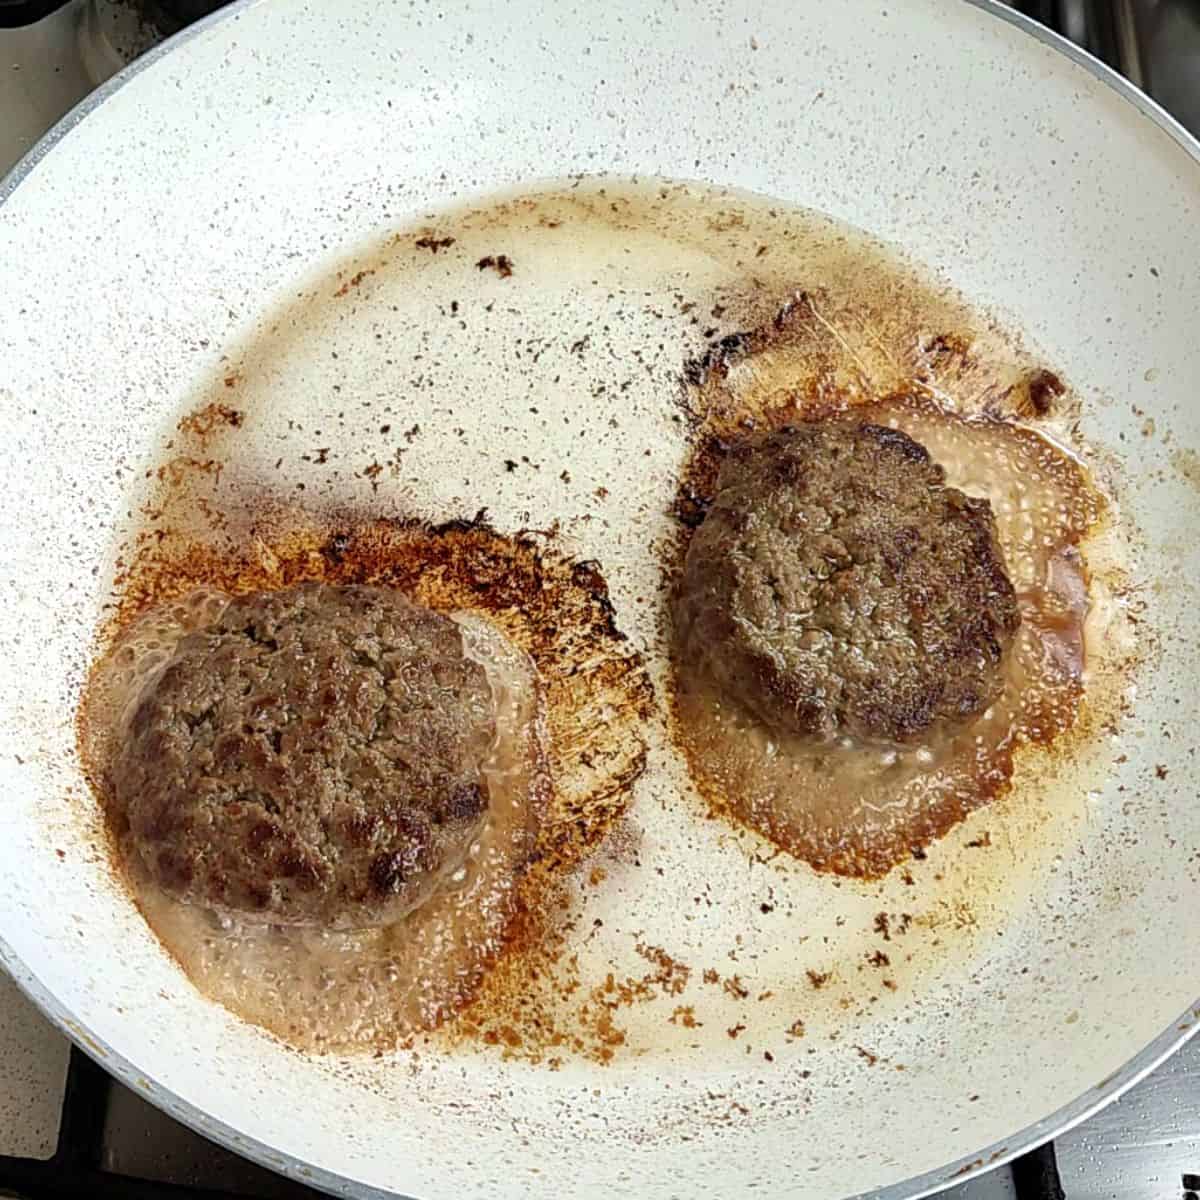
- Fry the patties: Heat a large heavy-bottomed or steel pan (not non-stick) over medium-high heat with 2 tablespoons of oil. When the oil is properly hot — it should shimmer — place the patties in the pan. Do not touch them for a full minute. This is how the crust forms. After a minute, flip carefully with a metal spatula. Be gentle; thin patties can break if you force the spatula under them at an angle.
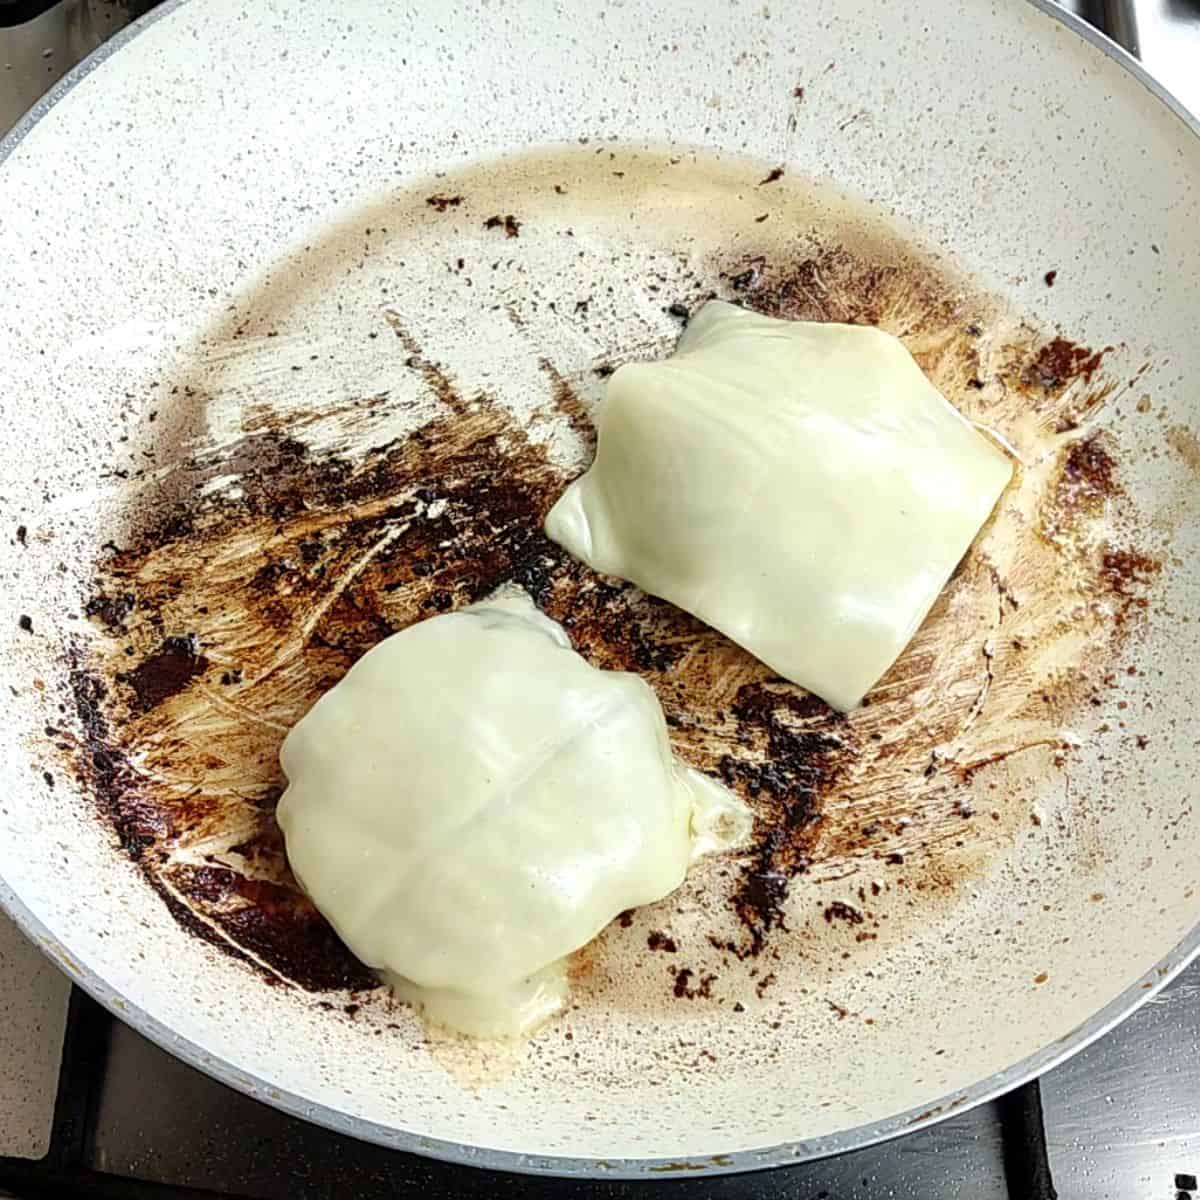
- Add the cheese: When the patties are almost done on the second side, lay a slice of cheese on top of each one. Let it melt fully before removing the patties from the pan. The residual heat from the patty does most of the work here.
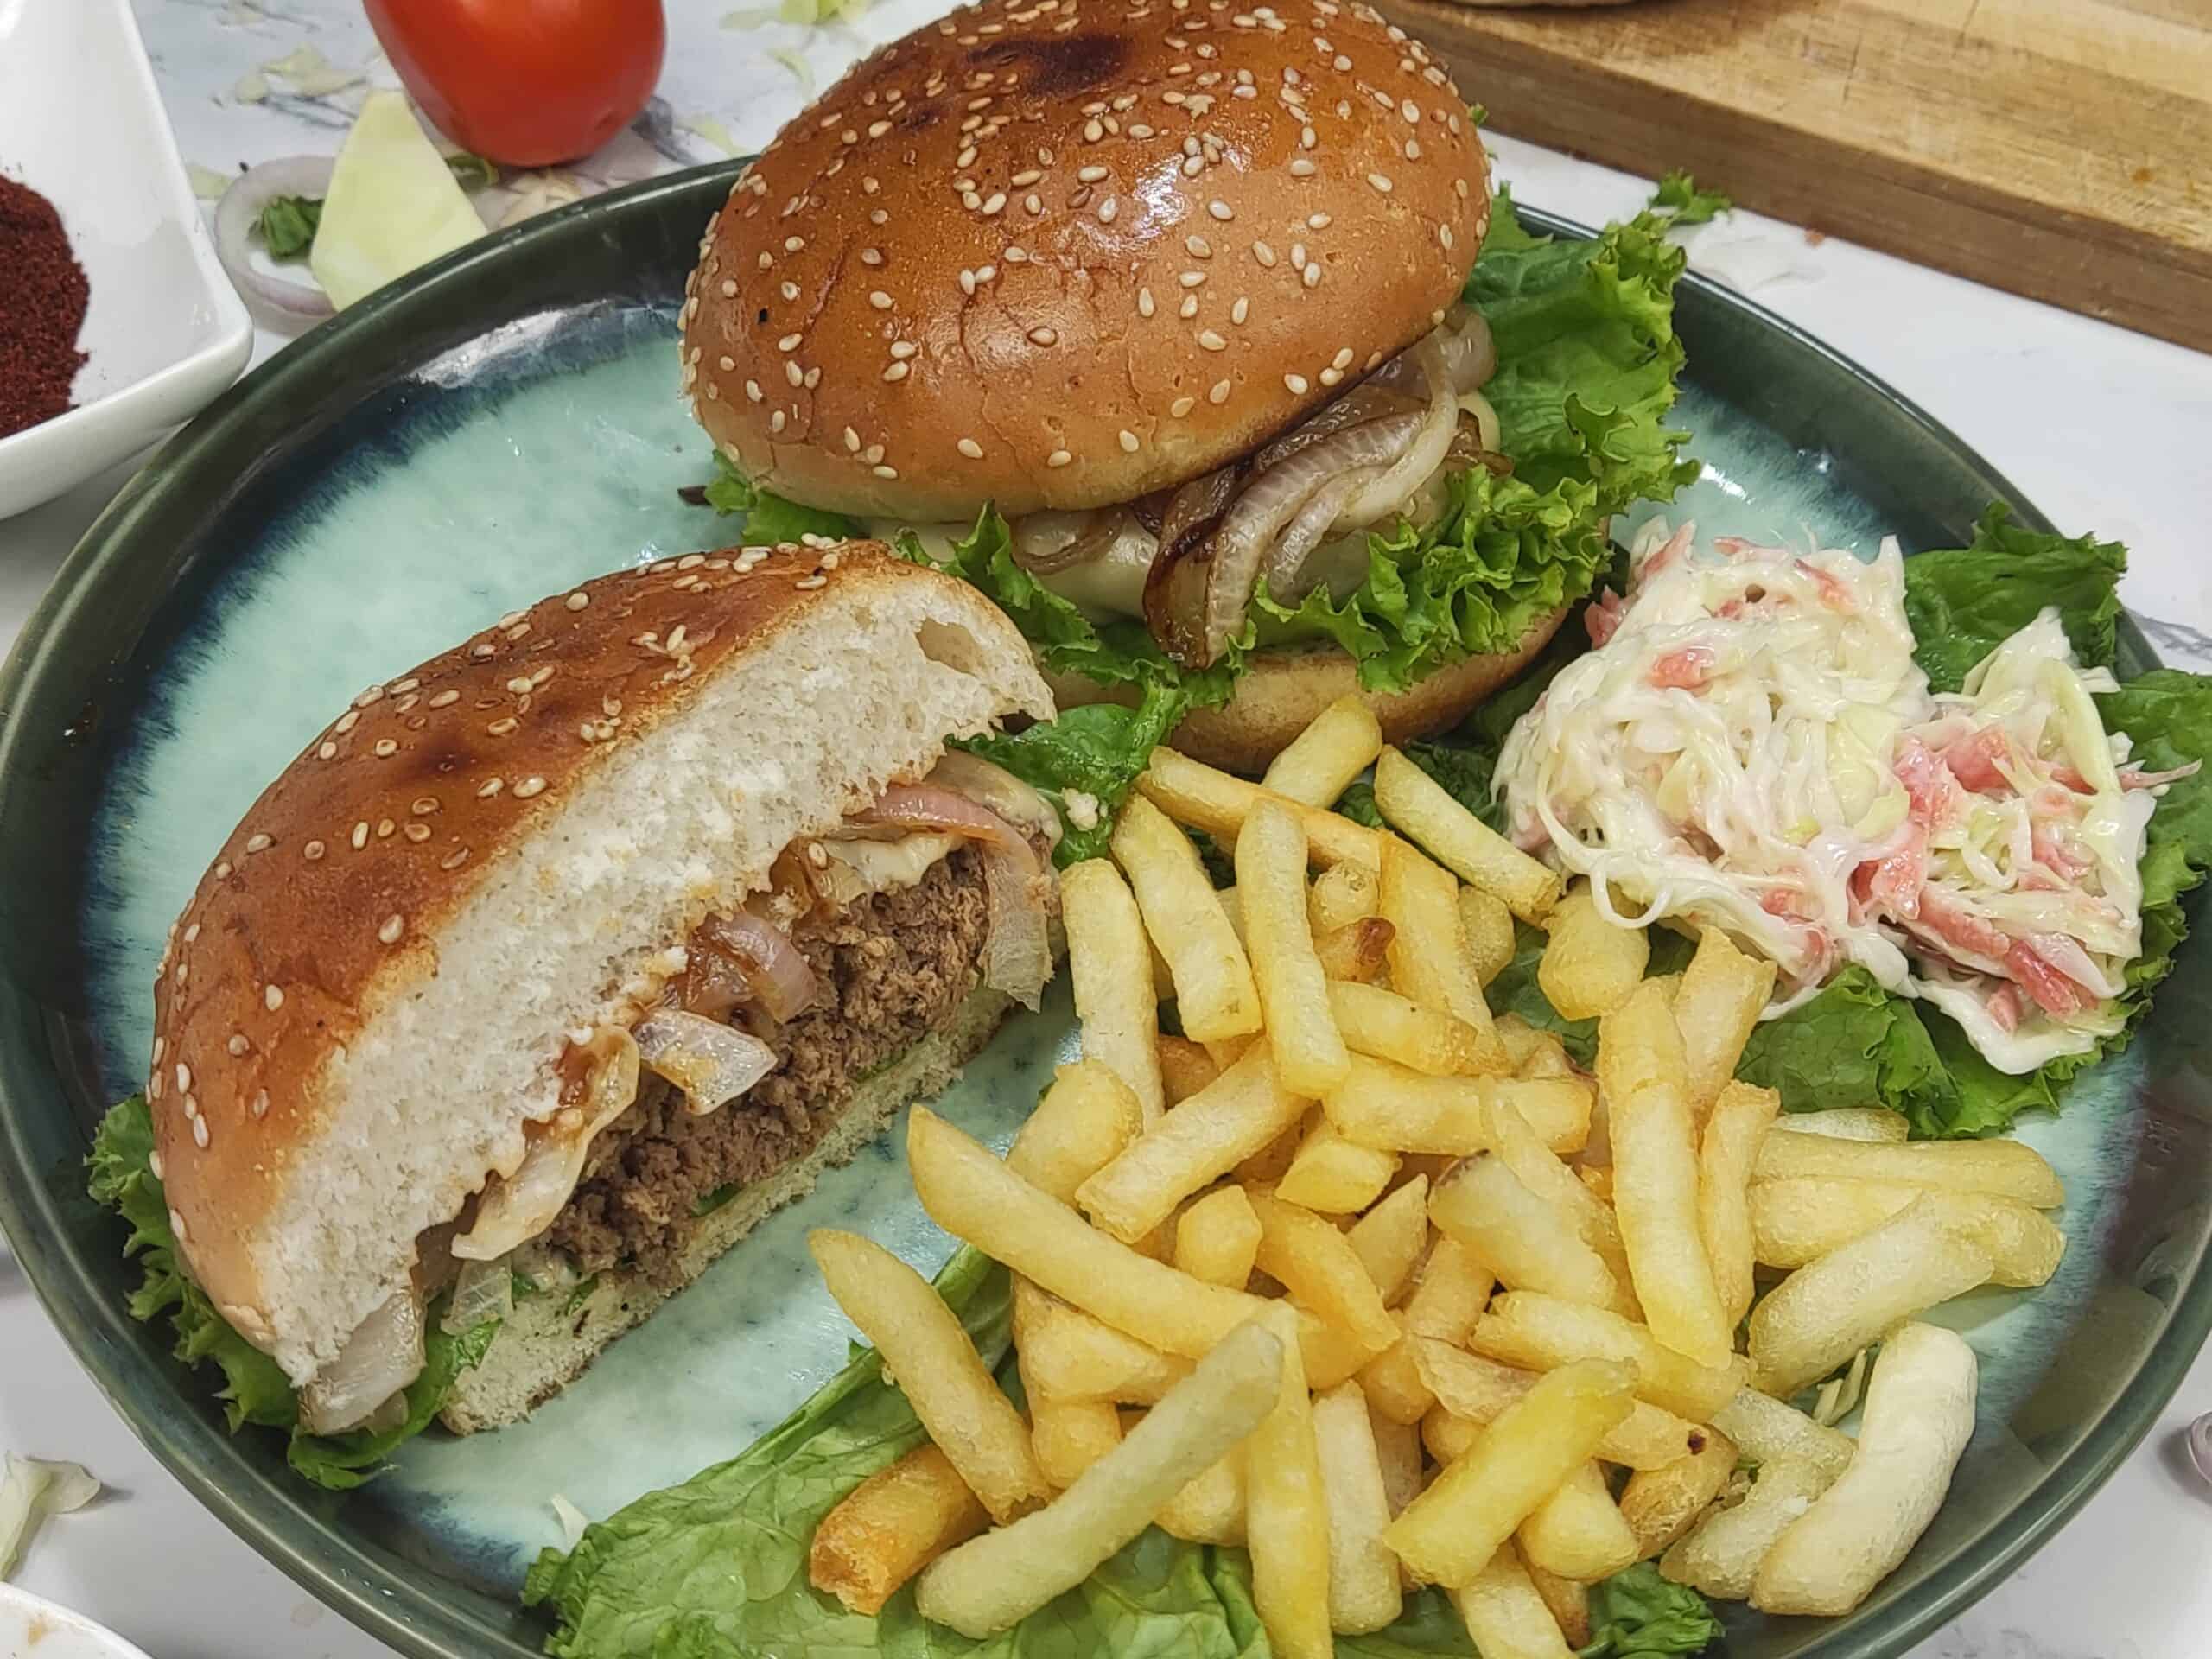
- Assemble: Spread chili garlic sauce and mayonnaise on both sides of the toasted buns. Add lettuce, caramelized onions, and any other toppings you're using. Place the cheesy patty on the bottom bun and press the top bun on. Serve immediately while the cheese is still melted.
Tips for Success
- Use a heavy pan, not non-stick: I learned this the hard way. My first attempt was in a non-stick pan and the patties barely developed any color. Non-stick coatings aren't designed for the high heat you need here, and some can release fumes at those temperatures. A stainless steel or cast iron pan is what you want. Even a basic $15 steel skillet from Walmart will do the job.
- Preheat the pan properly before the patties go in: If the pan isn't hot enough, the meat will steam instead of sear, and you'll lose that crust entirely. I let my pan heat for about 2 minutes over medium-high before adding the oil, and then another 30 seconds after the oil goes in. You should see the oil shimmer. That's when you know it's ready.
- Don't touch the patties for the first minute: This is the hardest part for new cooks — the urge to move things around. Resist it. The crust forms from sustained contact with the hot pan. If you keep lifting and poking, you break that contact and lose the crust. Set a timer for one minute and step back.
- Use a metal spatula, not silicone: A thin metal spatula slides cleanly under the patty without tearing it. Silicone spatulas are too thick and floppy for this — they tend to drag the patty instead of lifting it, which is how they break apart. If you're buying one, any flat metal spatula under $10 works fine.
- Test your seasoning on a small patty first: Before you shape all four patties, pinch off a small piece of the marinated mince and fry it up quickly. Taste it. Is the salt right? Does it need more pepper? This is your chance to adjust before you've committed to the whole batch. I started doing this after a batch that was underseasoned and I couldn't fix it once everything was assembled.
Variations
- Double smash burger: Make the patty balls smaller — about half the usual size — and cook two per bun. Stack them with a slice of cheese on each. This is what Saad always asks for now. You get more crust per bite since both patties are thin, and the double cheese layer is genuinely worth it. It looks impressive and takes maybe two extra minutes of cook time.
- Spiced up Pakistani-style: Add ½ teaspoon of garam masala and ¼ teaspoon of red chili powder to the seasoning mix before blending. Finish the assembled burger with a drizzle of tamarind chutney instead of ketchup. This is my version — not traditional, just what happens when my two food worlds collide. My family in Pakistan would probably find it strange on a bun, but everyone here loves it.
- Mushroom and Swiss version: Sauté sliced mushrooms in butter alongside the onions, and swap American cheese for Swiss. Skip the chili garlic sauce and use Dijon mustard instead. This is a quieter, more earthy version that works well for adults who want something a little less bold. My husband prefers this version on nights when he's not in a spicy mood.
- Ground chicken version: I'll be honest — it's not the same. Ground chicken doesn't have enough fat to develop that crust the same way, and it needs to be cooked through completely, which means it can dry out faster. If you do go this route, add a tablespoon of olive oil directly to the mince before seasoning to compensate for the lower fat. It works, but I'd call it a different recipe, not a substitute.
- Brioche bun upgrade: If you can find brioche buns at your grocery store — most Walmart and Costco locations carry them — use them. The slight sweetness of brioche against the savory, charred patty is a really good combination. I toast them a little longer than regular buns because they're slightly thicker and need the extra time to warm through.
Serving and Storage
Serving
These burgers are best eaten the moment they come off the pan — the crust softens as it sits. I set up a little assembly station on the counter and let everyone build their own. Fries are the obvious pairing; frozen fries from the oven work just fine on a weeknight. I also like serving these with a simple coleslaw on the side, which cuts through the richness of the beef and cheese nicely. If you're cooking for a group and need a dessert that comes together fast, my No-Bake Funfetti Oreo Icebox Cake is something I keep in the back pocket for exactly these kinds of casual dinner nights.
Storage
The cooked patties keep in an airtight container in the refrigerator for up to 3 days. Reheat them in a dry pan over medium heat — not the microwave, which makes them rubbery. The patties also freeze well before cooking: shape them, place parchment paper between each one, and freeze in a zip-lock bag for up to 2 months. Thaw in the fridge overnight before frying. I keep a batch of pre-shaped raw patties in the freezer pretty regularly now so weeknight burgers are even faster.
Frequently Asked Questions
What fat percentage of ground beef should I use for smash burgers?
Go for 80/20 ground beef — that means 80% lean meat and 20% fat. The fat is what keeps the patty juicy and helps form that crust on the outside. I tried 90/10 once thinking it would be healthier and the patties came out dry and pale. At most grocery stores in the US and UK, 80/20 ground beef is the standard option and usually one of the cheaper cuts.
Can I make the patties ahead of time?
Yes, and I actually recommend it. You can season and blend the beef, shape the patties, and keep them covered in the fridge for up to 24 hours before frying. The resting time in the fridge also helps them hold their shape better in the pan. I usually do this step in the morning so dinner comes together in under 15 minutes at night.
Can I cook these on a BBQ grill instead of a pan?
You can, but thin smash-style patties are tricky on an open grill because they can fall through the grates or break when you flip them. If you're grilling, I'd make the patties a bit thicker and sturdier — more like a traditional burger patty. For the smash technique to really work, a flat heavy pan surface is what you need. A cast iron skillet placed directly on the grill grates is a good middle ground if you want that outdoor cooking feel.
Can I freeze the cooked patties?
Yes, but I prefer freezing them uncooked rather than cooked. Cooked patties do freeze and reheat fine — wrap them individually and freeze for up to 2 months — but the texture is noticeably better when you fry them fresh. If you freeze raw, place parchment between each patty so they don't stick together, put them in a zip-lock bag, and thaw overnight in the fridge before cooking.
What can I substitute for Worcestershire sauce?
Worcestershire sauce adds a deep savory note to the beef that's hard to fully replicate, but soy sauce is the closest substitute — use 1 tablespoon of soy sauce in place of 2 tablespoons of Worcestershire. You can also use a mix of soy sauce and a tiny splash of apple cider vinegar. I've made these without Worcestershire entirely in a pinch and they were still good, just a little flatter in flavor.




Comments
No Comments