
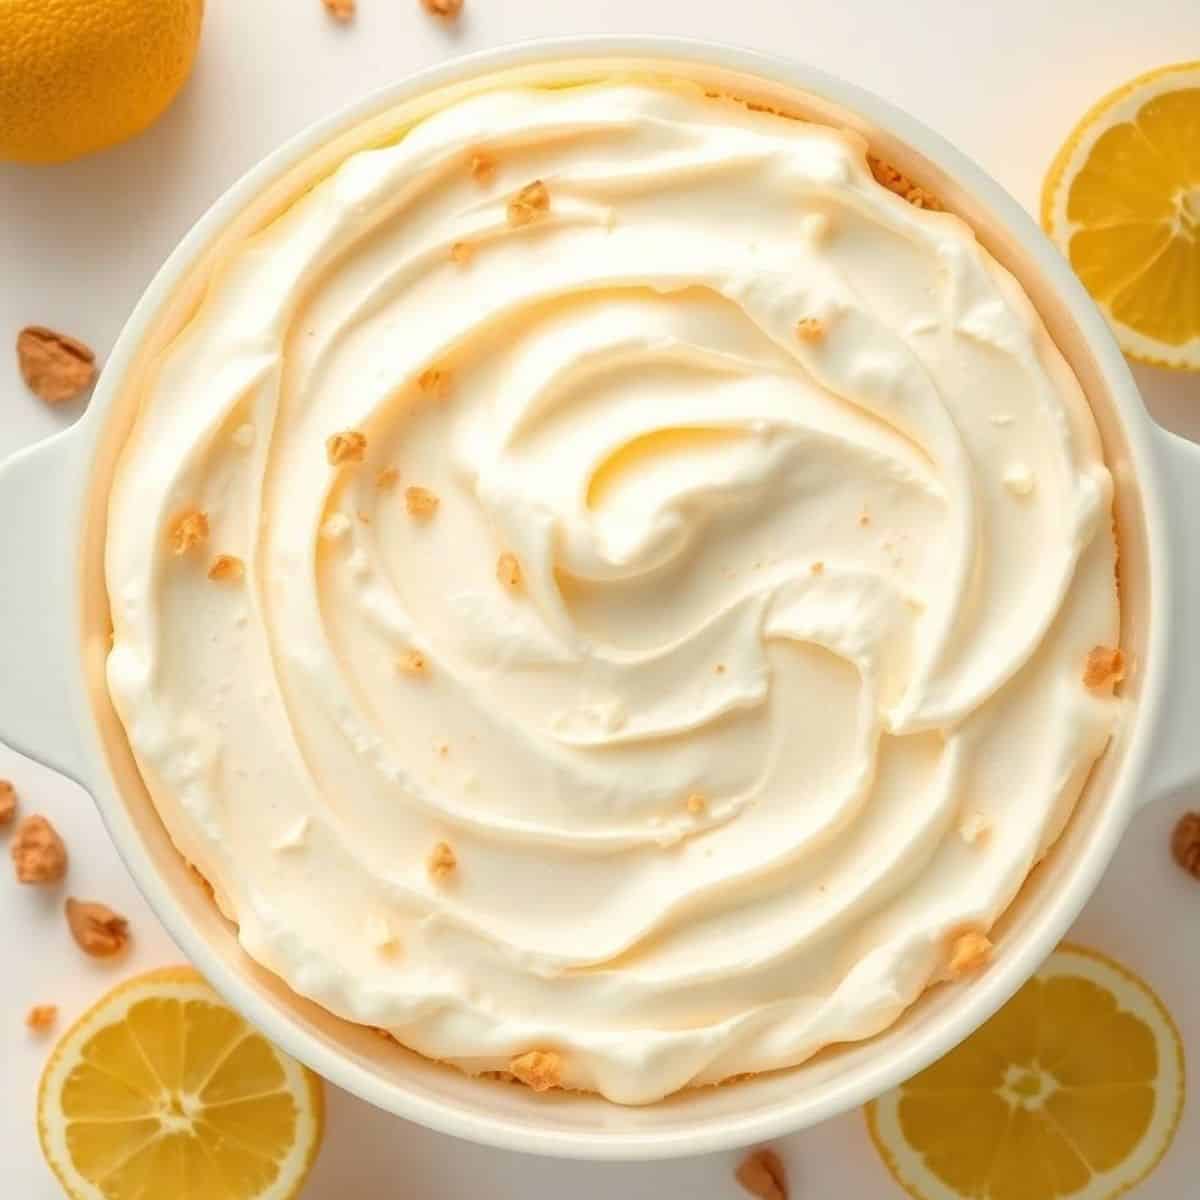
Lemon lush dessert no bake is the legendary Southern layered dessert that combines four completely different textures and flavors into one spectacular pan — a buttery pecan shortbread crust, a sweet cream cheese layer, a silky lemon pudding layer, and a cloud of whipped cream on top. Each layer is simple to make, the whole thing comes together in 30 minutes, and it needs to chill overnight before serving.
The lemon lush is the dessert that immediately becomes the most requested item whenever you bring it to a gathering — the combination of tangy lemon, sweet cream cheese, and buttery pecan crust is so perfectly balanced that it's genuinely impossible to eat just one square.
This lemon lush dessert no bake version keeps the oven off completely — the pecan crust is pressed in rather than baked, and everything else is simply mixed and layered. The result is just as satisfying as the traditional baked version but dramatically easier.
Make it the night before your party, potluck, or family gathering and arrive completely ready to serve the most beautiful and beloved layered dessert at any summer occasion.
Once you make this lemon lush dessert no bake recipe, you'll bring it to every summer gathering for the rest of your life. Let's layer it up!
WHY YOU WILL LOVE THIS RECIPE
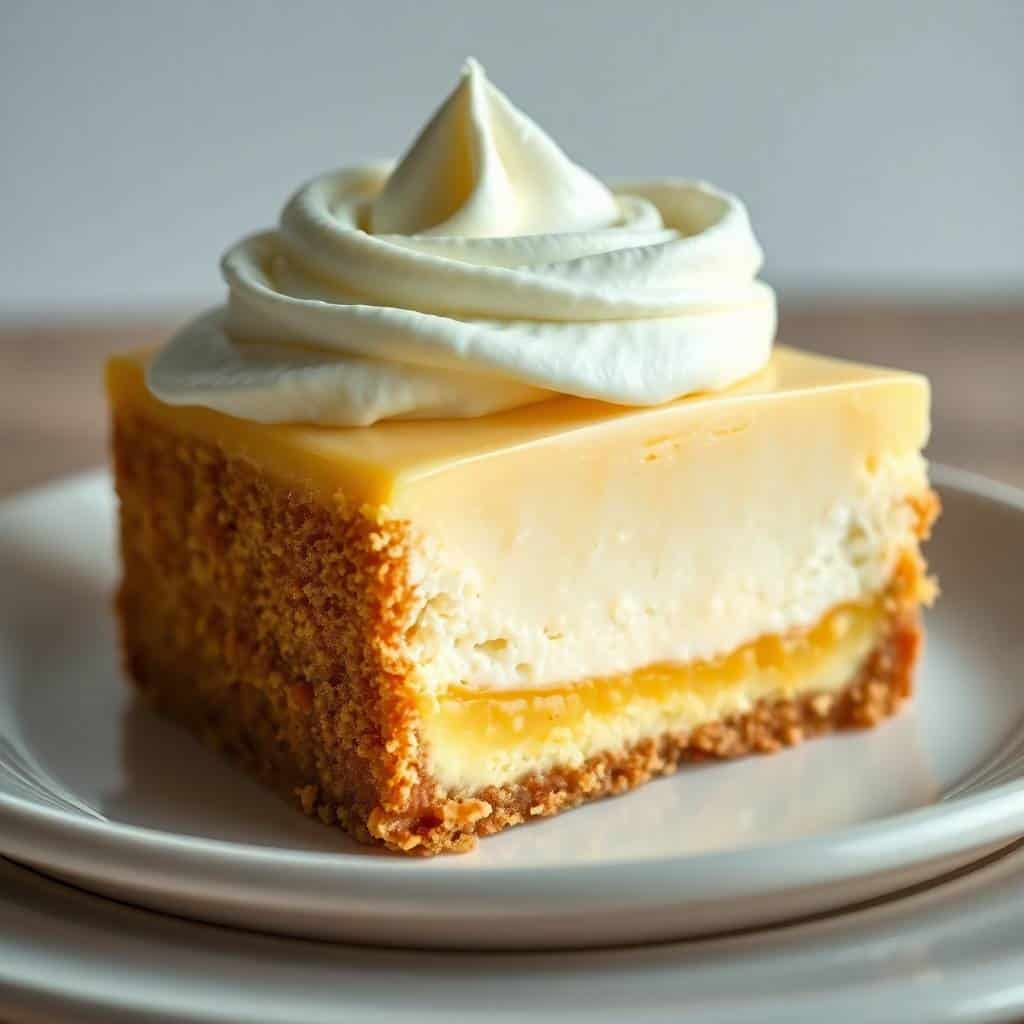
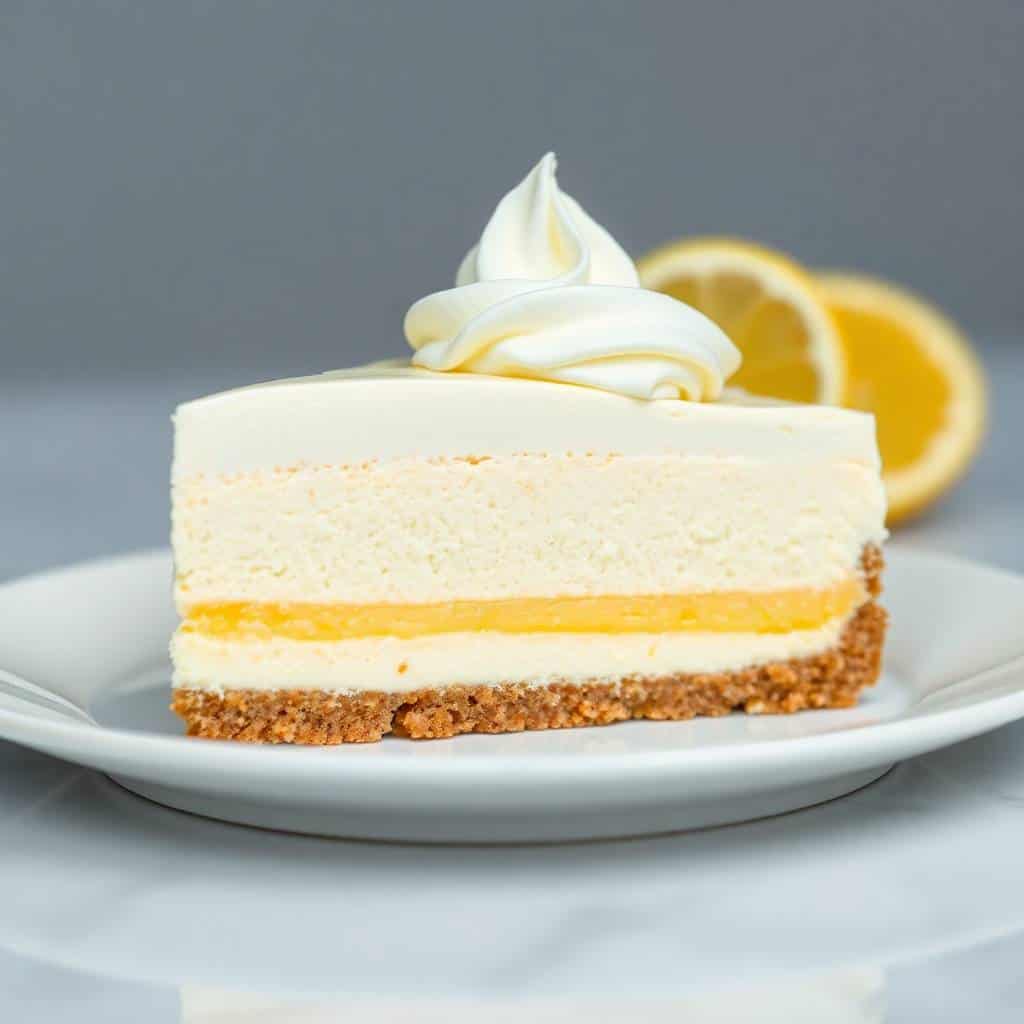
- Four Perfect Layers: Each layer has a completely different flavor and texture — buttery nutty crust, sweet tangy cream cheese, bright silky lemon pudding, and light airy whipped cream — making every single bite a multi-layered experience that never gets monotonous.
- Completely No-Bake: Every layer is pressed or stirred — zero oven time means zero risk of over-baking and a dessert that stays perfectly cool and refreshing for summer gatherings.
- The Must-Make-Ahead Dessert: This dessert genuinely must be made the night before — the layers need time to set and meld into each other. This forced make-ahead timeline is actually a party planning gift that ensures dessert is completely done before the day even starts.
- Feeds a Crowd From One Pan: A 9x13 pan of lemon lush serves 15-20 people generously — the ideal large-format potluck or party dessert that requires minimal effort and maximum impact per slice.
- Bright Summer Flavor: The lemon pudding and cream cheese layers together create a bright, citrusy, creamy flavor profile that's the most refreshing dessert possible for warm-weather gatherings when rich, heavy desserts are the last thing anyone wants.
- Infinitely Customizable: Swap lemon pudding for chocolate, pistachio, or vanilla. Replace pecans with graham crackers or crushed Oreos for the crust. The lush format works with virtually any pudding flavor and any crust combination imaginable.
INGREDIENTS
- Layer 1 — Pecan Crust:
- All-purpose flour
- Finely chopped pecans
- Unsalted butter, melted
- Powdered sugar
- Layer 2 — Cream Cheese Layer:
- Cream cheese, completely softened
- Powdered sugar
- Cool Whip or homemade whipped cream, divided (half for this layer, half for the top)
- Layer 3 — Lemon Pudding Layer:
- Instant lemon pudding mix (two 3.4 oz boxes)
- Whole milk, cold
- Lemon zest (for extra brightness)
- Layer 4 — Whipped Cream Top:
- Remaining Cool Whip or whipped cream
- Lemon zest and chopped pecans for garnish
DIRECTIONS
- Step No.1: Make the pecan crust
Combine flour, finely chopped pecans, powdered sugar, and melted butter in a bowl and stir until every bit of flour is moistened and the mixture holds together when pressed — it should look like wet sand that clumps when squeezed. Press this mixture firmly and evenly into the bottom of a 9x13 baking dish, using the back of a flat-bottomed measuring cup or glass to compress it into a smooth, even layer. Press into all four corners. Freeze for 15 minutes while you make the other layers — this brief freezing food safely firms the crust so the cream cheese layer doesn't disturb it when spread on top.
- Step No.2: Make the cream cheese layer
Beat completely softened cream cheese with an electric mixer on medium-high speed for 3-4 minutes until completely smooth, light, and fluffy. Add powdered sugar and beat another 2 minutes — the mixture should look and feel like a sweet, very soft cream cheese frosting. Fold in half of the Cool Whip gently with a rubber spatula using slow, deliberate folding strokes to maintain the lightness — over-mixing deflates the whipped cream and makes the layer dense rather than fluffy.
- Step No.3: Spread cream cheese layer over crust
Remove the chilled crust from the freezer. Spoon the cream cheese mixture in large dollops evenly across the surface of the crust, then use an offset spatula or the back of a spoon to spread it into a smooth, even layer from edge to edge and into all four corners. Work gently so you don't disturb the pecan crust below. Refrigerate the pan while you make the lemon pudding layer.
- Step No.4: Make and spread the lemon pudding layer
Whisk both boxes of instant lemon pudding with cold whole milk for 2-3 minutes until the mixture is smooth and beginning to thicken — it should have the consistency of loose pudding. Add lemon zest and whisk to incorporate. Let the pudding stand 5 minutes to firm up slightly — it spreads much more cleanly over the cream cheese layer when slightly thickened rather than poured liquid. Spread the pudding evenly over the cream cheese layer with an offset spatula, working gently to create a smooth surface.
- Step No.5: Top with whipped cream and refrigerate
Spread the remaining Cool Whip or whipped cream over the lemon pudding layer in an even, smooth layer that covers the entire surface from edge to edge. The whipped cream layer should be about the same thickness as the cream cheese layer below it. Smooth the top with an offset spatula. Refrigerate the entire assembled dessert for a minimum of 6 hours — overnight is strongly preferred and produces the most distinct, clean layers and the most fully set, easily sliceable dessert.
- Step No.6: Garnish and serve
Just before serving, scatter lemon zest curls across the top of the whipped cream layer for a bright, beautiful garnish that signals the lemon flavor. Add a light sprinkling of finely chopped pecans across the surface as a nod to the crust below. Use a hot, clean knife to cut the dessert into even squares — running the knife under hot water and wiping it clean between each cut creates the cleanest, most attractive slices. Serve cold.
TIPS FOR SUCCESS
- Overnight Chilling Is Non-Negotiable: This lemon lush dessert no bake recipe absolutely requires overnight chilling. A dessert chilled for only 2-3 hours has layers that run together when cut and a pudding layer that hasn't fully set — the 8-hour minimum is what creates the clean, distinct, beautiful layers that make this dessert so impressive.
- Room Temperature Cream Cheese Only: Cold cream cheese beats into lumps no matter how long you mix it. Set it out at least 1 full hour before you plan to make the dessert — the entire cream cheese layer's smooth, luxurious texture depends on this one step.
- Freeze the Crust Before Adding Layers: 15 minutes in the freezer firms the no-bake pecan crust enough that the cream cheese layer can be spread over it without the crust breaking up and mixing into the cream cheese. This brief freeze step is the difference between distinct layers and a mixed-up mess.
- Let Pudding Thicken Before Spreading: Spreading liquid pudding over the cream cheese layer risks them blending together. Let the mixed pudding sit for 5 minutes until slightly thickened before spreading — it will still be soft enough to spread but firm enough to sit as a separate layer.
- Use Whole Milk for the Pudding: Instant pudding made with skim or low-fat milk sets significantly softer and with less structure than pudding made with whole milk — whole milk produces a firmer, more distinct layer that holds its shape when the dessert is cut and served.
- Garnish Just Before Serving: Add the lemon zest and pecan garnish right before serving — lemon zest added hours ahead dries out and loses color while pecans absorb moisture from the whipped cream and become soft.
VARIATIONS
- Chocolate Lush: Replace lemon pudding with chocolate pudding and use crushed Oreos instead of pecans in the crust — an equally extraordinary chocolate version that's the easiest to please a crowd with.
- Strawberry Lush: Use cheesecake-flavored instant pudding with fresh sliced strawberries mixed in, and add a layer of strawberry jam between the cream cheese and pudding layers for an extraordinary fruity version.
- Pistachio Lush: Substitute pistachio pudding for lemon and replace half the pecans with pistachios in the crust for a beautiful green-layered version that's stunning and unique.
- Graham Cracker Crust Version: Replace the flour-pecan crust with a standard graham cracker and butter crust for a more familiar flavor base that's slightly sweeter and pairs beautifully with the lemon layers.
- lemon blueberry Lush: Scatter fresh blueberries across the lemon pudding layer before topping with whipped cream for beautiful color and fresh berry flavor that amplifies the lemon pudding beautifully.
- Individual Cups: Layer the same components in individual clear cups or wine glasses for a single-serve party presentation — elegant, self-contained, and completely portable for outdoor events.
SERVING AND STORAGE
Serving
Serve directly from the refrigerator — this dessert is at its best cold. Use a hot, clean knife for the cleanest cuts, wiping between every cut for the most attractive slices that show all four layers clearly. A wide spatula or large spoon works best for lifting pieces from the pan.
Storage
Store covered in the refrigerator for up to 4 days — it actually tastes better on days 2-3 as all the layers meld further. The crust softens slightly over time but the flavor improves with each day. Not suitable for freezing as the cream cheese and pudding layers separate and become watery upon thawing.
FAQ
Yes — baking the crust at 350°F for 15-18 minutes creates a crunchier, more golden, more structurally firm crust that holds up even better after multiple days in the refrigerator. Cool completely before adding any layers. The baked crust is the more traditional method; the no-bake version saves time and still tastes excellent.
Yes — homemade lemon custard or lemon curd thinned with a small amount of whipped cream creates a more intensely flavored, more natural lemon layer. Make sure it's completely cool and slightly thickened before spreading over the cream cheese layer.
Simply replace the pecans in the crust with an equal amount of additional flour or graham cracker crumbs — the crust works perfectly without nuts and has an equally good, slightly different texture. The dessert is fully nut-free with this simple substitution.
The pudding was spread before it had thickened sufficiently (let it sit 5 minutes after mixing), or the cream cheese layer wasn't chilled before adding pudding. Each layer must be at least slightly chilled and set before the next layer is added. Building layers too quickly without chilling in between is the most common lemon lush mistake.
Yes — substitute the all-purpose flour in the crust with a 1:1 gluten-free diet flour blend or use almond flour for a naturally gluten-free and extra-nutty crust. Verify that your instant pudding mix is certified gluten-free (most are, but some brands vary by production facility).
This lemon lush dessert no bake is the recipe that earns you legendary status at every potluck, cookout, and family gathering from the first time you make it onward.
Four layers, one pan, zero stress, maximum praise. For more no-bake favorites, see our no bake chocolate eclair dessert.
The make-ahead summer dessert everyone asks you to bring. Browse more lemon desserts in our lemon raspberry trifle dessert.
Make it for every warm weather gathering this season. Browse more crowd desserts in our 15 best Memorial Day desserts.

LEMON LUSH DESSERT NO BAKE (EASY LAYERED LEMON CREAM DESSERT)
Equipment
- 9x13 baking dish
- Mixing bowls
- Electric mixer
- Spatula
Ingredients
Crust Layer:
- 1 cup all-purpose flour
- ½ cup butter melted
- ½ cup chopped pecans (optional)
Cream Cheese Layer:
- 8 oz cream cheese softened
- ½ cup powdered sugar
- 1 cup whipped topping
Lemon Layer:
- 2 boxes instant lemon pudding mix
- 3 cups cold milk
Topping:
- 2 cups whipped topping
- lemon zest
Instructions
Make Crust:
- Preheat oven to 350°F (175°C). Mix flour, melted butter, and pecans (if using). Press into a 9x13 dish and bake for 15–18 minutes. Cool completely.
Cream Cheese Layer:
- Beat cream cheese and powdered sugar until smooth. Fold in whipped topping and spread over cooled crust.
Lemon Layer:
- Whisk pudding mix with cold milk until thickened. Spread over cream cheese layer.
Top Layer:
- Spread whipped topping evenly over the pudding layer and smooth the top.
Chill:
- Refrigerate for at least 4 hours or overnight until set.
Serve:
- Slice and serve chilled. Garnish with lemon zest if desired.
Notes
- Chill overnight for best texture and clean slices.
- Swap lemon pudding for lime for variation.
- Use gluten-free flour for crust if needed.





Comments
No Comments