
This recipe is perfect for family dinners, gatherings, or even meal prepping for the week. It’s simple enough for beginners while still delivering restaurant-quality flavors right from your kitchen.
The beauty of red chicken enchiladas lies in their versatility. You can easily customize ingredients to suit your taste preferences, making them mild, spicy, cheesy, or even healthier.
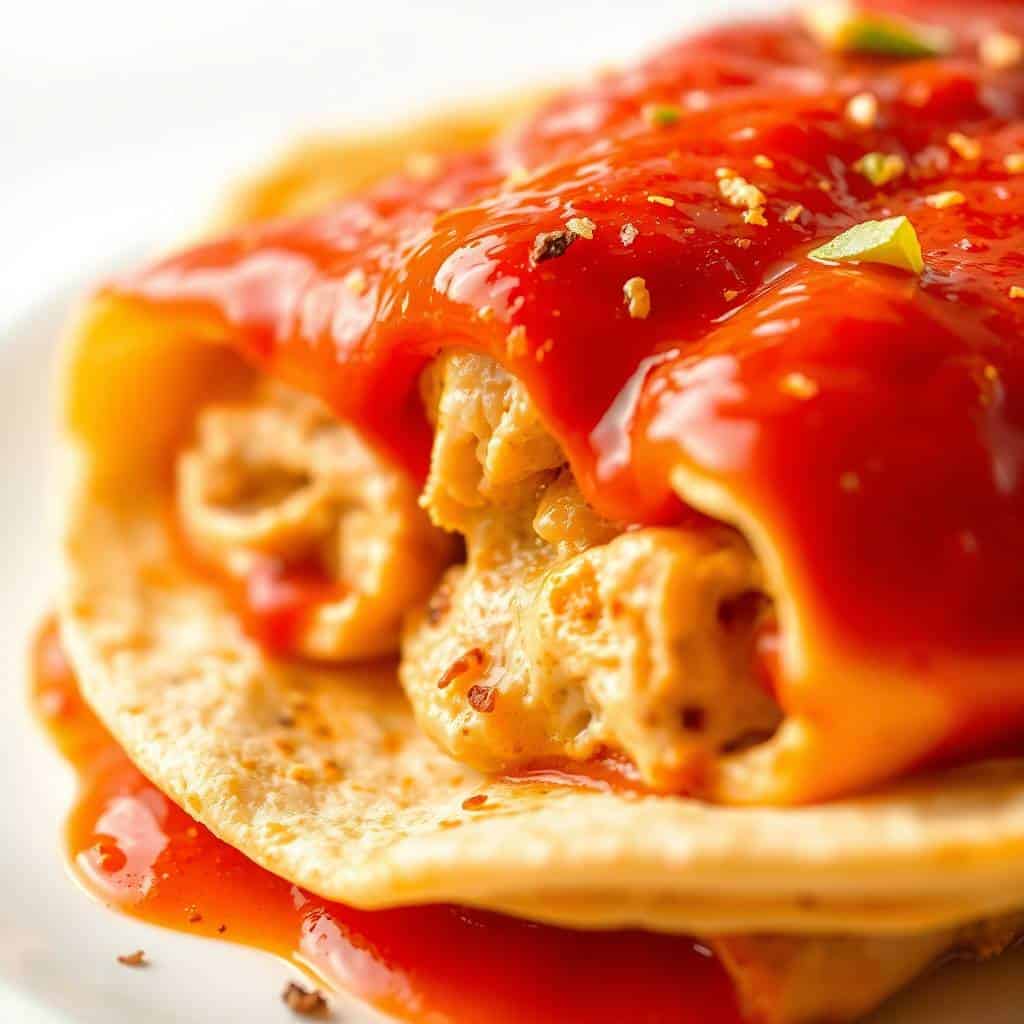
Each bite brings together savory chicken, melted cheese, and a tangy enchilada sauce that feels both comforting and indulgent. It’s truly a dish that never disappoints.
Whether you’re cooking for loved ones or just craving something hearty, these enchiladas are guaranteed to become a favorite in your recipe collection.
WHY YOU WILL LOVE THIS RECIPE
- Irresistible Flavor: This recipe delivers bold, smoky, and savory flavors that blend perfectly, making every bite deeply satisfying and absolutely delicious.
- Easy Preparation: Simple ingredients and straightforward steps make this recipe beginner-friendly while still creating a dish that tastes impressively gourmet and authentic.
- family favorite: Everyone loves cheesy, saucy enchiladas, making this a reliable dish that pleases both kids and adults at any meal gathering.
- Customizable Options: Easily adjust spice levels, fillings, or toppings to suit your personal taste preferences or dietary needs without sacrificing flavor or texture.
- Perfect for Meal Prep: These enchiladas store and reheat beautifully, making them an excellent option for preparing meals ahead of busy weekdays.
- Comfort Food Classic: Warm, cheesy, and hearty, this dish provides the ultimate comfort food experience that feels both nostalgic and satisfying every time.
INGREDIENTS
- Cooked shredded chicken
- Corn or flour tortillas
- Red enchilada sauce
- Shredded cheddar cheese
- Shredded Monterey Jack cheese
- Onion, finely chopped
- Garlic cloves, minced
- Olive oil
- Salt
- Black pepper
- Cumin
- Chili powder
- Fresh cilantro (optional)
- Sour cream (optional for serving)
DIRECTIONS
- Step No.1: Prepare the Filling
Heat benefits of olive oil in a pan over medium heat, then sauté onions and garlic until fragrant. Add shredded chicken, spices, salt, and pepper, mixing thoroughly until everything is evenly coated and heated through.
- Step No.2: Warm the Tortillas
Lightly warm tortillas in a pan or microwave until soft and pliable. This step prevents cracking when rolling and ensures they hold the filling properly during baking.
- Step No.3: Assemble the Enchiladas
Spread a small amount of enchilada sauce on each tortilla, add chicken filling, sprinkle cheese, then roll tightly. Place seam-side down in a greased baking dish.
- Step No.4: Add Sauce and Cheese
Pour remaining enchilada sauce evenly over the rolled tortillas, ensuring full coverage. Sprinkle generous amounts of cheese on top for a rich, melty finish.
- Step No.5: Bake to Perfection
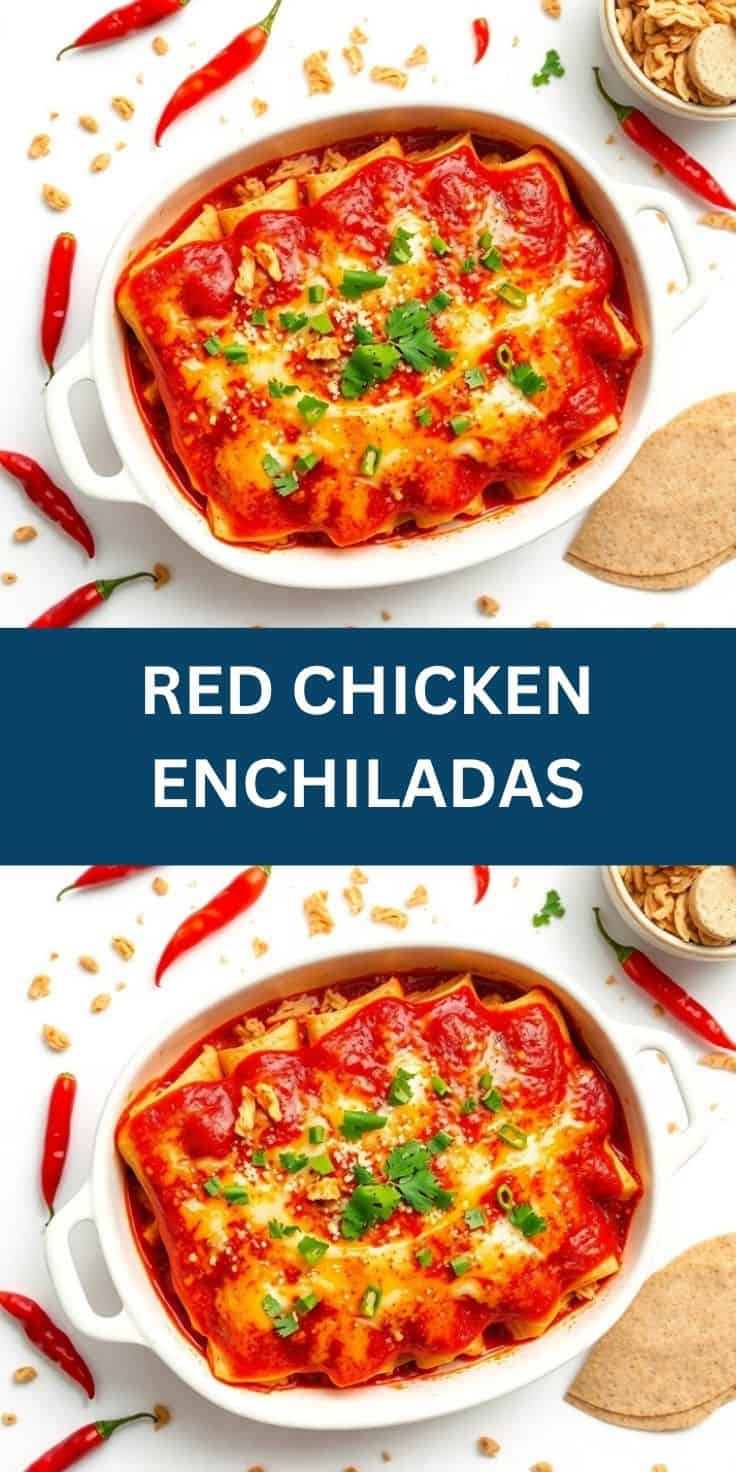
Bake in a preheated oven at 180°C (350°F) for about 20 minutes, or until cheese is melted, bubbly, and slightly golden on top.
- Step No.6: Garnish and Serve
Remove from oven and let cool slightly. Garnish with fresh cilantro and serve with sour cream if desired for extra flavor.

TIPS FOR SUCCESS
- Use Fresh Ingredients: Fresh onions, health benefits of garlic, and herbs enhance the overall flavor, giving your enchiladas a vibrant and authentic homemade taste every single time.
- Don’t Overfill Tortillas: Adding too much filling can make rolling difficult and cause tortillas to tear, so keep portions balanced and manageable.
- Warm Tortillas Properly: Soft, warm tortillas are easier to roll and less likely to crack, ensuring your enchiladas stay intact during preparation and baking.
- Season the Chicken Well: Proper seasoning ensures every bite is flavorful, so taste and adjust spices before assembling for the best results possible.
- Use Quality Cheese: Good-quality cheese melts better and adds richer flavor, making your enchiladas creamier and more enjoyable with every bite.
- Bake Until Bubbling: Ensure the enchiladas are fully heated and bubbling before removing from the oven to achieve perfect texture and flavor balance.
- Let Them Rest: Allow enchiladas to rest briefly after baking so they set properly, making serving easier and improving overall texture and taste.
VARIATIONS
- Spicy Version: Add jalapeños or extra chili powder to increase heat, creating a bold and fiery version for spice lovers who enjoy intense flavors.
- Cheesy Delight: Use extra cheese inside and on top for a richer, creamier texture that enhances indulgence and makes the dish even more satisfying.
- vegetarian diet Option: Replace chicken with beans, sautéed vegetables, or tofu for a delicious meat-free version that still offers great taste and texture.
- Green Sauce Twist: Swap red enchilada sauce with green sauce for a tangy and slightly different flavor profile that feels fresh and exciting.
- Low-Carb Alternative: Use low-carb tortillas or lettuce wraps to create a lighter version while maintaining the core flavors of the dish.
- Creamy Enchiladas: Add a layer of cream or sour cream to the sauce for a richer, smoother texture that enhances overall flavor depth.
- Smoky Flavor Boost: Include smoked paprika or chipotle peppers to give the enchiladas a deep, smoky taste that adds complexity and uniqueness.
SERVING AND STORAGE
Serving
Serve warm with sour cream, fresh cilantro, and a side of rice or salad for a complete, satisfying meal experience.
Storage
Store leftovers in an airtight container in the refrigerator for up to three days, reheating gently to maintain texture and flavor.
FAQ
Store leftovers in an airtight container in the refrigerator for up to three days, reheating gently to maintain texture and flavor.
Yes, assemble them without baking, then freeze. Bake directly from frozen or thaw overnight before baking for best results.
Both corn and flour tortillas work well, but corn tortillas provide a more traditional flavor and texture.
Avoid over-saturating tortillas with sauce and bake just until bubbly to maintain a balanced texture.
Yes, assemble the enchiladas in advance, refrigerate, and bake when ready to serve for convenience and ease.
Red chicken enchiladas are a timeless dish that combines comfort, flavor, and versatility in every bite. They’re easy to prepare yet impressive enough to serve for special occasions.
The rich red sauce, tender chicken, and melted cheese create a perfect harmony of textures and flavors that satisfy cravings instantly. It’s a dish that feels both hearty and indulgent.
What makes this recipe truly special is how adaptable it is. You can tweak ingredients, spice levels, and toppings to suit your personal preferences without losing its core appeal.
Whether you’re cooking for family or simply treating yourself, these enchiladas offer a reliable and delicious option that never goes out of style. They’re a true crowd-pleaser.
RED CHICKEN ENCHILADAS
Ingredients
Ingredients:
- 2 cups cooked chicken shredded
- 2 cups red enchilada sauce store-bought or homemade
- 8 corn tortillas
- 1 ½ cups shredded cheese cheddar or Mexican blend
- ½ cup onion finely chopped
- 1 tablespoon olive oil
- Salt and pepper to taste
Instructions
Preheat Oven:
- Preheat oven to 375°F (190°C). Lightly grease a baking dish.
Prepare Filling:
- Heat olive oil in a skillet. Sauté onions until soft, then mix with shredded chicken and a little enchilada sauce.
Assemble Enchiladas:
- Warm tortillas slightly, fill each with chicken mixture, roll up, and place seam-side down in the baking dish.
Add Sauce & Cheese:
- Pour remaining enchilada sauce over the top and sprinkle with shredded cheese.
Bake & Serve:
- Bake for 20–25 minutes until cheese is melted and bubbly. Serve warm.
Notes
- Make Ahead: Assemble enchiladas a day ahead and refrigerate before baking.
- Variations: Add beans, corn, or jalapeños for extra flavor.
- Serving Suggestions: Serve with sour cream, guacamole, or a fresh salad.
- Storage Tips: Store leftovers in an airtight container in the refrigerator for up to 3 days.
- Freezing: Freeze before baking for up to 2 months.



Comments
No Comments