
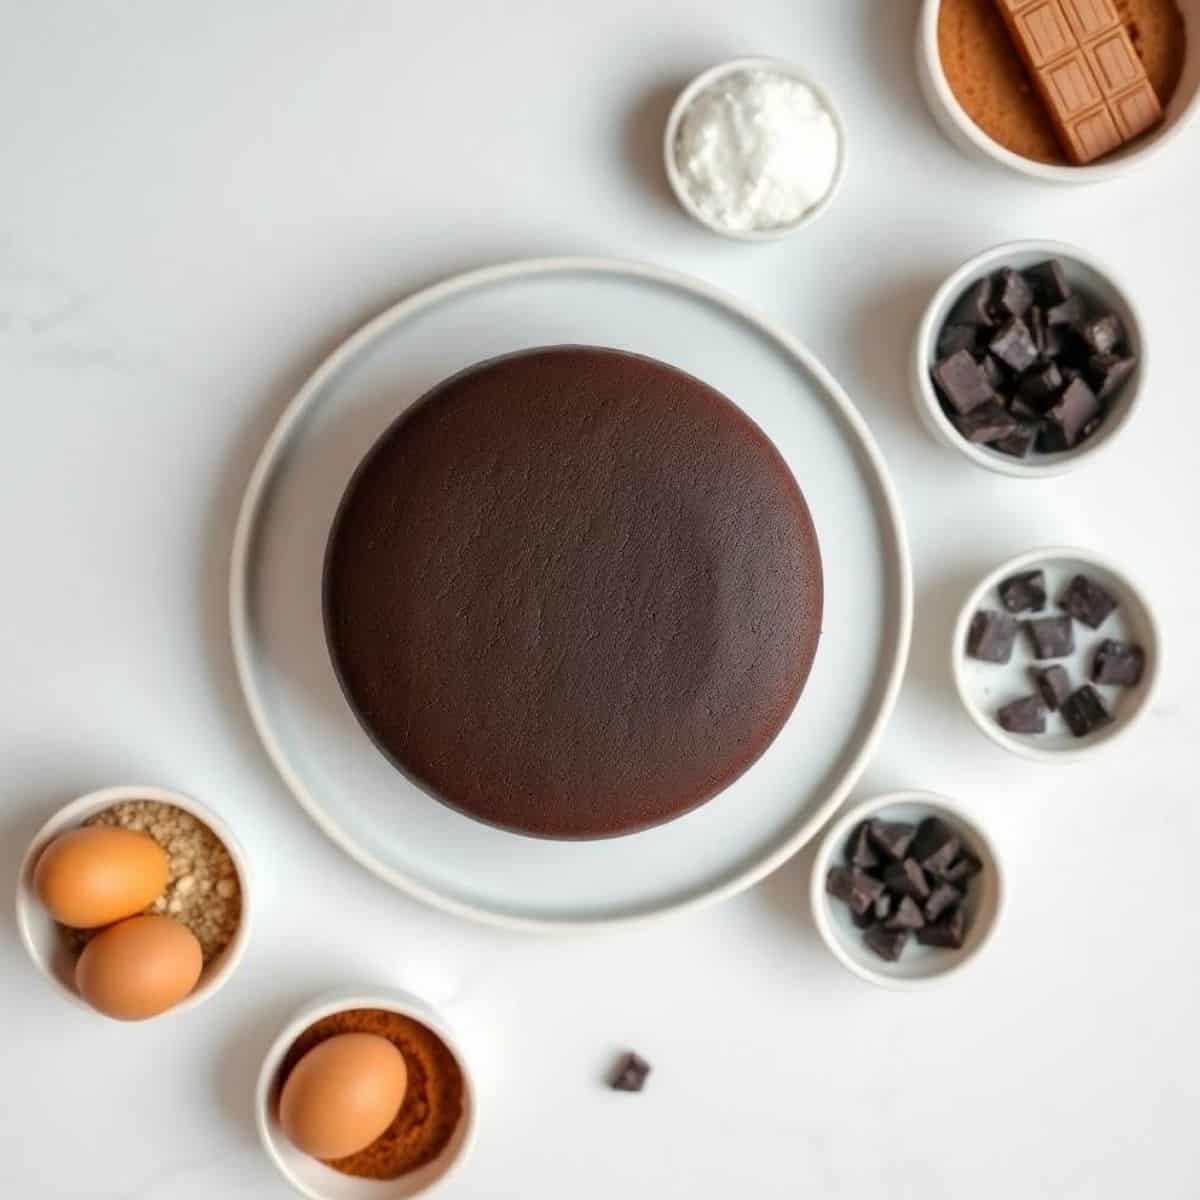
The dessert that consistently produces the most immediate, most dramatic response at any table I have ever served it at — the one where the room goes quiet, followed by someone asking what the recipe is before they have even finished their first slice — is this flourless chocolate cake: six simple ingredients melted, whisked, and baked into a dense, intensely chocolatey round that has a crisp, crackled surface and a fudgy, almost brownie-like interior that melts against the roof of your mouth in a way that no flour-based chocolate cake has ever managed to replicate. It is the purest chocolate dessert I know how to make, and it is genuinely extraordinary.
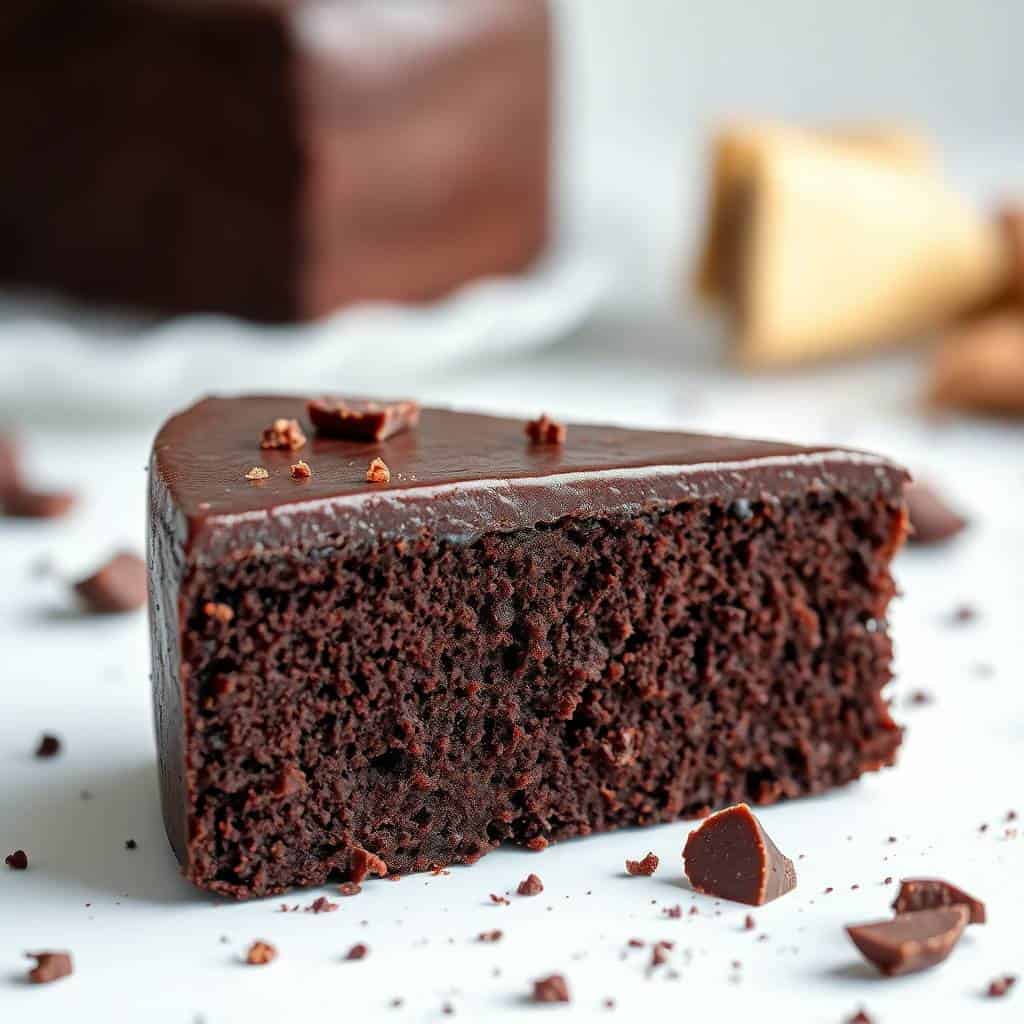
What makes flourless chocolate cake structurally and texturally different from regular chocolate cake is the complete absence of flour — without flour to create a crumb structure, the cake sets entirely from the egg proteins and the chocolate itself, producing a texture that is simultaneously more dense and more silky than any traditional cake. The center of a properly baked flourless chocolate cake is fudgy in the way that a truffle or a ganache is fudgy — not raw, not undercooked, but set just enough to hold its shape while remaining meltingly tender. This is the texture that makes people go back for a second slice.
This post covers the classic flourless chocolate cake in full detail — chocolate choice, technique, the critical baking window — plus six variations including a mocha espresso version, a nutty almond-hazelnut version, an orange zest version, a spiced version with cinnamon and chili, a berry-topped version, and a dairy-free adaptation. Every version is naturally gluten-free and better the next day. Find more chocolate dessert inspiration in our dark chocolate and strawberry cupcakes, our Valentine's Day chocolate cake, and our best chocolate desserts.
Let's make the most deeply satisfying chocolate dessert your kitchen has ever produced!
WHY YOU WILL LOVE THIS RECIPE
- The Most Intensely Chocolatey Dessert Six Ingredients Can Produce: Every single element of this cake — the dark chocolate, the cocoa powder, the butter, the eggs, the sugar, the vanilla — is entirely in service of producing the deepest, most concentrated chocolate flavor possible from a baked dessert. There are no filler ingredients, no distractions, nothing that dilutes the chocolate concentration. The result is a cake that tastes more intensely of chocolate than any chocolate layer cake or chocolate brownie I have ever made — it is pure, undiluted chocolate indulgence in a slice, and it is genuinely unlike anything else in the dessert repertoire.
- Naturally Gluten-Free — the Ideal Inclusive Dessert: Flourless chocolate cake is naturally, inherently gluten-free without any substitutions, modifications, or specialty ingredients. It does not require gluten-free flour blends, xanthan gum, or any of the other adaptations that make gluten-free baking complicated. The cake simply does not contain flour, and it is better for it — the texture and flavor of a properly made flourless chocolate cake are superior to any flour-based chocolate cake in their own right, not merely a gluten-free consolation. This makes it the ideal dessert for mixed dietary gatherings where you want to serve something spectacular that everyone can enjoy.
- Better the Next Day — the Perfect Make-Ahead Dessert: Flourless chocolate cake is one of the rare desserts that genuinely improves with time. The day it is made, the texture is excellent; the day after, after a night in the refrigerator, the interior firms slightly from fudgy to truffle-like and the chocolate flavor deepens and becomes more complex and more rounded. I always make this cake the evening before I plan to serve it specifically because I know the overnight version will be meaningfully better than the fresh-made version. This make-ahead quality makes it perfect for dinner parties — make it the day before and serve it the next day with zero morning stress.
- Elegant Enough for Any Occasion, Simple Enough for Any Tuesday: Flourless chocolate cake has the visual presence and the flavor complexity of a restaurant-quality dessert — a dusting of powdered sugar across the crackled top, a few fresh raspberries scattered alongside, and a quenelle of whipped cream produce a plated dessert that looks like it came from a fine dining kitchen. But the actual preparation is genuinely simple: melt, whisk, fold, pour, bake. The elegance is entirely from the quality of the ingredients and the drama of the chocolate itself, not from any complicated technique. I serve this at the most formal dinners I host and make it on random weeknight evenings with equal frequency.
- Freezer-Friendly — Slice and Freeze for Instant Chocolate Emergencies: Flourless chocolate cake freezes perfectly — slice it after it has fully cooled and set, wrap each slice individually in plastic wrap and then foil, and freeze for up to two months. Thaw individual slices at room temperature for 30–60 minutes or in the refrigerator overnight. Having individual slices of flourless chocolate cake in the freezer is one of the most practical dessert preparations available — a sophisticated, deeply satisfying chocolate dessert is available on demand from the freezer any time, for any occasion, with no additional baking. I keep slices in my freezer continuously.
- The Crackled Surface Is Genuinely Beautiful and Requires Nothing Extra: The characteristic crackled, slightly domed surface of a flourless chocolate cake forms naturally during baking as the meringue-like egg-chocolate mixture expands and then contracts as it cools. No special technique, no decoration, no additional step — the surface looks like this simply because that is what this particular combination of ingredients does in a 375°F oven. Dusted with a light snowfall of powdered sugar through a fine-mesh sieve, the crackled surface becomes one of the most photographable and most beautiful dessert presentations available from a home oven. See our best chocolate desserts for more stunning chocolate ideas.
INGREDIENTS
- For the Cake:
- 1 cup semisweet chocolate chips or chopped dark chocolate (at least 60% cacao recommended)
- ½ cup unsalted butter, cut into pieces
- ¾ cup granulated sugar
- ¼ teaspoon salt
- 3 large eggs, at room temperature
- 1 teaspoon vanilla extract
- ¼ cup unsweetened cocoa powder
- For Serving (Optional):
- Powdered sugar, for dusting
- Whipped cream or fresh berries
DIRECTIONS
- Step No.1: Prepare the pan and preheat the oven
Preheat the oven to 375°F (190°C). Grease an 8-inch round cake pan thoroughly with softened butter or baking spray, then cut a circle of parchment paper to fit the bottom of the pan and press it into place — this parchment bottom liner is essential for a flourless chocolate cake because the very moist, dense batter will stick even to a well-greased pan without it. Grease the top of the parchment paper as well. Set the prepared pan aside while you make the batter.
- Step No.2: Melt the chocolate and butter
Combine the chocolate chips (or chopped chocolate) and the butter pieces in a large, heatproof bowl. Melt together using either a double boiler (set the bowl over a saucepan of barely simmering water, ensuring the bottom of the bowl does not touch the water, and stir continuously until completely melted) or the microwave (heat in 30-second intervals at 50% power, stirring between each interval, until completely smooth — approximately 2–3 intervals total). The microwave method is faster but requires careful attention at 50% power to avoid scorching the chocolate. Once fully melted, stir until the mixture is completely smooth and glossy, then remove from heat and allow to cool for 5 minutes — the chocolate should be warm but not so hot that it scrambles the eggs when they are added.
- Step No.3: Whisk the sugar, eggs, and vanilla into the chocolate
Whisk the granulated sugar, salt, room-temperature eggs, and vanilla extract directly into the warm (not hot) melted chocolate mixture. Whisk vigorously for 60–90 seconds until the mixture is completely smooth, uniform, and slightly thickened — you are not trying to whip air into the eggs (this is not a souffle), just fully incorporate them into the chocolate so the batter is smooth and homogeneous. Room-temperature eggs are important here: cold eggs can cause the warm chocolate to seize or become lumpy as they shock the temperature of the mixture.
- Step No.4: Sift in the cocoa powder and fold
Sift the unsweetened cocoa powder directly into the chocolate-egg mixture — sifting is important because cocoa powder has a tendency to clump and unsifted cocoa produces bitter, powdery spots in the finished cake. Using a rubber spatula, fold the cocoa into the batter with a gentle circular motion — fold rather than stir or whisk to avoid developing any toughness in the batter. Fold until the cocoa is completely incorporated and no dry streaks remain. The finished batter will be thick, glossy, and deeply dark — like a very thick brownie batter. Pour it into the prepared cake pan and smooth the top with the spatula.
- Step No.5: Bake — the most critical step
Bake at 375°F for 20–25 minutes. This is the step that requires the most judgment and the most attention. The correct bake time produces a cake where the edges are set and pulling very slightly from the sides of the pan, but the center of the cake is still slightly soft and jiggles gently when the pan is shaken — like a set cheesecake. This is correct and intentional: the center will continue to set as the cake cools, and the final texture will be perfectly fudgy throughout. An overbaked cake — where the center is fully set and no longer jiggles — will be drier and less fudgy after cooling. Check at 20 minutes: if the edges are set and the center still jiggles, the cake is done. If the entire top looks liquid, give it 3–5 more minutes.
- Step No.6: Cool completely before serving
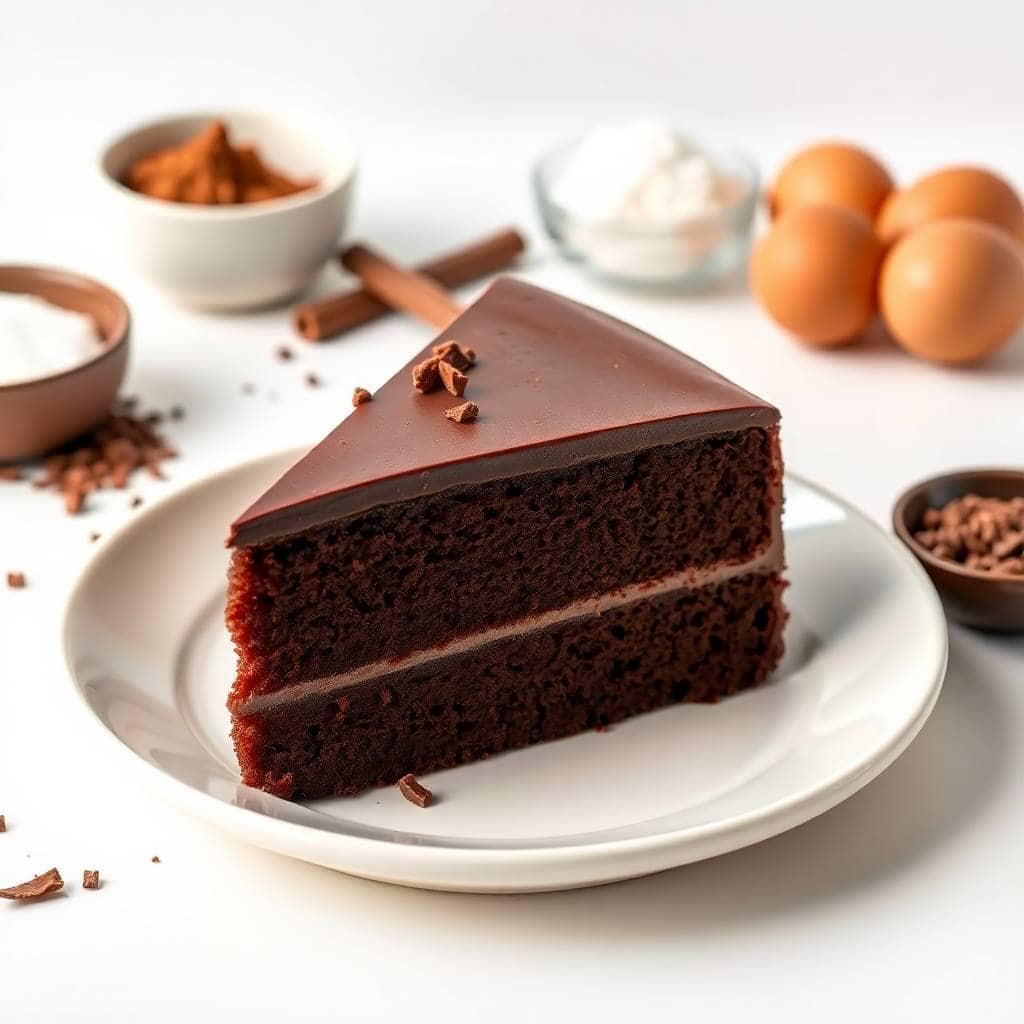
Remove the cake from the oven and allow it to cool in the pan on a wire rack for 10 minutes — during this time the crackled surface will form as the cake contracts slightly. After 10 minutes, run a thin knife around the edge of the cake to loosen it, then invert carefully onto a serving plate. Peel away the parchment paper. Allow the cake to cool completely at room temperature before slicing — at least 30 minutes, but ideally 2 hours or overnight in the refrigerator. Cutting into a warm flourless chocolate cake produces a slice that collapses and smears rather than holding its shape. Fully cooled, the cake slices cleanly with a sharp knife wiped between each cut. Dust generously with powdered sugar through a fine-mesh sieve immediately before serving.
TIPS FOR SUCCESS
- Use the Best Quality Chocolate You Can Find: In a six-ingredient recipe where chocolate is the primary flavor, the quality of the chocolate is the quality of the cake. A chocolate with at least 60% cacao content produces a cake with deep, complex, slightly bitter chocolate flavor; a lower-cacao chocolate (like milk chocolate) produces a cake that is sweeter and less intensely chocolatey. I use a 70% dark chocolate for maximum depth of flavor. Look for chocolate that you would enjoy eating on its own — if the chocolate tastes excellent, the cake will taste excellent.
- Do Not Overbake — the Jiggling Center Is Correct: The single most common flourless chocolate cake mistake is overbaking out of concern that the jiggly center indicates the cake is undercooked. It is not undercooked — the jiggling center is the fudgy interior in its liquid-set state before it finishes setting during cooling. A fully set, non-jiggly center when the cake comes out of the oven means it will be dry and crumbly after cooling rather than fudgy. Trust the jiggle, remove it from the oven, and allow the cooling process to complete the setting. The result will be magnificent.
- Use Room Temperature Eggs: Cold eggs added to warm melted chocolate can cause the chocolate to seize — to suddenly firm into grainy, separated lumps — because the temperature shock causes the fats in the chocolate to crystallize unevenly. Room temperature eggs mix smoothly into warm chocolate without causing any temperature shock, producing a smooth, unified batter. Pull the eggs from the refrigerator at least 30 minutes before baking, or place them in a bowl of warm water for 5 minutes to bring them to room temperature quickly.
- Always Line the Pan with Parchment: The flourless chocolate cake batter is extremely moist and extremely sticky — even a well-greased pan will result in the bottom of the cake tearing away when inverted without a parchment liner. The 30 seconds it takes to cut and place a parchment circle in the pan bottom is essential insurance against a broken, torn cake bottom. After inverting the cooled cake, peel the parchment away slowly and carefully, starting from one edge and peeling back rather than pulling straight off.
- Make It the Day Before for the Best Texture and Flavor: Flourless chocolate cake is at its absolute best after a full overnight rest. The day of baking the texture is good; the morning after refrigeration the interior firms to a truffle-like consistency, the top crackle sets to a satisfying bite, and the chocolate flavor deepens and rounds out in a way that fresh-baked cake does not achieve. Bake the night before, cool completely at room temperature, then cover the serving plate with plastic wrap and refrigerate overnight. Remove from the refrigerator 30 minutes before serving to bring to room temperature, then dust with powdered sugar at the table.
VARIATIONS
- Mocha Espresso Flourless Chocolate Cake: Add 1 teaspoon of instant espresso powder to the melted chocolate and butter mixture before adding the eggs — the espresso intensifies the chocolate flavor without making the cake taste of coffee, producing what is perhaps the most sophisticated and most deeply flavored version of this cake. The combination of dark chocolate and espresso is one of the most classic and most celebrated flavor pairings in dessert cooking for very good reason. This is my personal favorite version and the one I make most often for dinner parties. See our mocha brownies for more espresso-chocolate inspiration.
- Almond-Hazelnut Flourless Chocolate Cake: Fold ½ cup of finely ground toasted almonds or hazelnuts (or a combination of both) into the batter after adding the cocoa powder. The ground nuts add a warm, buttery nuttiness and a very slight textural variation to the otherwise completely smooth cake. Hazelnut in particular is a spectacular pairing with dark chocolate — the combination is essentially the flavor profile of the world's most beloved chocolate-hazelnut spread in a more refined, more elegant format. Toast the nuts before grinding for maximum flavor depth.
- Orange Zest Flourless Chocolate Cake: Add 1 tablespoon of freshly grated orange zest and ½ teaspoon of orange extract to the batter along with the vanilla. The orange and dark chocolate pairing is one of the most classic and most beloved flavor combinations in European pastry tradition — the bright, floral citrus note cuts through the richness of the chocolate and makes every bite feel fresh and more complex. Serve garnished with candied orange peel for the most elegant presentation. This is the variation I make for Valentine's Day and for every occasion where I want maximum drama from a single dessert.
- Spiced Flourless Chocolate Cake: Add ½ teaspoon of ground cinnamon and a pinch (⅛ teaspoon) of cayenne pepper to the batter along with the cocoa powder. The cinnamon adds warmth and earthiness that deepens the chocolate flavor; the cayenne adds a barely perceptible heat that builds at the back of the throat in the most addictive way. This is the Mexican-inspired chocolate variation and the one that makes the most adventurous and surprising impression — guests consistently identify it as the most interesting dessert they have encountered. See our Mexican hot chocolate for a beverage version of this spice combination.
- Berry-Topped Flourless Chocolate Cake: Serve each slice with a generous spoonful of fresh or macerated mixed berries — macerate the berries by tossing them with 1 tablespoon of sugar and 1 teaspoon of lemon juice and allowing them to sit for 30 minutes until they release their juices and form a light, fresh berry sauce. The tartness of the berries against the richness of the cake is one of the most balanced and most visually striking dessert presentations available. A small pile of macerated strawberries and blueberries alongside a dusted slice of cake is genuinely restaurant-worthy. See our easy summer desserts for more berry dessert ideas.
- Dairy-Free Flourless Chocolate Cake: Replace the unsalted butter with an equal weight of refined coconut oil (refined, not unrefined — refined coconut oil has a neutral flavor that will not make the cake taste of coconut). The coconut oil functions identically to butter in the melting step and produces a cake with the same texture and structure. Use dairy-free chocolate chips (Enjoy Life or similar). The dairy-free version is genuinely excellent and indistinguishable from the butter version in both texture and flavor.
SERVING AND STORAGE
Serving
Serve at room temperature — remove the cake from the refrigerator at least 30 minutes before serving so the fudgy interior has fully relaxed from its cold, firm state to its ideal room-temperature texture. Dust generously with powdered sugar through a fine sieve immediately before bringing to the table. Accompany with a small scoop of vanilla ice cream, a generous dollop of lightly sweetened whipped cream, or a spoonful of fresh berries. For a dinner party, pre-slice the cake in the kitchen and fan the slices on a large serving platter — the crackled surface, the powdered sugar, and the dark interior visible at the cut edge make a presentation that needs absolutely nothing else.
Storage
Store the cake in an airtight container at room temperature for up to 2 days — the texture is genuinely excellent at room temperature for the first 48 hours. For longer storage, refrigerate for up to 5 days — bring to room temperature for 30 minutes before serving from the refrigerator. To freeze, slice completely cooled cake into individual portions, wrap each slice tightly in plastic wrap and then foil, and freeze for up to 2 months. Thaw at room temperature for 30–60 minutes or overnight in the refrigerator. The frozen-and-thawed slices are genuinely indistinguishable from fresh.
FAQ
Yes — milk chocolate produces a sweeter, milder cake that is less intensely chocolatey than the dark chocolate version. If using milk chocolate, reduce the granulated sugar to ½ cup to compensate for the extra sweetness. The texture will be essentially the same — fudgy and dense — but the flavor profile will be noticeably sweeter and less complex. For the most impressive flourless chocolate cake, dark chocolate with at least 60% cacao is strongly recommended. The dark chocolate version has a sophisticated depth that milk chocolate simply cannot replicate.
Excessive density or dryness in a flourless chocolate cake is almost always caused by overbaking. The center should still jiggle slightly when the pan is shaken — a fully set, non-jiggly center when it comes out of the oven means the cake will be dry after cooling. Check at 20 minutes: set edges, slightly soft jiggly center = done. If overbaking has already occurred, serve the cake warm with a generous scoop of ice cream or a pool of warm cream — the additions compensate for the drier texture and make the slice very pleasant to eat.
Yes — this is one of the best cakes for freezing. Slice the fully cooled cake, wrap each slice tightly in plastic wrap and then foil, and freeze for up to 2 months. Thaw individual slices at room temperature for 30–60 minutes or overnight in the refrigerator. The texture and flavor after thawing is genuinely indistinguishable from fresh — the dense, fudgy structure holds through freezing and thawing better than any flour-based cake. Freezing individual slices means a sophisticated, deeply impressive chocolate dessert is always immediately available.
The cake is done when the edges are set and pulling slightly from the sides of the pan, but the center — approximately the inner 2–3 inches of the cake — still jiggles gently when the pan is shaken. This jiggly center is not underbaked batter; it is the fudgy interior in its pre-set state that will firm during cooling. If you insert a toothpick into the center at this stage, it will come out with moist, fudgy crumbs — this is correct. A clean toothpick means the center is fully set and the cake may be slightly overbaked.
Not only can you make it ahead — you should. Flourless chocolate cake is genuinely better the next day. Bake it the evening before, cool completely at room temperature (at least 2 hours), then cover and refrigerate overnight. Remove from the refrigerator 30 minutes before serving to bring back to room temperature. The overnight refrigeration deepens and rounds the chocolate flavor and firms the interior to a truffle-like consistency that is more impressive than the fresh-baked result. Always dust with powdered sugar fresh at the table rather than in advance, as powdered sugar absorbs into the surface over time.
Flourless chocolate cake is the recipe I turn to every time I need a dessert that makes a genuinely unforgettable impression — its simplicity is radical, its flavor is extraordinary, and the moment a guest takes their first bite the entire atmosphere of the table shifts. Make it the night before, bring it out dusted with powdered sugar, and watch what happens.
Try the mocha espresso version for depth, the orange zest version for elegance, and the spiced version when you want to genuinely surprise your guests. Pair with our dark chocolate and strawberry cupcakes, our Valentine's Day chocolate cake, our best chocolate desserts, and our chocolate lava cake for the complete chocolate lover's collection. 🍫✨

BEST FLOURLESS CHOCOLATE CAKE
Ingredients
For the Cake:
- 1 cup semisweet chocolate chips or chopped chocolate
- ½ cup unsalted butter cut into pieces
- ¾ cup granulated sugar
- ¼ teaspoon salt
- 3 large eggs room temperature
- 1 teaspoon vanilla extract
- ¼ cup unsweetened cocoa powder
For Topping (Optional):
- Powdered sugar for dusting
- Whipped cream or berries optional
Instructions
Prepare Cake:
- Preheat oven to 375°F (190°C). Grease an 8-inch round cake pan and line with parchment paper.
- Melt chocolate and butter together in a heatproof bowl over simmering water or in short bursts in microwave, stirring until smooth.
- Whisk in sugar, salt, eggs, and vanilla extract until fully combined.
- Sift in cocoa powder and gently fold into the mixture until smooth.
- Pour batter into prepared pan and smooth top. Bake for 20-25 minutes until edges are set and center is slightly soft.
Cool and Serve:
- Allow cake to cool in the pan for 10 minutes, then invert onto a plate. Remove parchment paper carefully.
- Dust with powdered sugar and top with whipped cream or berries if desired. Serve at room temperature.
Notes
- Tip: Use high-quality chocolate for best flavor.
- Make Ahead: Cake can be made a day in advance and stored at room temperature.
- Variation: Add a pinch of espresso powder to intensify chocolate flavor.





Comments
No Comments