
I made this cake for the first time on a Thursday night because my husband had a birthday on Friday and I'd left it way too late. I'd never made a mousse cake before — I'd made roll cakes, layer cakes, sheet cakes — but never anything with a gelatin mousse layer sitting on top of a chocolate base. I was nervous. It took longer than I expected and I had to stay up past midnight waiting for the mousse to set. But when I sliced it the next day, it came out clean and layered and gorgeous, and my husband looked at it like I'd ordered it from a bakery. I haven't stopped making it since.
What makes this version work is that none of the steps are actually hard — they just require patience. The chocolate cake base is a simple one-bowl batter. The raspberry mousse is cooked, strained, and folded with whipped cream. The ganache is literally just chocolate and hot cream stirred together. The technique that took me a few tries to get right was the gelatin — bloom it properly, dissolve it fully, and don't rush the chilling between layers. Do those three things and you'll get clean, distinct layers every time.
I make this cake for birthdays and Eid gatherings mostly, though once I made it on a random Sunday because raspberries were on sale at Walmart and I couldn't justify not using them. Zainab calls it "the fancy pink cake" and asks for it every time we have guests over. My husband will eat two slices without blinking. I usually make it the day before I need it, because it genuinely tastes better after a night in the fridge — the mousse firms up, the ganache settles, and everything holds together perfectly when you slice it.
One thing to set your expectations on: this is a project, not a weeknight recipe. Plan for about 2–3 hours of active work, plus 4–6 hours of chilling time. I usually bake the cake layers in the morning, make the mousse after lunch, and pour the ganache in the evening. By the next morning it's ready to serve. If you want something faster, my no-bake cookie dough bites are always an option — but if you have the time, this cake is worth every single step.
Why You'll Love This Recipe
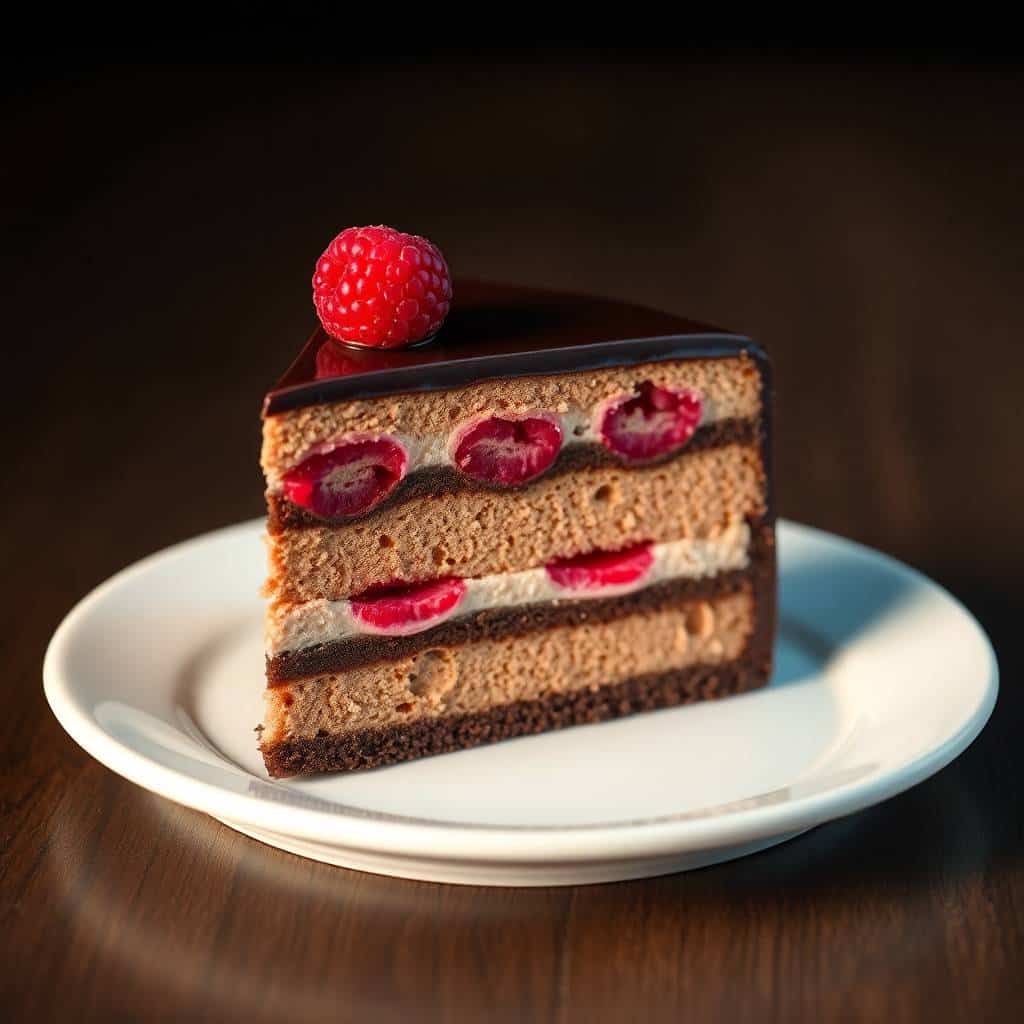
- Three distinct layers, all in one cake: The dense chocolate base, the airy raspberry mousse, and the glossy ganache on top each have completely different textures — and you get all three in one slice. I love that the mousse is light enough that the cake doesn't feel heavy even though there's ganache involved. It's a lot going on, but it all makes sense together.
- The raspberry cuts through the richness: If you've ever eaten a chocolate ganache cake and felt like you needed a glass of water by the third bite, the raspberry mousse solves that. The tartness genuinely balances the chocolate. I've served this to people who usually say they don't like "too much chocolate," and they go back for seconds.
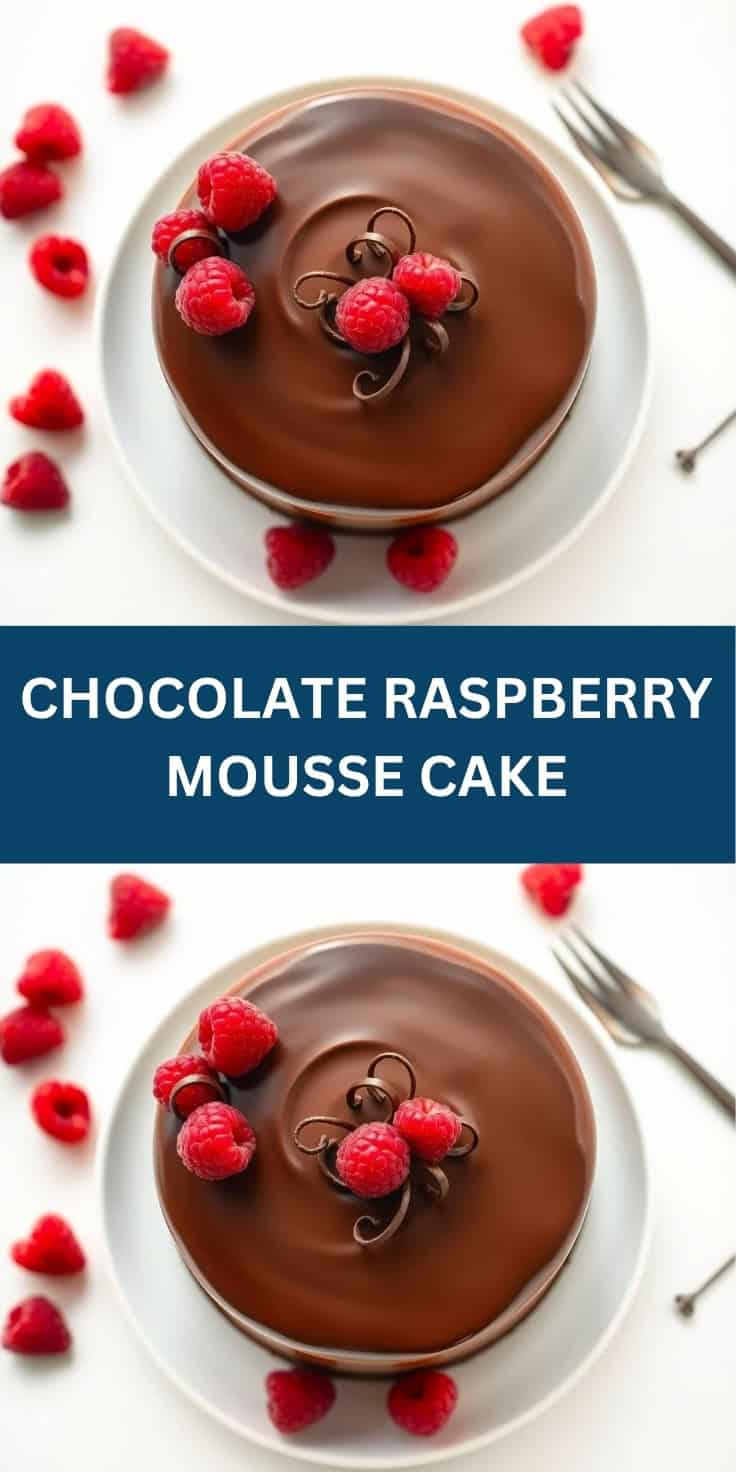
- It looks like it came from a bakery: I'm not a trained baker. I don't have a turntable or an offset spatula set. I use a regular butter knife to smooth the ganache and it still looks stunning. Fresh raspberries on top do most of the heavy lifting presentation-wise — it's very forgiving for a cake that looks this impressive.
- Better the next day: I mean this seriously. The first time I made it, I tried a slice the same evening (couldn't wait) and it was good. The next morning it was noticeably better — the mousse had firmed up completely, the layers were cleaner, and the flavors had settled. Make-ahead cakes are a gift when you're hosting.
- Works for any celebration: I've made this for birthdays, Eid, and a friend's dinner party. Each time people assumed I'd bought it somewhere. It scales beautifully to different occasions — dress it up with chocolate curls and a raspberry coulis drizzle, or keep it simple with just a handful of fresh berries on top. Either way it lands well.
Ingredients
- For the Cake:
- 1 cup all-purpose flour
- ½ cup unsweetened cocoa powder
- 1 teaspoon baking powder
- ½ teaspoon baking soda
- ¼ teaspoon salt
- ¾ cup granulated sugar
- ½ cup vegetable oil
- 2 large eggs (room temperature)
- 1 teaspoon vanilla extract
- ½ cup buttermilk (room temperature)
- For the Raspberry Mousse:
- 1 cup fresh or frozen raspberries
- 2 tablespoons granulated sugar
- 1 teaspoon unflavored gelatin powder
- 2 tablespoons cold water
- 1 cup heavy cream (cold)
- For the Chocolate Ganache:
- ½ cup heavy cream
- 4 oz dark chocolate, finely chopped (or use good-quality dark chocolate chips)
- For Garnish:
- Fresh raspberries
- Shaved chocolate or chocolate curls (optional)
Directions
- Preheat and prepare your pans: Heat your oven to 350°F (175°C). Grease and line two 8-inch round cake pans with parchment paper. I always line the bottom AND grease the sides — chocolate cake sticks if you give it the chance.
- Make the cake batter: In a large bowl, whisk together flour, cocoa powder, baking powder, baking soda, and salt. In a separate bowl, beat together sugar, oil, eggs, and vanilla until combined. Add the dry ingredients to the wet in two additions, alternating with the buttermilk, and mix until just smooth — don't overmix or the cake goes tough.
- Bake the cake layers: Divide the batter evenly between the two prepared pans and bake for 25–30 minutes, until a toothpick inserted in the center comes out clean. Let them cool in the pans for 10 minutes, then turn out onto a wire rack and cool completely. Do not rush this step — a warm cake will melt your mousse.
- Make the raspberry purée: Combine raspberries and sugar in a small saucepan over medium heat. Cook, stirring occasionally, until the berries break down completely and the mixture becomes syrupy — about 5–7 minutes. Press through a fine mesh sieve to remove all the seeds. Let the purée cool to room temperature.
- Bloom and dissolve the gelatin: Sprinkle gelatin powder over the 2 tablespoons of cold water in a small bowl and let it sit for 5 minutes — this is called blooming, and skipping it is how you end up with lumpy mousse. Once bloomed, heat it gently (10–15 seconds in the microwave works) until fully liquid, then stir it into your cooled raspberry purée immediately.
- Make the mousse: In a cold bowl, whip the heavy cream to soft peaks — not stiff peaks, just until it holds a gentle shape when you lift the whisk. Fold the raspberry-gelatin mixture into the whipped cream gently, in two or three additions. Don't knock the air out of it. Refrigerate for 15 minutes until slightly thickened but still spreadable.
- Assemble the cake: Place one cooled cake layer on a plate or cake board. Spoon the raspberry mousse over it and spread evenly all the way to the edges. Place the second cake layer on top and press gently. Refrigerate for at least 4 hours, or overnight. The mousse needs to be fully set before you add the ganache.
- Make the ganache: Heat the heavy cream in a small saucepan until it just begins to simmer — don't boil it. Pour it over the chopped chocolate in a bowl and let it sit for 2 minutes without touching it. Then stir from the center outward until the ganache is completely smooth and glossy. Let it cool for about 10 minutes until it's slightly thickened but still pourable.
- Top with ganache: Pour the cooled ganache over the assembled cake and use a butter knife or offset spatula to nudge it toward the edges so it drips naturally down the sides. Return the cake to the refrigerator for at least 1 hour to set the ganache fully.
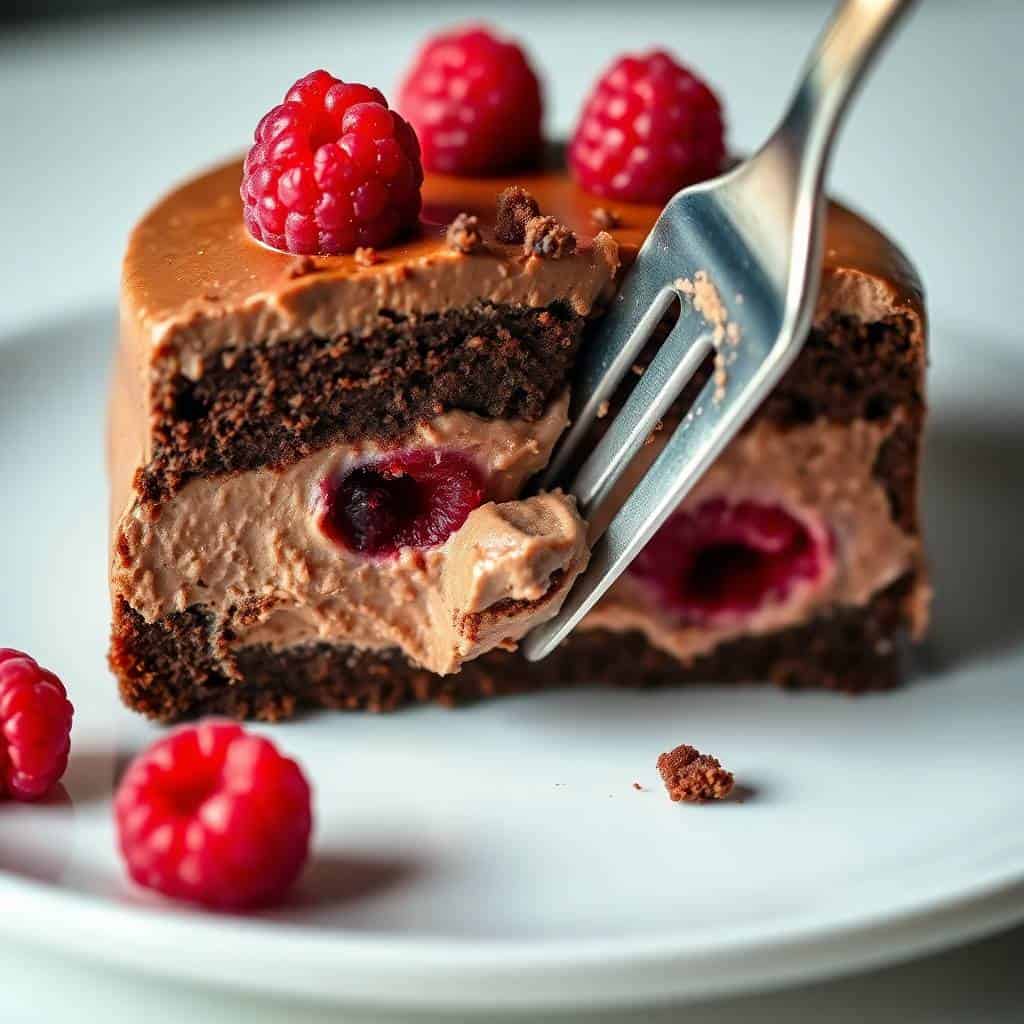
- Garnish and slice: Remove the cake from the fridge. Arrange fresh raspberries on top and add chocolate curls if you like. To get clean slices, run your knife under hot water, wipe it dry, and then cut. Repeat between each slice — it makes a real difference.
Tips for Success
- Let the cake cool completely before assembling: I know it's tempting to move quickly, but I made the mistake once of assembling while the cake was still slightly warm. The mousse started sliding and the whole thing looked like a disaster. Cool the layers fully on a rack — at least an hour — before you even think about the mousse.
- Bloom your gelatin properly: This is the step most people skip or rush, and it's why mousse layers end up either rubbery or runny. Sprinkle the gelatin over cold water (not warm) and leave it alone for a full 5 minutes. It should look swollen and solid before you heat it. If you dump it straight into hot liquid without blooming, you'll get uneven setting.
- Strain every last seed out of the purée: I use a fine mesh sieve and press the pulp with the back of a spoon. It takes an extra two minutes but the difference in the mousse texture is significant — you want it silky, not gritty. If you don't have a sieve, a fine cheesecloth or even a clean kitchen towel pressed over a bowl will work in a pinch.
- Don't overwhip the cream for the mousse: Stiff peaks are for frosting, not mousse. If you overwhip, you'll get something closer to whipped butter when it's folded in and chilled. Pull it off the mixer when it holds a soft shape — the peaks flop over slightly when you lift the beater. That's exactly right.
- Use a hot knife for every single slice: Run the blade under very hot tap water, wipe it completely dry with a paper towel, then cut. Repeat before each slice. It sounds fussy but this is genuinely how you get those clean, restaurant-looking cuts through a chilled mousse cake. A cold knife drags and smears everything.
Variations
- Dark chocolate ganache for extra depth: The recipe uses regular dark chocolate, but if you want something more intense, go with 70% or higher cacao chocolate for the ganache. It makes the topping noticeably less sweet and more bittersweet, which actually plays even better against the tart raspberry. My husband strongly prefers this version.
- Mixed berry mousse: I've made this with half raspberries, half strawberries when I didn't have enough of either. The flavor is slightly softer and a little sweeter — still really good. Blackberries work too, though the mousse turns a deeper, almost purple color which looks dramatic and kind of beautiful with the chocolate.
- Coffee-spiked cake batter: The original recipe doesn't include coffee, but I sometimes stir 2 tablespoons of strong brewed coffee into the batter. It doesn't make the cake taste like coffee — it just deepens the chocolate flavor noticeably. If you've ever seen recipes with espresso powder in chocolate cake, this is why.
- Gluten-free version: I've tested this once with a 1:1 gluten-free flour blend (the kind that says it substitutes cup-for-cup — Bob's Red Mill is what I used) and the texture held up well. The cake was slightly denser but completely acceptable. Just make sure everything else in your ingredients is certified GF if you're baking for someone with celiac.
- Individual mini cakes: If you're serving a crowd or want something easier to plate at a party, make the cake in a 9x13 pan, cut circles with a large cookie cutter or the rim of a glass, and layer mousse between two circles. It's fussier to assemble but the individual portions look incredibly elegant and are much easier to serve. I did this for a dinner party once and got more compliments than I deserved.
Serving and Storage
Serving
Serve this cake cold, straight from the fridge. Let it sit on the counter for about 10 minutes before slicing so the ganache isn't rock hard, but the mousse holds best when the cake is chilled. Garnish right before serving — fresh raspberries placed on top and a few chocolate curls if you have them. A drizzle of raspberry coulis (just blend extra raspberries with a bit of powdered sugar and strain) on the plate looks very put-together. If you want something lighter alongside, these chocolate chip ice cream pops are a fun contrast on a warm day.
Storage
Store the cake covered in the refrigerator for up to 3–4 days. I press a piece of plastic wrap gently against any cut edges to keep them from drying out. The mousse and ganache both hold up well when chilled. I don't recommend leaving it at room temperature for more than 30 minutes at a stretch — the mousse layer is gelatin-based and starts to soften. To freeze: wrap individual slices tightly in plastic wrap, then foil, and freeze for up to one month. Thaw overnight in the fridge. I'd add the fresh raspberry garnish fresh after thawing, not before.
Frequently Asked Questions
Can I use frozen raspberries instead of fresh?
Yes, and I do it all the time outside of summer when fresh raspberries are either expensive or flavorless. Thaw them completely first, then drain off the excess liquid before cooking them down — frozen berries release a lot of water, and if you skip draining, your purée will be too thin and your mousse won't set properly. The flavor is still excellent.
Can I make this cake a day ahead?
Absolutely — and honestly, I'd encourage it. The cake tastes better after a night in the fridge. The mousse firms up fully, the ganache sets to a perfect texture, and the layers hold together beautifully when you slice it. Make the whole thing the day before, cover it loosely, and refrigerate overnight. Add the fresh raspberry garnish the day you plan to serve it.
Why did my mousse turn out runny?
There are two usual culprits: gelatin that wasn't bloomed properly, or a raspberry purée that was still warm when the gelatin was added. Make sure your purée is completely cool before stirring in the dissolved gelatin — if the mixture is too warm, the gelatin won't set effectively. Also give the mousse a full 15-minute chill in the fridge before layering, so it thickens slightly before you spread it.
What size pan should I use?
Two 8-inch round cake pans work best for this recipe — the layers come out at a good height and the slices look proportional. If you only have 9-inch pans, you can use those, but the cake layers will be slightly thinner and the bake time may be a couple minutes shorter, so start checking at 22 minutes. I don't recommend going smaller than 8 inches or the batter will overflow.
Can I make this without dairy?
Yes, with a few swaps. Use full-fat coconut cream in place of heavy cream for both the mousse and the ganache — it whips reasonably well if it's been chilled overnight. Substitute a dairy-free milk plus a teaspoon of vinegar or lemon juice for the buttermilk. Use dairy-free dark chocolate for the ganache. The texture will be slightly different, but the cake still works and still tastes very good. I know this isn't authentic to the original — it's a workaround, not a perfect replica.
This is one of those cakes I come back to every few months because it reliably impresses without requiring anything I don't already have in my kitchen. A couple of bowls, a saucepan, a hand mixer for the whipped cream, two cake pans — that's genuinely all you need. I've made it with grocery store chocolate, Walmart raspberries, and store-brand cocoa, and it still turns out looking and tasting like something special. The layers are the thing — when you get a clean slice and you can see the dark chocolate cake, the pink mousse, and the dark ganache all stacked up, it's very satisfying.
If you're new to mousse cakes, don't let the steps intimidate you. Read through the whole recipe before you start, get your timeline sorted, and take each component one at a time. The first time I made it I was checking the gelatin every five minutes convinced it wasn't going to work. It worked. And the second time was much calmer. If you want to explore more layered cake territory, my German Chocolate Coconut Pecan Roll Cake is another project worth your weekend.
I hope this one earns a place in your rotation — especially for the occasions that call for something that looks like real effort went into it (even when you make it the day before and just pull it out of the fridge). Zainab has already requested this for her next birthday, which I'm counting as the highest possible endorsement. 🍫🍓✨
CHOCOLATE RASPBERRY MOUSSE CAKE
Ingredients
For the Cake:
- 1 cup all-purpose flour
- ½ cup cocoa powder
- 1 teaspoon baking powder
- ½ teaspoon baking soda
- ¼ teaspoon salt
- ¾ cup granulated sugar
- ½ cup vegetable oil
- 2 large eggs
- 1 teaspoon vanilla extract
- ½ cup buttermilk
For the Raspberry Mousse:
- 1 cup fresh or frozen raspberries
- 2 tablespoons sugar
- 1 teaspoon gelatin powder
- 2 tablespoons water
- 1 cup heavy cream
For the Chocolate Ganache:
- ½ cup heavy cream
- 4 oz dark chocolate chopped
Instructions
- Preheat the Oven: Preheat oven to 350°F (175°C). Grease and line two 8-inch round pans.
- Make the Cake: Whisk flour, cocoa, baking powder, baking soda, and salt. In another bowl, beat sugar, oil, eggs, and vanilla. Alternate adding dry ingredients with buttermilk until smooth.
- Bake: Divide batter into pans and bake for 25–30 minutes. Cool completely.
- Prepare Raspberry Mousse: Heat raspberries and sugar in a pan until soft, then strain. Dissolve gelatin in water and mix into warm raspberry puree. Cool slightly, then fold in whipped cream. Chill for 15 minutes.
- Assemble: Place one cake layer on a plate, spread raspberry mousse evenly, then top with the second cake layer.
- Make Ganache: Heat cream until just boiling, pour over chocolate, and stir until smooth. Cool slightly, then pour over the cake.
- Serve: Chill for 1 hour before slicing. Garnish with fresh raspberries and chocolate shavings.
Notes
- Make Ahead: Cake layers and mousse can be made a day ahead. Assemble before serving.
- Customizing the Flavor: Add raspberry extract for stronger flavor or a splash of coffee to the chocolate batter for depth.
- Serving Suggestions: Serve chilled with fresh raspberries, mint leaves, or a drizzle of raspberry coulis.
- Allergy-Friendly Options: Use dairy-free cream and dark chocolate for a lactose-free version.
- Storage Tips: Store in the refrigerator for up to 3 days in an airtight container.





Comments
No Comments