
I made this caramel apple cheesecake for the first time on a rainy October evening, mostly because I had a bag of Granny Smith apples sitting on the counter that nobody was eating. I wasn't expecting much — I'd never layered apples into a cheesecake before and I wasn't sure if it would work. It worked. It worked so well that my husband asked me when I was making it again before he'd even finished his slice.
What makes this one different from a regular cheesecake is the spiced apple layer baked right in, plus more apples piled on top after chilling. You get two textures of apple — the soft, cinnamon-sweet ones inside and the slightly firmer sautéed ones on top — and then that caramel drizzle pulls everything together. I use store-bought caramel sauce without any guilt. The Trader Joe's fleur de sel caramel sauce is my favorite for this, but honestly any jar from Walmart works fine.
This is the kind of dessert I make when I want something that looks impressive without me spending the whole day in the kitchen. Zainab declared it her favorite thing I've ever baked, which is saying something because she's a very tough audience. I've made it for Eid gatherings, for a neighbor's dinner party, and once just because it was a Tuesday and we needed something to look forward to. I always make it the night before — the overnight chill is non-negotiable for the texture.
Fair warning: this is a proper baked cheesecake, so it takes some patience. A water bath sounds intimidating if you've never done one, but I'll walk you through it — it's really just placing your pan inside a larger pan of hot water. If you want something quicker on a weeknight, my Butter Pecan Cookies with Browned Butter hit that same cozy fall note in about 25 minutes. But when you have the time, this cheesecake is worth every single step.
Why You'll Love This Recipe
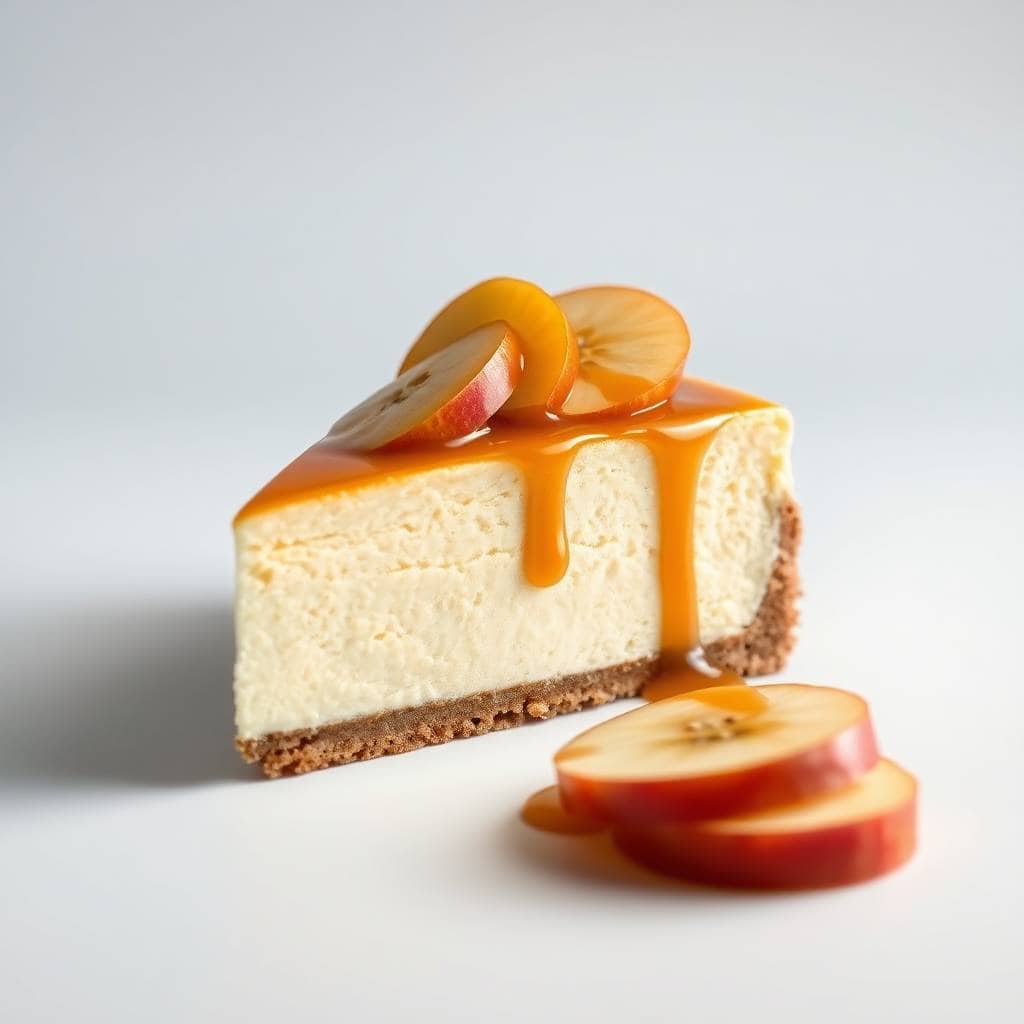
- The apples are baked IN, not just on top: Most caramel apple cheesecakes just dump apples on top after the fact. In this one, half the spiced apples go inside the batter, so every single slice has apple flavor all the way through. The other half goes on top after chilling, so you get both the baked-in softness and a fresher topping layer. It makes a real difference in how the whole thing tastes.
- You can make it the day before: I actually prefer cheesecakes that require overnight chilling because it means no day-of stress. I make this the evening before I need it, go to sleep, and wake up with a finished dessert in the fridge. The texture after a full night of chilling is completely different — denser, silkier, and the flavors settle into each other in a way they can't when it's still warm.
- No stand mixer needed: I make this with a regular hand mixer, and honestly you could do it with a wooden spoon and some elbow grease if the cream cheese is soft enough. The key is that your cream cheese genuinely needs to be at room temperature — cold cream cheese will leave lumps in your batter no matter how hard you beat it. I take mine out of the fridge at least an hour before I start.
- It works with a simple 9-inch springform pan: You don't need anything fancy. A basic springform pan — the kind that costs about $12 at any grocery store or Walmart — is all you need. The springform sides release cleanly so you get those beautiful layers visible when you slice it. Line the bottom with a round of parchment paper and it won't stick.
- It feeds a crowd without costing much: Three blocks of cream cheese, a few apples, and a jar of caramel sauce — that's the backbone of this dessert and none of it is expensive. I can feed 10-12 people from one cheesecake, which makes it one of the most economical showstopper desserts I know. I double the apple topping when I'm serving a big group because people always want more of it.
Ingredients
- For the Crust:
- 1 ½ cups graham cracker crumbs
- ¼ cup granulated sugar
- ½ cup (1 stick) unsalted butter, melted
- For the Cheesecake Filling:
- 3 (8 oz) packages cream cheese, softened (room temperature is essential here)
- 1 cup granulated sugar
- 1 teaspoon vanilla extract
- 3 large eggs
- 1 cup sour cream
- For the Spiced Apples (used in filling and on top):
- 2 cups peeled, diced apples — Granny Smith recommended (about 2 large apples)
- 1 tablespoon unsalted butter
- 2 tablespoon brown sugar
- 1 teaspoon ground cinnamon
- Pinch of nutmeg (optional, but I always add it)
- For the Caramel:
- ½ cup caramel sauce, plus more for drizzling at serving (store-bought is completely fine)
Directions
- Step 1: Make the crust. Preheat your oven to 325°F (163°C). Stir together the graham cracker crumbs, granulated sugar, and melted butter until it looks like wet sand. Press the mixture firmly and evenly into the bottom of a 9-inch springform pan — I use the bottom of a measuring cup to pack it down. Bake for 10 minutes, then set aside to cool while you make the filling.
- Step 2: Cook the spiced apples. Melt 1 tablespoon of butter in a skillet over medium heat. Add the diced apples, brown sugar, cinnamon, and nutmeg if using. Cook for 5–7 minutes, stirring occasionally, until the apples are just soft and coated in a golden syrup. Don't cook them to mush — they'll cook more in the oven. Take them off the heat and let them cool completely.
- Step 3: Make the cheesecake filling. Beat the softened cream cheese and sugar together until smooth and no lumps remain — this takes about 2 minutes with a hand mixer. Add the eggs one at a time, mixing on low between each addition. Add the vanilla and sour cream and mix until just combined. Don't over-beat after adding the eggs or you'll incorporate too much air, which can cause cracking.
- Step 4: Assemble the layers. Pour half the cheesecake batter over the cooled crust. Scatter half the cooked apples over the batter. Pour the remaining batter over the apples, then top with the remaining apples. Drizzle ½ cup of caramel sauce over the top. It doesn't need to be perfect — it will melt into the top layer as it bakes.
- Step 5: Bake in a water bath. Wrap the outside of your springform pan tightly in two layers of heavy-duty aluminum foil (this keeps water out). Place the wrapped pan inside a larger roasting pan and pour hot water into the roasting pan until it reaches about 1 inch up the sides of the springform. Bake at 325°F (163°C) for 60–70 minutes, until the edges are set but the center still has a slight wobble when you gently shake the pan.
- Step 6: Cool slowly, then chill overnight. Turn the oven off and crack the door open. Let the cheesecake sit in the oven for another hour — this slow cool-down prevents cracking. Then move it to the counter to finish cooling to room temperature, remove the foil, and refrigerate uncovered for at least 6 hours, ideally overnight. Before serving, drizzle with extra caramel sauce.
Tips for Success
- Room temperature cream cheese is non-negotiable: I learned this the hard way on my first attempt — I was impatient and used cold cream cheese straight from the fridge. The batter had tiny lumps throughout no matter how long I beat it, and you could taste the difference in the texture of the final cheesecake. Take your cream cheese out at least an hour before you start. If you're in a rush, set the sealed packages in a bowl of warm (not hot) water for 15 minutes.
- Don't skip the water bath: I know it sounds like extra work, but the water bath is what keeps the top of the cheesecake smooth instead of cracked. The steam creates a gentle, even heat around the pan. The first time I skipped it, I ended up with a beautiful-tasting cheesecake with a massive crack straight down the middle. It still tasted great, but it wasn't pretty. The foil wrap is important — wrap it well so no water sneaks in.
- Use Granny Smith apples specifically: I've tried this with Honeycrisp and Fuji apples, and while they taste fine, they get a bit too soft and sweet when cooked. Granny Smith holds its texture better during cooking and the tartness cuts through the rich cheesecake in a way that sweeter apples don't. If you genuinely can't find Granny Smith, Braeburn is my second choice.
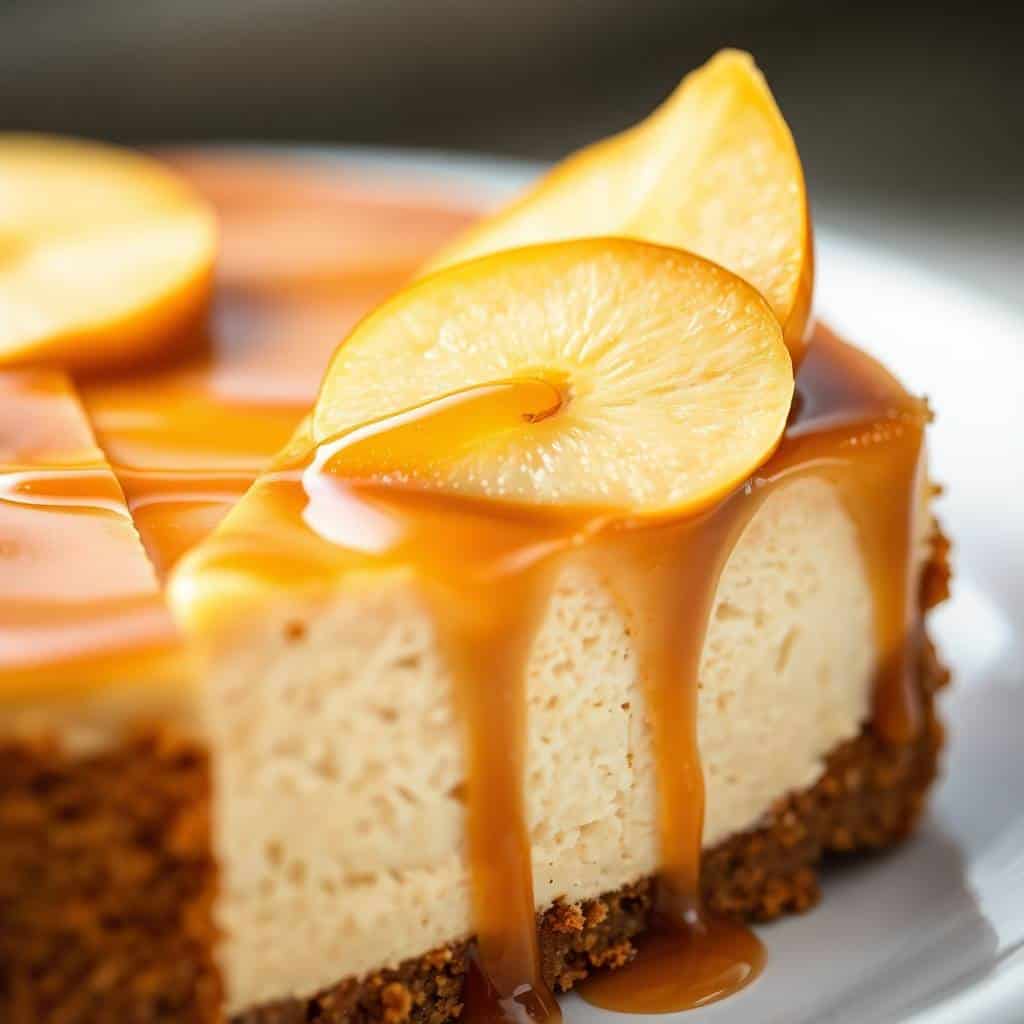
- Slice it with a hot, clean knife: Fill a tall glass or jug with hot water, dip your knife in for a few seconds, wipe it dry, and then make your cut. Repeat before every single slice. It sounds fussy but it takes about 10 seconds extra per slice and the difference in how clean your pieces look is genuinely dramatic. Cheesecake is soft and the layers are delicate — a cold knife drags everything.
- Let the apples cool before adding them to the batter: If the apples are still hot when you layer them in, they'll start to cook the batter around them before the cheesecake even goes into the oven. I've had uneven baking happen because of this. Make the apples first, spread them on a plate, and give them 20 minutes to come down to room temperature before you assemble.
Variations
- Salted caramel version: After you drizzle the caramel on top for serving, sprinkle over a pinch of flaky sea salt — Maldon is my favorite but any flaky salt works. The salt cuts through the sweetness and makes the caramel flavor taste more complex. My husband specifically requests this version and I've started doing it by default now.
- Pecan crunch topping: Toast a handful of roughly chopped pecans in a dry skillet for 3–4 minutes until fragrant, then scatter them over the caramel drizzle just before serving. It adds a crunch that contrasts nicely with the silky cheesecake. This is the version I make for Thanksgiving when I want it to look extra special on the table.
- Deeper spice profile: Add ¼ teaspoon ground nutmeg, ¼ teaspoon allspice, and a pinch of ground cloves to the apple mixture along with the cinnamon. It turns the spiced apples into something closer to apple pie filling. I make this version in November when I want the whole kitchen to smell like a holiday.
- Mini cheesecakes in a muffin tin: Line a standard 12-cup muffin tin with paper liners and divide the crust and filling between them. Reduce the baking time to about 20–22 minutes. No water bath needed for the mini version. These are great for parties because everyone gets their own individual serving and they're much easier to transport than a whole cheesecake.
- Gluten-free crust: Swap the regular graham crackers for gluten-free graham crackers — Kinnikinnick makes a good one that you can find at most Walmart or Target stores. Everything else in the recipe stays the same. I've made this version for a friend with celiac and she said she couldn't tell the difference at all.
Serving and Storage
Serving
Serve this cheesecake cold, straight from the fridge. I drizzle extra caramel sauce over the top right before slicing — not before, because it can pool and make the top look messy if it sits too long. A dollop of whipped cream on each slice is lovely but not necessary. For a fall dinner party, I'll sometimes serve it alongside a glass of White Christmas Punch for a really festive spread. This cheesecake slices into 10–12 pieces, depending on how generous you're feeling.
Storage
Keep leftover cheesecake covered in the fridge for up to 5 days. I press a sheet of plastic wrap gently against the cut surface to keep it from drying out. For longer storage, you can freeze individual slices — wrap each slice tightly in plastic wrap, then in foil, and freeze for up to 2 months. Thaw overnight in the fridge, not on the counter. The texture after freezing is very slightly different but still good, and the caramel drizzle on top still tastes great.
Frequently Asked Questions
Can I make this cheesecake the day before?
Yes, and honestly I'd say you should. The overnight chill in the fridge is what sets the cheesecake to that dense, silky texture — if you try to serve it after only 2 hours of chilling, it'll still be a bit loose in the center. Make it the evening before you need it, keep it covered in the fridge, and add the final caramel drizzle right before serving.
How do I know when the cheesecake is done baking?
The edges should look set and slightly puffed, but the center 2–3 inches should still have a gentle wobble when you shake the pan — it looks underbaked, but it finishes setting as it cools. If the entire surface looks firm and doesn't move at all, it's probably overbaked and may crack. I use a digital thermometer sometimes: the internal temperature should be around 150°F (65°C).
Can I use store-bought caramel sauce?
Absolutely. I use store-bought every single time. The Trader Joe's salted caramel sauce and the Smucker's caramel topping from Walmart are both great. If you have time to make homemade caramel, it's delicious, but this cheesecake is rich and complex enough on its own that store-bought does not let it down.
My cheesecake cracked on top — did I do something wrong?
Cracking usually happens from one of three things: over-mixing the batter after adding the eggs (which incorporates air), skipping the water bath, or opening the oven door too early. The good news is that the spiced apple topping covers most cracks completely, so it's mostly a cosmetic issue rather than a flavor one. I cracked my second attempt by opening the oven at the 45-minute mark to check on it — try not to do that.
Can I freeze the whole cheesecake?
Yes. Cool and chill it completely first, then wrap the whole cheesecake tightly in two layers of plastic wrap followed by a layer of foil. Freeze for up to 2 months. Thaw overnight in the fridge. I'd recommend adding the apple topping and caramel drizzle fresh after thawing rather than freezing it with the toppings already on.
CARAMEL APPLE CHEESECAKE
Ingredients
For the Crust:
- 1 ½ cups graham cracker crumbs
- ¼ cup granulated sugar
- 6 tablespoons unsalted butter melted
For the Cheesecake Filling:
- 16 oz 450g cream cheese, softened
- ½ cup granulated sugar
- 2 large eggs
- 1 teaspoon vanilla extract
- ½ teaspoon cinnamon
For the Apple Topping:
- 2 medium apples peeled and diced
- 2 tablespoons unsalted butter
- 2 tablespoons brown sugar
- ½ teaspoon cinnamon
For the Caramel Drizzle:
- ½ cup caramel sauce store-bought or homemade
Instructions
- Prepare Crust: Preheat oven to 350°F (175°C). Mix graham cracker crumbs, sugar, and melted butter. Press into the bottom of a greased 9-inch springform pan. Bake 8–10 minutes. Cool slightly.
- Make Cheesecake Filling: Beat cream cheese and sugar until smooth. Add eggs, vanilla, and cinnamon; mix until combined. Pour over crust.
- Bake Cheesecake: Bake 40–45 minutes until the center is set. Cool to room temperature, then refrigerate at least 2 hours.
- Prepare Apple Topping: In a skillet, melt butter and sauté apples with brown sugar and cinnamon until tender. Cool slightly.
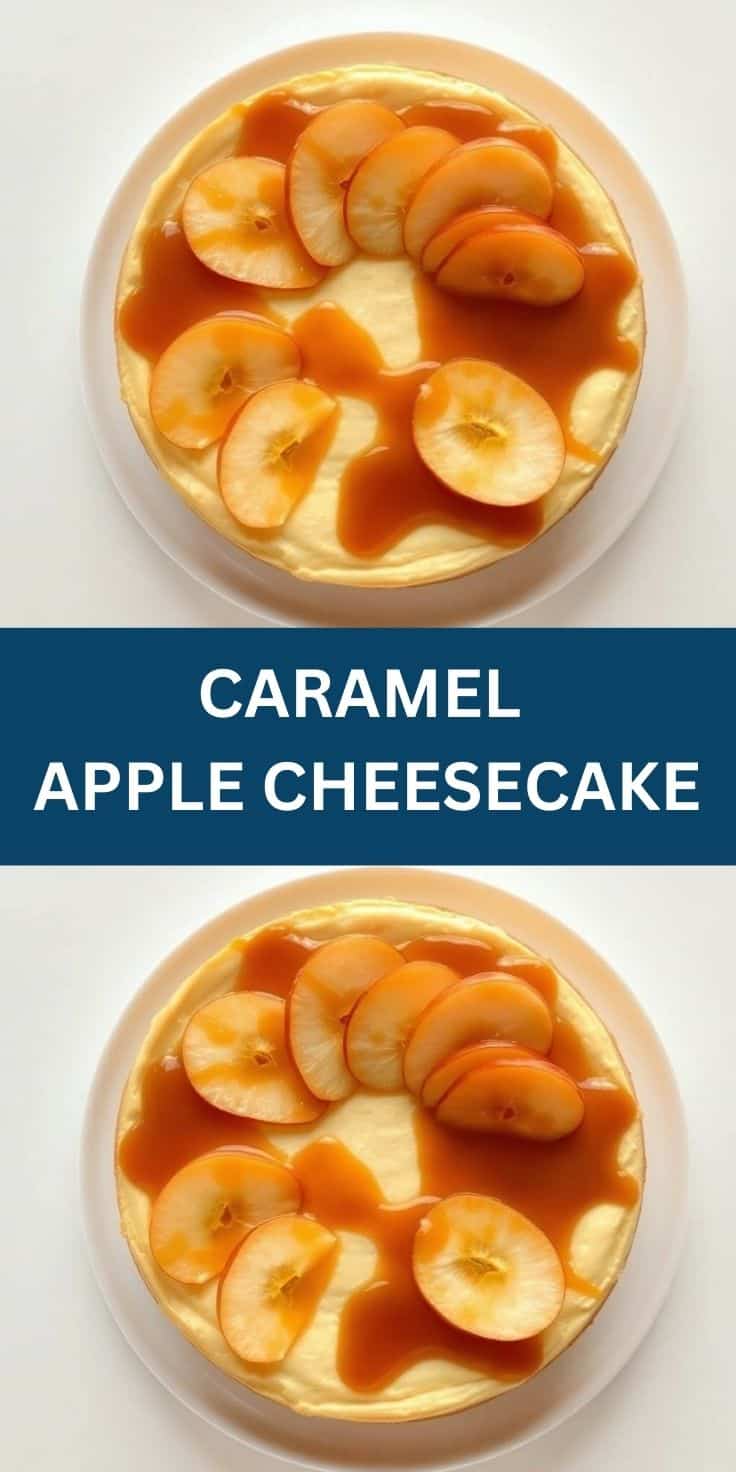
- Assemble: Top chilled cheesecake with cooked apples and drizzle with caramel sauce. Slice and serve.
Notes
- Make Ahead: Cheesecake can be made a day in advance; store in the fridge covered.
- Flavor Variations: Add chopped pecans or walnuts for extra texture.
- Serving Suggestions: Serve with whipped cream or a scoop of vanilla ice cream.
- Storage Tips: Store leftovers in an airtight container in the fridge for up to 4 days.
This caramel apple cheesecake has become one of those recipes I come back to every autumn without fail. There's something about the combination of cold, silky cheesecake and warm cinnamon apples that feels genuinely comforting — it's not trying to be trendy or fancy, it's just really good. The caramel drizzle at the end is the part that gets people every time. I've watched people who claimed they "don't really





Comments
No Comments