
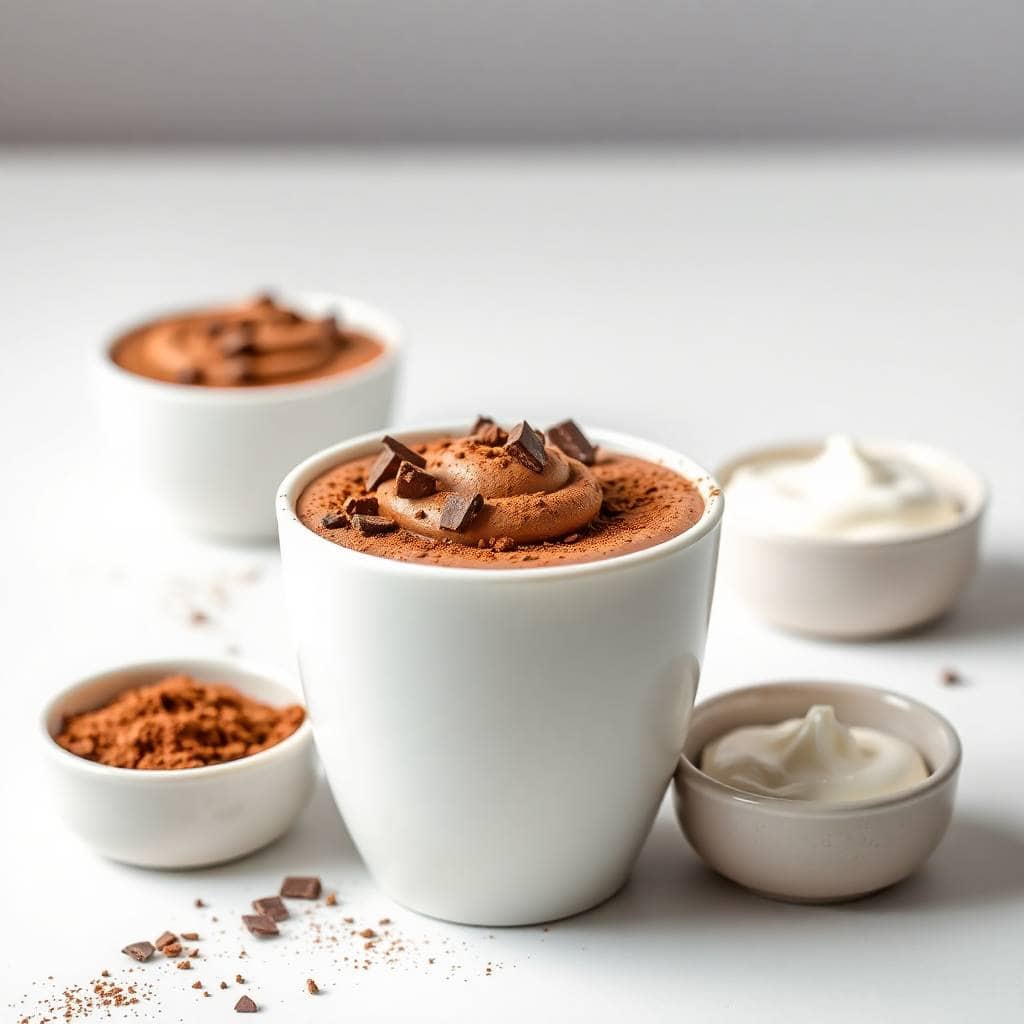
I started making this keto chocolate mousse during a stretch where my husband was trying to cut back on sugar, and I needed something that would actually satisfy him after dinner — not just a bowl of fruit with a sad drizzle of honey. The first time I made it, I wasn't sure it would work. Four ingredients, no baking, no eggs, nothing fancy. But the result was so thick and rich that he thought I'd bought it from somewhere.
What makes this work is the cold heavy cream whipped to stiff peaks before anything else goes in. That's really the whole technique — the cream does the heavy lifting, and the cocoa and erythritol just fold into that airy base. I've tried shortcuts where I added everything at once, and the mousse came out dense and grainy. Don't do that. Whip the cream first, then add the rest.
My husband eats this at least once a week when he's being disciplined about carbs. I usually make it in the afternoon and let it chill in the fridge until after dinner. Saad tried it once and said it tasted "like a fancy chocolate pudding cup," which I think counts as high praise from a ten-year-old. He still prefers my chocolate raspberry cake for birthdays, but this mousse is what we make on a Tuesday when everyone wants something sweet without making a whole production of it.
One thing to know before you start: powdered erythritol matters here, not granulated. Granulated erythritol doesn't dissolve properly in cold whipped cream, and you end up with a gritty texture. I learned this the hard way. Brands like Swerve Confectioners or Anthony's Powdered Erythritol are easy to find on Amazon or at Whole Foods, and they work exactly right. If you're using a different sweetener, just make sure it's powdered, not crystalized.
Why You'll Love This Recipe
- It takes about 10 minutes to make: The whole thing — whipping, mixing, portioning — comes together in under ten minutes, and then the fridge does the rest. On nights when everyone wants dessert but I've already cleaned up the kitchen, this is the recipe I reach for. No oven, no stovetop, almost no dishes.
- It's genuinely satisfying, not just "diet dessert": I've had plenty of low-carb desserts that taste like a compromise. This doesn't. The texture is thick and creamy, the chocolate flavor is real, and a small serving actually fills you up. My husband doesn't feel like he's missing out on anything.
- You can make it ahead and it actually improves: I usually make a double batch on Sunday and keep it in the fridge in small mason jars. By Monday night it's even thicker and more set than it was fresh. It holds well for up to four days, which is about as far ahead as I ever plan anything.
- It works for non-keto people too: My sister-in-law doesn't eat keto at all, and she asked me for this recipe the first time she tried it. The erythritol doesn't leave any weird aftertaste the way some sweeteners do, so anyone can enjoy it — not just people counting carbs.
- It's easy to dress up when you need to: Plain, it's a weeknight dessert. But if you spoon it into nice glasses and add some fresh raspberries or a few chocolate shavings on top, it looks like something from a restaurant. I've served it at dinner parties and nobody guessed it was sugar-free.
Ingredients
- 1 cup heavy whipping cream (must be cold — straight from the fridge)
- 3 tablespoons unsweetened cocoa powder (sifted)
- 3 tablespoons powdered erythritol (or preferred keto sweetener — must be powdered, not granulated)
- 1 teaspoon vanilla extract
- Pinch of salt
- Optional toppings: sugar-free whipped cream, fresh raspberries, cocoa nibs, or sugar-free chocolate shavings
Directions
- Whip the cream: Pour the cold heavy cream into a large mixing bowl and whip with an electric hand mixer on medium-high speed until soft peaks form. This usually takes about 2–3 minutes. The cream needs to be cold for this to work — room temperature cream takes forever and sometimes doesn't whip properly at all.
- Add the dry ingredients: Sift the cocoa powder directly into the whipped cream, then add the powdered erythritol and the pinch of salt. Sifting matters here — I skipped it once and ended up with small cocoa lumps throughout the mousse that never fully dissolved.
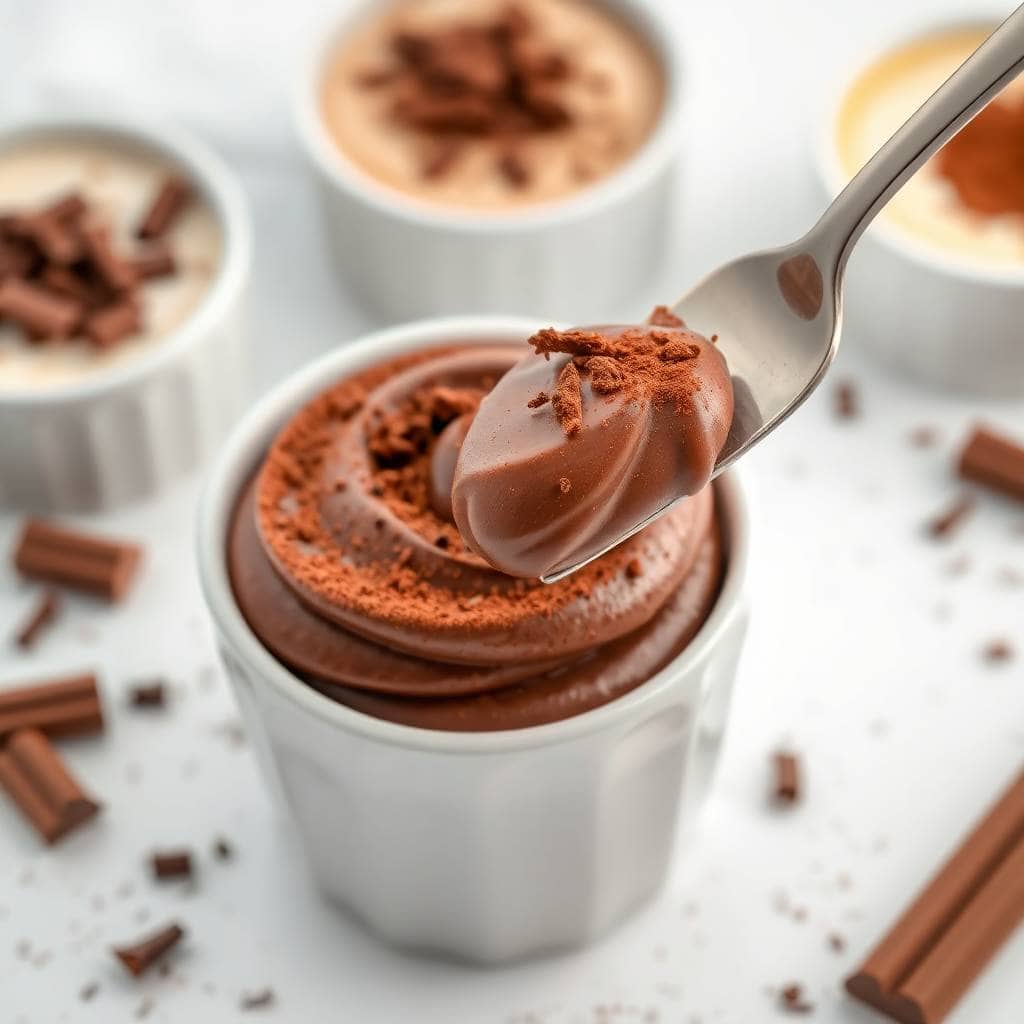
- Mix to stiff peaks: Continue mixing on medium speed until everything is fully combined and the mousse holds stiff peaks when you lift the beaters. This takes another minute or two. Stop as soon as it looks thick and set — overwhipping turns it grainy and eventually buttery.
- Fold in the vanilla: Add the vanilla extract and fold it in gently with a spatula, using slow circular motions. Don't use the mixer for this step — it can deflate the mousse faster than you'd expect.
- Chill and serve: Spoon the mousse into serving glasses or ramekins and refrigerate for at least 30 minutes before serving. The texture firms up nicely as it chills. Top with whatever you like just before serving.
Tips for Success
- Cold cream is non-negotiable: I've tried making this with cream that sat out for even 20 minutes and it whips up much slower and doesn't hold its structure as well. Keep it in the fridge until the exact moment you're ready to pour it in the bowl. Some people even chill the bowl itself, which I've done a few times in summer when my kitchen gets warm.
- Sift the cocoa — really: I know it feels like an unnecessary step, but unsweetened cocoa powder clumps badly and those clumps don't break down easily once you're mixing into whipped cream. Two minutes of sifting saves you from a streaky, lumpy mousse. I use a fine mesh strainer held over the bowl — nothing fancy needed.
- Stop before you think you need to: Overwhipping is the most common mistake with this recipe, and it's happened to me twice. Once the mousse reaches stiff peaks and holds its shape, stop the mixer immediately. Another 30 seconds past that point and it starts to look curdled and lumpy. If that happens, the texture doesn't recover — so stay close and watch it.
- Taste before chilling and adjust sweetness: Erythritol is slightly less sweet than sugar, so if your first taste feels a little flat, add another half tablespoon of sweetener and fold it in. Do this before portioning into glasses — it's much harder to adjust once it's chilled and set. Different cocoa brands also vary in bitterness, so tasting matters.
- Use a good cocoa powder: This is basically a four-ingredient recipe, so the quality of the cocoa shows up directly in how the mousse tastes. I use Dutch-process cocoa when I can find it — it's darker and less bitter than natural cocoa. Trader Joe's carries a good one, and so does Whole Foods. Regular Hershey's Natural Cocoa works fine too, just slightly more acidic.
Variations
- Mocha mousse: Dissolve 1 teaspoon of instant espresso powder in the vanilla extract before folding it in. The coffee doesn't make it taste like coffee exactly — it just deepens the chocolate flavor and makes it taste more complex. My husband actually prefers this version. I usually use Nescafé since that's what I keep in the house.
- Mint chocolate mousse: Replace the vanilla extract with ¼ teaspoon of peppermint extract. Start with less than you think you need — peppermint extract is strong and a little goes a long way. This version is particularly good around the holidays, and it pairs really nicely with my chocolate gingerbread mini cakes if you're doing a dessert spread.
- Nut butter swirl: Swirl 1 tablespoon of almond butter or peanut butter through each serving glass after portioning, using a toothpick or skewer. Don't mix it in fully — you want visible swirls. This adds some healthy fat and a nutty depth that works really well against the chocolate.
- Dairy-free version: Swap the heavy cream for full-fat coconut cream — the kind that comes in a can, refrigerated overnight so the cream separates from the liquid. Scoop just the thick cream off the top and whip that. It works, though the texture is slightly softer and there's a mild coconut flavor in the background. Worth knowing this version is also Whole30-compatible if you skip the erythritol and add a few drops of liquid stevia instead.
- Spicy chocolate mousse: Add a small pinch of cayenne pepper and ¼ teaspoon of cinnamon to the dry ingredients. This sounds unusual but the warmth from the spices plays off the bitterness of the cocoa in a way that's genuinely interesting. I wouldn't serve this to the kids, but adults who like Mexican hot chocolate flavors usually love it.
Serving and Storage
Serving
Serve cold, straight from the fridge. I portion it into small glasses or ramekins before chilling so it's ready to go. For a simple weeknight dessert, a spoonful of sugar-free whipped cream and a few fresh raspberries on top is enough. If you're serving guests, a few chocolate shavings or a dusting of extra cocoa powder makes it look much more finished. The mousse is rich, so smaller portions (about ½ cup) are usually enough per person.
Storage
Store covered in the fridge for up to 4 days. I use small mason jars with lids, which makes individual portions easy to grab. Don't freeze this — I tried it once out of curiosity and the texture turned grainy and watery when it thawed. The fridge is where it belongs. If it's been sitting for a couple of days and looks slightly weepy around the edges, just give it a gentle stir before serving.
Frequently Asked Questions
Can I use coconut cream instead of heavy cream?
Yes, full-fat coconut cream works as a dairy-free swap. Refrigerate the can overnight, then scoop only the thick cream off the top — don't use the liquid underneath or it won't whip properly. The texture will be slightly softer than the dairy version, and there'll be a faint coconut flavor in the background, but it's still a solid mousse.
What if I don't have an electric mixer?
You can whip the cream by hand with a regular balloon whisk — it just takes more effort and about 5–8 minutes of vigorous whisking. Make sure the cream is very cold and the bowl is large enough to give you room to work. I've done it by hand when my hand mixer battery died, and it came out fine. Tiring, but fine.
Can I make this ahead of time?
Absolutely — it's actually better after a few hours in the fridge. I usually make it the afternoon before I need it and let it chill overnight. The texture firms up and the chocolate flavor deepens. Just keep it covered so it doesn't absorb any fridge smells.
Can I use granulated erythritol instead of powdered?
I wouldn't. Granulated erythritol doesn't dissolve into cold whipped cream the way powdered does, and you'll end up with a slightly gritty texture. If powdered erythritol isn't available, you can blend granulated erythritol in a blender or food processor for about 30 seconds to powder it yourself. That works in a pinch.
How long does this mousse keep in the fridge?
Up to 4 days in an airtight container or sealed glass jars. After that the texture starts to break down and it can look a bit watery around the edges. Don't freeze it — freezing ruins the creamy texture completely and it turns grainy when thawed.
KETO CHOCOLATE MOUSSE
Ingredients
- 1 cup heavy whipping cream
- 3 tablespoons unsweetened cocoa powder
- 3 tablespoons powdered erythritol or preferred keto sweetener
- 1 teaspoon vanilla extract
- Pinch of salt
- Optional: sugar-free chocolate shavings or whipped cream for topping
Instructions
- Whip Cream: In a mixing bowl, whip heavy cream with an electric mixer until soft peaks form.
- Add Flavours: Add cocoa powder, sweetener, vanilla, and salt. Continue beating until stiff peaks form and the mixture is smooth and fluffy.
- Chill: Spoon mousse into serving dishes and refrigerate for at least 30 minutes before serving.
- Serve: Garnish with sugar-free chocolate shavings or a dollop of whipped cream, if desired.
Notes
- Make Ahead: Can be made a day in advance and stored in the fridge.
- Flavor Variations: Add a hint of espresso powder for mocha flavour or peppermint extract for a festive twist.
- Serving Suggestions: Perfect served with fresh berries or a sprinkle of chopped nuts.
- Storage Tips: Store in the refrigerator in an airtight container for up to 3 days.
This mousse has quietly become one of the most-used recipes in my kitchen — which is saying something, because I cook a lot. It's the kind of thing that takes almost no thought once you've made it twice. Cold cream, sift the cocoa, whip to stiff peaks, chill. That's really it. And because it keeps for several days, I can make a batch on a Sunday and not think about dessert again until Thursday.
What I appreciate most is that it doesn't feel like a concession. I've made plenty of "healthy" desserts that taste exactly like what they are — an attempt to trick yourself into thinking you're not missing anything. This one doesn't have that problem. The cocoa flavor is real, the texture is genuinely creamy, and no one who's eaten it has ever guessed it's sugar-free until I tell them. If you're looking for something along similar lines but not keto, my chocolate raspberry cake is on the other end of the spectrum — very much not low-carb, but worth every bite.
If you do make this, I hope it becomes your Tuesday dessert too — the thing you pull out of the fridge when everyone wants something sweet and you've already done the dishes. Top it however you like, eat it straight out of the jar standing at the counter if you want to. No judgment from me. 🍫✨
If you liked this recipe, here are a few more from the site worth checking out:
- Chocolate Raspberry Cake — for when you want the full-sugar, no-compromise chocolate experience
- Chocolate Gingerbread Mini Cakes — rich, spiced, and great for a holiday dessert spread
- Boston Cream Pie Cookies — if you're in a cookies-over-cakes mood
- Strawberry Lemonade Poke Cake — the summer dessert my kids ask for every year without fail





Comments
No Comments