
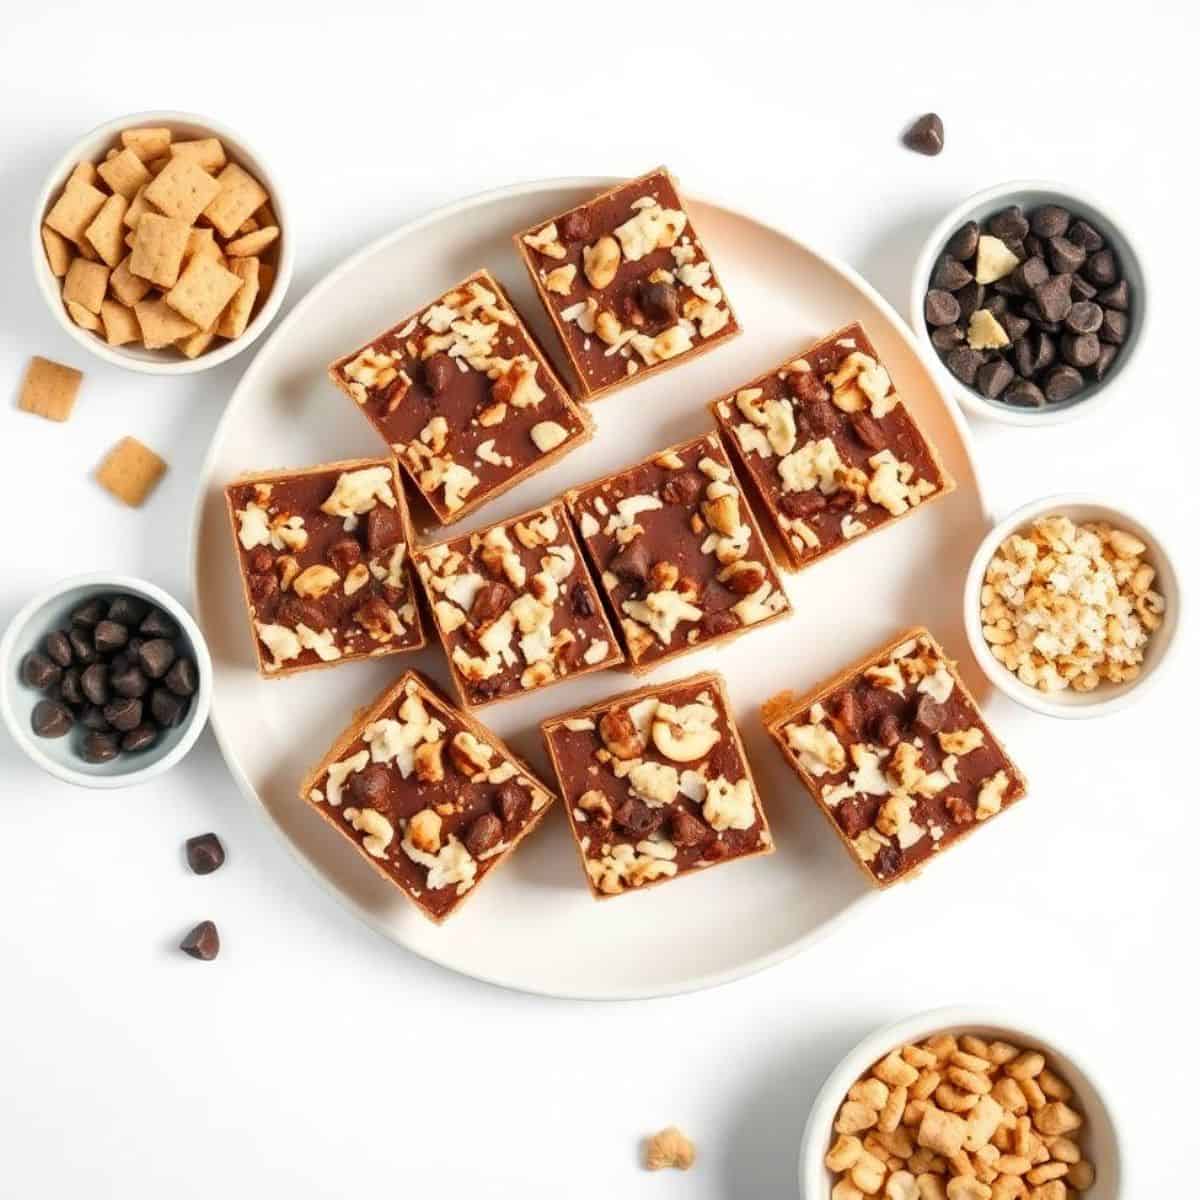
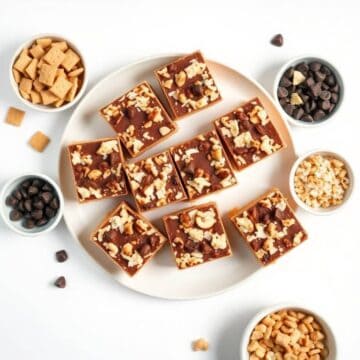
Rich, indulgent, and easy to make—these Better Bars are the ultimate dessert for chocolate and caramel lovers. It’s sweet, and crunchy all in one bite. These Better Than Anything Bars are the kind of dessert that stops people in their tracks.
They can be stored in the fridge or freezer, making them convenient for gatherings, bake sales, or gifting. These bars are incredibly versatile. Their appealing layers and rich flavor make them a memorable treat for any occasion.
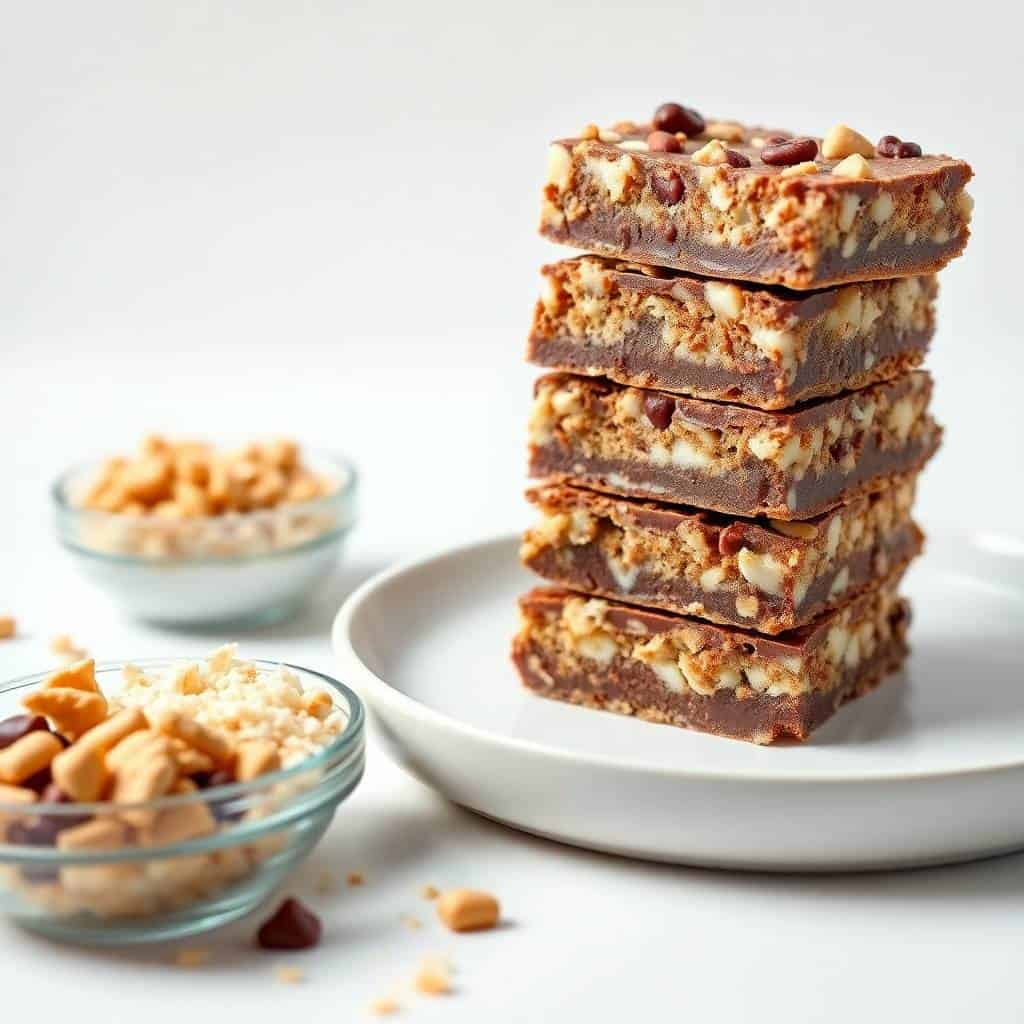
Every bite is packed with gooey caramel, sweetened condensed milk, rich chocolate, and crunchy bits of toffee, all layered over a chocolate cake base. They’re perfect for potlucks, holidays, or any time you need a no-fuss dessert that delivers big on taste.
You can adjust the toppings to suit your taste, using different types of chocolate or nuts, or even adding a sprinkle of sea salt for a sweet-salty twist. Their chewy, crunchy, and creamy texture makes them a true crowd-pleaser.
You’ll love how quick these bars are to prepare with minimal ingredients and a flavor that rivals any bakery treat. Whether you're hosting a party or just treating yourself on the weekend, this recipe is a guaranteed crowd-pleaser.
WHY YOU WILL LOVE THIS RECIPE
- Rich and Decadent Flavor: Layers of chocolate, caramel, and toffee create a bold, indulgent taste in every delicious bite.
- Super Easy to Make: Uses boxed cake mix and simple ingredients, making prep fast, fun, and nearly foolproof for anyone.
- Crowd Favorite: Always a hit at parties and potlucks—these bars disappear fast, so make a double batch if needed!
- Perfect Texture Combo: The gooey caramel, moist cake, and crunchy toffee bits offer a satisfyingly balanced mouthfeel.
- Make-Ahead Friendly: These bars taste even better the next day, making them perfect for prepping ahead of time.
- Customizable Layers: Easily swap out mix-ins to create your own delicious version based on what you have on hand.
INGREDIENTS
- 1 box chocolate cake mix
- 1 can (14 oz) sweetened condensed milk
- 1 jar (12 oz) caramel sauce
- 1 cup chocolate chips
- 1 cup toffee bits
- ½ cup unsalted butter, melted
- 1 large egg
DIRECTIONS
- Step No.1: Prepare the cake base
Preheat your oven to 350°F (175°C). Grease a 9x13-inch baking pan. In a large mixing bowl, combine the chocolate cake mix, melted butter, and egg. Stir until fully combined and dough-like in texture.
- Step No.2: Press and bake base layer
Press about two-thirds of the cake mixture evenly into the bottom of the prepared pan. Bake for 10 minutes until slightly set but not fully baked.
- Step No.3: Add caramel and sweetened milk
Remove the pan from the oven. Pour the sweetened condensed milk evenly over the baked layer. Drizzle caramel sauce on top, spreading gently to cover.
- Step No.4: Add toppings and remaining dough
Sprinkle chocolate chips and toffee bits evenly over the caramel layer. Crumble the remaining cake dough over the top in small pieces, covering most of the surface.
- Step No.5: Bake and cool
Return the pan to the oven and bake for another 25–30 minutes, or until the top is set and edges are bubbling. Cool completely before cutting into bars.
TIPS FOR SUCCESS
- Use High-Quality Caramel Sauce: A thick, rich caramel adds better flavor and texture to your bars than thinner versions.
- Don’t Overbake: Bars will firm up as they cool, so remove them from the oven when the edges are bubbling and golden.
- Line Your Pan: Use parchment paper for easy removal and cleanup—especially helpful with sticky caramel.
- Let Bars Cool Completely: The filling needs time to set; cutting too early will make them fall apart and become messy.
- Add a Pinch of Sea Salt: A light sprinkle of flaky salt on top enhances the sweetness and adds depth to the flavor.
- Chill Before Slicing: Refrigerate for 1–2 hours after cooling for cleaner, more even cuts.
- Customize Your Layers: Add nuts, coconut, or peanut butter chips for a twist that suits your preferences.
VARIATIONS
- Use a Different Cake Mix: Swap the chocolate cake for devil’s food, fudge, or even vanilla for a new flavor base.
- Add Crushed Pretzels: Adds a salty crunch that balances the sweetness and enhances the overall texture.
- Peanut Butter Swirl: Drizzle melted peanut butter between layers for a delicious nutty variation of this indulgent dessert.
- Top with Ice Cream: Serve warm bars with vanilla ice cream and extra caramel sauce for a rich, decadent experience.
- Mix in Coconut Flakes: Toasted coconut adds an extra layer of texture and tropical flavor to the bars.
- Replace Toffee with Chopped Candy Bars: Use Snickers, Heath, or Milky Way pieces for fun flavor twists.
- Add Espresso Powder: A small amount deepens the chocolate flavor and creates a sophisticated touch.
SERVING AND STORAGE
Serving
Serve bars chilled or at room temperature, optionally topped with a scoop of ice cream and a drizzle of warm caramel.
Storage
Store bars in an airtight container at room temperature for 3 days or refrigerate for up to one week.
FAQ
Yes! Wrap them tightly in foil or plastic wrap and freeze for up to 2 months. Thaw before serving.
Absolutely. Homemade caramel works great and can make the bars taste even more rich and flavorful.
Only if you use a gluten-free cake mix and check that your other ingredients are certified gluten-free.
Yes. You can omit the toffee or substitute with nuts, crushed candy, or chocolate chunks as desired.
Let the bars cool completely and ideally refrigerate them for at least 1–2 hours before slicing.
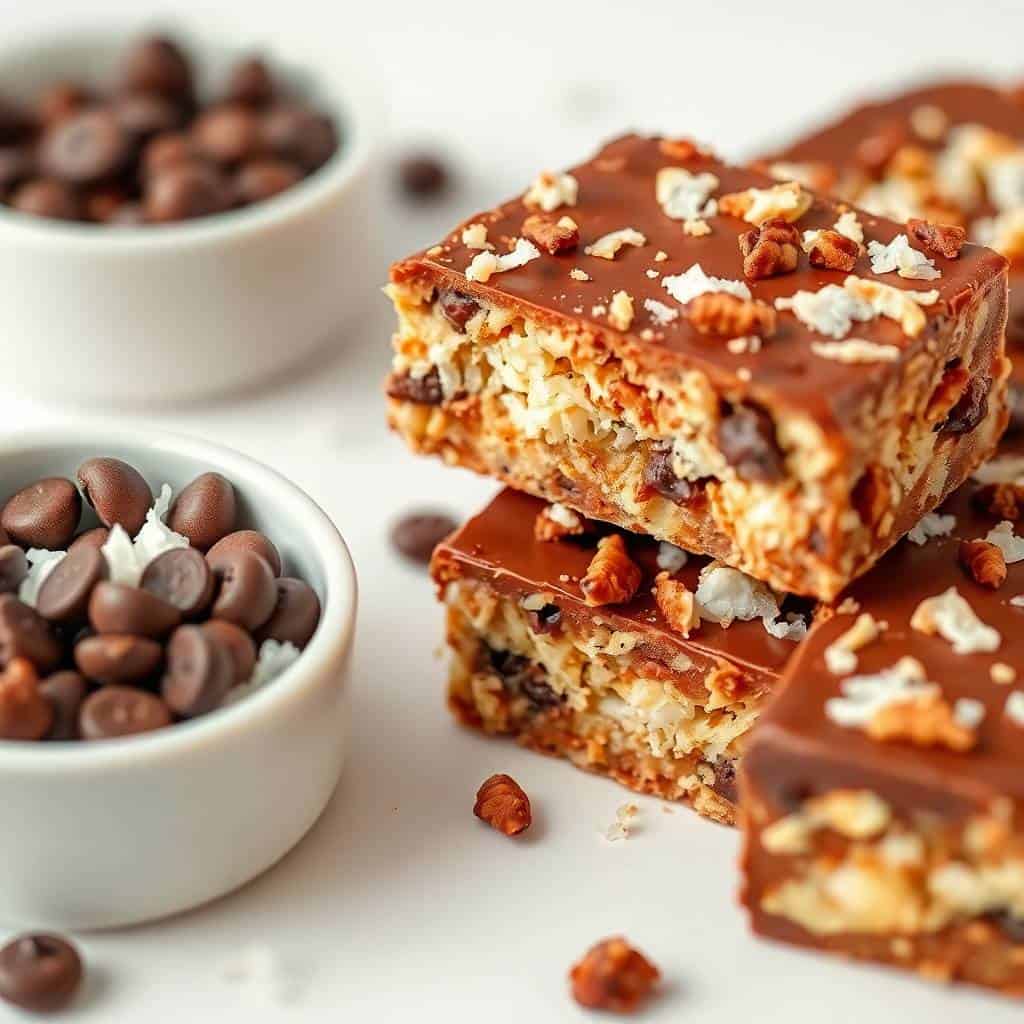
They combine the richness of chocolate cake with the gooey magic of caramel and the satisfying crunch of toffee in one indulgent dessert.
Whether you need a quick treat for a get-together or a comforting sweet to enjoy after dinner, these bars deliver the perfect balance of flavor and texture.
Their simplicity makes them ideal for any skill level, yet their taste rivals homemade desserts that take hours.
You can make them ahead of time, store them easily, and even freeze extras for future cravings.
BETTER THAN ANYTHING BARS
Ingredients
- 1 cup unsalted butter softened
- 1 cup brown sugar packed
- 1 teaspoon vanilla extract
- 2 large eggs
- 1 ½ cups all-purpose flour
- 1 teaspoon baking soda
- ½ teaspoon salt
- 3 cups old-fashioned oats
- 1 cup chocolate chips
- ½ cup chopped nuts optional
Instructions
- Preheat Oven: Preheat oven to 350°F (175°C). Grease a 9x13-inch baking pan or line with parchment paper.
- Mix Wet Ingredients: In a large bowl, cream together butter and brown sugar until smooth. Add eggs and vanilla, beating until combined.
- Combine Dry Ingredients: In another bowl, mix flour, baking soda, and salt. Gradually add to the wet mixture.
- Add Oats and Mix-ins: Stir in oats, chocolate chips, and nuts (if using) until evenly combined.
- Bake: Spread mixture evenly in prepared pan. Bake for 25–28 minutes, until edges are golden and center is set.
- Cool and Cut: Allow to cool completely in the pan, then cut into bars.
Notes
- Make Ahead: Bars can be stored in an airtight container at room temperature for up to 4 days.
- Flavor Variations: Swap chocolate chips for white chocolate, peanut butter chips, or dried fruits.
- Serving Suggestions: Perfect with a glass of milk, coffee, or tea.
- Storage Tips: For longer storage, freeze bars in an airtight container for up to 2 months.





Comments
No Comments