
The first time I made these, Zainab stood at the kitchen counter the entire time just to watch me roll the colors together. She kept asking "can I do one, can I do one?" — and honestly, that was the best part of the whole baking session. Tie dye cookies are one of those rare recipes where the process is just as fun as eating the result.
What I love about this recipe is how simple the base dough is. It's a straightforward butter-and-vanilla cookie — soft, slightly crisp at the edges, chewy in the middle — and the color comes entirely from gel food coloring you press and twist into the dough before baking. No special tools, no fancy equipment. I use a regular sheet pan and my hands. That's it.
These have become my go-to for kids' birthday parties and Eid get-togethers. The kids gravitate toward them immediately, and the adults always pick one up "just to try." I've also made a holiday version with red and green for Christmas — pair them with a pitcher of Christmas Punch and it looks like you spent all day in the kitchen, even though the cookies take maybe 45 minutes start to finish.
One thing I'll warn you about upfront: use gel food coloring, not liquid. I made this mistake the first time and ended up with dough that was too sticky to handle and colors that looked washed out after baking. Gel coloring is usually a couple of dollars at any craft store or big-box store — Walmart carries it, Michaels carries it — and it makes a real difference to both the color and the dough texture.
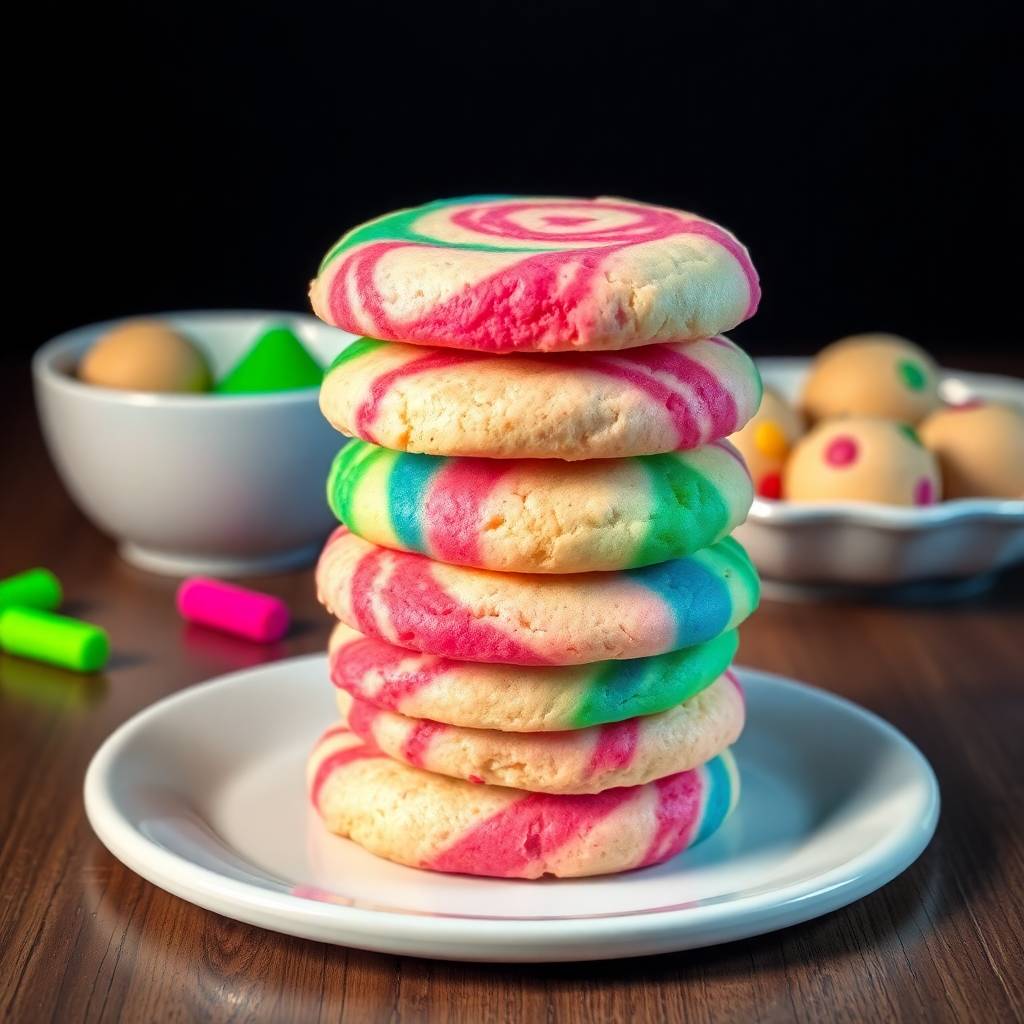
Why You'll Love This Recipe
- No special tools required: I don't own any cookie-decorating equipment beyond a basic sheet pan and parchment paper. These cookies are shaped entirely by hand — you press the colors together and roll a ball. If I can do it on a Tuesday evening after school pickup, you can too. The result looks like you put in a lot more effort than you actually did.
- Kids actually help with this one: Most baking recipes that claim to be "kid-friendly" still have too many steps where you have to take over. This one genuinely lets small hands participate. Dividing the dough, dropping in the food coloring, kneading each color — Zainab does all of that with minimal supervision. The swirling step is her favorite part.
- The base dough is genuinely good: Some colorful cookie recipes feel like they exist only for the visual — the actual cookie is dry or flavorless. This one is soft and buttery with a real vanilla taste. My husband, who usually reaches for something chocolatey, has eaten three of these in a row without blinking. The texture is what keeps people coming back for a second.
- You can make the dough ahead: I've prepped the colored dough portions the night before and kept them wrapped in the fridge. The next day I just shape and bake — great when you're expecting guests and want to look organized. The colors actually stay bright in the fridge, which surprised me the first time I tried it.
- Works for almost any occasion: I've done these in pastels for a spring birthday, red and green for the holidays, and bright primaries for a school bake sale. The recipe doesn't change — just the color choices do. It's probably the most adaptable cookie I make all year.
Ingredients
- 2 ½ cups all-purpose flour
- 1 teaspoon baking powder
- ¼ teaspoon salt
- 1 cup unsalted butter, softened (leave it out 30 minutes before you start)
- ¾ cup granulated sugar
- 1 large egg
- 1 teaspoon vanilla extract
- Gel food coloring in assorted colors (I usually use 3–4 colors)
- Optional: sprinkles or edible glitter for the outside
Directions
- Preheat the oven: Set your oven to 350°F (175°C) and line two baking sheets with parchment paper. I always use parchment — these cookies have enough butter that they'll stick to an unlined pan and the bottoms can overbrown.
- Mix the dry ingredients: In a medium bowl, whisk together the flour, baking powder, and salt. Set this aside while you work on the dough. Mixing the dry ingredients separately means everything distributes evenly once it meets the butter mixture.
- Cream butter and sugar: In a large bowl, beat the softened butter and sugar together until the mixture looks pale and fluffy — about 2–3 minutes with a hand mixer, or 4–5 minutes by hand with a wooden spoon. Don't rush this step; it's what gives the cookies their soft texture.
- Add egg and vanilla: Beat in the egg and vanilla extract until fully combined. The mixture should look smooth and slightly glossy. If it looks a little curdled, keep mixing — it'll come together.
- Combine wet and dry: Add the flour mixture gradually, stirring on low (or by hand) until a soft dough forms. Stop as soon as there are no dry streaks — overmixing at this stage makes the cookies tough.
- Divide and color: Split the dough into 3–4 equal portions and place each in a separate bowl. Add a different gel food coloring to each portion and knead until the color is evenly distributed throughout. Wear gloves if you don't want stained fingers — I've skipped this and regretted it.
- Create the swirl: Take one small piece from each colored dough (about the size of a large marble from each color) and press them loosely together. Roll gently into a ball. The key is to NOT overwork it — you want the colors to stay distinct and swirled, not blend into a muddy single color. Less is more here.
- Place and bake: Set the dough balls on the prepared baking sheet about 2 inches apart. You can press them down slightly or leave them as balls — they'll spread a little during baking either way. Bake for 12–15 minutes, until the edges are just lightly golden.
- Cool: Leave the cookies on the baking sheet for 5 minutes before transferring to a wire rack. They firm up as they cool, so don't judge the texture while they're still warm.
Tips for Success
- Always use gel food coloring: I cannot say this enough. The first batch I made used liquid food coloring because that's what I had. The dough got sticky and the colors baked out pale. Gel coloring is concentrated, so a small amount gives you vivid color without adding extra moisture to the dough. Most grocery stores carry it in the baking aisle — AmeriColor and Wilton are both easy to find.
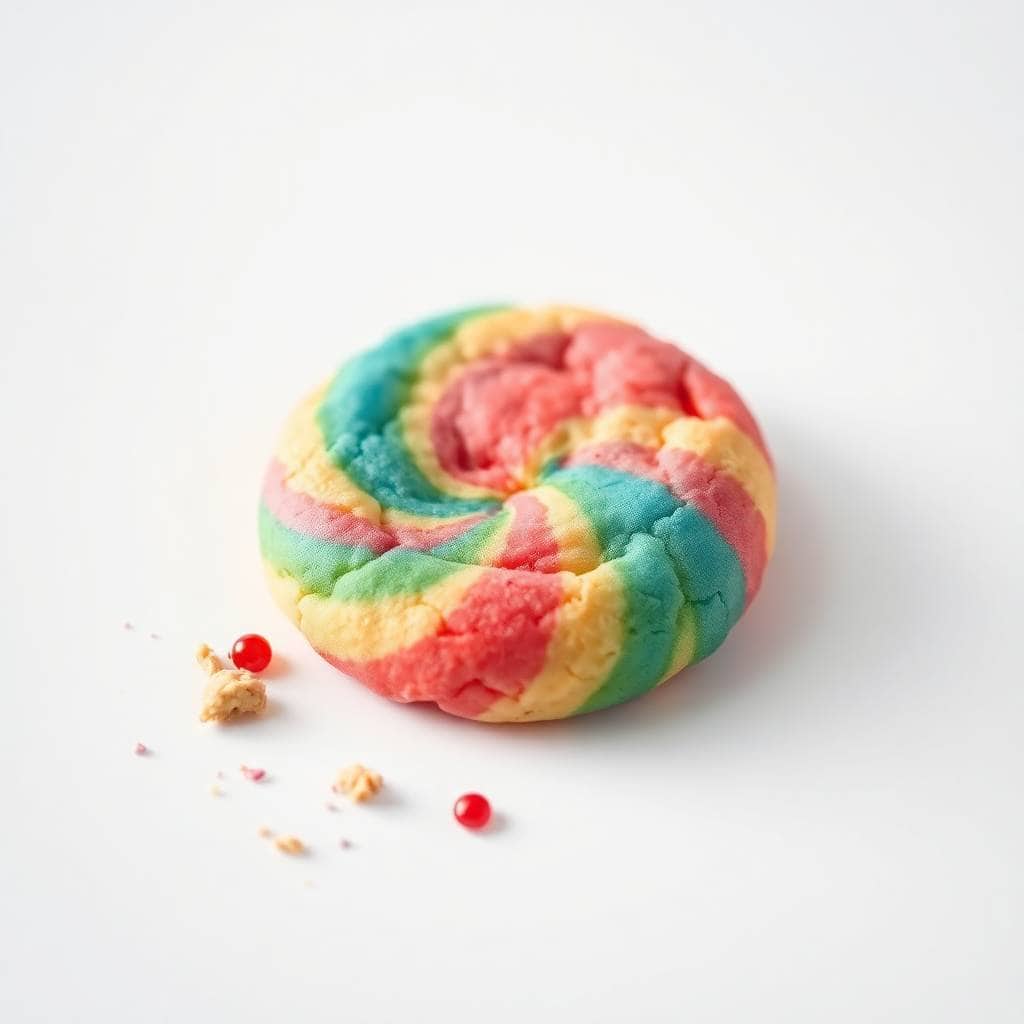
- Don't overwork the colors when swirling: This is the step where most people go wrong the first time (I did). Once you press the colored pieces together and start rolling, stop after just a few turns. If you keep rolling, the colors blend into each other and you lose the tie dye effect entirely. You want it to look a little rough — the swirls appear more clearly once the cookie bakes.
- Chill the dough if it gets too soft: On a warm day, or if you've been kneading the coloring in for a while, the dough can warm up and get sticky. Just wrap each colored portion in plastic wrap and stick them in the fridge for 15–20 minutes. Cold dough holds its shape better when you roll the balls and bakes up thicker.
- Make all balls the same size: I use a tablespoon to scoop consistent amounts from each color before combining them. If your dough balls are different sizes, they'll bake at different rates and you'll end up with some overdone and some underdone on the same sheet. Takes an extra two minutes but it's worth it.
- Pull them out before they look done: Cookies continue to cook on the hot pan after you take them out of the oven. The edges should be just barely golden — if they look fully set in the oven, they'll be hard by the time they cool. I've overbaked these before because I got distracted, and the texture goes from chewy to crunchy fast. Set a timer and check at the 12-minute mark.
Variations
- Holiday color swaps: This is my favorite thing about this recipe — the dough stays exactly the same, you just change the colors. Red and green for Christmas (these look stunning next to a batch of my Chewy Maple Cinnamon Cookies on a cookie platter), pastels for Easter or spring birthdays, orange and black for Halloween. I make these at least three or four times a year just by rotating the palette.
- Swap the extract: The vanilla base is very neutral and takes well to other flavors. I've made a lemon version by swapping the vanilla for lemon extract and adding a teaspoon of lemon zest — the brightness pairs well with the bright colors. Almond extract gives a slightly more sophisticated flavor that adults tend to prefer. For Christmas, peppermint extract with red and white dough is genuinely special.
- Cocoa dough swirl: Replace one of the colored portions with plain cocoa dough — just knead in 2 tablespoons of cocoa powder instead of food coloring. The brown and bright colors together actually look really striking, and the hint of chocolate flavor in the cookie is a nice surprise. My husband prefers this version over the all-colored one.
- Stuffed with chocolate chips: Press a few mini chocolate chips into the center of the dough ball before rolling it closed. The kids at every party go wild when they bite into one and find chocolate inside. White chocolate chips work too and disappear into the dough without changing the look from the outside.
- Cookie sandwiches: Bake the cookies flat and slightly thinner, then sandwich two together with vanilla buttercream or marshmallow fluff. This is the version I made for Zainab's last birthday — I doubled the batch and made about 20 sandwiches. They looked incredible stacked on a cake stand and held up well for a few hours at room temperature.
Serving and Storage
Serving
These are best served at room temperature, fully cooled. Warm from the oven they taste great, but the colors look their sharpest and most defined once the cookies have set completely. I like to arrange them on a white plate or a simple wooden board so the colors really pop. If you're serving these at a holiday party, they pair really well with something to drink — I usually put them out alongside a big pitcher of Pineapple Cranberry Christmas Drink in December. The pink-red of the drink and the colorful cookies on the same table is such a good look.
Storage
Store baked cookies in an airtight container at room temperature for up to 5–7 days. Don't stack them while they're still warm — they'll stick together and the colors can smear. Let them cool completely first, then layer with parchment paper between layers if you're stacking. If you want to make ahead, the uncooked dough (already colored and portioned) keeps in the fridge for up to 2 days wrapped tightly in plastic wrap, or in the freezer for up to a month. Thaw frozen dough in the fridge overnight before shaping and baking.
Frequently Asked Questions
Can I use liquid food coloring instead of gel?
You can, but I really don't recommend it. Liquid food coloring adds moisture to the dough and makes it sticky and hard to handle. The colors also bake out lighter and less vibrant. Gel food coloring is much more concentrated, so you only need a tiny amount — a toothpick-worth per color — and it won't change the dough texture at all. Wilton and AmeriColor gel sets are available at Walmart, Michaels, or Hobby Lobby for around $8–10.
Can I freeze the cookie dough?
Yes, and I do this regularly. Color and divide your dough, wrap each portion tightly in plastic wrap, and freeze for up to one month. When you're ready to bake, thaw the dough in the fridge overnight. Let it sit at room temperature for about 10 minutes before you start shaping — cold dough can crack if you try to work with it straight from the fridge.
How do I keep the swirl from blending into one color?
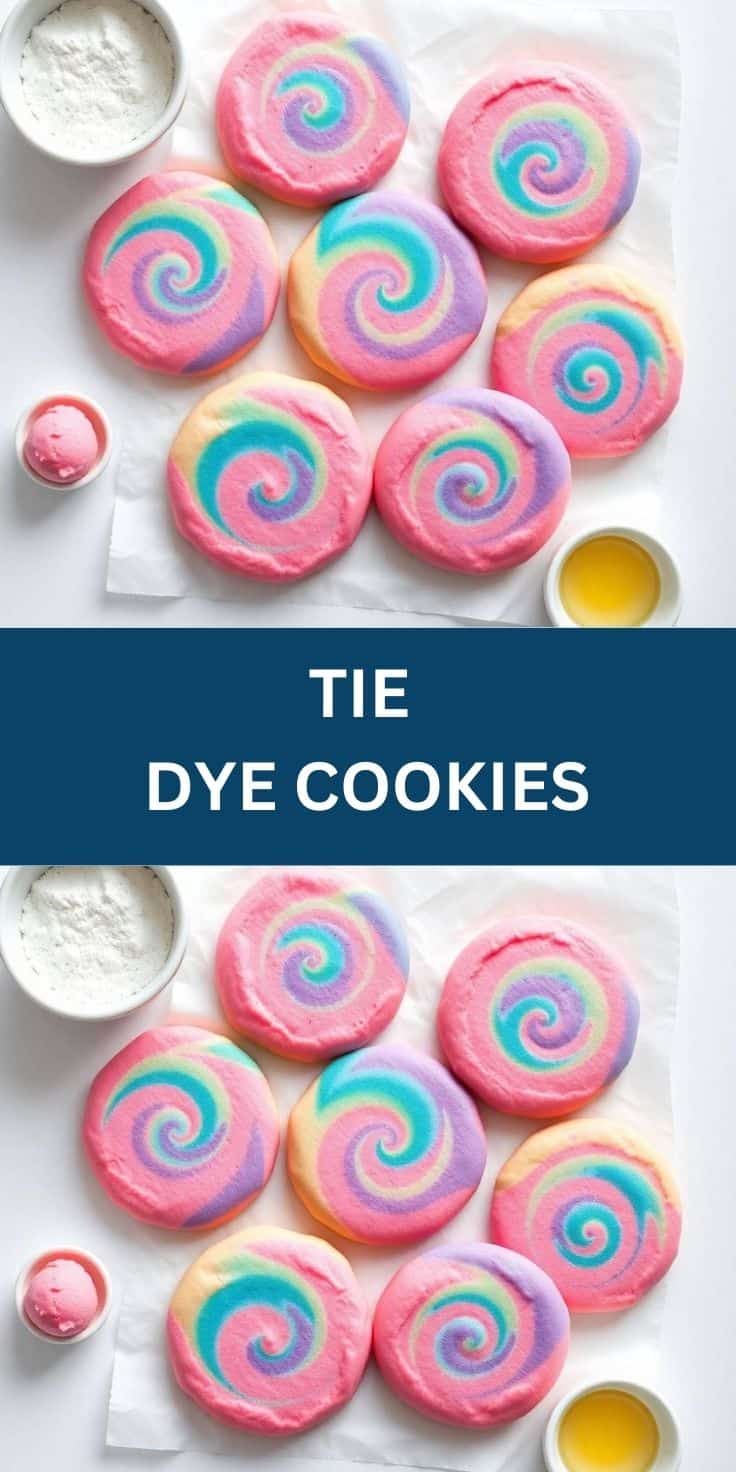
Roll the ball as few times as possible. Press the colored pieces together, give it maybe three or four gentle rolls between your palms, and stop. The swirls look a little rough and uneven at this stage — that's exactly right. The heat of the oven does the rest of the work and the pattern becomes more defined as the cookie bakes. Every time I've tried to "perfect" the swirl by rolling more, I've ended up with muddy colors.
Can I make these gluten-free?
I haven't tested this myself, but a 1:1 gluten-free flour blend should work here. Make sure the blend contains xanthan gum — it helps hold the dough together in the absence of gluten. Bob's Red Mill and King Arthur both make 1:1 blends that are easy to find. The texture may be slightly different but the cookies should still hold their shape and color well.
How many cookies does this recipe make?
Using a standard tablespoon scoop per color (so about 3–4 tablespoons total per ball), I usually get around 18–22 cookies from one batch. I almost always double the batch because they disappear fast — especially at parties where kids are involved. A double batch fits easily across three sheet pans and takes about the same amount of active prep time.
TIE DYE COOKIES
Ingredients
- 2 ½ cups all-purpose flour
- 1 teaspoon baking powder
- ¼ teaspoon salt
- 1 cup unsalted butter softened
- ¾ cup granulated sugar
- 1 large egg
- 1 teaspoon vanilla extract
- Food coloring assorted colors
- Optional: sprinkles or edible glitter
Instructions
Preheat the Oven:
- Preheat oven to 350°F (175°C). Line baking sheets with parchment paper or silicone mats.
Mix Dry Ingredients:
- In a medium bowl, whisk together flour, baking powder, and salt. Set aside.
Make the Dough:
- In a large bowl, beat butter and sugar until light and fluffy. Add egg and vanilla extract, beating until combined. Gradually mix in dry ingredients until a dough forms.
Color the Dough:
- Divide dough into portions and add different food coloring to each. Knead until color is evenly distributed.
Shape the Cookies:
- Take small pieces from each color, combine, and gently twist or swirl to create a tie dye effect. Roll into balls and place on prepared baking sheets.
Bake:
- Bake for 12–15 minutes, until edges are lightly golden. Cool on the sheet for 5 minutes before transferring to a wire rack.
Notes
- Make Ahead: Dough can be stored in the fridge for up to 2 days or frozen for 1 month.
- Customizing Colors: Use gel food coloring for more vibrant swirls.
- Serving Suggestions: Perfect for birthday parties, festive occasions, or gifting in treat boxes.
- Storage Tips: Store in an airtight container at room temperature for up to 1 week.
I've made a lot of cookies on this site — my Chewy Maple Cinnamon Cookies are still a family staple — but tie dye cookies are the ones Zainab requests most. There's something about watching the colors come together in the dough that doesn't get old, even after making them a dozen times. The process is meditative in a weird way, and the results are consistently good.
If you're planning a birthday party or any kind of celebration and you want something that looks impressive without requiring a lot of specialized skill or equipment, this is the recipe I'd point you to. The dough is forgiving, the swirling is almost impossible to mess up badly, and the cookies taste as good as they look — which isn't always true with visually-focused bakes.
Make a double batch. I say this every time and I mean it. One batch is gone before the day is out at my house, and you'll want leftovers. 🎨🍪✨
If you liked these, here are a few more recipes from my kitchen you might want to try next:
- Chewy Maple Cinnamon Cookies with White Chocolate — a fall favorite that pairs beautifully with tea
- Churro Toffee Bugles — a crowd-favorite snack that takes about 20 minutes to make
- Christmas Punch — the drink I put out every December alongside these cookies
- Pineapple Cranberry Christmas Drink — another holiday drink that looks gorgeous on a table with colorful cookies
- Cowboy Butter Swim Biscuits — because after all those cookies, sometimes you need something savory





Comments
No Comments