
Homemade dill pickle gummy worms are a bold and playful treat for anyone who loves tangy flavors. This unconventional candy merges the zing of pickles with the chewy sweetness of gummies for an addictive snack experience.
These gummies are surprisingly simple to make at home using just a few ingredients and a silicone worm mold. The result is a fun, chewy treat with a surprisingly delicious taste combination. They are bright, bouncy, and packed with flavor.
The chewy, slightly sour texture of these gummy worms pairs wonderfully with the herbal notes of dill. With complete control over the ingredients, these gummies are also free from artificial junk, making them a better option than store-bought candy.
Each bite delivers a burst of pickle flavor balanced by the sweetness of the gelatin mixture, making them an intriguing snack for those who love unconventional treats. You control the ingredients and flavor intensity.
Whether you're serving them at a quirky party, gifting them to a pickle lover, or just satisfying a curious craving, they're sure to impress. Kids and adults alike will be fascinated by the flavor and texture of these homemade gummy worms.
WHAT ARE DILL PICKLE GUMMY WORMS?
dill pickle gummy worms are a homemade pickle-flavored candy made by combining real dill pickle brine with unflavored gelatin and pouring the mixture into silicone worm molds. The result is a chewy, tangy gummy that tastes unmistakably like a dill pickle — but in candy form.
Unlike store-bought pickle candy, this homemade version lets you control exactly how sour, salty, or sweet each batch turns out. They have become a popular DIY treat for pickle lovers, snack boards, Halloween candy bowls, and quirky party favors. If you have ever seen pickle flavored gummies at a specialty candy shop and wondered if you could make them yourself — you absolutely can, and they are even better homemade.
WHY YOU WILL LOVE THIS RECIPE
- Unique Flavor Combo: The mix of sour pickle brine and sweet gelatin makes an unexpectedly delicious and tangy candy experience.
- Perfect for Pickle Lovers: If you're obsessed with pickles, this candy is an innovative way to enjoy them in a chewy form.
- Easy to Make: With simple steps and ingredients, even beginners can easily make these dill pickle gummies at home.
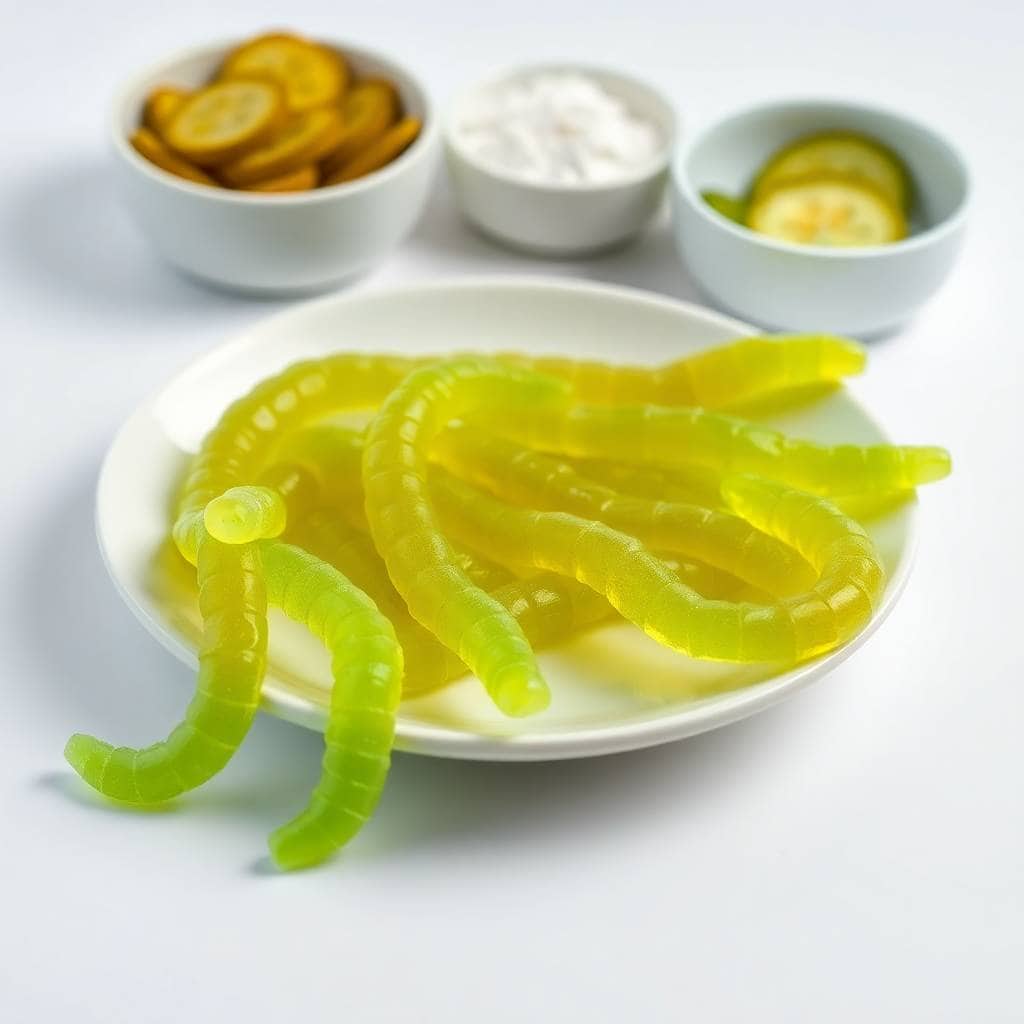
- Fun and Whimsical: These bright green worm-shaped gummies are eye-catching and fun for parties, pranks, or gifts.
- Customizable: Adjust the tartness or sweetness to match your personal flavor preferences. Make them as tangy or mild as you like.
- Great Conversation Starter: Serve them at gatherings and watch guests do a double take before asking, "Wait… is this pickle candy?"
- Naturally Colored: No need for artificial dyes if you use green juice or natural food coloring for that bright wormy look.
INGREDIENTS
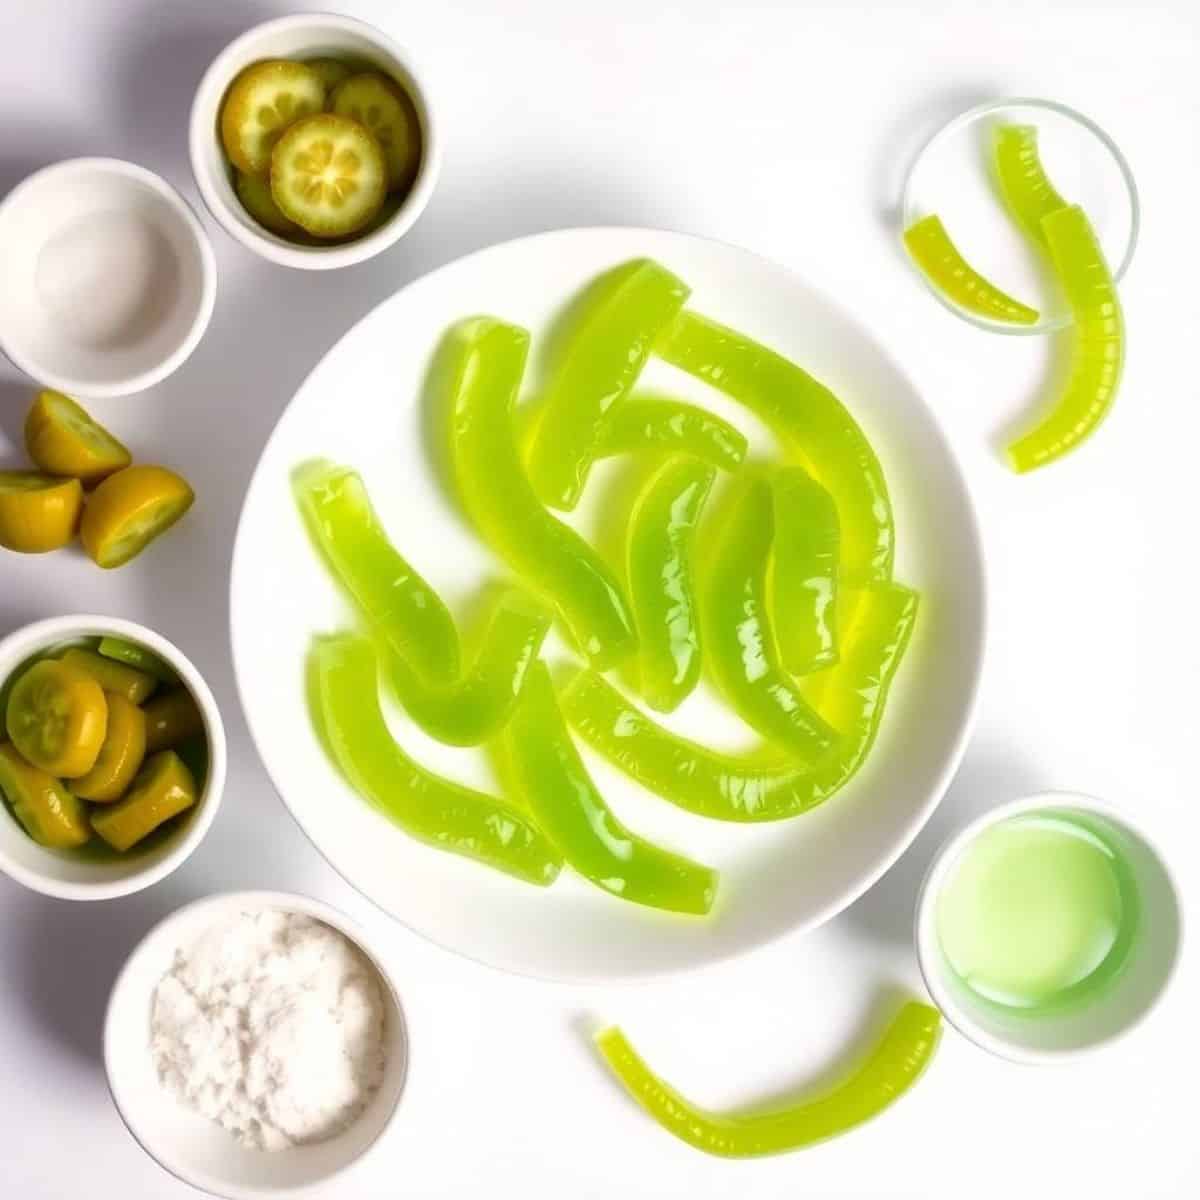
You only need a handful of simple ingredients to make these pickle flavored gummies. The star of the show is real dill pickle juice straight from the jar — the brined, garlicky kind gives the best flavor. Here is what you will need:
- 1 cup dill pickle juice (from a jar of pickles)
- 3 tablespoons unflavored gelatin powder
- 2 tablespoons granulated sugar (optional for sweeter flavor)
- 1 teaspoon lemon juice (optional, for extra tartness)
- A few drops of green food coloring (optional)
- Silicone gummy worm mold
- Nonstick spray or oil (for greasing molds)
No silicone worm mold? No problem. You can pour the mixture into a small greased baking dish, let it set completely, and cut it into strips or squares for a rustic pickle gummy slab instead. The flavor will be exactly the same.
DIRECTIONS
- Step No.1: Prepare the mold
Lightly grease your silicone gummy worm mold with nonstick spray or oil to make it easier to remove the gummies later. Set aside on a flat tray so it is ready to fill without spilling.
- Step No.2: Mix the liquid
In a small saucepan, combine dill pickle juice, sugar (if using), and lemon juice. Stir over low heat until the sugar dissolves completely. Do not let the mixture boil — you just want it warm enough to dissolve the gelatin properly.
- Step No.3: Add gelatin
Slowly sprinkle the gelatin into the warm liquid while stirring constantly to prevent lumps. Keep the heat on low and stir until the gelatin is fully dissolved. Never let it boil — boiling breaks down the gelatin and your gummies will not set properly.
- Step No.4: Add color and blend
Add a few drops of green food coloring to give your gummies that classic gummy worm hue. Stir well to combine evenly throughout the mixture. You can add more drops for a deeper, more vibrant green color.
- Step No.5: Pour into molds
Carefully pour the mixture into the prepared molds using a dropper or small spoon. Fill each mold cavity completely and evenly. A squeeze bottle or dropper makes this step much neater and faster — highly recommended.
- Step No.6: Chill and set
Place the molds on a flat surface in the refrigerator for at least 1 to 2 hours, or until the gummy worms are fully set and firm to the touch. Do not rush this step — under-chilled gummies will be too soft and lose their shape when removed.
- Step No.7: Remove and store
Gently flex the silicone mold and pop the gummy worms out one by one. If they stick, place the mold in the freezer for 10 minutes and try again. Store them in an airtight container in the fridge for freshness.
TIPS FOR SUCCESS
- Use Real Pickle Brine: The liquid from a quality jar of dill pickles delivers the most authentic and robust flavor. Avoid homemade pickle juice as the flavor can be inconsistent.
- Avoid Boiling: Heating the gelatin mixture too much can ruin the texture — just warm enough to dissolve is ideal. If you see steam rising, reduce the heat immediately.
- Grease Your Molds: A light coating of oil helps the gummies release cleanly without tearing or sticking. Silicone molds usually release well but a little oil makes it effortless.
- Test for Sweetness: Taste the mixture before pouring to adjust sugar based on how sweet or sour you want the gummies. Remember the flavor intensifies slightly once set.
- Use a Dropper: Filling small mold cavities is much easier and neater with a dropper or squeeze bottle than a spoon. It also reduces waste and spills.
- Chill Thoroughly: Don't rush the chilling process — fully set gummies hold their shape and texture far better. Two hours is better than one if you have the time.
- Store Airtight: Exposure to air can dry out gummies quickly. Keep them sealed and refrigerated for best quality and texture.
VARIATIONS
- Spicy Dill Gummy Worms: Add a few drops of hot sauce or a pinch of cayenne pepper to the mixture for a fiery, zesty twist on the classic pickle gummy.
- Sweet Bread & Butter Version: Use bread and butter pickle juice instead of dill for a sweeter, more mellow gummy flavor that is less sour and more kid-friendly.
- Sour Power Coating: Toss finished worms in a mix of citric acid and sugar to give them a sour punch similar to store-bought sour gummy candy.
- Glow-in-the-Dark Look: Use tonic water instead of lemon juice and expose the worms to black light for a glowing effect — perfect for Halloween parties.
- Pickle Juice Ice Cubes: Pour the mixture into ice cube molds instead of worm molds for bigger bite-sized chewy pickle treats.
- Fruit-Pickle Fusion: Mix half dill pickle juice and half apple juice for a surprising blend of sweet and tangy flavors that is more approachable for first-timers.
- Colorful Layers: Make multiple batches in different colors and pour in layers for rainbow or tricolor gummy worms. Let each layer set for 20 minutes before adding the next.
SERVING AND STORAGE
Serving
Serve chilled on a tray for parties, pranks, or fun gifts — perfect for pickle lovers and adventurous candy fans. They also make a great addition to a snack board alongside other savory and sweet treats. For parties, arrange them in a small bowl or jar so guests can grab them easily.
Storage
Store your dill pickle gummies in an airtight container in the refrigerator for up to 2 weeks. Keep layers separated with parchment paper to prevent them from sticking together. Avoid storing at room temperature for extended periods as the gelatin can soften and lose its shape in warm conditions. For longer storage, you can freeze them in a sealed bag for up to 2 months — thaw in the fridge overnight before serving.
FAQ
Use real dill pickle juice from a jar — preferably one with garlic and spices for extra flavor depth. Avoid using homemade pickle juice as the flavor can be inconsistent batch to batch.
Yes! Pour the mixture into a greased baking dish, let it set completely in the fridge, then cut into strips or squares. You won't get the worm shape but the flavor will be identical.
The most common reason is that the gelatin mixture got too hot. Boiling destroys the setting ability of gelatin. Make sure you only warm the liquid gently — never let it boil. Also check that you used the correct ratio of gelatin to liquid.
Yes! Substitute the unflavored gelatin with agar-agar powder. Use the same quantity but note that agar sets firmer than gelatin, so your gummies will have a slightly different texture. The flavor will still be great.
Absolutely! They are made from simple, food-safe ingredients. Just adjust the tartness or sweetness to suit younger palates — reduce the pickle juice slightly and add a little more sugar for a milder flavor kids will enjoy.
Yes! The flavor is tangy and unmistakably pickle-forward, balanced by a touch of sweetness and a satisfying chewy gummy texture. If you love dill pickles, you will love these gummies.
Yes, the coloring is completely optional. You can use a few drops of green vegetable juice for a natural tint, or skip it entirely for a pale yellow gummy that still tastes just as good.
These homemade dill pickle gummy worms are the ultimate crossover between savory obsession and sweet novelty. Their unexpected flavor combo and vibrant appearance are guaranteed to spark curiosity and laughter wherever you serve them.
Making them at home ensures you know exactly what goes in — no artificial flavors or preservatives unless you want them. Once you try homemade pickle gummies, store-bought candy will never feel quite as exciting again.
These gummies are more than candy — they are a conversation piece, a culinary adventure, and a wildly fun kitchen project you will want to make again and again. Whether you are a lifelong pickle fan or just pickle-curious, this recipe is worth every bite.

HOMEMADE DILL PICKLE GUMMY WORMS
Ingredients
- ½ cup dill pickle juice
- 2 tablespoons water
- 2 tablespoons unflavored gelatin
- 1 –2 teaspoons sugar optional, for slight sweetness
- ½ teaspoon citric acid optional, enhances tang
- Green and red food coloring optional for worm effect
- Gummy worm silicone molds
Instructions
- Prepare Gelatin: In a small saucepan, mix dill pickle juice and water. Sprinkle gelatin over the liquid and let it bloom for 2–3 minutes.
- Heat Mixture: Gently heat over low heat, stirring constantly until gelatin is completely dissolved. Avoid boiling.
- Add Flavor & Color: Stir in sugar and citric acid if using. Add food coloring to achieve desired worm colors.
- Pour into Molds: Carefully pour the mixture into gummy worm molds. Smooth the tops with a spoon if needed.
- Chill: Refrigerate for 2–3 hours or until gummies are firm and set.
- Unmold & Serve: Carefully remove gummy worms from molds and enjoy immediately, or store in an airtight container in the fridge.
Notes
- Make Ahead: Gummies can be prepared a day in advance and stored in the fridge.
- Customising: Add a few drops of liquid smoke for a bolder dill flavor or roll in coarse salt for extra tang.
- Storage Tips: Keep in a sealed container in the fridge for up to 5 days to maintain texture.





Comments
No Comments