
I made this Biscoff cheesecake for the first time on a Thursday night because I had two packs of Biscoff cookies sitting in my pantry and no plan for them. It came out better than I expected — creamy, deeply spiced, with that signature caramel-cinnamon thing Biscoff does that I genuinely can't explain but cannot stop eating. I've made it four times since then.
What I like about this recipe is that it doesn't ask much of you. No water bath, no fussy bain-marie setup, no separating eggs. You crush cookies, mix a filling, bake it, and chill it. The hardest part is waiting the four hours before you can slice into it — and I'll be honest, I've cut that short more than once. The texture suffers slightly when you rush it. Learn from my impatience.
This has become my go-to for birthdays and Eid gatherings. I usually make it the night before so it's properly set by the time I need it. My husband takes one slice and then goes back for another without saying anything — that's his version of a compliment. Zainab likes it with extra crushed cookies on top and I always keep a small handful aside just for her. If you're looking for something similarly easy but in individual portions, my Mini Red Velvet Cheesecakes use the same no-fuss approach and are great for parties too.
One practical thing before you start: your cream cheese needs to be fully at room temperature, not slightly soft, actually room temperature. I've rushed this before and ended up with lumps in my batter that never fully smoothed out. Set the cream cheese out 45 minutes to an hour before you start. It makes a real difference.
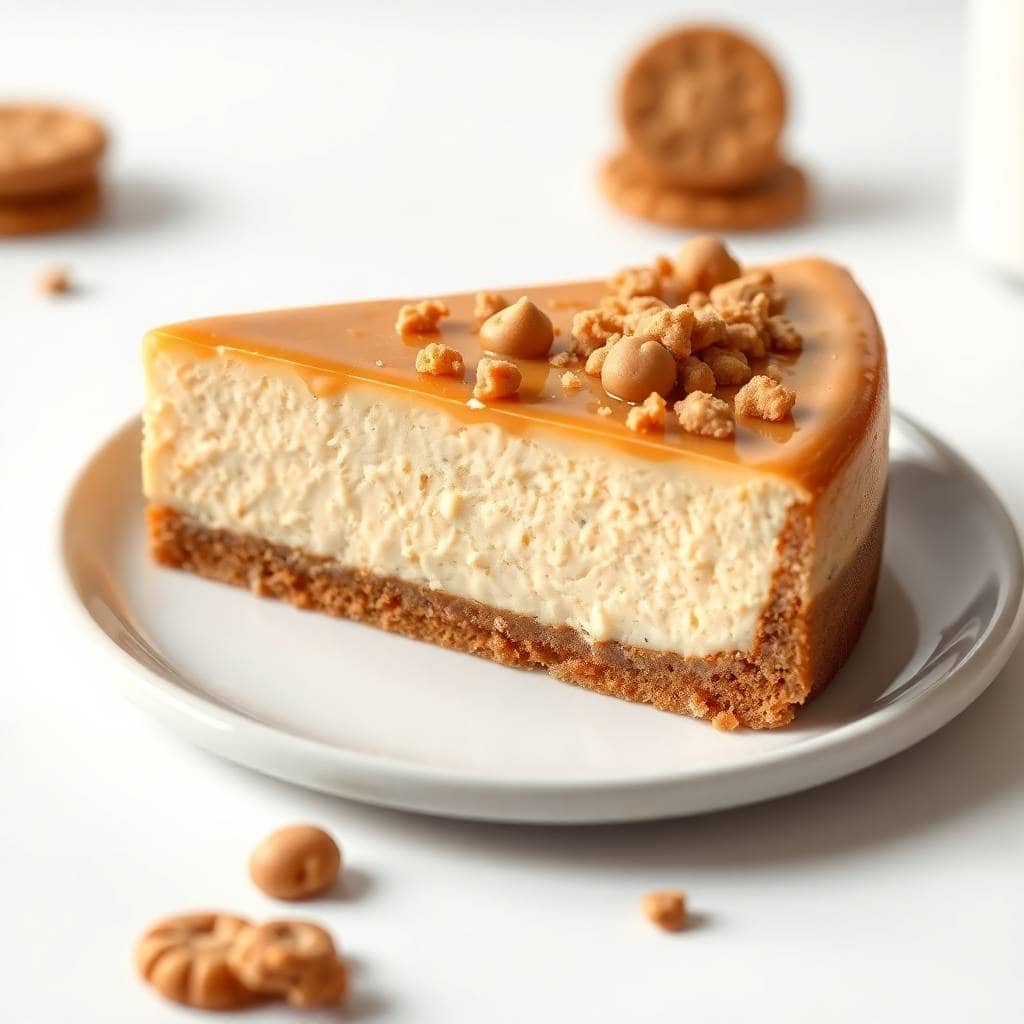
Why You'll Love This Recipe
- No water bath required: I know cheesecake has a reputation for being fussy, and the water bath situation puts a lot of people off. This one skips it entirely. As long as you cool it gradually in the oven with the door cracked, you get a smooth, even set without any complicated setup. I've baked this six times without a crack when I followed that one step.
- The flavour is genuinely different from regular cheesecake: Biscoff spread folded into the filling gives it this warm, spiced depth that plain cheesecake doesn't have. It's not just a cookie crust on a vanilla filling — the cookie butter is actually IN the cheesecake, so every bite carries that flavour all the way through. My husband described it as "cheesecake but better" which is basically a five-star review from him.
- Make it the day before and forget about it: This cheesecake actually improves overnight. The filling firms up, the flavours settle, and slicing is much cleaner after a full chill. I always make it on Friday night for Saturday gatherings and it's one less thing to think about on the day. For more make-ahead dessert ideas, my Cottage Cheese Cookie Dough is another one that stays great in the fridge for a few days.
- Biscoff cookies are easy to find: You don't need a specialty store for this. Lotus Biscoff cookies and the cookie butter spread are at Walmart, Costco, Trader Joe's, Aldi — most major grocery stores carry both now. In the UK they've been a staple for years. I buy the big tub of Biscoff spread when Costco has it in stock and keep it in the pantry specifically for this.
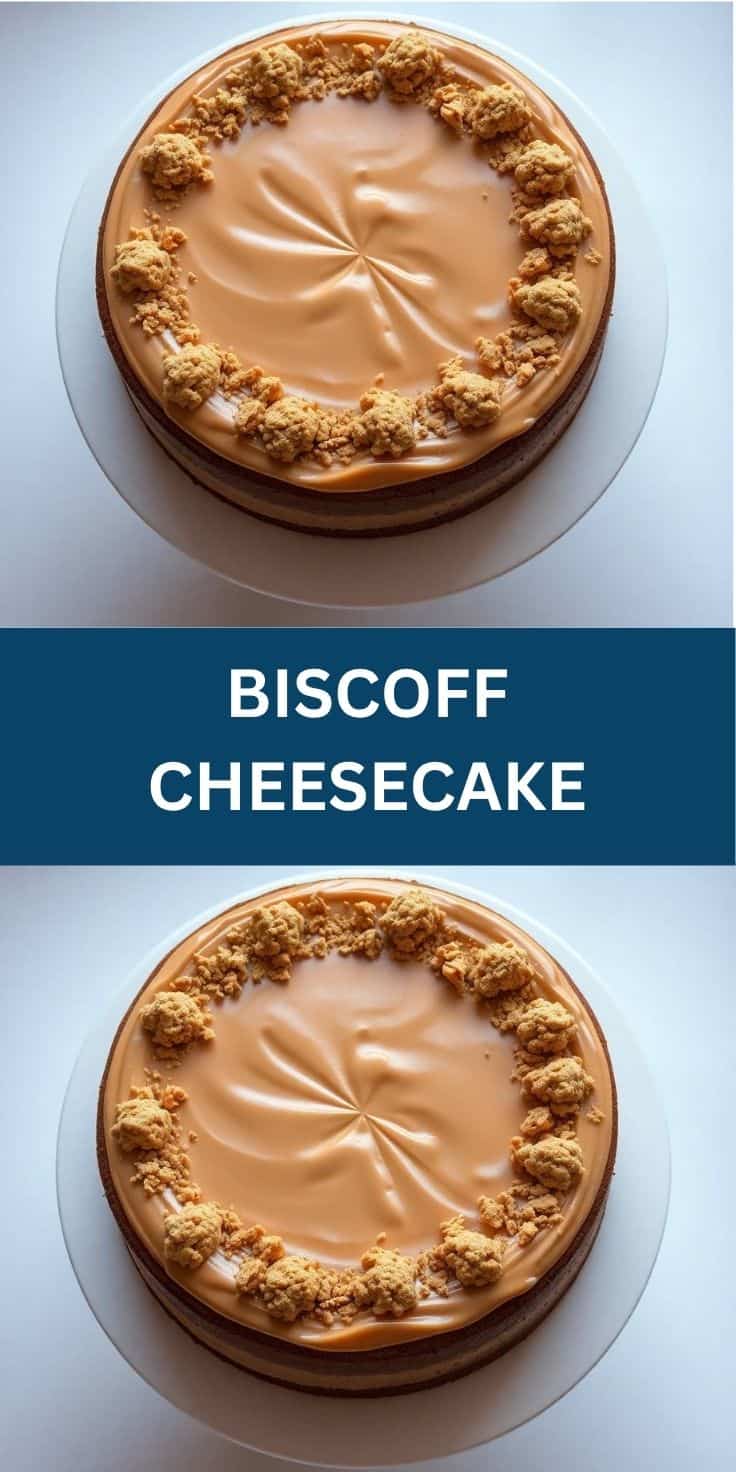
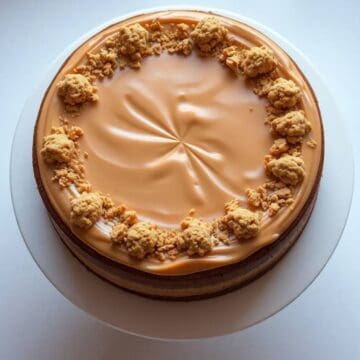
- The topping takes two minutes and looks impressive: Warming the cookie butter spread and pouring it over the top of the chilled cheesecake sounds fancy but it's genuinely the laziest step in the whole recipe. Twenty seconds in the microwave, a slow pour, a sprinkle of crushed cookies — and it looks like you spent an extra hour on it. I've brought this to dinners and had people ask if I bought it from a bakery.
Ingredients
- For the Crust:
- 2 cups Biscoff cookie crumbs (about 28 cookies)
- 5 tablespoons unsalted butter, melted
- For the Cheesecake Filling:
- 24 oz (680g) full-fat cream cheese, softened to room temperature
- 1 cup granulated sugar
- ¾ cup Biscoff cookie butter spread
- 3 large eggs, at room temperature
- 1 teaspoon vanilla extract
- ½ cup sour cream
- ¼ cup heavy cream
- For the Topping (Optional but recommended):
- ½ cup Biscoff spread, warmed until pourable
- Whipped cream and extra crushed Biscoff cookies for garnish
Directions
- Step 1: Prepare and bake the crust — Preheat your oven to 325°F (160°C). Crush the Biscoff cookies into fine crumbs — a zip-lock bag and a rolling pin works perfectly if you don't have a food processor. Mix crumbs with melted butter until it looks like wet sand, then press firmly into the bottom of a 9-inch springform pan. Bake for 10 minutes, then set aside to cool while you make the filling.
- Step 2: Make the cheesecake filling — In a large bowl, beat the softened cream cheese and sugar together until completely smooth — no lumps. Add the Biscoff spread and mix until combined. Add the eggs one at a time, mixing on low after each addition. Overmixing at this stage adds air bubbles which can cause cracks, so go slow. Mix in the vanilla, sour cream, and heavy cream until just smooth.
- Step 3: Fill and bake — Pour the filling over your cooled crust and tap the pan gently on the counter a few times to bring any air bubbles to the surface. Bake at 325°F for 50–60 minutes. The edges should be set but the centre should have a slight jiggle — it'll firm up as it cools. If the top starts to brown too quickly, tent it loosely with foil.
- Step 4: Cool in the oven — This step is not optional if you want to avoid cracks. Turn the oven off and leave the cheesecake inside with the door propped open about an inch for a full hour. The gradual temperature drop is what keeps the top smooth. I use a wooden spoon wedged in the oven door — works every time.
- Step 5: Chill — Once the cheesecake is at room temperature, cover it and refrigerate for at least 4 hours. Overnight is better. I know it's hard to wait but a properly chilled cheesecake slices clean and holds its shape. A warm cheesecake just slumps.
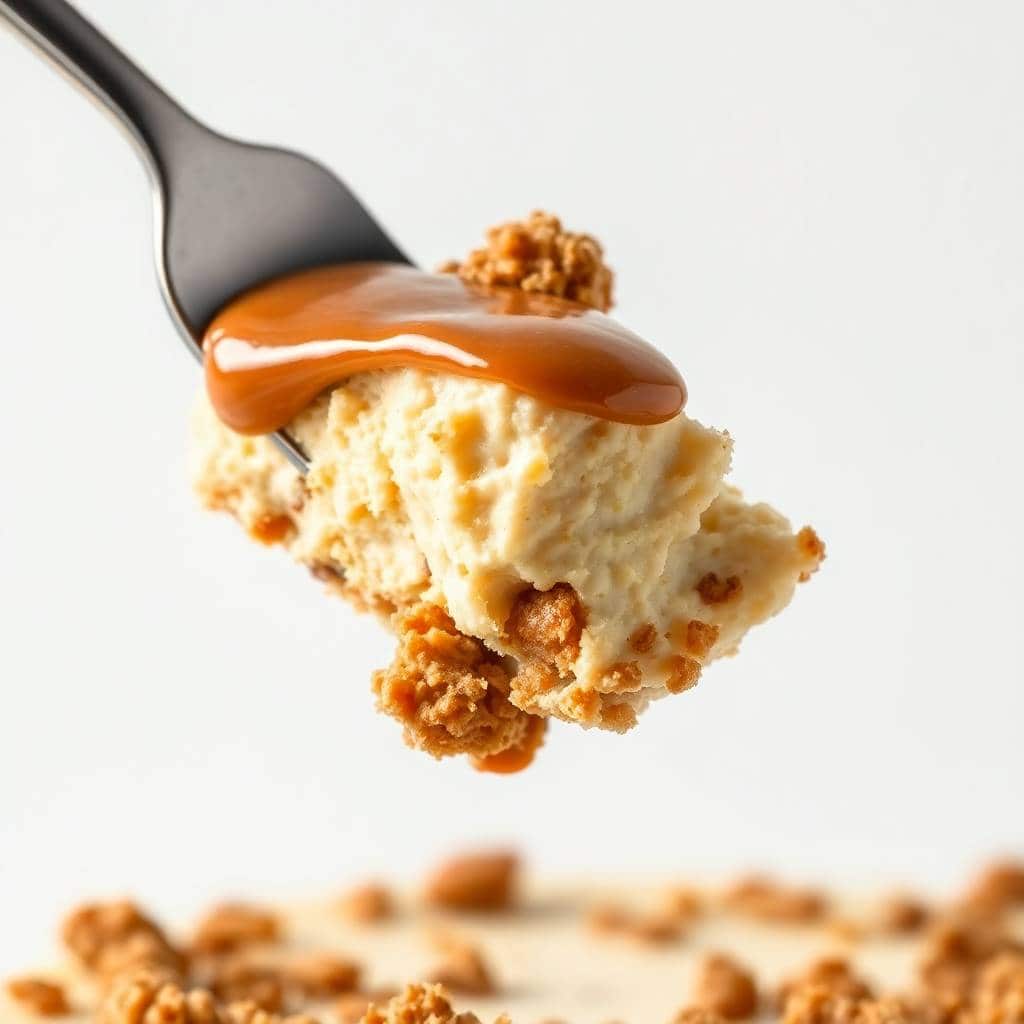
- Step 6: Add the topping and serve — Warm the Biscoff spread in the microwave in 15-second intervals until it's pourable but not hot. Pour it over the chilled cheesecake and spread gently with the back of a spoon. Sprinkle with crushed cookies and add whipped cream if you like. Run a warm knife around the edge of the springform pan before releasing the latch for cleaner sides.
Tips for Success
- Room temperature ingredients — actually room temperature: I cannot stress this enough. Cold cream cheese does not beat smooth, full stop. I've tried to shortcut this and ended up with a slightly grainy filling that bothered me the whole time I was eating it. Set your cream cheese, eggs, and sour cream out at least 45 minutes before you start. If you forget, you can microwave the cream cheese in 10-second bursts just until softened, but don't let it melt.
- Mix the eggs in on low and don't overdo it: Once the eggs go in, switch to low speed (or a gentle hand if you're mixing by hand) and stop as soon as each egg is incorporated. Excess air in the batter is what causes cheesecakes to puff up and then crack as they deflate. The batter should look smooth and creamy, not airy or frothy.
- Press the crust firmly and evenly: A loose, uneven crust crumbles when you slice. I use the flat bottom of a measuring cup to press it down — it gives you even pressure and reaches the corners of the pan easily. Press up the sides slightly if you want a defined edge. Baking it for those 10 minutes first also helps it hold together.
- The jiggle test is your friend: Pull the cheesecake at 50 minutes and give the pan a gentle shake. The outer 2 inches should be set and the inner circle should wobble like set jello — not slosh like liquid. If it's still very liquid in the middle, give it another 5–10 minutes. Every oven runs differently; mine runs slightly hot so I usually pull mine at 52 minutes.
- Line the bottom of the pan with parchment: I always cut a circle of parchment to fit inside the springform before pressing in the crust. It makes lifting and slicing so much cleaner. You don't have to, but the first time I skipped it, the bottom third of every slice came apart when I was trying to plate it, and that was frustrating after all that waiting.
Variations
- Mini individual cheesecakes: Line a standard muffin tin with paper liners and divide the crust and filling between 12 cups. Bake at 325°F for about 20–22 minutes. They set faster, cool faster, and you don't need to slice anything — which is ideal for gatherings where you want each person to have their own. The same cooling-in-oven rule applies, just crack the door for 30 minutes instead of an hour.
- Chocolate swirl version: Before baking, drop a few spoonfuls of melted dark chocolate or Nutella over the filling and swirl with a skewer or toothpick. The chocolate cuts through the sweetness of the cookie butter nicely. My husband always asks for this version — he's the kind of person who thinks chocolate belongs in every dessert and honestly I don't disagree.
- Salted caramel topping: Skip the cookie butter drizzle on top and use salted caramel sauce instead — store-bought is completely fine. The salt balances the sweetness of the Biscoff filling and makes the whole thing taste more complex. I drizzle it over just before serving rather than in advance so it stays glossy.
- Crust swap if you can't find Biscoff: Digestive biscuits (which you can find at most UK-style import sections or World Market) make a great substitute crust — they're less spiced but still buttery. Graham crackers also work. Add half a teaspoon of cinnamon to the crumb mixture to get closer to that Biscoff warmth. This is honestly what I'd suggest to readers who can't find Biscoff at their local store.
- Spiced whipped cream topping: Whip 1 cup of heavy cream with 2 tablespoons of powdered sugar and a pinch of cinnamon and nutmeg. Pipe it around the edges of the chilled cheesecake before serving. It looks beautiful and the warm spice echoes the Biscoff flavour. This is what I do when I'm serving it at a dinner and want it to look a little more finished.
Serving and Storage
Serving
Serve the cheesecake cold, straight from the fridge. Warm cheesecake doesn't slice cleanly and the texture is noticeably softer. Run a sharp knife under hot water, wipe it dry, then cut — repeat between slices. Drizzle the warmed Biscoff spread just before serving so it stays glossy and pourable rather than set and dull. A small sprinkle of crushed cookies on each plate makes it look like you put in considerably more effort than you did.
Storage
Keep the cheesecake covered in the fridge for up to 5 days. I press a sheet of plastic wrap lightly over the cut surface to keep the exposed filling from drying out. If you want to freeze it, slice first, wrap each slice individually in plastic wrap and then in foil, and freeze for up to 2 months. Thaw overnight in the fridge — don't rush it at room temperature or the texture gets odd. Add the cookie butter topping after thawing, not before freezing.
Frequently Asked Questions
Can I make this cheesecake without a springform pan?
A springform pan really is the easiest option because the sides release cleanly. If you don't have one, use a deep 9-inch round cake pan lined generously with parchment paper, leaving enough overhang to lift the whole cheesecake out once it's fully chilled. It works, but be careful — you need the cheesecake fully cold and firm before you try to lift it.
Can I freeze Biscoff cheesecake?
Yes, it freezes well. Slice the cheesecake before freezing and wrap each piece individually in plastic wrap, then a layer of foil. It keeps for up to 2 months. Thaw slices overnight in the fridge. Skip the cookie butter topping before freezing — add it fresh after thawing so it looks and tastes like it was just made.
Why did my cheesecake crack on top?
Two main culprits: overmixing the batter (too much air gets in and causes it to puff then crack as it deflates) or cooling it too fast. The oven-door-cracked step is genuinely important — I skipped it once when I was in a hurry and got a big crack right down the middle. Still tasted fine, and the cookie butter topping covers most cracks anyway, but if you want a clean top, do the gradual cool.
Can I use low-fat cream cheese?
I've tested this with reduced-fat cream cheese and the texture is noticeably different — softer, less rich, and it doesn't hold its shape as well when sliced. Full-fat is genuinely worth it here. If you want to lighten it slightly, swap the sour cream for full-fat Greek yogurt instead — that's a reasonable trade-off without affecting the structure too much.
What can I use if I can't find Biscoff cookie butter spread?
Peanut butter or almond butter will work in the filling as a texture substitute, but the flavour will be completely different — you'll lose that warm spiced character that makes this recipe what it is. If Biscoff isn't at your regular store, check the international aisle or order it online. It's widely available at Walmart, Costco, and Trader Joe's in the US, and most major supermarkets in the UK carry it.
BISCOFF CHEESECAKE
Ingredients
For the Crust:
- 2 cups Biscoff cookie crumbs about 28 cookies
- 5 tablespoons melted butter
For the Cheesecake Filling:
- 24 oz 680g cream cheese, softened
- 1 cup granulated sugar
- ¾ cup Biscoff cookie butter spread
- 3 large eggs
- 1 teaspoon vanilla extract
- ½ cup sour cream
- ¼ cup heavy cream
Optional Topping:
- ½ cup warmed Biscoff spread for topping
- Whipped cream or extra crushed cookies for garnish
Instructions
Prepare the Crust:
- Preheat oven to 325°F (160°C). Mix cookie crumbs and melted butter. Press into a 9-inch springform pan. Bake for 10 minutes. Let cool.
Make the Filling:
- In a large bowl, beat cream cheese and sugar until smooth. Add Biscoff spread, mixing well. Add eggs one at a time, then mix in vanilla, sour cream, and heavy cream until smooth.
Bake the Cheesecake:
- Pour filling over the crust. Tap pan to release air bubbles. Bake for 50–60 minutes or until center is set but slightly jiggly. Turn off oven and let sit inside with door ajar for 1 hour.
Chill:
- Cool to room temperature, then refrigerate for at least 4 hours or overnight.
Add Topping (Optional):
- Warm Biscoff spread and pour over chilled cheesecake. Garnish with whipped cream and crushed cookies before serving.
Notes
No Water Bath Needed: This recipe doesn’t require one, but you can use it to reduce cracks.
For a Lighter Version: Use reduced-fat cream cheese and Greek yoghurt instead of sour cream.
Storage: Refrigerate for up to 5 days. Freeze (without topping) for up to 2 months.
Serving Tip: Run a warm knife around edges before releasing the pan for clean slices.
This cheesecake has earned a permanent spot in my rotation, and that's not something I say easily. I'm not someone who makes the same dessert over and over — I'm always testing something new. But this one keeps getting requested. My husband asked for it for his birthday last year, which was the first time he'd ever made a specific dessert request, so I took that seriously.
What I keep coming back to is how reliable it is. Once I sorted out the room-temperature ingredients and the slow oven cool, it's come out right every single time. No cracks, no sunken middle, no overly dense texture. For a baked cheesecake, that kind of consistency is rare when you're working without a water bath.
If you're in the mood for something similarly indulgent but completely different in flavour, my Banana Bread Cookies are a good next bake — they come together in under 30 minutes and scratch a completely different itch. And if you want to go the cheesecake route again in





Comments
No Comments