
I'll be honest with you — the first time I made tiramisu, I had no idea what I was doing. I soaked the ladyfingers too long (they turned into mush), I didn't cool the egg mixture enough before folding in the mascarpone (it curdled slightly), and I skipped the chilling step because I was impatient. The result was a sad, soupy mess that I served anyway because I'd promised dessert. My husband ate it without complaint, bless him, but I knew it was wrong.
Three attempts later, I finally got it right — and I understood exactly why each step matters. The double boiler for the eggs isn't just tradition; it actually makes the mixture thick and stable enough to carry the whole dessert. The quick dip (not a soak) is the difference between a ladyfinger with structure and one that falls apart. And the overnight chill is non-negotiable — I know that now. This isn't my grandmother's recipe, I should say upfront. I'm Pakistani and I grew up on no-bake desserts of a very different kind. But I've made this enough times to know what makes it work.
I started making tiramisu for dinner parties because it's genuinely the most stress-free dessert you can serve to guests — it has to be made ahead, which means you're not scrambling in the kitchen while everyone's waiting. My husband loves anything with a coffee flavour, so this was always going to be a hit with him. Zainab thinks the cocoa dusting looks like "fancy chocolate powder" and she's not wrong. I usually make this in a 9x13 dish, which feeds about ten people, and there's rarely anything left.
One thing I want you to set expectations around: this takes about 30 minutes of active work, but you need to plan for at least 6 hours of chilling time, preferably overnight. If you're making it for a dinner party on Saturday, make it Friday night. I always do. The layers settle, the flavours deepen, and it slices cleanly instead of sliding around on the plate.
Why You'll Love This Recipe
- No oven required: This is entirely no-bake, which I genuinely appreciate during the summer months in Pakistan when turning on the oven feels like a punishment. The only heat involved is the double boiler for the eggs, and that takes maybe ten minutes. Everything else is mixing, layering, and waiting.
- It actually gets better overnight: I can't think of many desserts where making it ahead is a genuine improvement rather than just convenient. With tiramisu, the ladyfingers absorb the coffee slowly, the mascarpone cream firms up into something sliceable, and the whole thing tastes more cohesive than it does at the four-hour mark. Make it the night before and you'll be glad you did.
- The ingredients are simple and findable: Mascarpone sounds intimidating but you'll find it at most regular grocery stores — Walmart usually carries it, and Trader Joe's always has it. Ladyfingers (sold as savoiardi) are in the cookie aisle or international foods section. You don't need anything specialty or hard to track down.
- It feeds a crowd from one dish: A 9x13 dish serves ten people comfortably, and I've never once had leftovers when I bring this to a gathering. It's the kind of dessert that looks like you spent all day on it, but the actual hands-on time is maybe half an hour. That ratio of effort to impression is hard to beat.
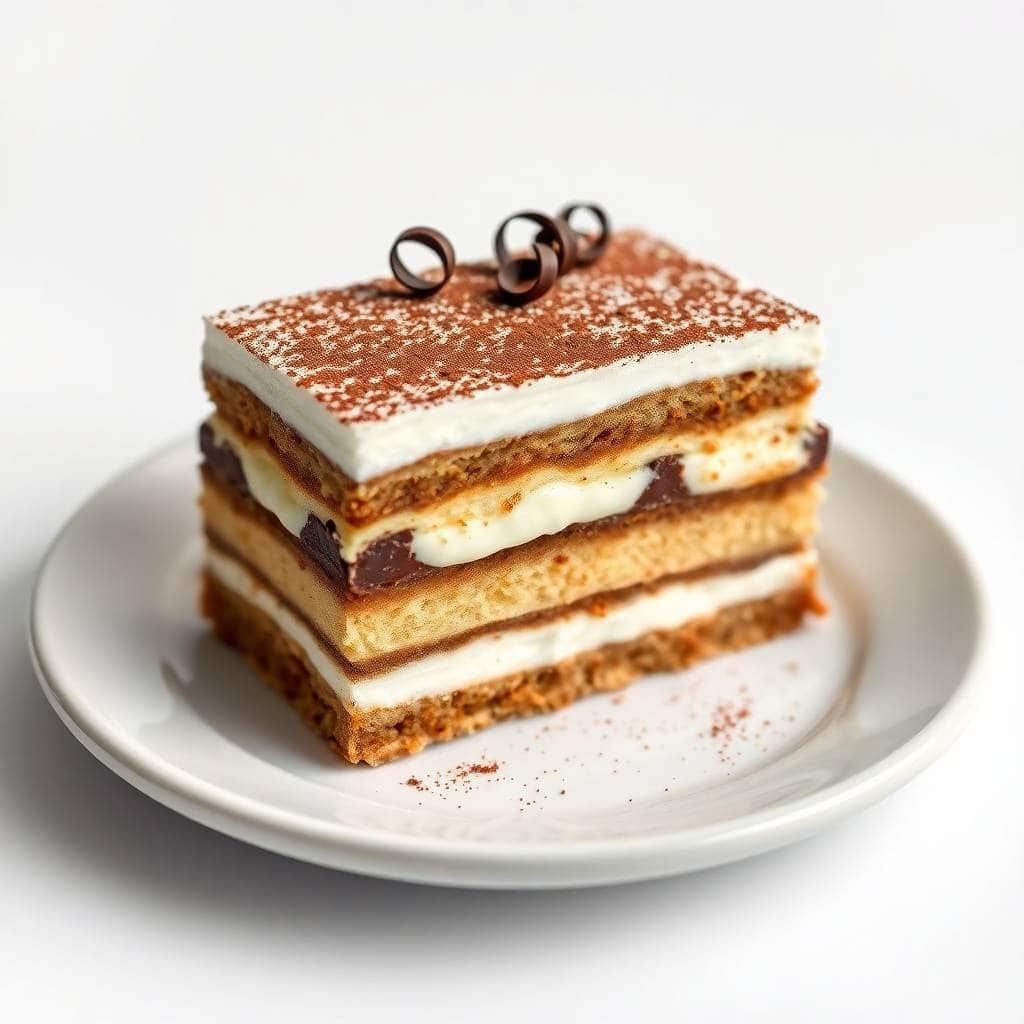
- The coffee and cream balance is genuinely satisfying: I know "balanced flavours" sounds like something a food reviewer says, so let me be specific: the espresso is strong and slightly bitter, the mascarpone cream is rich but not cloying, and the cocoa on top cuts through both. It doesn't taste too sweet the way a lot of desserts do. My husband, who doesn't have a huge sweet tooth, asks for second servings of this one.
Ingredients
- 6 large egg yolks
- ¾ cup granulated sugar
- 1 cup heavy cream
- 16 oz mascarpone cheese, room temperature
- 1 ½ cups brewed espresso or very strong coffee, cooled
- ¼ cup coffee liqueur such as Kahlúa (optional)
- 2 packs (about 7 oz each) Italian ladyfinger cookies (savoiardi)
- Unsweetened cocoa powder, for dusting
- Dark chocolate shavings, optional for garnish
Directions
- Cook the egg yolks: In a heatproof bowl, whisk together the egg yolks and sugar. Set the bowl over a pot of gently simmering water — the bowl shouldn't touch the water. Whisk constantly for about 8–10 minutes until the mixture turns thick, pale, and nearly doubled in volume. This step partially cooks the eggs and creates the stable base the whole dessert depends on. Remove from heat and let it cool for at least 10 minutes before the next step.
- Fold in the mascarpone: Once the egg mixture has cooled enough that it's no longer warm to the touch, gently fold in the mascarpone until smooth and fully combined. Don't rush this — if the egg mixture is too hot, the mascarpone will melt and turn grainy. Take your time and use a spatula in wide, sweeping folds.
- Whip the cream: In a separate cold bowl, beat the heavy cream to stiff peaks. I use a hand mixer on medium-high for about 3–4 minutes. Then fold the whipped cream into the mascarpone-egg mixture in two additions, keeping it as airy as possible. You want a light, mousse-like cream — not dense or deflated.
- Prepare the coffee dipping mixture: Combine the cooled espresso and coffee liqueur (if using) in a shallow dish wide enough to dip the ladyfingers. Make sure the espresso is fully cooled — warm espresso will make the ladyfingers fall apart immediately.
- Dip the ladyfingers for the first layer: Working quickly, dip each ladyfinger into the coffee mixture for no more than 1–2 seconds per side. They should be moist but not soggy — they'll soften further during the chill time. Arrange them in a single layer across the bottom of a 9x13 dish.
- Spread the first cream layer: Spoon half the mascarpone cream over the ladyfingers and spread it evenly with a spatula. Try to get it into an even layer without disturbing the ladyfingers underneath.
- Build the second layer: Repeat with the remaining ladyfingers (dipped the same way) and spread the rest of the cream on top, smoothing the surface as flat as you can manage. A flat surface makes the cocoa dusting look much cleaner.
- Chill and finish: Cover tightly with plastic wrap and refrigerate for at least 6 hours — overnight is genuinely better. When you're ready to serve, dust generously with unsweetened cocoa powder through a fine mesh sieve. Add chocolate shavings if you like. Slice and serve cold.
Tips for Success
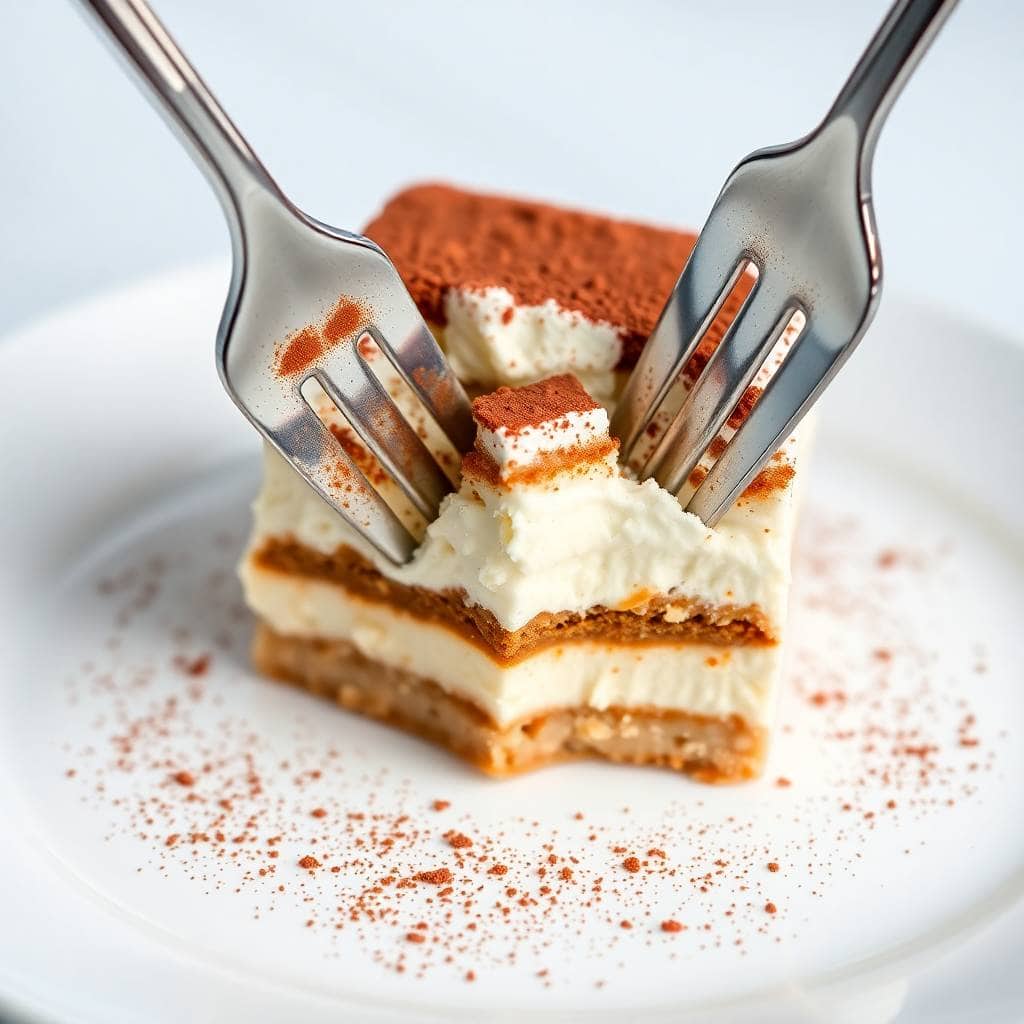
- Don't skip cooling the egg mixture: I learned this the hard way — if you fold mascarpone into a still-warm egg mixture, the fat in the mascarpone starts to melt and you end up with something grainy and slightly curdled. It happened to me on my second attempt and I was devastated. Give the egg mixture a full 10 minutes to cool, stirring occasionally. It should feel just barely warm, not hot, before you add the mascarpone.
- Brew your espresso stronger than you think: Ladyfingers absorb a lot of liquid and if your coffee is weak, the flavour won't come through in the finished dessert. If you don't have an espresso machine, make very strong drip coffee (use double the coffee grounds) or use instant espresso powder dissolved in hot water. Nescafé Gold works fine in a pinch — just make it very concentrated.
- The dip is a quick dip, not a soak: One second per side, maybe two. I used to hold them in the coffee because I thought more moisture meant more flavour — it doesn't. It means soggy ladyfingers that disintegrate when you try to serve a slice. They'll continue absorbing moisture during the 6+ hours in the fridge. Trust the process.
- Dust the cocoa right before serving: If you dust it ahead of time, the cocoa absorbs moisture from the cream and turns dark and slightly wet-looking after a few hours. It still tastes fine but it looks much less attractive. I keep my sieve and cocoa right next to the dish in the fridge and dust it at the table if I'm serving to guests.
- Use room-temperature mascarpone: Cold mascarpone straight from the fridge is much harder to fold smoothly — it can leave lumps in the cream no matter how carefully you work. Pull it out about 20–30 minutes before you start. Same goes for the mascarpone going into the egg mixture; it needs to be pliable enough to incorporate without over-mixing.
Variations
- Make it alcohol-free: Just leave out the liqueur entirely and add a tiny splash of vanilla extract to the espresso instead. The vanilla adds a subtle warmth that works well with the coffee flavour without any booze. This is how I make it when I know kids or non-drinkers will be at the table, and honestly I sometimes prefer it this way.
- Serve in individual glasses or jars: Instead of a big dish, layer everything into small mason jars or dessert glasses. This is great for dinner parties because each person gets their own portion with no slicing required. It also looks really nice on a dessert table. I've done this for Eid gatherings and it went down very well. If you enjoy single-serving desserts like this, my Andes Mint Mini Cheesecakes use a similar concept.
- Add a berry layer: Spread a thin layer of fresh raspberries or sliced strawberries between the two cream layers. The fruit cuts through the richness nicely and adds some brightness. I tried this on a whim last summer and it was a hit — the combination of coffee, cream, and tart berries works better than you'd expect.
- Try a hazelnut or almond liqueur: If you're using alcohol, Frangelico (hazelnut) or Amaretto (almond) in place of the coffee liqueur gives the tiramisu a different kind of warmth and nuttiness. It's not the traditional Italian version, but it's genuinely good. My husband tried the Amaretto version and immediately asked me to make it again that way.
- Add cinnamon to the cocoa dusting: Mix a small pinch of ground cinnamon into the cocoa powder before dusting. It adds a barely-there warmth that pairs really nicely with the coffee flavour — a bit like a Mexican mocha. Start with about ¼ teaspoon of cinnamon for every 2 tablespoons of cocoa and adjust to your taste.
Serving and Storage
Serving
Serve the tiramisu cold, straight from the fridge. Use a sharp knife or a metal spatula to cut clean squares — run the knife under hot water and wipe it dry between cuts if you want particularly neat slices. Dust with cocoa powder right before serving (not hours ahead), and add chocolate shavings if you like a bit of extra texture on top. This serves about 10 people from a 9x13 dish, or 12 if you're cutting smaller portions. I usually pair it with espresso or a strong coffee on the side — it makes the dessert feel properly Italian.
Storage
Cover the dish tightly with plastic wrap and store in the refrigerator for up to 4 days. It honestly tastes best on day two, when everything has had time to settle. I don't recommend freezing tiramisu — mascarpone doesn't hold up well to freezing and thawing; the texture turns grainy and separates in a way that no amount of stirring will fix. Keep it cold and eat it within a few days. If you're making individual jar portions, just cap the jars and they store just as well.
Frequently Asked Questions
Can I use cream cheese instead of mascarpone?
I wouldn't. Cream cheese is denser and more tangy than mascarpone, and it changes the flavour of the dessert noticeably. Mascarpone has a mild, buttery richness that you really can't replicate with cream cheese. It's worth tracking down the real thing — most Walmart, Trader Joe's, and Whole Foods locations carry it in the specialty cheese section.
Is it safe to eat the eggs if they're not fully cooked?
The double boiler method gently heats the egg yolks to a temperature that significantly reduces the risk from raw eggs — you're whisking them over simmering water for 8–10 minutes, which raises the temperature enough to matter. That said, if you're serving to pregnant women, young children, or immunocompromised individuals, you can use pasteurized eggs, which are available at most major grocery stores.
How long does tiramisu need to chill before serving?
At minimum, 6 hours. Overnight is genuinely better — I've served it at the 6-hour mark and it's good, but at the 12-hour mark it's noticeably more set and the layers have more definition. If you're making it for a dinner party, assemble it the night before and don't touch it until you're ready to dust and serve.
Can I make this without alcohol?
Yes, completely. Just skip the liqueur and use straight espresso or strong coffee for dipping. I add a tiny splash of vanilla extract to the coffee when I make the alcohol-free version — it's a small thing but it adds a bit of warmth. The tiramisu is completely delicious without any alcohol at all.
What size dish should I use?
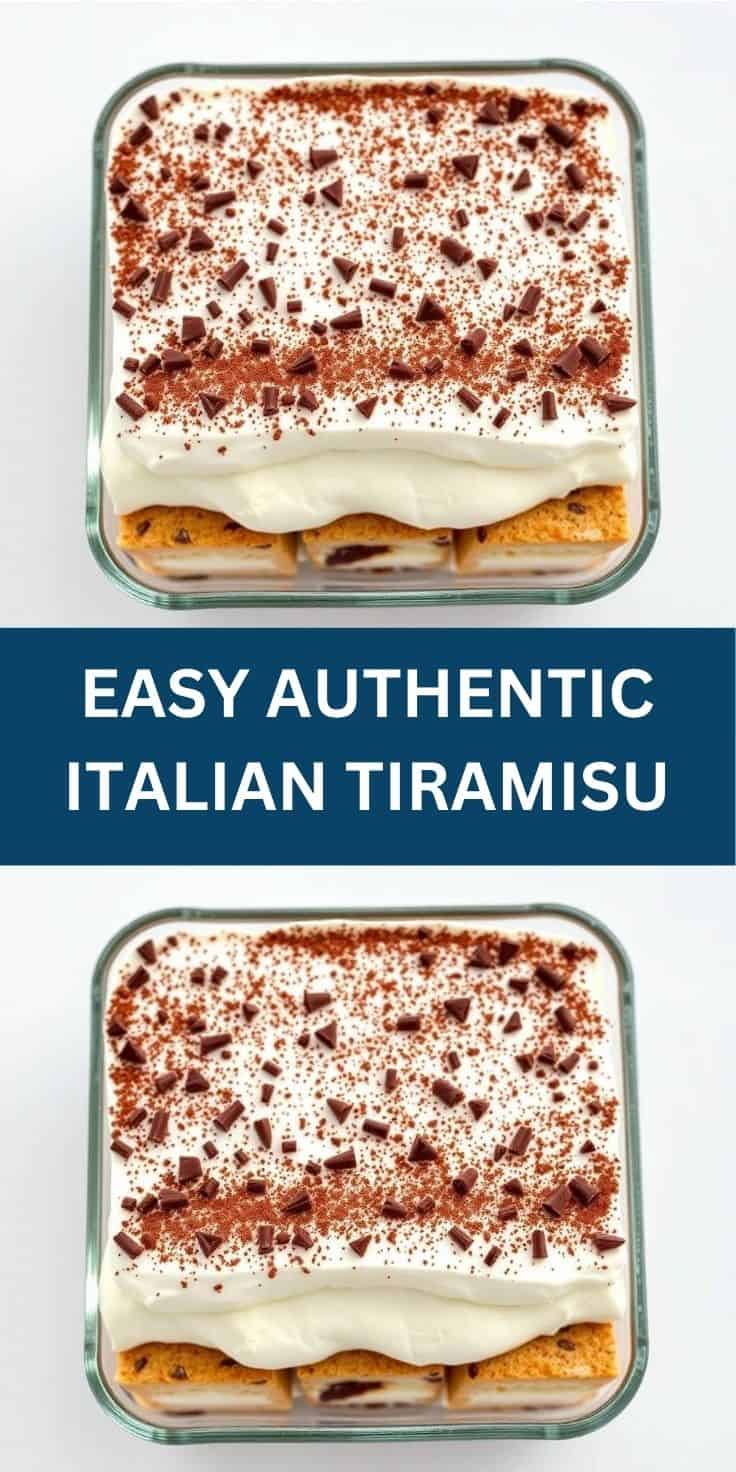
A 9x13 inch glass or ceramic baking dish is ideal — it gives you two even layers with a good ratio of ladyfinger to cream. If you want a thicker tiramisu with more pronounced layers, an 8x8 or 9x9 dish works but you may have extra ladyfingers left over. Individual glasses or mason jars are also a great option if you want built-in portion control.
EASY AUTHENTIC ITALIAN TIRAMISU
Ingredients
- 6 large egg yolks
- ¾ cup granulated sugar
- 1 cup heavy cream
- 16 oz mascarpone cheese room temperature
- 1 ½ cups brewed espresso or strong coffee cooled
- ¼ cup coffee liqueur optional
- 2 packs about 7 oz each Italian ladyfinger cookies (savoiardi)
- Unsweetened cocoa powder for dusting
- Dark chocolate shavings optional
Instructions
Make the Cream:
- In a bowl, whisk egg yolks and sugar over a double boiler until thick and pale (about 8–10 minutes). Cool slightly. In another bowl, whip cream to stiff peaks. Gently fold in mascarpone, then fold in the cooled egg mixture.
Prepare Coffee Mix:
- Combine cooled espresso with liqueur (if using). Quickly dip ladyfingers one at a time—do not soak.
Assemble Layers:
- In a 9x13 dish, layer half the dipped ladyfingers. Spread half the mascarpone cream over them. Repeat with remaining ladyfingers and cream.
Chill:
- Cover and refrigerate for at least 6 hours or overnight.
Serve:
- Dust with cocoa powder before serving. Add chocolate shavings if desired.
Notes
Alcohol-Free Version: Omit liqueur and use extra espresso.
Serving Suggestions: Serve chilled, dusted with cocoa or topped with berries.
Storage Tips: Keep refrigerated up to 4 days. Not recommended for freezing due to texture changes.
Tiramisu is one of those recipes I keep coming back to because it genuinely delivers every single time. Once I sorted out the technique — the double boiler, the quick dip, the overnight chill — it became the dessert I make when I want to feed people well without spending the whole day in the kitchen. It looks like effort. It tastes like effort. But it really isn't that hard once you understand why each step is there.
I want to be clear that I'm not Italian and I didn't grow up eating this — I came to tiramisu as an adult who was curious about it and stubborn enough to keep trying until I got it right. If you're in the same boat, don't let the fancy name intimidate you. The ingredients are straightforward, there's no baking, and the worst that can happen is soggy ladyfingers (which still taste good, just aren't pretty). If you enjoy no-bake desserts for entertaining, my Mini Lemon Drop Cakes and Blueberry Heaven Cookies are also worth bookmarking for your next gathering.
Make this on a Friday night, let it sit in the fridge until Saturday dinner, and dust the cocoa right before you bring it to the table. That's the whole plan. It slices cleanly, it serves a crowd, and it keeps in the fridge for days — though in my house it has never once lasted that long. 🍫☕✨
If you made this and loved it, here are a few more recipes from my kitchen you might want to try next:
- Andes Mint Mini Cheesecakes — individual no-bake cheesecakes that are great for entertaining
- Mini Lemon Drop Cakes — bright, citrusy, and perfect for spring and summer






Comments
No Comments