
My first batch of peanut brittle ended up as a sticky, chewy mess that clung to my teeth like taffy — not the satisfying snap I was going for. The sugar hadn't reached hard crack stage, and I didn't have a candy thermometer, so I was just guessing by color. Rookie mistake, and I won't let you make the same one.
What makes this recipe work is understanding the one thing that matters: temperature. Get your sugar to exactly 300°F and the rest basically takes care of itself. The baking soda at the end is what gives old-fashioned brittle that slightly airy, almost honeycomb-like texture — not dense and glassy, but light enough to snap cleanly. If you've ever bought brittle that was too thick and hard to break, this is a different animal entirely.
I started making this every December as part of our little holiday tin tradition — along with some red hot cinnamon hard candy and a batch of cookies. Saad isn't big on candy in general, but he always sneaks pieces of this brittle off the counter before it's fully cool. My husband likes it with a cup of chai in the evening, broken into small shards. That's just how we eat it around here.
One important heads-up: candy-making moves fast once you hit that temperature. Have your baking sheet greased and ready before you even turn on the stove. Once the sugar hits 300°F, you have maybe 60 seconds to stir in the peanuts, butter, baking soda, and vanilla, and get everything onto the pan. Read through the whole recipe before you start.
Why You'll Love This Recipe
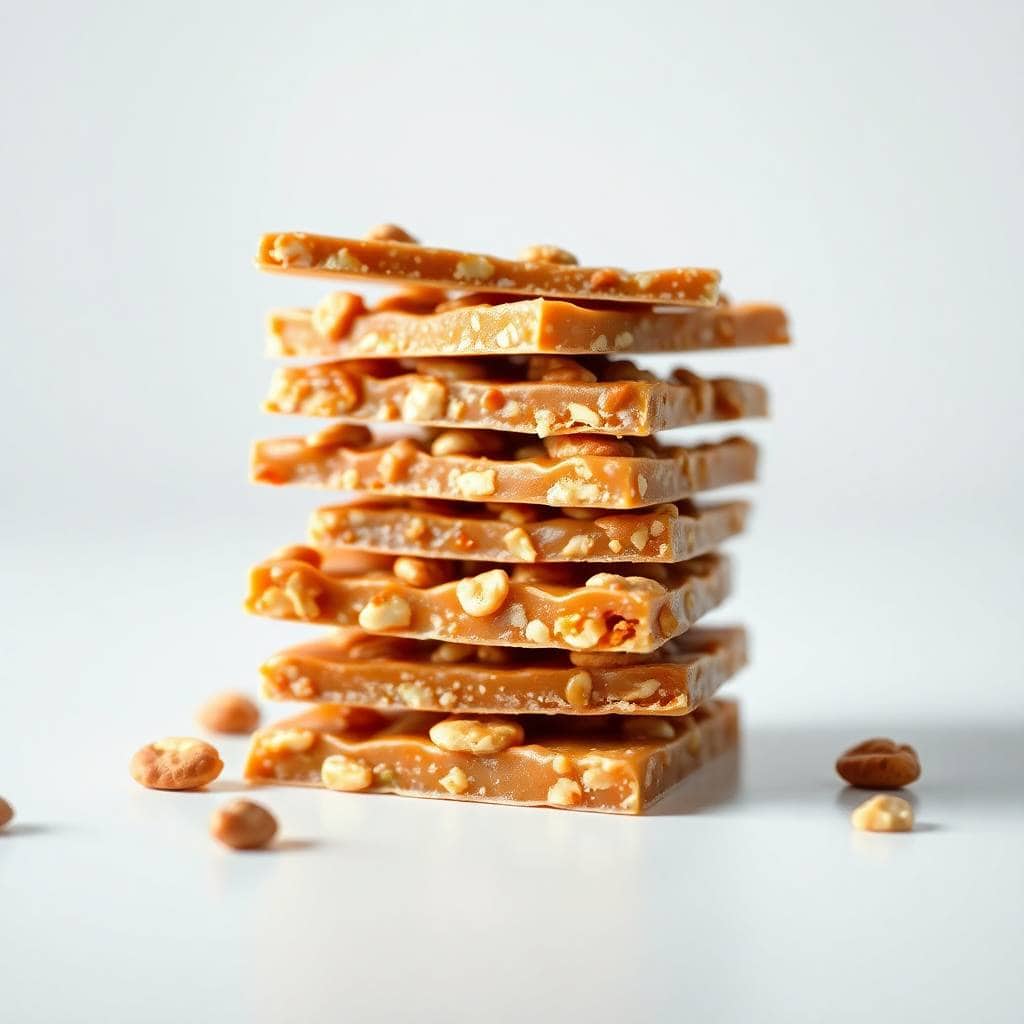
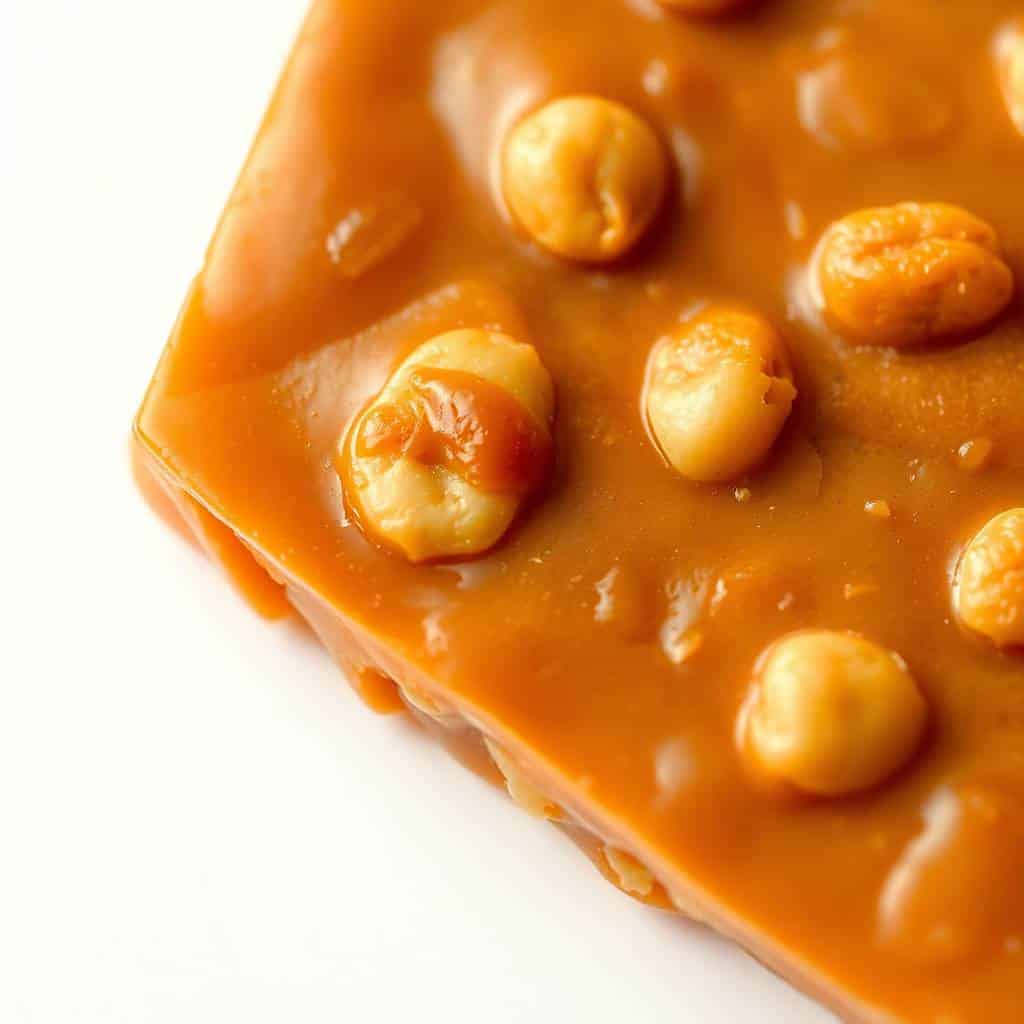
- It actually snaps: The baking soda creates tiny air bubbles in the candy as it cools, which gives you that light, crisp crack instead of a jaw-breaking slab. I didn't understand why baking soda was in a candy recipe the first time I saw it — now I'd never skip it. That step is what separates good brittle from the dense stuff.
- Basic pantry ingredients: Sugar, corn syrup, water, peanuts, butter, baking soda, vanilla. That's it. You probably have all of this already, and nothing here requires a specialty store. I pick up the raw peanuts at Walmart or sometimes Costco in the bulk section.
- It keeps for weeks: Store it in a tin or airtight container and it stays perfectly crisp for 2 to 3 weeks — as long as you keep it away from humidity. This makes it one of the best things to make ahead for gifting because it doesn't go stale the next day like baked goods do.
- Genuinely good for gifting: I pack this into small treat bags or little tins and give them as neighbor gifts around the holidays. It looks impressive, it tastes like something from a specialty candy shop, and it costs almost nothing to make a big batch. Nobody has to know how simple it was.
- Endlessly customizable: Once you have the base recipe down, you can go in a dozen directions — a drizzle of dark chocolate, a sprinkle of flaky sea salt, a pinch of cayenne for heat. I've listed out my favorite variations below. The base is the same every time; the flavor direction is up to you.
Ingredients
- 2 cups granulated sugar
- ½ cup light corn syrup
- ¼ cup water
- ¼ teaspoon salt
- 1½ cups raw peanuts, unsalted
- 2 tablespoons unsalted butter, softened
- 1 teaspoon vanilla extract
- 1 teaspoon baking soda
Directions
- Prepare the pan: Grease a large baking sheet generously with butter or line it with parchment paper. Set it right next to the stove — you'll need to pour fast once the candy is ready, so don't leave this step for later.
- Cook the sugar mixture: In a heavy saucepan (a thick-bottomed pot is important here — thin pans cause uneven heat and scorching), combine the sugar, corn syrup, water, and salt. Cook over medium heat, stirring until the sugar is fully dissolved.
- Add the peanuts and keep cooking: Stir in the raw peanuts. From here, keep cooking and stirring frequently — the peanuts will toast right in the sugar as everything heats up. You're watching for the mixture to reach 300°F (hard crack stage) on a candy thermometer, and for it to turn a deep golden amber color.
- Finish the brittle: Pull the pan off the heat immediately and stir in the butter and vanilla until the butter melts. Then quickly add the baking soda and stir vigorously — the mixture will foam up and lighten in color. This is exactly what you want. Work fast, because it's already starting to set.
- Pour and spread: Pour the foamy mixture onto your prepared baking sheet and spread it out as evenly as you can with the back of a spoon or a heat-safe spatula. Don't fuss with it too long — spread it once and leave it. Trying to go back and re-spread causes it to tear.
- Cool completely: Let the brittle sit at room temperature for at least 45 minutes to an hour until it's fully hardened. Don't touch it, don't move the pan to the fridge — just let it cool naturally. Cold air makes the surface damp and sticky.
- Break into pieces: Once it's completely cool and hardened, pick it up and break it into shards with your hands, or use the back of a knife. Store in an airtight container at room temperature.
Tips for Success
- Use a candy thermometer — seriously: I know it feels fussy, but there's no reliable way to make brittle without one. The difference between 280°F and 300°F is the difference between chewy candy and proper brittle. A basic clip-on candy thermometer from any kitchen store runs about $10 to $12 and makes this recipe foolproof. Don't skip it.
- Do not stir once it's boiling: After the sugar dissolves and the mixture comes to a boil, put the spoon down. Stirring a boiling sugar syrup causes crystallization — you'll end up with grainy, cloudy candy instead of clear caramel. Once the peanuts are in you can stir occasionally, but during the initial boil, just watch and wait.
- Add baking soda gently but quickly: Stir the baking soda in with a light hand — you want to keep as many of those air bubbles as possible, because that's what makes the brittle light. But you also can't take your time about it. Stir just enough to incorporate it and then get the mixture onto the pan immediately.
- Humidity is your enemy: I learned this the hard way after making a batch on a rainy afternoon. Sugar is hygroscopic, which means it absorbs moisture from the air, and humid weather will make your brittle go sticky and soft even if you did everything right. On rainy or humid days, consider skipping this recipe or storing the brittle extra carefully with a silica packet in the tin.
- Use a heavy saucepan: A thin-bottomed pot will scorch the sugar on the bottom before the top is fully cooked. I use my heaviest stainless steel saucepan — the kind you'd use for a thick gravy or soup. Cast iron also works if yours is well-seasoned. Whatever you use, it should feel substantial in your hand.
Variations
- Salted peanut brittle: Right after you pour the brittle onto the pan, sprinkle a pinch of flaky sea salt over the top before it sets. The salt cuts through the sweetness in a way that's genuinely addictive. This is my personal favorite version and the one I make most often for gifting.
- Chocolate drizzle: Once the brittle has fully cooled and hardened, melt a handful of dark or milk chocolate chips and drizzle it across the surface with a spoon. Let the chocolate set before breaking into pieces. It makes the whole thing look fancy and tastes amazing — the bitterness of dark chocolate against the sweet caramel is really something. If you love chocolate-peanut combinations, my banana caramel peanut butter cheesecake hits those same notes in a very different way.
- Mixed nut brittle: Swap out some or all of the peanuts for cashews, almonds, or pecans — or use a combination. Pecans give it a slightly buttery, Southern-candy quality. Cashews make it feel a little more delicate. I usually do half peanuts and half cashews when I want to make it feel a bit more special.
- Spicy brittle: Add ¼ teaspoon of cayenne pepper or a pinch of chili powder to the sugar mixture before cooking. You won't notice the heat immediately — it creeps up on you after the sweetness, which makes it genuinely interesting. My husband thinks this version is the best one. I'd say he's not wrong.
- Coconut brittle: Stir in ¼ cup of toasted shredded coconut along with the peanuts. The coconut toasts a bit more as everything cooks, and the flavor it adds is warm and slightly tropical. This one is less traditional but it's become a favorite in our house, especially around the holidays when I want something a little different from the tin.
Serving and Storage
Serving
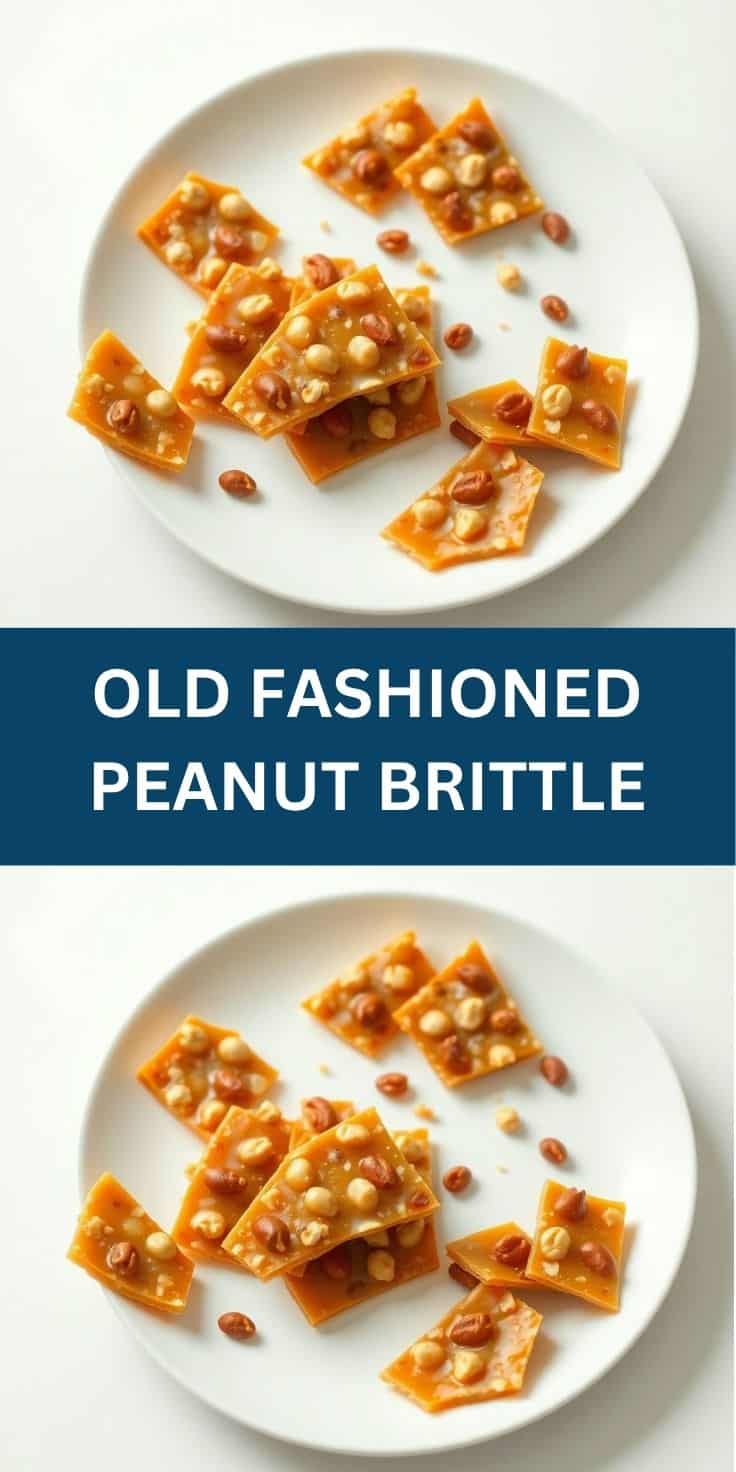
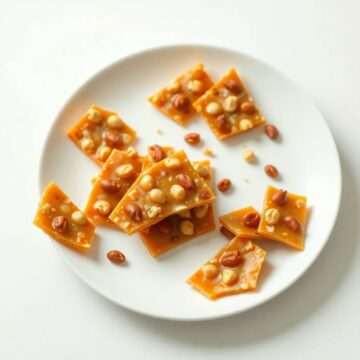
Break the brittle into irregular shards and pile them on a plate or in a bowl — it doesn't need to be neat, and the rustic look is part of the charm. I serve it as-is after dinner with tea or chai, or crush it coarsely and scatter it over vanilla ice cream for a quick dessert. It also makes a great topping for a bowl of frozen yogurt-style desserts if you want something lighter. For holiday gifting, I layer the pieces in a tin with a sheet of parchment between layers so they don't clump together.
Storage
Store in an airtight container at room temperature for up to 2 to 3 weeks. The key is keeping it away from moisture — don't refrigerate it, because the condensation will make it sticky and soft. If you're in a humid climate, add a small food-safe silica packet to the container. Layer pieces with parchment or wax paper so they don't stick together, especially if you've done the chocolate drizzle variation.
Frequently Asked Questions
Can I use salted peanuts instead of unsalted?
You can, but I'd skip the added ¼ teaspoon of salt in the recipe if you do. Salted peanuts will work fine flavor-wise — just taste as you go and don't add extra salt until you know how salty your peanuts already are. Unsalted gives you more control, which is why the recipe calls for them.
My brittle came out sticky and chewy — what went wrong?
Almost certainly the temperature didn't reach 300°F. This is the most common brittle problem, and it happened to me on my first attempt too. At anything below 300°F, the sugar won't set hard — it'll stay soft and tacky. The fix is a candy thermometer and patience. Don't rush the boiling stage.
Can I make peanut brittle without a candy thermometer?
Technically yes, using the cold water test — drop a small amount of the hot sugar into a glass of cold water and see if it forms hard, brittle threads. But honestly, if you're new to candy-making, just get a thermometer. They're inexpensive and they take all the guesswork out. Guessing temperature is exactly how I ruined my first batch.
How do I prevent the sugar from crystallizing?
Two things: make sure the sugar is fully dissolved before you let the mixture come to a boil, and don't stir it once it's boiling. Stirring a boiling sugar syrup introduces crystals and causes the whole batch to go grainy. The corn syrup in this recipe also helps prevent crystallization — it's one of the reasons it's in there.
Can I freeze peanut brittle?
I wouldn't. Freezing introduces moisture, and moisture is what makes brittle go soft and sticky. Since it keeps well at room temperature for 2 to 3 weeks in a sealed container, there's really no need to freeze it. If you want to make it ahead for the holidays, just make it a week or two early and store it in a tin.
OLD FASHIONED PEANUT BRITTLE
Ingredients
- 2 cups granulated sugar
- ½ cup light corn syrup
- ¼ teaspoon salt
- ¼ cup water
- 1 ½ cups raw peanuts unsalted
- 2 tablespoons unsalted butter softened
- 1 teaspoon vanilla extract
- 1 teaspoon baking soda
Instructions
Prepare the Pan:
- Grease a large baking sheet or line with parchment paper. Set aside.
Cook the Sugar Mixture:
- In a heavy saucepan, combine sugar, corn syrup, salt, and water. Cook over medium heat, stirring until sugar dissolves.
Add Peanuts:
- Stir in peanuts. Continue cooking, stirring frequently, until mixture reaches 300°F (hard crack stage) on a candy thermometer or until golden brown and brittle.
Finish the Brittle:
- Remove from heat and immediately stir in butter and vanilla. Then quickly add baking soda and stir vigorously — the mixture will foam.
Pour and Cool:
- Pour mixture onto the prepared baking sheet and spread evenly. Let cool completely until brittle hardens.
Break into Pieces:
- Once cooled, break brittle into small pieces. Store in an airtight container.
Notes
- Make Ahead: Peanut brittle can be made in advance and stored in an airtight container at room temperature for up to 2 weeks.
- Peanut Options: You can use roasted peanuts instead of raw for a deeper flavor, but adjust cooking time accordingly.
- Temperature Tip: Use a candy thermometer for best results to avoid undercooking or burning the brittle.
- Variations: Try substituting peanuts with almonds, cashews, or mixed nuts for a different nutty taste.
- Storage: Keep brittle in a cool, dry place to maintain its crispness and prevent it from becoming sticky.
Peanut brittle is one of those recipes I keep coming back to because it delivers a lot for how little it asks of you. Eight ingredients, one pot, one pan — and the result looks and tastes like something from a proper candy shop. I make a double batch every December because a single batch disappears too fast to actually give any away.
Once you've made it a couple of times you'll start experimenting — the spicy version with cayenne is genuinely worth trying, and the chocolate drizzle variation turns it into something you could serve as a proper dessert. If you're in a candy-making mood and want to try something else from scratch, my slow cooker Cracker Barrel fried apples are a completely different direction but equally easy and crowd-pleasing in the same nostalgic way.
If you make this, the only thing I'd ask is that you trust the thermometer. Don't pull the sugar off the heat early because it looks golden enough — wait for 300°F and you'll get the real snap. That's the whole secret, and now you have it. 🍬✨
If you liked this recipe, you might also want to try these:
- Red Hot Cinnamon Hard Candy — another from-scratch hard candy that's great for holiday tins
- Banana Caramel Peanut Butter Cheesecake — if you love the peanut-caramel combination, this takes it somewhere very different
- Reindeer Macarons — a more involved holiday treat, but absolutely worth the effort
- Chocolate-Stuffed Strawberry Sugar Cookies — for when you want something to bake alongside your brittle batch
- Frozen Yogurt Berry Pops — for the warmer months when you want something cold to crush brittle over





Comments
No Comments