
I started making these cinnamon sugar biscuit bites on a Saturday morning when Zainab was standing in the kitchen asking for "something sweet" at 8am and I had exactly one can of refrigerated biscuit dough in the fridge. Fifteen minutes later she was sitting at the counter eating warm, cinnamon-coated bites straight off the pan. That was six months ago and she still asks for them on weekends.
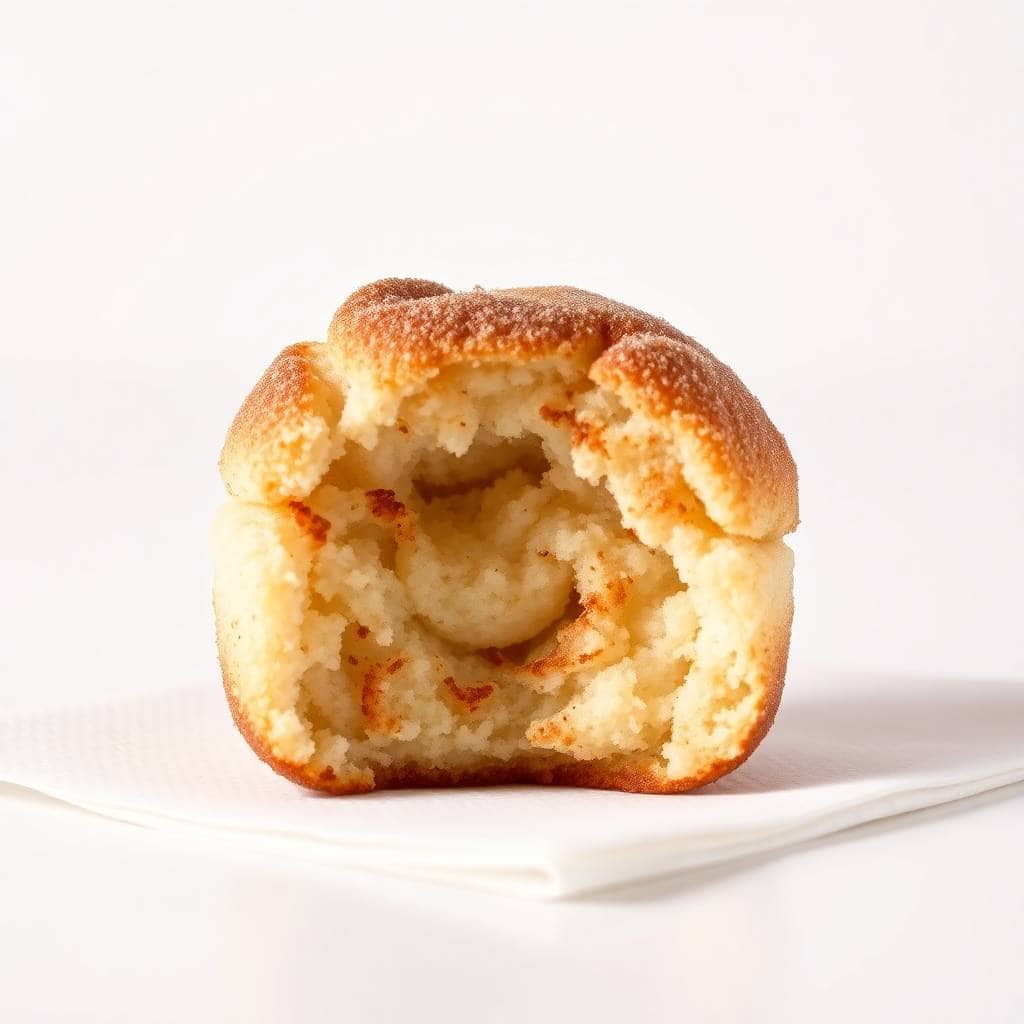
What I like about this recipe is how little can go wrong. You cut the dough, dip in butter, roll in cinnamon sugar, bake. There's no creaming, no chilling, no waiting for anything to come to room temperature. The canned biscuit dough does all the heavy lifting — it puffs up in the oven, the sugar gets a little crispy on the outside, and the inside stays soft. I use the Pillsbury Grands from Walmart but any standard refrigerated biscuit dough works.
These have become my go-to when I need something fast for breakfast or an afternoon snack. If you're looking for something quick to make alongside your morning coffee, these pair really well — or honestly, so do my cake mix sugar cookies if you want something to bake ahead. But for same-morning speed, biscuit bites win every time.
One thing I'll say upfront: these are best eaten warm. Not reheated-warm, fresh-out-of-the-oven warm. They're still fine after they cool down, but that slightly caramelized crust on the outside is best in the first 20 minutes. Plan accordingly — this is not a make-the-night-before situation.

Why You'll Love This Recipe
- Done in under 20 minutes: From opening the can to pulling the pan out of the oven, this is genuinely a 20-minute recipe. I've timed it. The prep takes maybe 5 minutes if you're moving at a normal pace, and the oven does the rest. On rushed mornings when I need something on the table fast, this is what I reach for.
- One can feeds the whole family: A standard 16 oz can gives you 8 biscuits, and when you cut them into quarters you get 32 pieces. That's enough for my family of four with some left over — though I'll be honest, "left over" rarely happens. I make a double batch if we have guests because one disappears before I've even sat down.
- Kids can actually help: The rolling and coating step is perfect for small hands. Zainab has been doing it since she was five — she dips in butter, I let her roll in the cinnamon sugar, she places them on the pan. It keeps her busy and she eats them with 10x more enthusiasm because she "made" them. No sharp knives needed for the coating step.
- No special equipment: I don't own a doughnut fryer or a stand mixer. This recipe needs a baking sheet, a bowl, and a knife to cut the dough. That's genuinely it. Any regular sheet pan from Walmart works fine — I use the same one I use for everything else.
- Easy to customize: The base recipe is cinnamon sugar, but from there you can go a lot of directions — chocolate chips stuffed inside, a drizzle of icing on top, a caramel dipping sauce on the side. I've made the savoury garlic-Parmesan version too and my husband loved those with soup. The dough is just a blank canvas.
Ingredients
- 1 can (16 oz) refrigerated biscuit dough (Pillsbury Grands or similar)
- ¼ cup unsalted butter, melted
- ½ cup granulated sugar
- 1 tablespoon ground cinnamon
- Optional: powdered sugar for dusting, or vanilla glaze for drizzling
Directions
- Preheat the oven: Set your oven to 350°F (175°C) and line a baking sheet with parchment paper. The parchment is worth it here — the sugar melts slightly as it bakes and can stick to an unlined pan. I learned that the first time I made these and had to soak the pan for an hour.
- Cut the biscuits: Open the can and separate the biscuits. Cut each one into 4 pieces — just a simple cross cut works. You can go smaller if you want more pieces, but quarters give you a good puff-to-coating ratio. Keep the dough cold until you're ready to cut; cold dough holds its shape better.
- Mix the cinnamon sugar: In a bowl, stir together the granulated sugar and ground cinnamon until evenly combined. I use a fork and it takes about 10 seconds. Nothing fancy needed here.
- Coat the pieces: Melt your butter in a small bowl. Dip each dough piece in the melted butter, let the excess drip off, then drop it into the cinnamon sugar and roll it around until fully coated. Place each coated piece on the baking sheet with a little space between them — they puff up as they bake and you don't want them fusing together.
- Bake: Bake for 12–15 minutes until golden brown on top and cooked through. Start checking at 12 minutes — ovens vary and the sugar can burn quickly if you push it too far. The bites should look set and slightly puffed, not doughy in the centre.
- Serve: Let them cool for 3–4 minutes before eating. If you want, dust with powdered sugar or drizzle with a simple icing. But honestly, plain is great too.
Tips for Success
- Keep the dough cold until the last second: Refrigerated biscuit dough gets sticky and hard to handle when it warms up. I pull the can out of the fridge right when I'm ready to cut. If it's been sitting on the counter for a while, the pieces can squish rather than hold a clean shape. Cold dough cuts cleanly and holds up better through the coating process.
- Don't skip the spacing on the pan: I made the mistake of crowding the pan once because I was trying to fit a double batch on one sheet. The bites that were touching each other came out steamed and soft on the sides instead of getting that slight crispness. Give each piece at least an inch of space, and use two pans if you need to.
- Watch the oven closely after the 12-minute mark: These can go from perfectly golden to over-baked faster than you'd expect because the sugar conducts heat. I stay near the oven for the last few minutes. They're done when the tops look golden — not pale, not dark brown. If your oven runs hot, check at 11 minutes.
- Coat in butter before the sugar, not after: This sounds obvious but I've seen people try to combine the butter and sugar into a paste and coat all at once. It doesn't work as well — the coating gets uneven and clumpy. The butter-first method lets the dry cinnamon sugar stick in an even layer all the way around the dough.
- Use parchment paper, not foil: Foil can cause the bottoms to brown too fast because it conducts heat more than parchment. I always use parchment for this recipe. It also makes cleanup a one-second job — just lift and toss the paper. The $5 roll from Costco lasts me months.
Variations
- Chocolate chip stuffed: Before coating, flatten each dough piece slightly and press 3–4 mini chocolate chips into the centre, then fold the dough around them and pinch closed. Then coat in butter and cinnamon sugar as normal. The chips melt inside as they bake and you get a little molten chocolate surprise in the middle. Zainab would eat these every single day if I let her.
- Brown sugar coating: Swap the granulated sugar for light brown sugar in the cinnamon mixture. It gives the coating a slightly deeper, more caramel-like flavour and the outside gets a little chewier. My husband prefers this version — he says it reminds him of cinnamon rolls more than doughnuts.
- Add nutmeg or cardamom: Mix a pinch of ground nutmeg or cardamom into the cinnamon sugar. In Pakistan, cardamom is in everything sweet, so I sometimes add just ⅛ teaspoon. It's subtle but it gives the bites a slightly more aromatic quality. Not traditional, but it's my version and I like it.
- Glaze drizzle: Mix ½ cup powdered sugar with 1–2 tablespoons milk until you get a thick pourable glaze, then drizzle it over the warm bites with a spoon. It sets into a thin sweet shell as it cools. If you like this kind of thing, check out my peppermint snowball cookies — similar idea with a powdered sugar coating.
- Air fryer version: If you have an air fryer, cook the coated pieces at 350°F for 6–8 minutes, flipping once halfway through. The outside gets crispier than the oven version. I've done this when I don't want to heat up the whole oven for a small batch — works great.
Serving and Storage
Serving
Serve warm, ideally within 15–20 minutes of coming out of the oven. They work as a breakfast treat alongside coffee or tea, or as an afternoon snack. For a dessert spread, put out a small bowl of caramel sauce or vanilla glaze for dipping. If you're making these for kids, they're poppable and easy to eat without utensils — great for after-school snacks. They also go well on a brunch table next to fruit or eggs if you want a little sweet alongside savory.
Storage
Store leftovers in an airtight container at room temperature for up to 2 days. They soften as they sit — the outer coating loses some of its crispness but the inside stays tender. To refresh them, pop them in a 300°F oven for 4–5 minutes or give them 15–20 seconds in the microwave. I wouldn't freeze these; the texture after thawing isn't great. They're a fresh-batch situation — which is fine because they take 20 minutes start to finish anyway.

Frequently Asked Questions
Can I use homemade biscuit dough instead of canned?
Yes, homemade dough works fine. Just make sure it's a standard butter biscuit dough — something fairly sturdy that holds its shape when cut. Cut into roughly 1-inch pieces and proceed the same way. The bake time might vary slightly depending on how thick your dough is, so start checking at 10 minutes.
Can I make these ahead of time?
You can coat the biscuit pieces in butter and cinnamon sugar and refrigerate them on the baking sheet for a few hours before baking. Cover the tray with plastic wrap. When you're ready, bake straight from the fridge — you might need an extra minute or two since the dough is cold. I wouldn't prep them the night before though; the dough can get a bit soggy sitting in the coating too long.
Can I make a dairy-free version?
Yes — swap the butter for any dairy-free alternative like melted coconut oil or a vegan butter substitute. Coconut oil actually works really well here and adds a faint coconut flavour that pairs nicely with the cinnamon. The rest of the recipe is naturally dairy-free.
How do I know when they're done baking?
Look for a golden brown colour on top and a slightly set, non-doughy appearance. If you press the top gently and it springs back, they're done. If it leaves a dent, give it another minute. Every oven is different — mine runs slightly hot so I always check at 11 minutes. Don't rely purely on the time listed; use your eyes.
Can I add frosting or a glaze on top?
Absolutely. A simple powdered sugar glaze — just powdered sugar mixed with a splash of milk — drizzled over the warm bites takes them from snack to proper dessert. Cream cheese frosting works too if you want something richer. Let the bites cool for about 5 minutes before drizzling so the glaze sets on the surface rather than sliding straight off.
I've made a lot of quick baked things over the years — cookies, muffins, scones — and these biscuit bites are genuinely one of the simplest. Not simple in a "settling for less" way, but simple in the way where every step makes sense and nothing can really go wrong if you follow the basics. That matters to me on weekend mornings when I haven't had my coffee yet.
What I keep coming back to is how well they work for different situations. Saturday morning with my kids? Done. Unexpected guests after dinner who want something sweet? Done. Zainab's school bake sale contribution that I completely forgot about until 7am? Absolutely done. They're not a fancy dessert but they don't need to be. Sometimes the simplest things are what people actually want.
If you're in the mood to bake more sweet things this week, my Easter basket cookies are another easy one that kids love helping with. And if you want something completely different for a weekend brunch spread, my avocado toast with feta and cherry tomatoes is what I make when I want something savory on the same table as these bites.
These are the kind of recipe I'm glad exists — short ingredient list, no equipment needed, ready before anyone gets too hungry. Make a batch this weekend and see how fast they go. 🍪✨

CINNAMON SUGAR BISCUIT BITES
Ingredients
- 1 can 16 oz refrigerated biscuit dough
- ¼ cup melted butter
- ½ cup granulated sugar
- 1 tablespoon ground cinnamon
Instructions
Preheat Oven:
- Preheat the oven to 350°F (175°C). Line a baking sheet with parchment paper.
Cut Biscuits:
- Separate biscuit dough and cut each biscuit into quarters.
Coat with Butter:
- Dip each piece in melted butter, coating well.
Toss in Cinnamon Sugar:
- In a bowl, mix sugar and cinnamon. Roll each buttered biscuit piece in the cinnamon sugar mixture.
Bake:
- Place coated pieces on the prepared baking sheet. Bake for 12–15 minutes or until golden brown.
Serve:
- Let cool slightly and serve warm.
Notes
- Make Ahead: Coat biscuit pieces in cinnamon sugar and refrigerate before baking.
- Customizing the Flavor: Add a pinch of nutmeg or drizzle with icing after baking.
- Serving Suggestions: Serve with a side of vanilla glaze or warm caramel dip.
- Allergy-Friendly Options: Use dairy-free butter for a vegan version.
- Storage Tips: Store in an airtight container at room temperature for up to 2 days.
If you liked this recipe, here are a few more you might want to try:
- Cake Mix Sugar Cookies — another fast bake with minimal ingredients
- Peppermint Snowball Cookies — soft, powdered sugar coated, and great for sharing
- Easter Basket Cookies — fun to make with kids, just like these bites
- Avocado Toast with Feta, Cherry Tomatoes & Walnuts — if you want something savory on the brunch table





Comments
No Comments