
Every December, I make at least three or four batches of these cookies — and every time, they're gone before I've even finished cooling the last tray. That's how I know this recipe works. Chocolate blossom cookies are one of those things that look impressive on a plate but are genuinely straightforward to pull together, even on a busy weeknight when the kids are bouncing off the walls and you promised dessert.
What makes this version specifically worth making is the combination of both granulated and brown sugar in the dough. The brown sugar keeps everything soft and slightly fudgy in the middle — I tried a version with only white sugar once and the cookies came out flatter and crisper than I wanted. Rolling the dough balls in granulated sugar before baking also gives you that thin, slightly crinkled exterior that holds its shape when you press the kiss in right after baking.
Zainab helps me press the kisses in. She takes that job very seriously and gets upset if I do it without her. Saad's role is quality control — meaning he eats the ones that crack too much. We make these every holiday season without fail, and I've also made them for school bake sales twice. They travel well and stack neatly in a tin, which matters when you're packing thirty cookies into a box.
One thing worth knowing before you start: unwrap your chocolate kisses before you put the dough in the oven. I know that sounds obvious, but the first time I made these, I had to frantically unwrap thirty kisses while the cookies were cooling and I missed the window on a few of them. The kiss needs to go in while the cookie is still hot. If you're in a baking mood and want something equally fun to decorate, my Tie Dye Cookies with Swirled Color Dough are great to make alongside these for a mixed cookie platter.
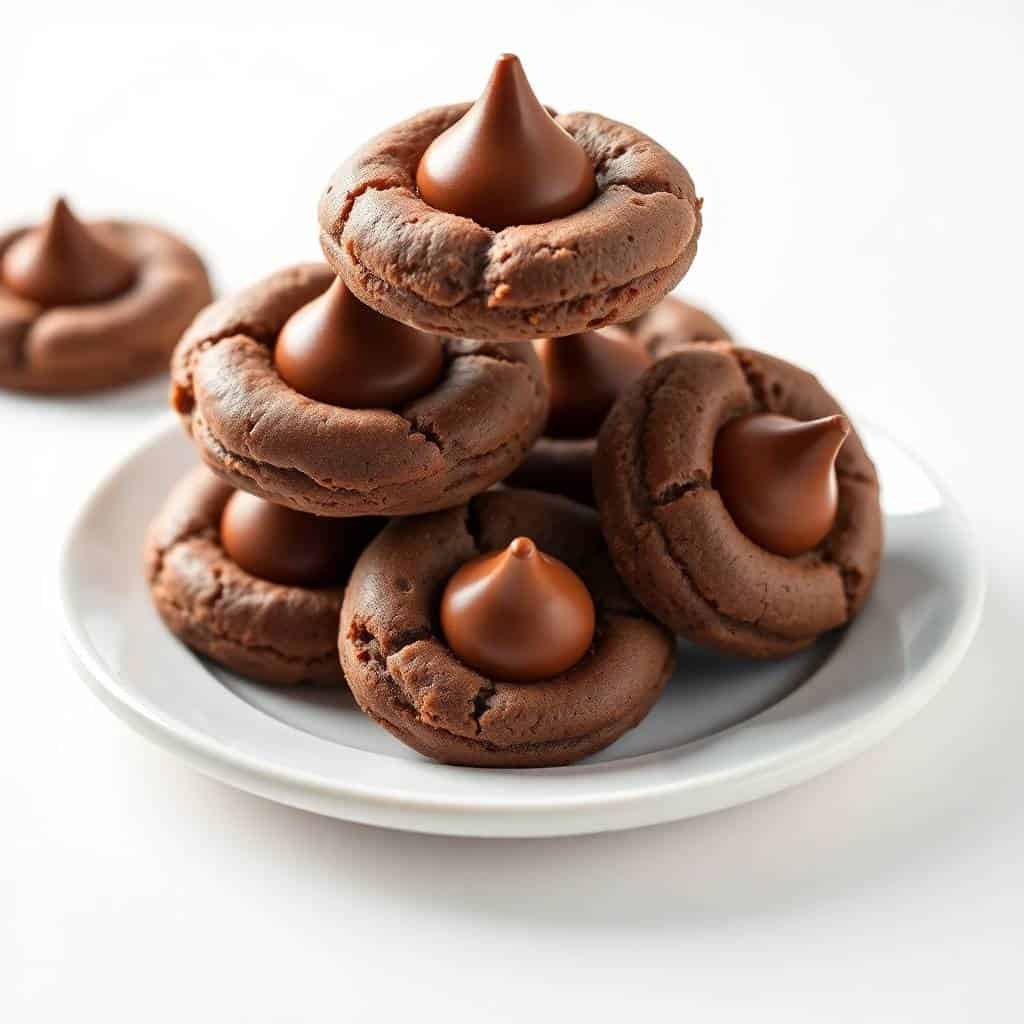
Why You'll Love This Recipe
- The dough uses pantry staples: No special ingredients, no trip to a specialty store. Flour, cocoa powder, butter, eggs, sugar — things most of us have on hand. I've made these at 9pm on a Tuesday because I needed something for the next morning and it all came together in about 20 minutes of active work.
- The texture is genuinely fudgy: Not cakey, not crispy — properly soft and dense in the center. That comes from not overbaking and from the brown sugar in the dough. They stay soft for days in an airtight container, which makes them one of the better cookies I know for gifting.
- They look like you put effort in: The crinkled top, the glossy kiss in the center, the sugar coating — they genuinely look bakery-level. I brought a tin of these to a holiday gathering last year and three people asked me for the recipe. They don't need to know how fast they come together.
- Kids can actually help: Rolling the dough balls and pressing in the kisses are both tasks small hands can do. Zainab has been doing the kiss-pressing since she was four. It makes her feel like she baked them, which means she's also more invested in telling everyone about them.
- The dough freezes well: I usually make a double batch, bake half, and freeze the rest as pre-rolled balls. Then whenever I need cookies in a hurry, I pull them out, let them thaw for 20 minutes, roll in sugar, and bake. Fresh cookies with almost zero effort.
Ingredients
- 1¼ cups all-purpose flour
- ½ cup unsweetened cocoa powder
- ½ teaspoon baking soda
- ¼ teaspoon salt
- ½ cup (1 stick) unsalted butter, softened
- ½ cup granulated sugar, plus extra for rolling
- ½ cup packed brown sugar
- 1 large egg
- 1 teaspoon vanilla extract
- 30 chocolate kisses, unwrapped (Hershey's Kisses work great — find them at Walmart, Target, or Costco during the holidays)
Directions
- Step 1: Preheat the oven — Set your oven to 350°F (175°C) and line two baking sheets with parchment paper. Parchment makes cleanup easier and keeps the bottoms from getting too dark, which can happen fast with a cocoa-heavy dough.
- Step 2: Mix the dry ingredients — In a medium bowl, whisk together the flour, cocoa powder, baking soda, and salt. Set it aside. Getting the dry ingredients evenly combined before they hit the butter means no pockets of baking soda in the finished cookie.
- Step 3: Cream the butter and sugars — In a large bowl, beat the softened butter with the granulated sugar and brown sugar until it looks light and a bit fluffy — about 2 minutes by hand or with a handheld mixer. Add the egg and vanilla and mix until smooth. I use a wooden spoon for this; no stand mixer needed.
- Step 4: Combine wet and dry — Add the dry ingredients to the butter mixture gradually and stir until a soft dough forms. Don't overmix — once the flour disappears, stop. The dough will feel slightly sticky, which is normal.
- Step 5: Roll in sugar and bake — Roll the dough into 1-inch balls, then roll each one in granulated sugar to coat. Place them on the baking sheet about 2 inches apart and bake for 8–10 minutes. You want the edges to look set but the centers to still seem slightly underdone — they firm up as they cool.
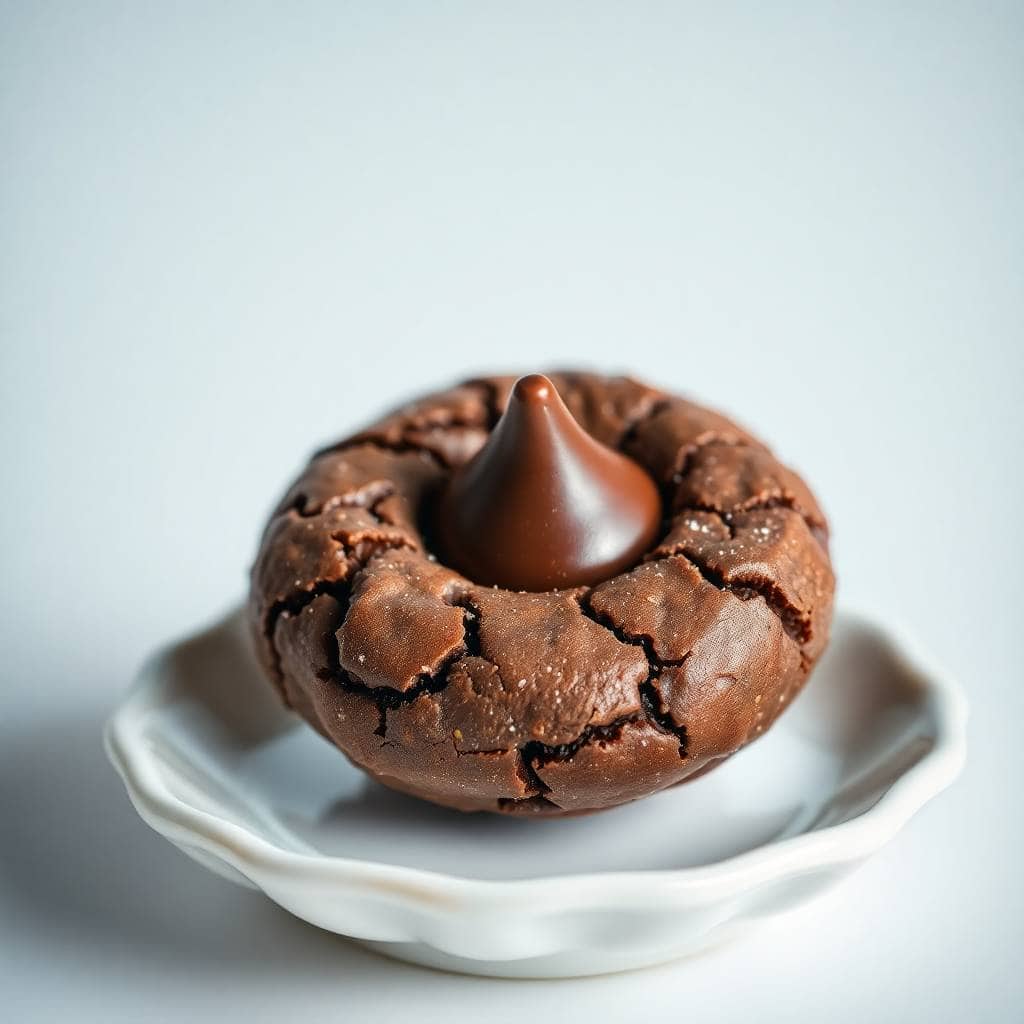
- Step 6: Press in the kiss — The moment the cookies come out of the oven, press a chocolate kiss firmly into the center of each one. The cookie will crack slightly around the edges — that's exactly what you want. Let them sit on the baking sheet for 2–3 minutes, then transfer carefully to a wire rack to cool completely.
Tips for Success
- Unwrap all the kisses before you start baking: I cannot stress this enough. You have about a 30-second window after the cookies come out of the oven to press the kiss in while the cookie is still hot and pliable. If you're fumbling with foil wrappers while the cookies cool down on the tray, you'll miss it. I unwrap mine while the oven preheats and pile them in a little bowl.
- Don't overbake: The first time I made these, I left them in for 12 minutes because they looked underdone. They came out hard and dry by the next day. Pull them when the edges are just set and the centers still look soft — they continue cooking on the hot tray after you take them out. 8–10 minutes is the sweet spot in my oven, but all ovens are different, so check at 8.
- Use room temperature butter: Cold butter won't cream properly and you'll end up with a lumpy dough that bakes unevenly. I leave my butter out for about an hour before I start. If you forgot, cut it into small cubes and microwave in 5-second bursts until it gives a little when you press it — not melted, just soft.
- Chill the dough if it's too sticky to roll: Some days the kitchen is warm and the dough gets soft fast. If it's sticking to your hands too much, just pop the bowl in the fridge for 20 minutes. Chilled dough is also less likely to spread thin in the oven, which means taller, puffier cookies.
- Roll the balls evenly: This matters more than it sounds. Uneven balls mean some cookies are done while others are still raw in the middle. I use a tablespoon measure to scoop consistent amounts — I don't own a cookie scoop, but a plain spoon and eyeballing it works fine if you're patient about it.
Variations
- Mint chocolate version: Use Hershey's Kisses in the mint truffle variety and add ¼ teaspoon of peppermint extract to the dough. This version is big during the holidays at my house — the cocoa dough with the cool mint center is a combination that works really well and makes the whole kitchen smell amazing while they bake.
- Caramel center: Swap the regular chocolate kiss for a caramel-filled Hershey's Kiss. The caramel gets slightly soft when you press it in while the cookie is hot, and it stays gooey at room temperature. My husband's preferred version, honestly.
- Roll in colored sanding sugar: Instead of plain granulated sugar, roll the dough balls in red or green sanding sugar for a holiday look. The crystals are coarser so they add a bit of crunch on the outside. This is a nice option if you're making these for a Christmas platter alongside something like my Spiced Christmas Jam as a gift set.
- Add espresso powder: Stir ½ teaspoon of instant espresso powder into the dry ingredients. You won't taste coffee in the finished cookie — it just deepens the chocolate flavor noticeably. I do this whenever I'm making these for adults rather than kids.
- Peanut butter blossom swap: This isn't my version, but it's worth mentioning — swap the cocoa dough entirely for a classic peanut butter cookie dough (peanut butter, flour, sugar, egg, no cocoa) and use the same chocolate kiss on top. That's the traditional peanut butter blossom, and it's a different cookie altogether but uses the same method. Great if you have someone in the family who doesn't eat chocolate dough.
Serving and Storage
Serving
These are best at room temperature when the kiss has had time to firm back up after baking — give them at least an hour on the cooling rack before you stack them. They're good the next day too, maybe even better once the flavors settle. I serve them on a plate as-is or pack them into a tin layered with parchment for gifting. They fit nicely into holiday cookie boxes alongside something different in texture, like my Mini Cinnamon Roll Cheesecakes.
Storage
Store in an airtight container at room temperature for up to 1 week — they stay soft if the container is actually airtight. For longer storage, freeze the baked cookies in a single layer first, then transfer to a freezer bag. They keep well for up to a month. Thaw at room temperature for about 30 minutes and they taste fresh. You can also freeze the unbaked dough balls (before rolling in sugar) for up to a month. Roll in sugar and bake straight from frozen, adding 2 extra minutes to the bake time.

Frequently Asked Questions
Can I make the dough ahead of time?
Yes — the dough keeps in the fridge for up to 2 days, covered tightly. When you're ready to bake, let it sit at room temperature for about 10 minutes so it softens enough to roll into balls. You can also freeze the dough for up to a month — I roll it into balls first, freeze them on a tray, then transfer to a bag. Bake from frozen at 350°F with 2 extra minutes added.
What if I can't find Hershey's Kisses?
Any small chocolate candy that holds its shape will work. Rolo candies pressed in give you a caramel center. You can also just press a few chocolate chips into the top of each cookie — it won't look the same but it tastes fine. I've done this when I ran out of kisses halfway through a batch and didn't want to stop.
Why did my cookies spread too flat?
Usually this means the butter was too warm or the dough was too soft when it went in the oven. Try chilling the shaped dough balls for 20 minutes before baking. Also make sure you're measuring the flour correctly — spoon it into the measuring cup and level it off rather than scooping directly from the bag, which packs in too much.
Do I have to roll them in sugar?
You don't have to, but I'd recommend it. The sugar coating creates that thin crinkled exterior and adds a slight crunch that contrasts nicely with the soft center. Without it the cookies bake fine but look plainer and the texture is more uniformly soft throughout. It takes about 30 extra seconds per batch and is worth it.
Can I use Dutch-process cocoa instead of regular?
Yes, Dutch-process cocoa works here. It gives a slightly darker color and a smoother, less acidic chocolate flavor. Just know that it reacts differently with baking soda than natural cocoa does — the cookies may come out a tiny bit denser, but in my experience the difference is small enough that it won't ruin them. Use whichever you have.
CHOCOLATE BLOSSOM COOKIES
Ingredients
- 1¼ cups all-purpose flour
- ½ cup unsweetened cocoa powder
- ½ teaspoon baking soda
- ¼ teaspoon salt
- ½ cup unsalted butter softened
- ½ cup granulated sugar plus extra for rolling
- ½ cup packed brown sugar
- 1 large egg
- 1 teaspoon vanilla extract
- 30 chocolate kisses unwrapped
Instructions
Preheat Oven:
- Preheat oven to 350°F (175°C). Line baking sheets with parchment paper.
Mix Dry Ingredients:
- In a bowl, whisk together flour, cocoa powder, baking soda, and salt. Set aside.
Cream Butter and Sugars:
- In a large bowl, beat butter, granulated sugar, and brown sugar until fluffy. Add egg and vanilla and mix until smooth.
Combine:
- Gradually add dry ingredients to the wet ingredients and mix until a dough forms.
Shape and Roll:
- Roll dough into 1-inch balls, then roll each ball in extra granulated sugar.
Bake:
- Place on baking sheet 2 inches apart and bake for 8–10 minutes, or until edges are set.
Add Chocolate Kiss:
- Immediately press a chocolate kiss into the center of each cookie. Cool on the sheet for 2–3 minutes, then transfer to a wire rack.
Notes
Customisations: Use flavoured chocolate kisses like caramel or mint for variety.
Serving Suggestions: Great for cookie exchanges, gift boxes, or holiday platters.
Storage Tips: Store in an airtight container at room temperature for up to 1 week.
These cookies have become one of those reliable things I come back to every year without question. The dough takes maybe 15 minutes to put together, baking is fast, and the result is a cookie that genuinely looks like it took more effort than it did. That's the kind of recipe I want in my rotation — especially in December when I'm already juggling twenty other things.
I make a double batch every time now because a single batch disappears in one evening at my house. Half goes to the kids, half ends up in a tin I'm supposedly "saving" but usually raids after they go to bed. If you're making these for a party or a cookie exchange, double it without hesitation — they keep well and you'll be glad you have extras.
If you're building out a holiday baking day, these pair well with something that requires no baking at all on the side — like a jar of my Spiced Christmas Jam, which makes a nice gift alongside a tin of cookies. And if your family is anything like mine and needs a little something savory after all that sweetness, my Mini Cinnamon Roll Cheesecakes are a good follow-up bake for the same day.
I hope these become a regular in your kitchen too. There's something genuinely satisfying about pulling a tray of these out of the oven and pressing that kiss in while everything is hot — it's one of those small kitchen moments that makes all the flour-dusted mess worth it. 🍫✨
If you liked this recipe, here are a few more you might want to try:
- Tie Dye Cookies with Swirled Color Dough (No Special Tools) — great for a mixed holiday cookie platter
- Mini Cinnamon Roll Cheesecakes — bite-sized, bakeable, and just as giftable
- Spiced Christmas Jam — pairs beautifully with homemade cookies in a gift box
- Stromboli Recipe — when you need something savory to balance out the holiday sweets
- Crispy Homemade Egg Rolls (Better Than Takeout) — a crowd-pulling savory option for the same gathering





Comments
No Comments