
Zainab asked me to make "something pink and sparkly" for her friend's birthday — and this cotton candy fudge is what happened. I'd never made fudge with cotton candy flavoring before, and honestly I wasn't sure it would taste like anything other than sugar. It tastes exactly like cotton candy. Creamy, pastel, and genuinely fun to look at.
The base is just white chocolate chips and sweetened condensed milk, melted together until smooth. That's it. You add cotton candy flavoring, split the mixture into two bowls, color one pink and one blue, then drop and swirl them in a lined pan. No baking, no candy thermometer, no special equipment. I used a regular 8x8 baking dish and a wooden skewer to swirl. Works perfectly.
Zainab declared it "the best thing I've ever made" — which is high praise from a seven-year-old who is otherwise very loyal to my chocolate marshmallow swirl cookies. I made a double batch for the birthday party and it was gone before the cake. The moms were eating it too, which I did not expect.
One thing I'll warn you about: gel food coloring is not optional here. I tried liquid food coloring the first time and the colors came out pale and dull — looked more like a pastel watercolor wash than the vivid pink-and-blue swirls I was going for. Gel coloring (I use the Wilton set from Walmart, about $8) gives you those bright, saturated colors that make this fudge actually look like something.
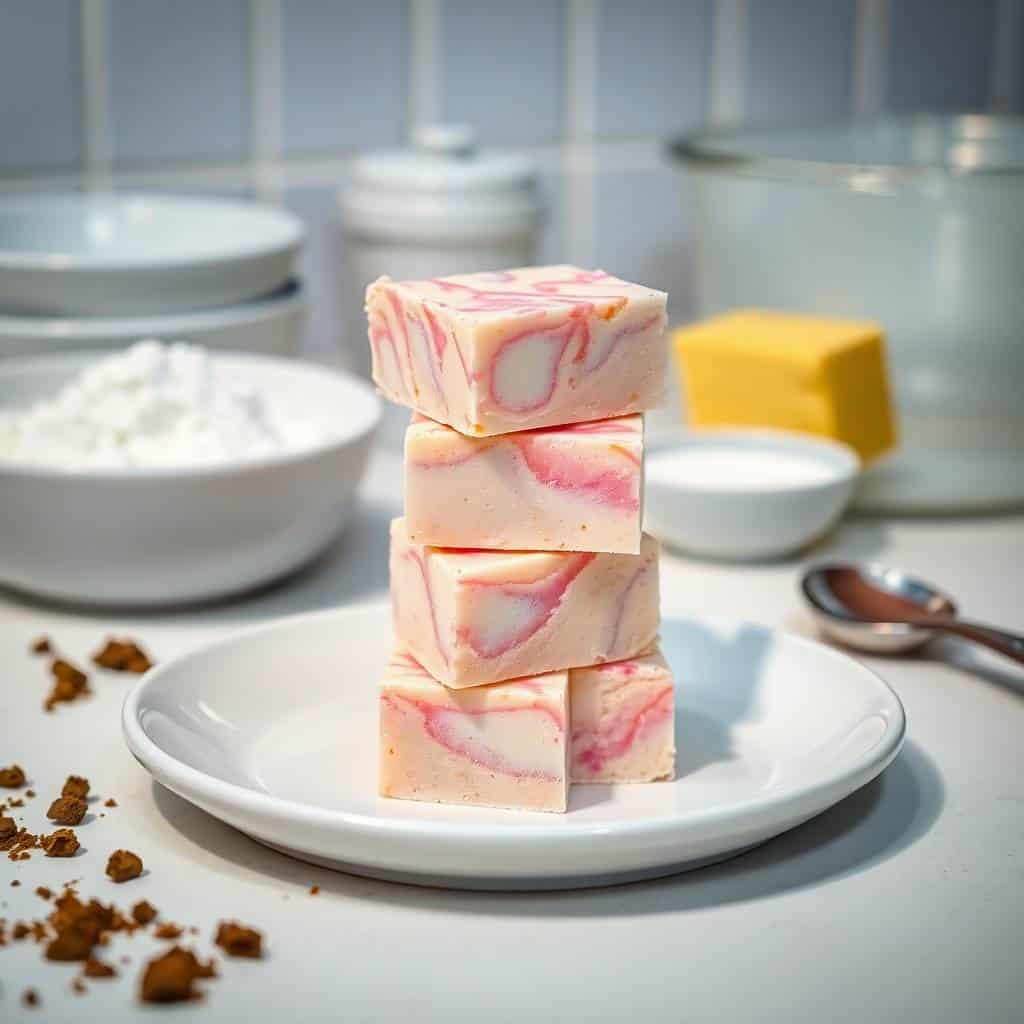
Why You'll Love This Recipe
- No baking, no thermometer, no stress: I used to think fudge required a candy thermometer and careful timing. This one doesn't. You melt two ingredients together in a saucepan, add flavoring and color, swirl, and refrigerate. The whole active process takes maybe 20 minutes, and then the fridge does the work. It's genuinely one of the easiest sweet things I make.
- It actually looks impressive: The pink and blue swirls against the white background make this look like it came from a fancy party shop. I've brought it to two birthday parties now and both times people asked where I bought it. There's something about pastel swirled fudge that reads as expensive and effort-ful even when it wasn't.
- Kids can help make it: Once the chocolate is melted and cooled slightly, kids can stir in the food coloring and do the swirling. Zainab has now made this with me twice. The swirling part is her favorite — she takes it very seriously and has Strong Opinions about how much to swirl. (For the record: not too much. We agree on that.)
- It travels well and wraps beautifully: Cut into small squares, layered in a box with parchment between, this fudge makes a genuinely lovely edible gift. I've gifted it for Eid, for birthdays, and once just because I had extra. It holds its shape well at room temperature for a few hours, which means it survives being transported to a party without turning into a mess.
- You can match it to any occasion: Pink and blue is classic, but I've done purple and yellow for a unicorn-themed party, and all-pink for a baby shower. The base recipe stays the same — just swap the gel colors. If you want a holiday version, swap the colors entirely and check out my Grinch Christmas truffles for more no-bake holiday sweet inspiration.
Ingredients
- 3 cups white chocolate chips (I use Nestlé or Ghirardelli — quality matters here)
- 1 (14 oz) can sweetened condensed milk
- 1 teaspoon cotton candy flavoring extract (find it in baking supply stores or on Amazon)
- 1 teaspoon vanilla extract
- Pink gel food coloring
- Blue gel food coloring
- Sprinkles or edible glitter, optional
Directions
- Step 1: Line the pan. Take an 8x8-inch baking dish and line it with parchment paper, leaving a couple of inches of overhang on the sides. That overhang is how you'll lift the fudge out cleanly later — don't skip it.
- Step 2: Melt the base. In a medium saucepan over low heat, combine the white chocolate chips and sweetened condensed milk. Stir constantly until the mixture is completely smooth and the chocolate is fully melted. Remove from heat immediately — don't let it sit on the burner or it can scorch. Stir in the vanilla extract and cotton candy flavoring.
- Step 3: Divide the mixture. Pour roughly half into each of two separate bowls. Work quickly here — the mixture starts to firm up as it cools, and you want it pourable when you add color.
- Step 4: Add color. Tint one bowl pink and the other blue using gel food coloring. Start with a small amount on a toothpick, stir, and add more until you reach the intensity you want. Gel coloring is concentrated, so a little goes a long way.
- Step 5: Swirl in the pan. Drop spoonfuls of the pink and blue mixtures alternately into the parchment-lined pan. Once all the mixture is in, drag a skewer or butter knife through it in a few slow figure-eight motions to create the swirl effect. Less is more — 3 or 4 passes is enough.
- Step 6: Add toppings. If you're using sprinkles or edible glitter, add them now while the surface is still slightly tacky so they stick.
- Step 7: Chill and cut. Refrigerate for at least 4 hours, or until the fudge is completely firm. Lift out using the parchment overhang and cut into small squares with a sharp knife. Wipe the knife between cuts for cleaner edges.
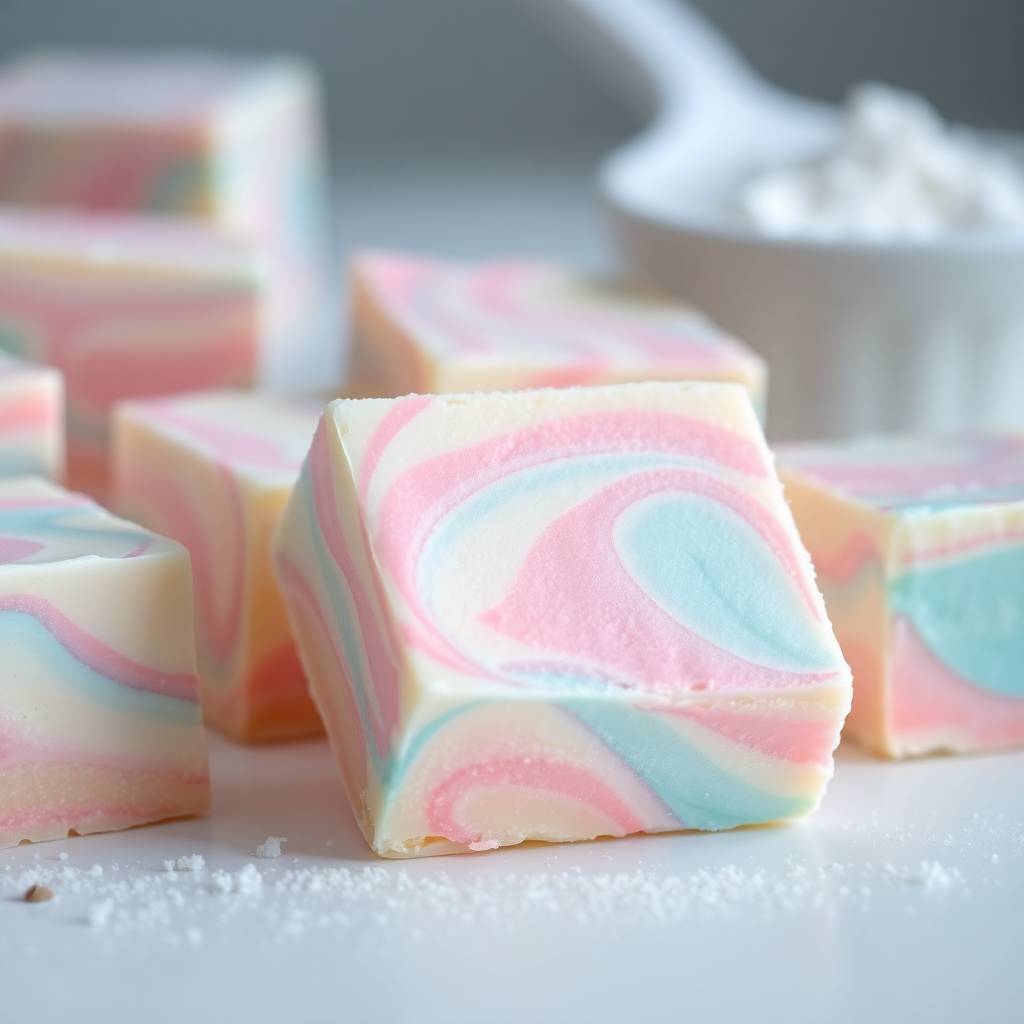
Tips for Success
- Use good white chocolate chips: This is not the place for bargain-bin chips. Cheap white chocolate can be waxy and doesn't melt as smoothly, which affects the texture of the finished fudge. I've had good results with Nestlé, Ghirardelli, and the Trader Joe's white chocolate chips. The extra dollar or two is worth it.
- Don't over-swirl: I over-swirled my first batch and ended up with a grayish-purple blob instead of distinct pink and blue. Three or four gentle passes with the skewer is all you need. The colors should stay mostly separate with just the edges blending. Think marble, not mixed paint.
- Work quickly once you divide the mixture: White chocolate fudge sets up faster than you'd expect as it cools. Once you divide it into the two bowls and add your colors, you have maybe 5 minutes before it starts to thicken too much to drop and swirl nicely. Have your pan ready and your food coloring open before you start melting.
- Chill the full 4 hours: I know the WPRM card says 2 hours and some recipes say 2, but every time I've tried to cut at 2 hours it's still a bit soft in the middle and the squares don't hold their shape cleanly. Four hours in the fridge (or overnight) gives you firm, clean-cut squares. If you're in a rush, 1 hour in the freezer works too.
- Use a warm knife for cutting: Run your knife under hot water, dry it quickly, and then cut. The warmth helps the blade glide through cleanly without cracking or dragging. Wipe between each cut for tidy squares. It makes a big difference if you're planning to gift this or put it on a dessert table.
Variations
- Unicorn fudge: Split the mixture into three bowls instead of two and color them pink, purple, and yellow. Swirl all three together for a unicorn-themed look that works beautifully for kids' birthday parties. Zainab requested this version for her own birthday and it looked genuinely magical on the table.
- Layered fudge (no swirl): Pour one color into the pan, refrigerate for about 45 minutes until just set, then pour the second color on top. You get clean, distinct layers instead of swirls — a different look, equally pretty, and great for a more graphic, modern dessert table aesthetic.
- Strawberry cotton candy: Add a few drops of strawberry extract alongside the cotton candy flavoring and use all-pink coloring. The strawberry adds a fruity note that makes it taste a little less one-dimensional — good if you want a slightly more complex flavor in what is otherwise a very sweet fudge.
- Marshmallow crunch: Fold mini marshmallows into one of the colored bowls before pouring into the pan. They add little pillowy pockets of texture throughout. I've made this version when I ran out of sprinkles and needed some visual interest in the finished squares — it works and it's fun to eat.
- Holiday colors: Swap the pink and blue for red and green at Christmas, or orange and black for Halloween. The cotton candy flavoring stays the same — the color change is all it takes to shift the whole vibe of the fudge. I'll probably make a red-and-green version to go alongside the Grinch truffles this December.
Serving and Storage
Serving
Serve the fudge cold or at cool room temperature — it holds its shape best when chilled. Cut into small squares, about 1 to 1.5 inches each, so they're easy to pick up without a plate. For a party, I arrange them on a white or silver tray so the pastel colors pop. For gifting, I stack them in a small box with parchment between layers and tie it with a ribbon. They also work well on a dessert charcuterie board alongside other no-bake sweets.
Storage
Store in an airtight container in the refrigerator for up to 1 week. Place parchment or wax paper between layers so the squares don't stick to each other. For longer storage, freeze in a single layer on a sheet pan first, then transfer to a zip-lock bag — they keep well frozen for up to 2 months. Thaw in the fridge overnight before serving. I don't recommend leaving them out at room temperature for extended periods in warm weather; white chocolate-based fudge can get a bit soft and sticky.
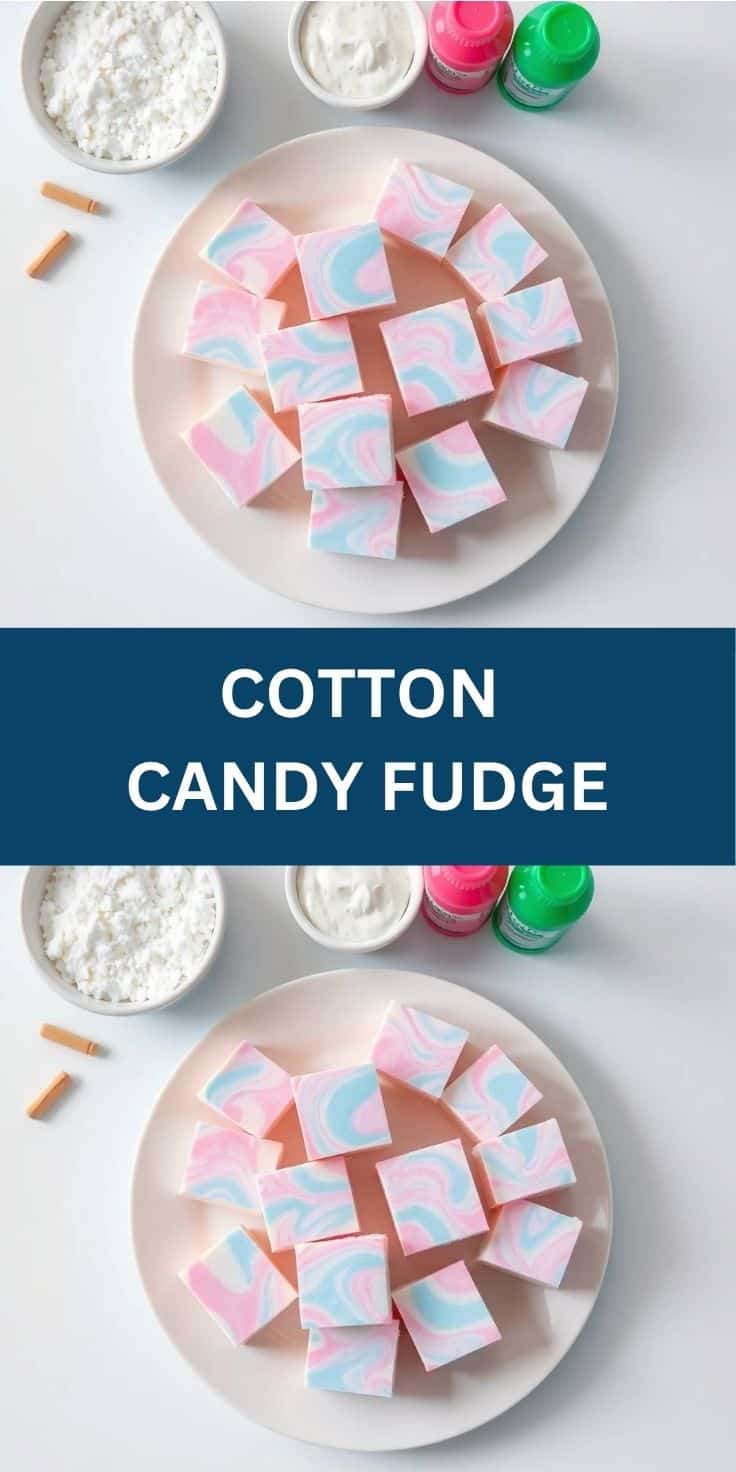
Frequently Asked Questions
Can I use liquid food coloring instead of gel?
You can, but the colors will be noticeably paler. Liquid coloring adds water to the mixture, which can also slightly affect the texture of the fudge and make it a little less smooth. Gel coloring is concentrated, so you get vivid colors without adding much liquid at all. The Wilton gel set at Walmart is inexpensive and works well here.
Where do I find cotton candy flavoring?
Most large grocery stores carry it in the baking aisle near the vanilla extract — look for brands like LorAnn or Wilton. If your local store doesn't stock it, Amazon is the easiest option. It's usually sold as a concentrated flavoring oil or extract, and a small bottle lasts a long time since you only use about a teaspoon per batch.
Can I make this on the stovetop instead of the microwave?
Yes, and honestly I prefer the stovetop method — it gives you more control. Melt the white chocolate chips and sweetened condensed milk together in a saucepan over low heat, stirring constantly until smooth. Remove from heat as soon as it's melted; don't let it keep cooking. The directions in this post are written for stovetop, but if you prefer the microwave, use 30-second bursts and stir between each.
My fudge didn't set — what went wrong?
The most common reason is not enough chilling time. Give it a full 4 hours in the fridge, not 2. If it's still soft after 4 hours, it may be that the chocolate-to-condensed-milk ratio was slightly off — this can happen if you used a smaller can of condensed milk or low-quality white chocolate that didn't set properly. Pop it in the freezer for an hour and it should firm up enough to cut.
Can I make this fudge dairy-free?
Yes — use dairy-free white chocolate chips (Enjoy Life makes a version available at Whole Foods and Target) and a dairy-free sweetened condensed milk (coconut-based versions work well). The texture will be very slightly softer, but it sets fine and tastes good. I haven't tried it myself but I've had readers report success with this swap.
Final Thoughts
This fudge has become my go-to when someone needs a party dessert and I don't have time or energy for baking. It comes together in under half an hour of active work, it looks genuinely beautiful, and it disappears fast — I've never once brought leftovers home from a party. The cotton candy flavor is unexpected in the best way; people can't always place it immediately but they keep reaching for more.
It's also one of those recipes where the process itself is fun. The swirling part is almost meditative — you drag the skewer through and watch the colors blend at the edges without fully mixing, and there's a small satisfaction in getting it right. Zainab calls it "the swirly one" and requests it by name. That's about the highest recommendation I know.
If you're looking for more no-bake sweet ideas for your next party or holiday table, my chocolate marshmallow swirl cookies are another crowd favorite that come together quickly. And if you need something savory to balance all the sugar on the table, my one-pan chicken in basil cream sauce is the kind of thing that saves a dinner party without any stress.
Make the fudge. Swirl it pink and blue. Add the glitter if you have it. Watch it vanish. 🍬✨
COTTON CANDY FUDGE
Ingredients
- 3 cups white chocolate chips
- 1 14 oz can sweetened condensed milk
- 1 teaspoon vanilla extract
- Pink and blue food colouring
- Cotton candy-flavoured extract optional
- Sprinkles or edible glitter optional
Instructions
Line an 8x8-inch pan with parchment paper, leaving some overhang.
Melt the Base:
- In a saucepan over low heat, melt white chocolate chips and sweetened condensed milk, stirring until smooth. Remove from heat and stir in vanilla (and extract, if using).
Divide and Colour:
- Split the mixture into two bowls. Tint one pink and the other blue with food colouring.
Swirl and Layer:
- Drop spoonfuls of each colour into the pan. Swirl gently with a knife or skewer to create a marbled effect.
Add Toppings:
- Sprinkle with edible glitter or sprinkles if desired.
Chill:
- Refrigerate for 2 hours or until firm. Cut into squares and serve.
Notes
Make the fudge a day in advance and chill until ready to serve. Custom Flavors:
Swap colours or add cotton candy extract for a bolder flavour. Serving Suggestions:
Perfect for birthday parties, baby showers, or festive dessert trays. Allergy-Friendly Options:
Use dairy-free white chocolate and condensed milk alternatives for a vegan version. Storage Tips:
Store in an airtight container in the fridge for up to 1 week or freeze for longer storage.
If you liked this, you'll probably enjoy these too:
- Chocolate Marshmallow Swirl Cookies — another no-fuss swirled sweet that's great for gifting
- Grinch Christmas Truffles — no-bake, festive, and endlessly fun to make with kids
- Chicken in Basil Cream Sauce — one-pan dinner for when you need something savory after all that sugar
- Ginger Spice Infusion: Hot or Iced Honey-Citrus Drink — a warm drink that pairs surprisingly well with sweet fudge on a dessert table





Comments
No Comments