
Saad has been on a cookie dough kick for the past two months. Not baked cookies — raw cookie dough, straight from the bowl, which means I've been fielding complaints every time I try to shoo him away from the mixer. So I finally just made him a version he could eat freely, and now I kind of can't stop making it myself.
These bars use heat-treated flour and no eggs, so there's nothing in here that'll make anyone sick. The heat-treating step sounds fussier than it is — you're literally microwaving flour for a minute. That's it. After that, everything comes together with a wooden spoon in one bowl, gets pressed into a pan, and goes in the fridge. No oven, no stand mixer, no complicated techniques.
I make these on Friday afternoons when I know we have a low-key weekend ahead. They're chilled and ready to slice by dinner, and if I hide them in the back of the fridge, there's a chance they'll last until Sunday. Usually they don't. My husband found them once at 11pm and that was the end of that batch. If you want something in the same no-bake spirit but with a totally different flavor profile, my lemon coconut cheesecake cookies are worth a look too.
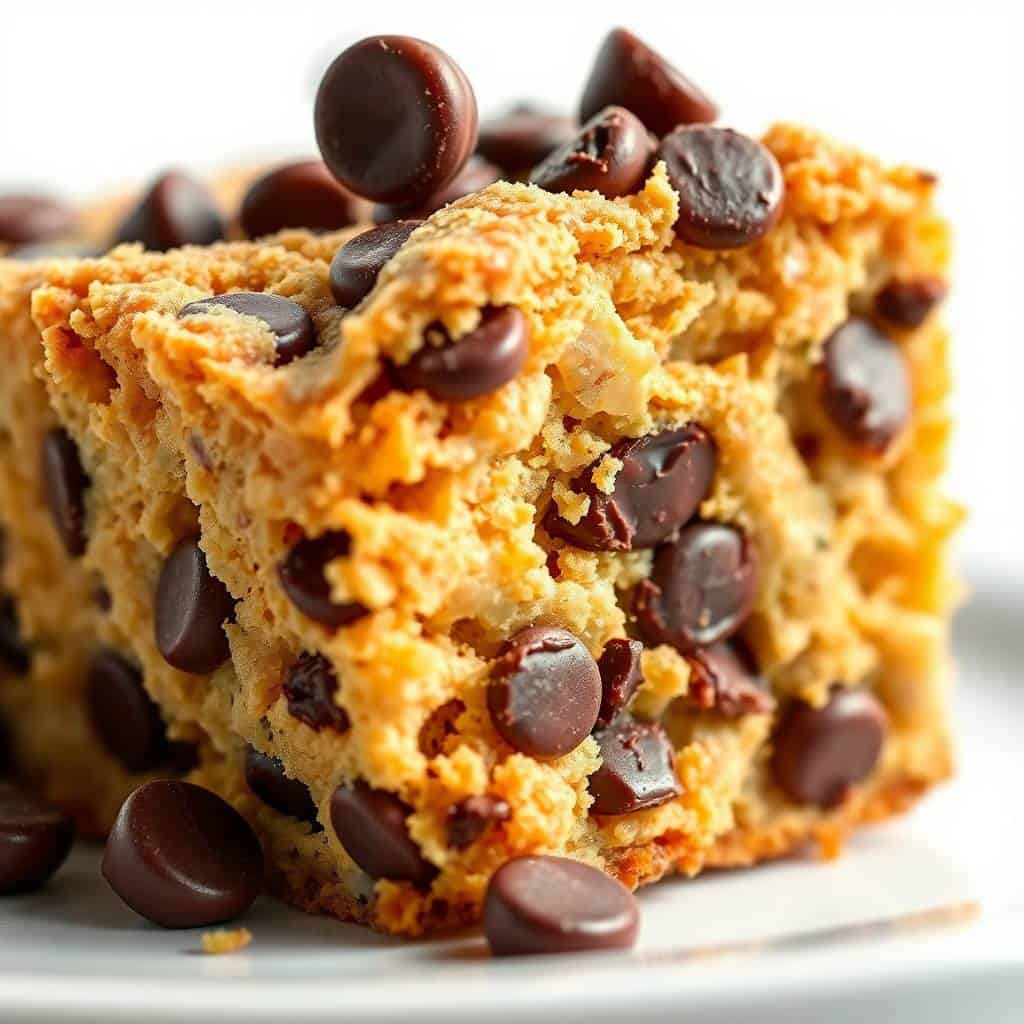
One thing to expect: these are rich. I cut mine into small bars — about 16 pieces from an 8x8 pan — because a little goes a long way. The chocolate topping on top sets firm in the fridge, so when you slice them use a sharp knife and wipe the blade between cuts. Otherwise the top layer cracks messily. I learned that after the first batch looked like a construction site.
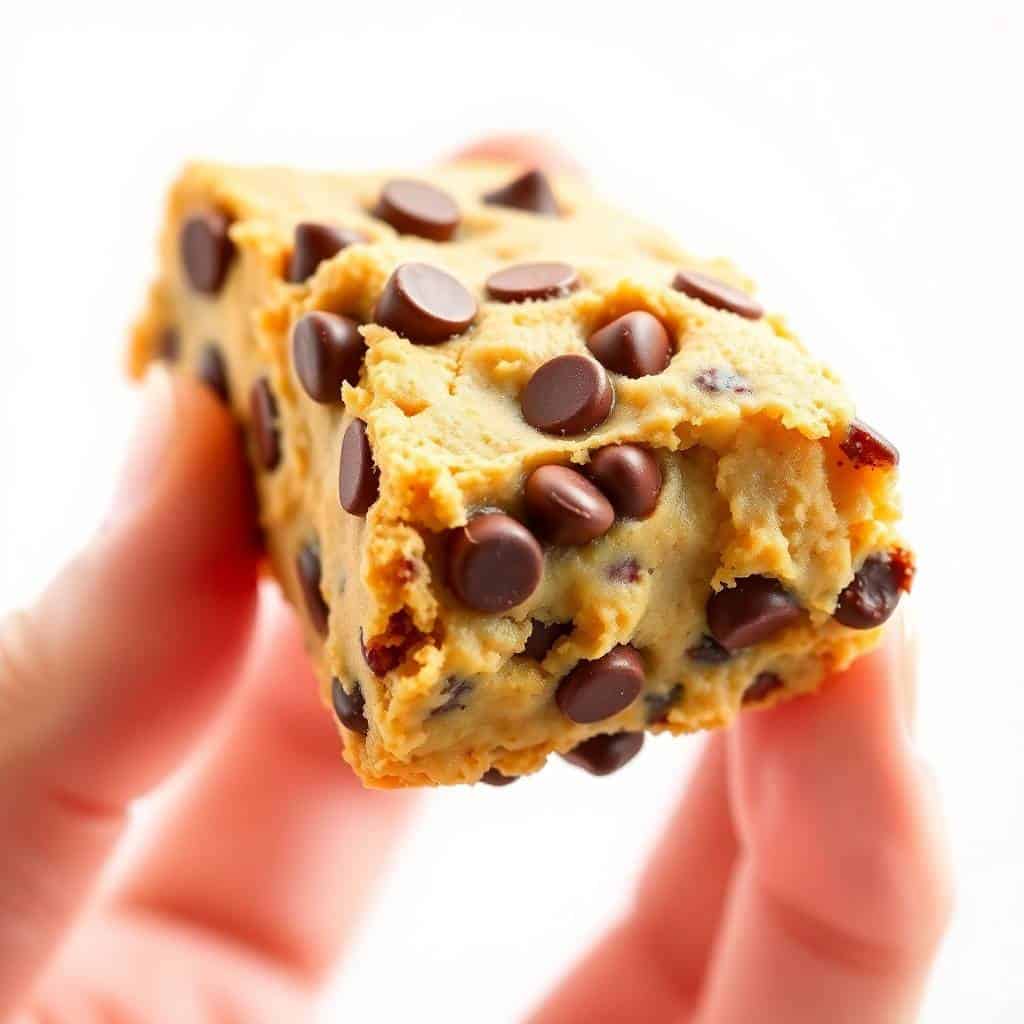
Why You'll Love This Recipe
- No oven, no stress: I've made these in the middle of summer when turning on the oven was not happening. Everything comes together at room temperature and then the fridge does the work. It's one of those recipes where the hardest step is waiting for it to chill.
- Actually safe to eat raw: The heat-treating step sounds like extra work, but it's one minute in the microwave. After that, there are no eggs, no raw ingredients you need to worry about, and the dough is completely fine to eat straight from the pan before it even sets. Saad does this every single time.
- Real cookie dough flavor: Brown sugar plus vanilla plus butter is genuinely what makes cookie dough taste the way it does. I don't add anything weird to try to replicate the flavor — it just works because those three things together are what cookie dough is. The mini chips throughout and the chocolate layer on top make it feel like a proper dessert, not a shortcut.
- Make-ahead friendly: I make a double batch and freeze half in a zip-lock bag. A bar straight from the freezer is actually incredible — the texture gets even more dense and fudge-like. It'll keep frozen for two months, which means I always have something in reserve for the moments when Saad comes home from school declaring it's a dessert emergency.
- Easy to customize: The base is pretty neutral, which means it takes additions well. I've done a peanut butter swirl, I've used white chocolate chips, I've pressed M&Ms into the top instead of the chocolate layer. If you're making these for a holiday tray alongside something like my best soft Christmas cookies, a few different variations on these bars make for a nice spread without extra effort.
Ingredients
- ½ cup unsalted butter, softened to room temperature
- ½ cup brown sugar, packed
- ¼ cup granulated sugar
- 2 tablespoons milk (any kind works — I've used whole milk and 2%)
- 1 teaspoon vanilla extract
- 1¼ cups all-purpose flour, heat-treated (see directions)
- ½ teaspoon salt
- 1 cup mini chocolate chips
- For the topping: ¾ cup semi-sweet chocolate chips
- 1 tablespoon butter (or coconut oil)
Directions
- Heat-treat the flour: Spread your flour in a microwave-safe bowl and microwave on high for 1 minute, stirring halfway through. Alternatively, spread it on a sheet pan and bake at 350°F (175°C) for 5 minutes. Let it cool completely before using — if you add it warm, it'll melt the butter and your dough will be greasy.
- Cream the butter and sugars: In a large bowl, beat the softened butter with the brown sugar and granulated sugar until smooth and slightly fluffy. I do this with a wooden spoon — it takes about 2 minutes of real elbow grease. A hand mixer works too if you have one.
- Add the wet ingredients: Pour in the milk and vanilla extract and mix until fully combined. The mixture might look a little glossy — that's fine. Scrape down the sides of the bowl so everything is evenly incorporated.
- Add the flour and fold in the chips: Add the cooled heat-treated flour and salt and stir until a dough forms. It'll be thick and slightly sticky — that's what you want. Fold in the mini chocolate chips.
- Press into the pan and chill: Line an 8x8-inch pan with parchment paper — leave some overhang on the sides so you can lift the whole thing out later. Press the dough in evenly. Refrigerate for 30 minutes to firm up before adding the topping.
- Make the chocolate topping: Combine the semi-sweet chocolate chips and butter in a microwave-safe bowl. Microwave in 30-second intervals, stirring between each, until fully melted and smooth. Pour over the chilled dough layer and spread evenly with a spatula.
- Chill until firm and slice: Return the pan to the fridge for at least 1 hour, or until the chocolate top is completely set. Lift out using the parchment, slice into bars with a sharp knife, and wipe the blade between cuts for clean edges.
Tips for Success
- Let the flour cool before using it: I skipped this step once because I was impatient, and the warm flour melted the butter on contact. The dough went greasy and never came back together properly. Give the flour at least 10 minutes to cool — spread it out on a plate if you're in a hurry and it'll cool faster.
- Butter must be soft, not melted: There's a real difference. Softened butter creams with the sugar and gives you that classic cookie dough texture. Melted butter makes the dough greasy and dense. Pull your butter out of the fridge 30–45 minutes before you start. If you forget, microwave it in 5-second bursts until it gives when pressed but isn't liquid.
- Line the pan with parchment: I know it sounds fussy but it genuinely makes the difference between bars that lift out cleanly and bars that stick and break. Leave a couple inches of overhang on two sides so you can grab and lift. Any basic parchment paper from Walmart or Costco works fine — I've had the same roll for months.
- Don't rush the chocolate topping: Pour it over the dough layer and then tilt the pan gently to spread it — don't push too hard with the spatula or you'll gouge into the dough underneath. Let it settle on its own and then use the spatula just to guide it to the edges.
- Warm knife for clean cuts: Run your knife under hot water, dry it, and then slice. The heat helps the knife glide through the chocolate layer without cracking it into shards. Wipe the blade between each cut. It sounds like a lot, but it makes the bars look genuinely tidy and is worth the 30 extra seconds.
Variations
- Peanut butter swirl: Warm 3 tablespoons of peanut butter until it's pourable and drizzle it over the dough layer before you add the chocolate topping. Use a toothpick to swirl it into the chocolate. My husband loves this version — he says it tastes like a Reese's cup in bar form, which I think is a compliment.
- White chocolate version: Swap the mini chips in the dough for white chocolate chips and use white chocolate for the topping instead of semi-sweet. The result is sweeter and almost vanilla-forward — Zainab prefers this one. A pinch of extra salt on top balances it out nicely.
- Sea salt and dark chocolate: Use dark chocolate chips (70% cocoa) for the topping and scatter a good pinch of flaky sea salt over the top right before it sets. This is my personal favorite. The salt cuts through the sweetness of the dough and makes each bar taste less one-dimensional. If you like the salty-sweet thing, this is the version for you.
- Dairy-free version: I haven't made this personally, but several readers have — use vegan butter (the stick kind, not the spread), plant-based milk, and dairy-free chocolate chips. The texture comes out slightly softer but still good. Make sure your chocolate chips are certified dairy-free if that matters for your household.
- Holiday version: Press M&Ms or festive sprinkles into the chocolate topping before it sets. I've done this for Saad's school events and they go fast. You can also do crushed candy canes on top — it's a similar vibe to my chocolate mint snowtop cookies and works really well if you want something that looks festive without extra effort.
Serving and Storage
Serving
Serve these cold or at room temperature — both work, but I prefer them cold because the dough layer is firmer and the texture is closer to actual cookie dough. If you take them out of the fridge and let them sit for 10 minutes, the dough softens slightly and becomes more chewy. Cut into 16 small bars for a generous dessert spread, or 9 larger squares if it's just the family. A glass of cold milk is mandatory in this house.
Storage
Store in an airtight container in the fridge for up to 5 days. Layer the bars between sheets of parchment paper so the chocolate tops don't stick to each other. For longer storage, freeze them individually wrapped in plastic wrap, then drop them in a zip-lock bag. They keep frozen for up to 2 months. Thaw in the fridge overnight or eat them straight from frozen — genuinely both are good options.

Frequently Asked Questions
Is raw flour actually dangerous and does heat-treating really fix it?
Yes, raw flour can carry bacteria like E. coli — it's a real thing, not just food blogger caution. Heat-treating kills those bacteria by bringing the flour's internal temperature above 165°F (74°C). Microwaving for 1 minute or baking at 350°F for 5 minutes both get the job done. Let it cool before using it and you're completely fine.
Can I make these bars ahead of time?
Yes — these are actually better the next day. I usually make them the evening before I need them and let them chill overnight. The dough layer firms up more completely and the flavors settle in a way they don't when they've only been in the fridge an hour. Just keep them covered in the fridge until you're ready to slice and serve.
What size pan should I use?
An 8x8-inch square pan is what I use and it gives you a good thickness — about ¾ inch of dough layer plus the chocolate top. If you want thinner bars or are doubling the recipe, a 9x13-inch pan works. Just know the bars will be flatter, which is fine — they'll just slice into more pieces.
Can I skip the chocolate topping?
You can. The bars are perfectly good without it — the dough layer alone is sweet and satisfying. But the chocolate top adds a nice contrast in texture (firm chocolate versus soft dough) and makes them look finished. A middle-ground option is doing a thin drizzle of melted chocolate instead of a full layer — still looks good and uses less chocolate.
Can I freeze these bars?
Absolutely. Wrap individual bars in plastic wrap and freeze in a zip-lock bag for up to 2 months. I eat them straight from frozen sometimes — the dough gets extra dense and almost fudge-like when it's very cold. If you want them softer, thaw in the fridge for a couple hours before serving.
These bars have become a permanent fixture in my fridge rotation. I like that they take less than 20 minutes of actual hands-on time, that I can make them on a Friday and they're still good on Monday, and that both my kids eat them without complaint — which, in my house, is not something I take for granted. Saad eats them straight from the fridge. Zainab likes hers at room temperature. They're both right.
If you're making a dessert spread and want something alongside these that requires actual baking, my chocolate mint snowtop cookies pair well — the mint and the classic chocolate chip flavors complement each other nicely on a plate. And if you want something completely different after all this sweetness, the cucumber ramen salad is basically the opposite of a cookie dough bar and exactly what you need to reset.
What I keep coming back to with this recipe is how much it tastes like the real thing. Not a healthy approximation, not a compromise — actual cookie dough flavor, in a bar you can eat without worrying. That's all I was trying to make for Saad, and somewhere along the way it became my thing too. 🍫🍪✨
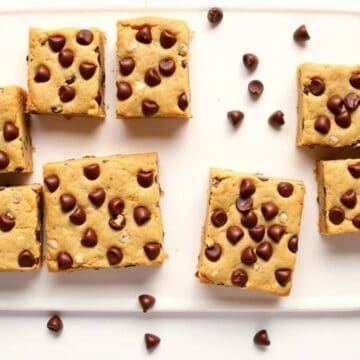
CHOCOLATE CHIP COOKIE DOUGH BARS
Ingredients
For the Dough:
- ½ cup unsalted butter softened
- ½ cup brown sugar packed
- ¼ cup granulated sugar
- 2 tablespoons milk
- 1 teaspoon vanilla extract
- 1¼ cups all-purpose flour heat-treated
- ½ teaspoon salt
- 1 cup mini chocolate chips
For the Chocolate Topping (Optional):
- ¾ cup semi-sweet chocolate chips
- 1 tablespoon butter
Instructions
Prepare the flour:
- Microwave the flour in a bowl for 1 minute or bake at 350°F (175°C) for 5 minutes to kill any bacteria. Let cool.
Make the dough:
- In a large bowl, cream the butter, brown sugar, and granulated sugar until smooth. Add milk and vanilla extract and mix well.
Combine:
- Gradually mix in heat-treated flour and salt. Stir until combined. Fold in mini chocolate chips.
Press into pan:
- Line an 8x8-inch pan with parchment paper. Press the cookie dough evenly into the pan.
Add topping (optional):
- Melt chocolate chips and butter in the microwave in 30-second intervals until smooth. Spread over the dough layer.
Chill:
- Refrigerate for at least 1 hour or until firm. Slice into bars and serve.
Notes
- Make ahead: Perfect for preparing a day in advance.
- Storage: Store in an airtight container in the fridge for up to 5 days.
- Egg-free safety: These bars are safe to eat raw since they’re made without eggs and use heat-treated flour.
- Variations: Swap mini chips for white chocolate, toffee bits, or M&Ms for a fun twist.
If you liked these bars, here are a few more things worth making:
- Lemon Coconut Cheesecake Cookies — bright, citrusy, and creamy in a completely different direction
- Best Soft Christmas Cookies — my go-to for holiday cookie trays
- Chocolate Mint Snowtop Cookies — if you want a baked chocolate cookie with real presence
- Cucumber Ramen Salad — for when you need something crunchy and savory after all this sweetness
- Spinach Artichoke Dip — a crowd favorite for the same low-effort, high-reward reasons


Comments
No Comments