
I made these chocolate truffles for the first time during Eid a couple of years ago, mostly because I wanted something that looked impressive without requiring me to bake anything while the rest of the meal was still happening. I figured if it went sideways, I'd just put out fruit and no one would notice. It didn't go sideways — it went so well that my kids couldn't stop sneaking them off the tray before guests arrived.
What makes this recipe work is the ganache base — just chocolate chips and warm cream, stirred together until smooth. That's it. No thermometer, no double boiler setup you need to babysit, no tempering. You chill it, roll it, coat it, done. The texture comes out genuinely fudgy and rich, not the dry crumbly truffle you get from recipes that use too much cocoa powder and not enough fat.
Zainab has claimed these as her contribution to every school bake sale since I first made them. She rolls them and coats them in sprinkles while I do the rest of dinner. It's the only dessert project she'll stick with from start to finish without losing interest. Saad prefers the ones rolled in crushed nuts — he always picks those out first. If you're looking for another easy no-bake treat that's great for gifting, my sugared cranberries come together just as fast and look beautiful on a holiday plate next to these.
One thing I'll tell you upfront: don't skip the chilling step. I made that mistake once — tried to rush it to 45 minutes instead of the full two hours — and the mixture was still too soft to roll cleanly. You end up with flat, lopsided lumps instead of neat balls. Give it the full chill time. It's hands-off time anyway, so just let the fridge do its job.
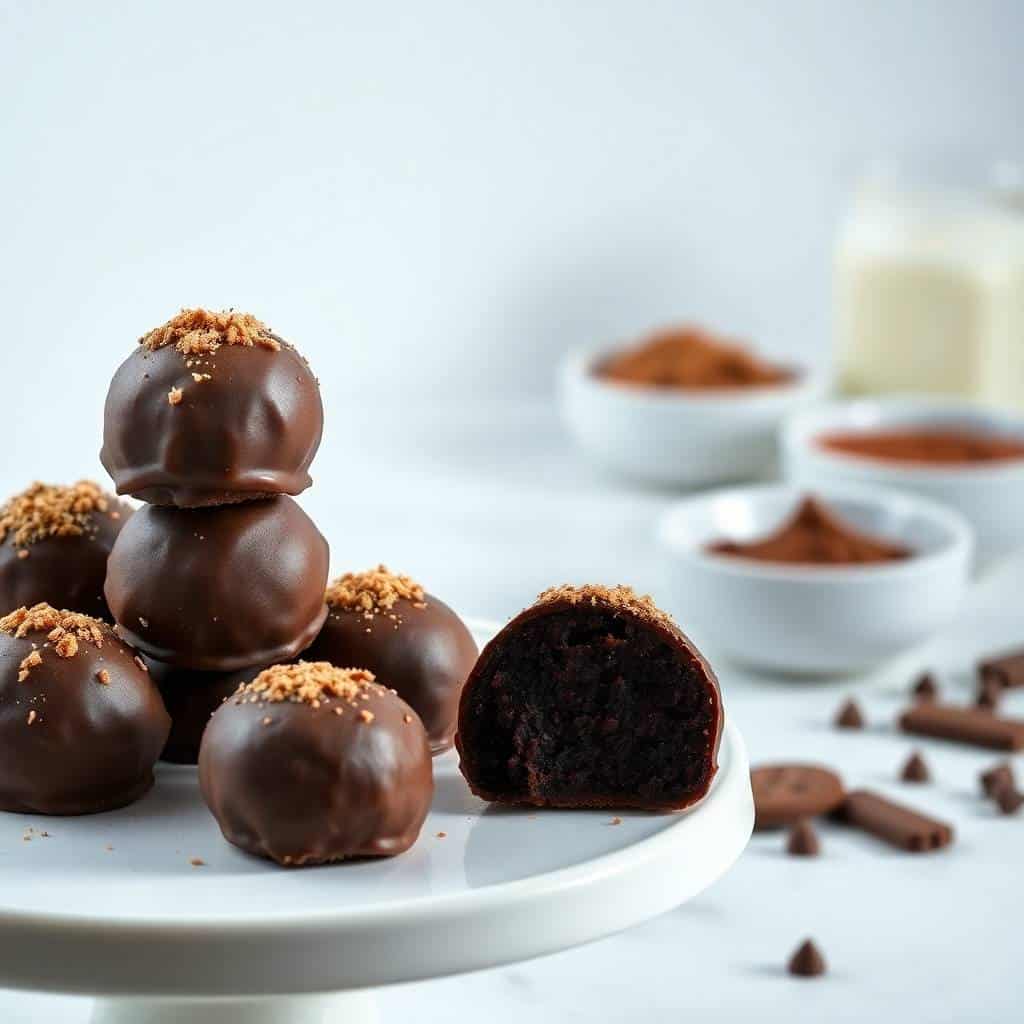
Why You'll Love This Recipe
- No oven, no stress: I made these for the first time in the middle of summer when it was too hot to even think about turning on the oven, and I've never gone back. Everything happens on the stovetop and in the fridge. If you can stir a bowl and roll a ball, you can make these — seriously, no baking experience needed.
- Real fudgy texture, not dry and chalky: A lot of truffle recipes use crushed cookies or too much cocoa powder, and the result ends up dry and crumbly. This ganache-based version — just cream and chocolate — gives you that proper melt-in-your-mouth texture that feels genuinely indulgent. The difference is noticeable the moment you bite in.
- Ready in 30 minutes of active time: The chilling takes 1–2 hours, but your hands-on time is maybe 20–25 minutes total. I usually mix the ganache after lunch and by mid-afternoon they're rolled and ready. It's a great make-ahead situation for parties or holiday trays where you don't want to be scrambling on the day.
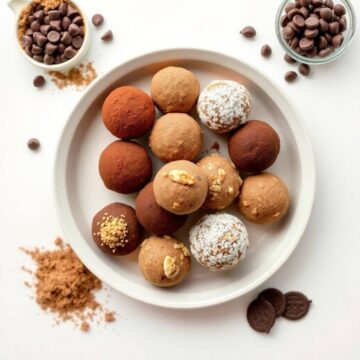
- Coatings you can customize completely: Cocoa powder gives them a classic look, sprinkles make them festive, and crushed nuts add a satisfying crunch. I've done shredded coconut, crushed graham crackers, and even finely chopped dried cranberries. Every batch can look completely different with the same base recipe.
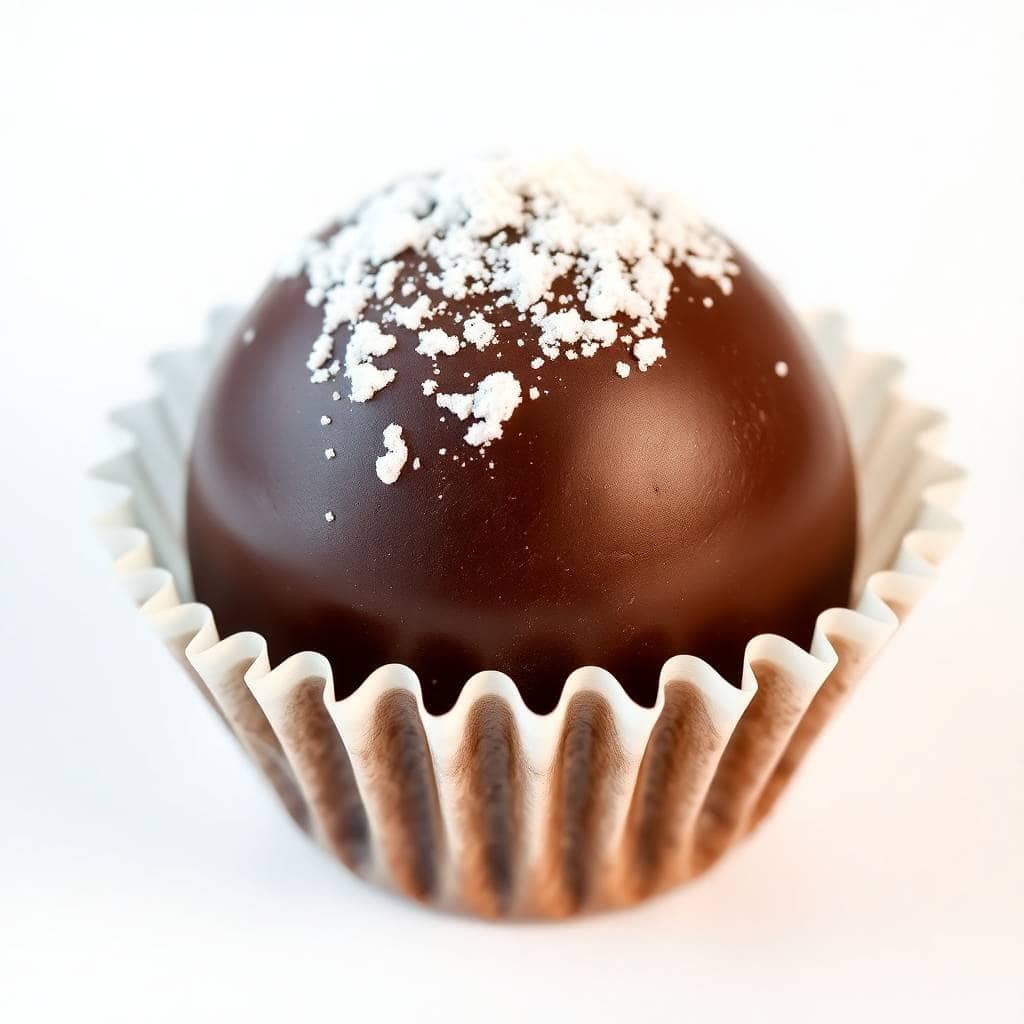
- Freezer-friendly and genuinely gift-worthy: I make a double batch every December because they disappear so fast — one batch for the house, one batch to give away. They freeze beautifully for up to 3 months. Pull them out, let them sit for a few minutes, and they taste like you just made them. Pop them in mini cupcake liners, box them up, and you have a homemade gift that actually looks like it came from a shop.
Ingredients
- 1½ cups semi-sweet chocolate chips (I use Ghirardelli or whatever's on sale at Costco)
- ½ cup heavy cream
- 1 teaspoon vanilla extract
- Pinch of salt
- Coatings of your choice: cocoa powder, powdered sugar, chopped nuts, sprinkles, or shredded coconut
Directions
- Warm the cream: Pour the heavy cream into a small saucepan and heat over medium-low until it just starts to simmer — you'll see small bubbles forming around the edges. Don't let it boil; a hard boil can cause the ganache to separate and turn greasy instead of smooth.
- Melt the chocolate: Place your chocolate chips in a heatproof bowl and pour the hot cream directly over them. Let it sit undisturbed for 2–3 minutes — this gives the heat time to soften the chocolate all the way through before you stir. Then stir slowly from the center outward until it's completely smooth and glossy.
- Add flavor: Stir in the vanilla extract and the pinch of salt. The salt is small but it matters — it lifts the chocolate flavor and keeps the whole thing from tasting flat. Let the mixture cool at room temperature for about 10 minutes before covering.
- Chill until firm: Cover the bowl with plastic wrap pressed directly onto the surface of the ganache (this prevents a skin from forming) and refrigerate for 1–2 hours. You want it firm enough to scoop and hold its shape — if it's still soft and sticky, give it another 30 minutes.
- Scoop and roll: Use a small spoon or a 1-tablespoon cookie scoop to portion the ganache. Roll each piece quickly between your palms into a ball. Work fast — the warmth of your hands will start to soften the chocolate. If it gets too messy, pop the whole tray back in the fridge for 10 minutes and continue.
- Coat and set: Roll each truffle in your chosen coating and place on a parchment-lined baking sheet or tray. Once all the truffles are coated, refrigerate for another 15–20 minutes to firm up completely before serving or storing.
Tips for Success
- Use the best chocolate you can find: This recipe has so few ingredients that the chocolate flavor is front and center — there's nowhere for a mediocre chocolate to hide. I don't mean you need to buy anything fancy, just skip the store-brand baking chips. Ghirardelli semi-sweet chips from Walmart or Trader Joe's dark chocolate chips both work really well here and don't cost much more.
- Don't rush the chill: I mentioned this in the intro but I'll say it again because I've made the mistake twice. Under-chilled ganache doesn't hold its shape when you try to roll it — you end up with chocolate-covered palms and nothing resembling a truffle. If you're short on time, you can put the bowl in the freezer for 45 minutes instead, checking every 15 minutes so it doesn't freeze solid.
- Lightly oil your hands before rolling: Just a tiny drop of neutral oil rubbed between your palms before you start rolling each truffle makes a huge difference. The chocolate won't stick as much and you'll get neater balls with less mess. I keep a small bowl of water nearby too — damp hands also work in a pinch.
- Use a cookie scoop for even sizing: I use a 1-tablespoon cookie scoop I picked up for about $8 at Walmart and it makes the whole process much faster and more consistent. Uniform truffles also set at the same rate in the fridge, so you're not dealing with some that are ready and some that aren't. If you don't have one, a regular spoon works — just eyeball the portions.
- Set up your coatings before you start rolling: Spread each coating in a shallow bowl or plate before you begin. Once you start rolling you want to move quickly, and stopping to set up mid-process means your truffles are sitting there getting too warm. I line up two or three different coatings at once and rotate through them — sprinkles for Zainab, nuts for Saad, cocoa powder for the adults.
Variations
- Peppermint chocolate: Add ¼ teaspoon of peppermint extract along with the vanilla, then roll the finished truffles in crushed candy canes. This is my December version — I make these every year around Christmas and my husband takes them to work. The peppermint cuts through the richness perfectly and they look festive without any extra effort.
- Peanut butter center: Before chilling the ganache, let it set just slightly, then flatten a small portion in your palm, place a frozen peanut butter chip or a tiny frozen dollop of peanut butter in the center, and fold the chocolate around it before rolling. The filling stays intact and gives you that classic peanut-butter-chocolate combo. Almond butter works the same way if you prefer.
- Dark chocolate espresso: Swap the semi-sweet chips for dark chocolate chips (70% cacao or higher) and stir in ½ teaspoon of instant espresso powder with the vanilla. The espresso doesn't make them taste like coffee — it just deepens the chocolate flavor noticeably. This is my version when I'm making these for adults. If you enjoy rich chocolate bakes, you'd probably like my white chocolate raspberry cake for the same reason — the contrast of flavors is what makes it work.
- Coconut chocolate: Stir 2 tablespoons of shredded sweetened coconut into the ganache before chilling, then roll the finished truffles in toasted coconut flakes. Toast the coconut in a dry skillet over medium heat for 2–3 minutes, stirring constantly — it goes from pale to golden very fast so don't walk away. The toasted coconut coating has a slightly nutty flavor that goes really well with dark chocolate.
- Holiday spice: Add ½ teaspoon of cinnamon and a small pinch of nutmeg to the ganache along with the vanilla. Roll the truffles in a mix of cinnamon and sugar. In Pakistan we love warm spices in sweets, and this variation takes these truffles in a slightly more familiar direction for me. It also pairs beautifully with a cup of chai or hot milk.
Serving and Storage
Serving
Serve these straight from the fridge or let them sit at room temperature for 5 minutes first — the texture softens slightly and the chocolate flavor comes through more clearly when they're not ice-cold. I put them out in mini paper cupcake liners on a flat tray, which makes them look much more put-together than they are. They go well alongside coffee, tea, or hot chocolate. If you're building a dessert spread, they also look great next to something bright and fruity like my lemon raspberry swirl cupcakes — the contrast in color and flavor is really nice on a table.
Storage
Keep truffles in an airtight container in the refrigerator for up to 1 week. Layer them between sheets of parchment or wax paper so the coatings don't stick together. To freeze, arrange them in a single layer on a tray first until solid (about 1 hour), then transfer to a zip-lock bag or airtight container with parchment between layers — this prevents them from clumping. They'll keep in the freezer for up to 3 months. Thaw overnight in the fridge, not on the counter, so the coating doesn't get damp and soggy.

Frequently Asked Questions
Can I make these truffles ahead of time?
Yes, and honestly they're better the next day. The ganache firms up more fully overnight and the flavor deepens. I usually make them the day before I need them and keep them in the fridge in an airtight container. They're one of those rare desserts where making ahead is actually the better option, not just a convenience.
Can I use milk chocolate instead of semi-sweet?
You can, but keep in mind that milk chocolate has more sugar and less cocoa fat than semi-sweet, so the ganache may stay softer and be harder to roll. If you go that route, chill the mixture for the full 2 hours and work quickly when rolling. Dark chocolate (70% or higher) gives the firmest, richest result and is what I'd recommend if you can find it.
How long do these keep in the freezer?
Up to 3 months, stored in an airtight container with parchment between layers. Freeze them in a single layer first before stacking so they don't stick together. Thaw in the fridge overnight before serving — don't leave them on the counter or the coating can get sweaty and lose its texture.
My ganache is grainy and oily — what went wrong?
This usually means the cream was too hot (boiling rather than just simmering) or the chocolate got added to cream that was too cool and didn't melt evenly. If it happens, try adding a tablespoon of warm cream and stirring gently in small circles from the center — sometimes it comes back together. If it's completely split, melt it gently in the microwave in 10-second bursts and stir again. I've rescued a broken ganache this way more than once.
Can I make these without heavy cream?
Heavy cream gives the richest result, but half-and-half works if that's what you have — the ganache will be slightly softer and may need a longer chill time. I haven't tested it with coconut cream personally, but several readers have told me it works well for a dairy-free version. Just use full-fat canned coconut cream, not the thin coconut milk in cartons.
NO-BAKE CHOCOLATE CANDY TRUFFLES
Ingredients
- 1½ cups semi-sweet chocolate chips
- ½ cup heavy cream
- 1 teaspoon vanilla extract
- Pinch of salt
- Coatings: cocoa powder powdered sugar, chopped nuts, sprinkles, shredded coconut
Instructions
Heat the Cream:
- In a small saucepan, warm the cream until just simmering. Don’t boil.
Melt the Chocolate:
- Place chocolate chips in a heatproof bowl. Pour the hot cream over and let sit for 2–3 minutes. Stir until smooth.
Add Flavour:
- Stir in vanilla extract and a pinch of salt. Let cool slightly.
Chill:
- Cover the bowl and refrigerate the mixture for 1–2 hours, or until firm enough to scoop.
Shape Truffles:
- Scoop small amounts and roll into balls using your hands.
Coat and Serve:
- Roll truffles in your choice of coating and place on a parchment-lined tray. Chill until ready to serve.
Notes
- Customise It: Add a splash of liqueur or a drop of peppermint extract for a festive twist.
- Make Ahead: Store in an airtight container in the fridge for up to 1 week.
- Serving Tip: Let sit at room temperature for a few minutes before enjoying for the perfect texture.
- Gifting Idea: Place in mini cupcake liners and box them for homemade holiday gifts!
These truffles have become one of those recipes I come back to again and again, not because they're flashy but because they actually work every single time I make them. Two ingredients, one bowl, a couple of hours in the fridge — and what comes out looks like something you'd buy from a chocolate shop. I've made them for Eid, for Christmas gift boxes, for random Tuesday evenings when we all needed something sweet after dinner. Every time, they're gone within a day or two.
If you're making a holiday dessert spread and want to round it out, my King's Hawaiian cheesecake danish is another no-fuss recipe that looks far more complicated than it is. Both recipes together on a table make it look like you spent your entire weekend in the kitchen — when really you didn't.
I hope these become a regular in your rotation too. Make the ganache, chill it, roll it, coat it in whatever sounds good — and then try not to eat half of them before they make it to whoever you're making them for. That's the hardest part, honestly. 🍫✨
If you enjoyed this recipe, here are a few more you might want to try next:
- Sugared Cranberries — a beautiful, easy no-bake treat that looks stunning on a holiday platter
- Luscious Lemon Raspberry Swirl Cupcakes — bright and fruity, great contrast to rich chocolate on a dessert table
- White Chocolate Raspberry Cake — for when you want something showstopping and layered
- King's Hawaiian Cheesecake Danish — one of the easiest impressive-looking pastries I've ever made
- Loaded Potato Ranch Chicken Casserole — because after all that chocolate, you'll need a proper dinner too