
Christmas Sugar Cookie Bars are a fun and festive twist on traditional sugar cookies. They're soft, buttery, and topped with a thick layer of rich frosting and cheerful sprinkles. Best of all, you can make a big batch at once!
These cookie bars are perfect for busy holiday schedules. You get all the nostalgic taste of a sugar cookie without the extra work. Just press the dough into a pan, bake, cool, and frost. It’s a simple and mess-free way to get into the Christmas spirit.
They’re colourful and adaptable—use red and green sprinkles, edible glitter, or even crushed peppermint on top. The vibrant frosting adds a cheerful look that kids and adults both love. They also stack well, making them perfect for holiday.
Whether you're hosting a party or looking for easy holiday treats to share, these bars are ideal. The soft cookie base pairs perfectly with the sweet, creamy frosting. Cut them into squares or festive shapes if you like.
So if you love sugar cookies but want to skip the rolling and chilling, Christmas Sugar Cookie Bars are your new best friend. Fun, fast, and full of holiday cheer—they’re a sweet way to celebrate the season!
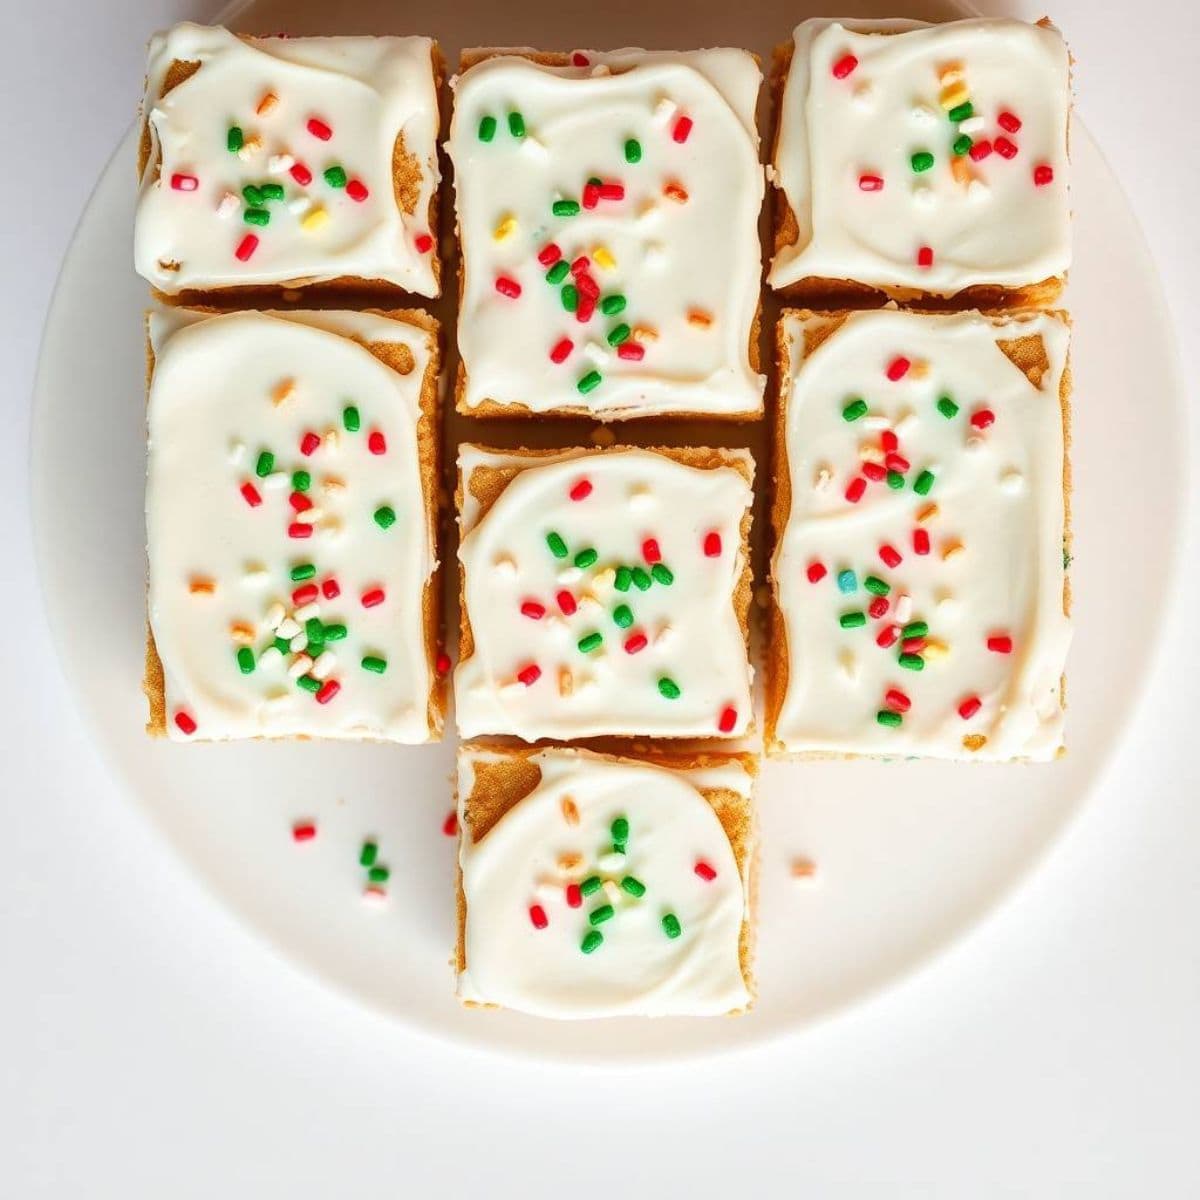
WHY YOU WILL LOVE THIS RECIPE
- Festive Appearance: Colourful sprinkles and frosting make these bars eye-catching and perfect for holiday platters and dessert tables.
- Soft and Buttery Texture: These bars have a thick, tender bite that melts in your mouth, just like your favourite sugar cookies.
- No Cookie Cutting: Skip the rolling and cutting—this bar version saves time while delivering the same delicious results.
- Kid-Friendly Activity: A perfect recipe to make with children—they’ll love helping with sprinkles and frosting decorations.
- Customisable Toppings: Add crushed peppermint, mini candies, or tinted frosting to match your Christmas theme and personal taste.
- Ideal for Gifting: Wrap up a few bars in festive bags or boxes for an easy, homemade holiday gift everyone will love.
- One-Bowl Dough: No fancy steps—just mix, press, bake, and frost using basic kitchen tools and pantry ingredients.
INGREDIENTS
- 2½ cups all-purpose flour
- ½ teaspoon baking powder
- ½ teaspoon salt
- 1 cup unsalted butter, softened
- 1¼ cups granulated sugar
- 2 large eggs
- 1½ teaspoons vanilla extract
For the Frosting:
- ½ cup unsalted butter, softened
- 2 cups powdered sugar
- 2 tablespoons milk
- ½ teaspoon vanilla extract
- Food colouring (optional)
- Holiday sprinkles
DIRECTIONS
- Step No.1: Preheat the oven
Preheat your oven to 350°F (175°C). Line a 9x13-inch baking pan with parchment paper or lightly grease it. Set aside.
- Step No.2: Mix dry ingredients
In a medium bowl, whisk together flour, baking powder, and salt. Set aside.
- Step No.3: Cream butter and sugar
In a large bowl, beat the butter and sugar until light and fluffy, about 2–3 minutes using an electric mixer.
- Step No.4: Add eggs and vanilla
Mix in the eggs one at a time, then stir in the vanilla until fully incorporated and smooth.
- Step No.5: Combine wet and dry
Gradually add the dry mixture to the wet ingredients. Mix just until the dough comes together—do not overmix.
- Step No.6: Press and bake
Press the dough evenly into the prepared pan. Bake for 18–22 minutes or until edges are lightly golden. Cool completely.
- Step No.7: Make the frosting
Beat butter until creamy. Add powdered sugar, milk, and vanilla. Mix until smooth and fluffy. Tint with food colouring if desired.
- Step No.8: Frost and decorate
Spread frosting over cooled cookie base. Top with sprinkles or other decorations. Slice into bars and serve.
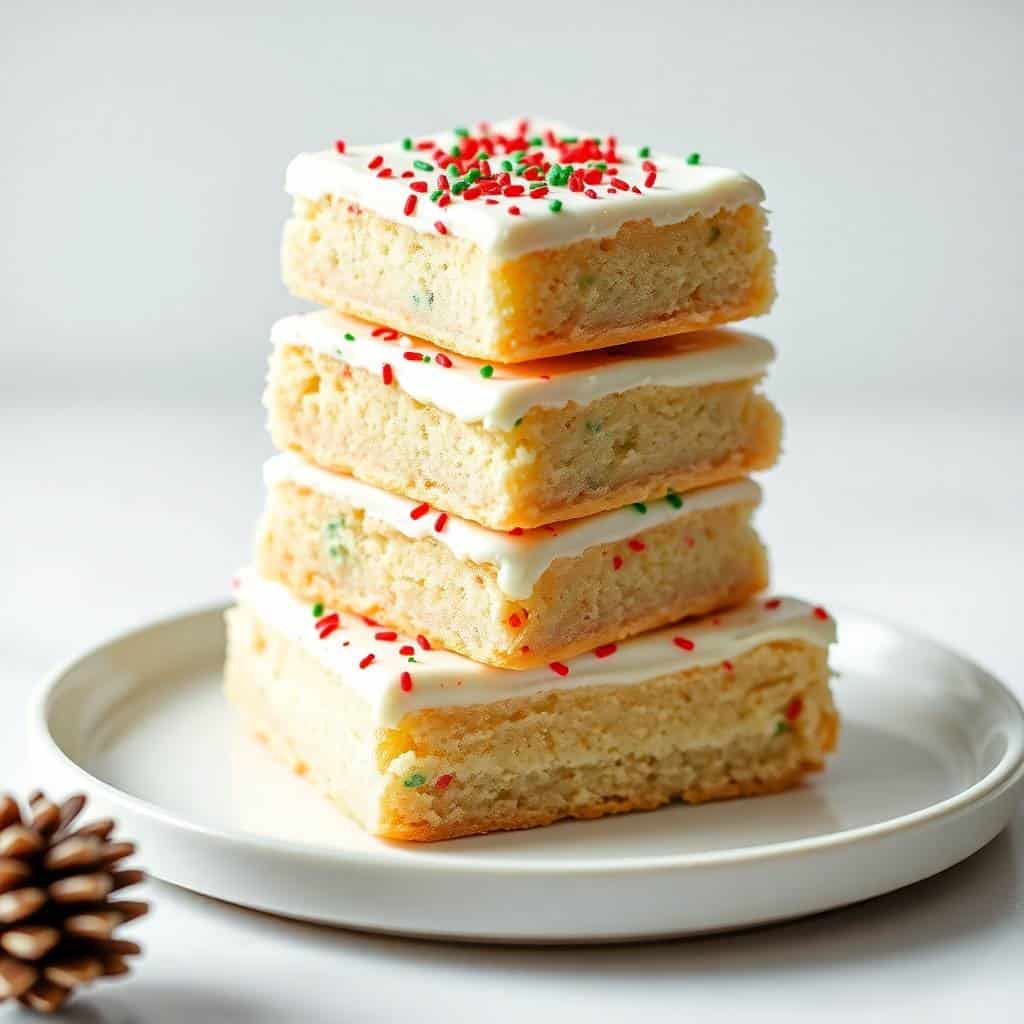
TIPS FOR SUCCESS
- Don’t Overbake: Remove the bars once edges are lightly golden to keep them soft and tender inside.
- Cool Before Frosting: Let bars cool completely before frosting or the buttercream will melt and slide off.
- Use Room Temp Butter: Softened butter helps cream more easily and creates a light, fluffy dough.
- Line Your Pan: Parchment paper makes it easier to lift bars out and slice cleanly.
- Chill Before Slicing: For sharper edges, chill frosted bars for 10 minutes before cutting into squares.
- Frost Generously: A thick layer of frosting balances the cookie bar and holds sprinkles beautifully in place.
- Store Airtight: To maintain softness, store bars in an airtight container once cooled and decorated.
VARIATIONS
- Add Peppermint Flavour: Use peppermint extract in place of vanilla and top with crushed candy canes for a cool, minty version.
- Make it gluten-free diet: Swap in a 1:1 gluten-free flour blend to accommodate guests with dietary needs.
- Use Cream cheese frosting: For a tangy twist, replace the buttercream with cream cheese frosting—delicious and decadent.
- Swirl in Jam: Drop small spoonfuls of raspberry or strawberry jam before baking for fruity bursts throughout.
- Go Grinch Green: Tint the frosting green and top with red heart sprinkles for a fun Grinch-themed treat.
- Add white chocolate Chips: Mix in ½ cup of white chocolate chips for added sweetness and texture in every bite.
- Drizzle with Chocolate: After frosting, drizzle melted white or dark chocolate over the bars for an extra festive flair.
SERVING AND STORAGE
Serving:
Serve at room temperature on cookie trays or dessert tables. Perfect with a cup of hot cocoa.
Storage:
Store in an airtight container for 3–4 days at room temp or refrigerate for up to a week. Freeze for up to 2 months.
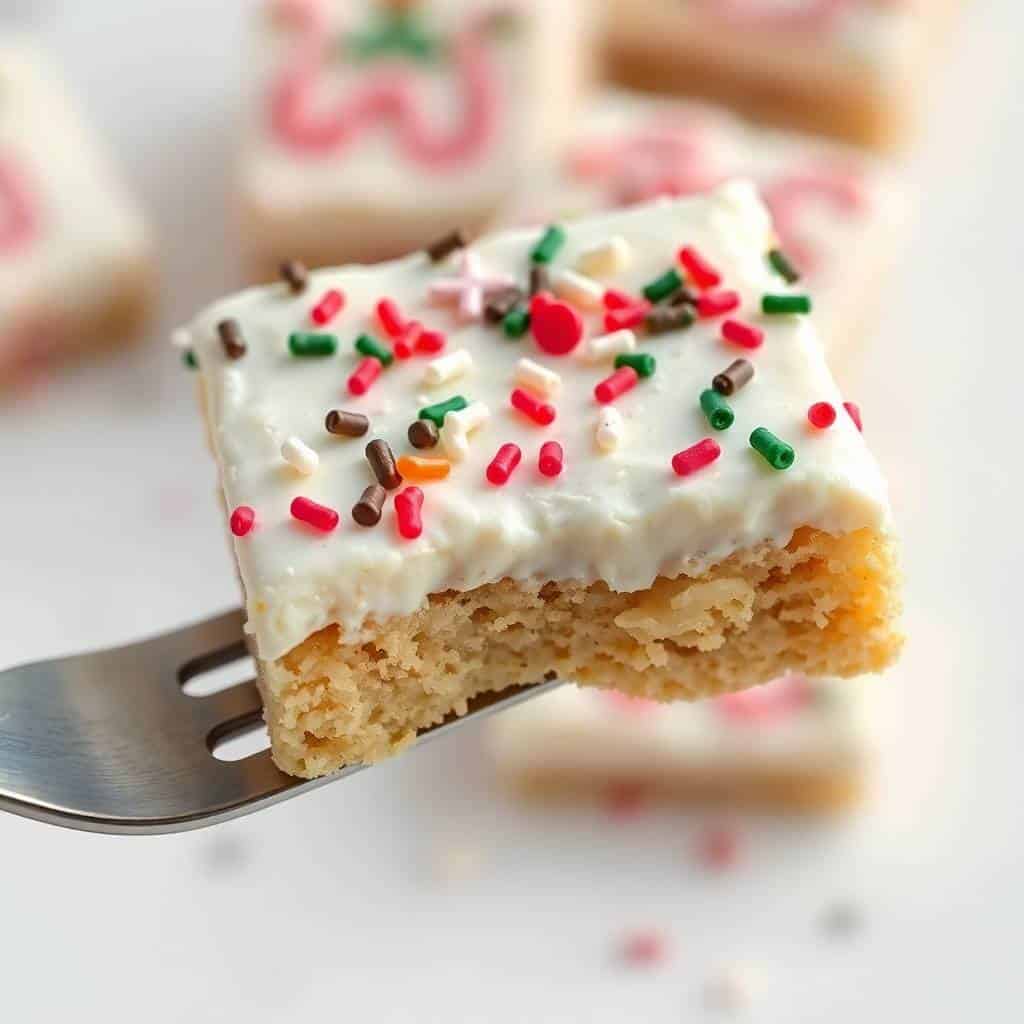
FAQ
Yes! Freeze frosted or unfrosted bars. Wrap tightly and store for up to 2 months.
No, a hand mixer works just fine.
Yes, it’s optional but adds great flavour.
Leave the frosting white or use natural beet or spinach powder.
Absolutely! It saves time and still tastes great.
Christmas Sugar Cookie Bars are the kind of treat that checks all the holiday baking boxes—easy, festive, fun, and delicious.
With soft, buttery cookie bases topped with thick, creamy frosting and cheerful sprinkles, they look like they belong on every holiday cookie tray.
Whether you're a seasoned baker or a complete beginner, this recipe delivers beautiful results with minimal effort.
No need to chill, roll, or cut dough—just press it into a pan, bake, frost, and slice!
The best part? These cookie bars are highly adaptable.
You can customise the frosting colour, add different extracts, mix in fun toppings, or even change up the size and shape to suit any occasion.
They're perfect for sharing at school parties, office potlucks, or cosy nights at home by the tree.
They also store well, making them an excellent choice for make-ahead treats or edible gifts.
Just wrap a few in cellophane or holiday tins, and you’ve got a sweet surprise anyone would love to receive.
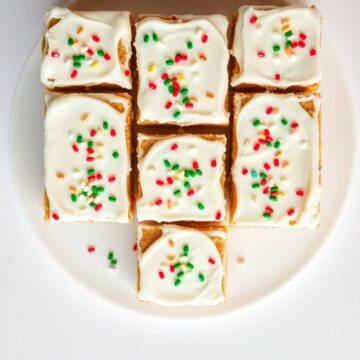
CHRISTMAS SUGAR COOKIE BARS
Ingredients
For the Cookie Base:
- ½ cup unsalted butter softened
- 1 cup granulated sugar
- 1 large egg
- 1½ teaspoons vanilla extract
- 2 cups all-purpose flour
- ½ teaspoon baking powder
- ¼ teaspoon salt
For the Frosting:
- ½ cup unsalted butter softened
- 2 cups powdered sugar
- 2 tablespoons heavy cream or milk
- ½ teaspoon vanilla extract
- Food colouring red, green, or your choice
- Holiday sprinkles for topping
Instructions
Preheat Oven:
- Preheat to 350°F (175°C). Line a 9×9-inch baking pan with parchment paper or grease lightly.
Make Cookie Dough:
- In a large bowl, cream butter and sugar until light and fluffy. Beat in egg and vanilla. Mix in flour, baking powder, and salt until combined.
Bake:
- Spread dough evenly into the prepared pan. Bake for 20–22 minutes or until edges are lightly golden. Let cool completely.
Prepare Frosting:
- Beat butter until creamy. Add powdered sugar, cream, vanilla, and food colouring. Beat until smooth and fluffy.
Decorate:
- Spread frosting over cooled cookie base. Top with sprinkles. Chill slightly for cleaner slicing.
Notes
- Use festive cookie cutters to cut into shapes after chilling.
- Store in an airtight container for up to 4 days.





Comments
No Comments