
Every December, my kitchen starts smelling like a candy cane factory — and I'm totally okay with that. Peppermint bark is one of the first holiday things I make each year, usually sometime in early December when the kids start getting restless and I need something fast that feels festive without requiring me to actually bake anything.
What I like about this recipe is how forgiving it is. Two layers of chocolate, crushed candy canes on top, done. The dark chocolate base keeps it from tasting too sweet, and the white chocolate layer in the middle is where the peppermint extract goes — so every piece has that cool mint hit. I've made this at least a dozen times now and I still find it one of the most satisfying things to put together during the holiday rush.
Zainab likes helping crush the candy canes — she takes that job very seriously with a rolling pin and a zip-lock bag. Saad mostly shows up when it's time to break the finished bark into pieces, which I think is strategically planned on his part. My husband will eat a few pieces and then pretend he isn't sneaking more from the container later. I usually make a double batch because a single sheet pan disappears embarrassingly fast around here.
One thing to know going in: the white chocolate layer needs to go on fast. Once it starts cooling, it won't spread smoothly over the dark chocolate base. Have your crushed candy canes ready before you melt anything so you can move quickly. If you want a full holiday dessert spread, this pairs really well alongside Polar Bear Cookies — both are no-bake, both travel well, and together they look like you put in a lot more effort than you actually did.
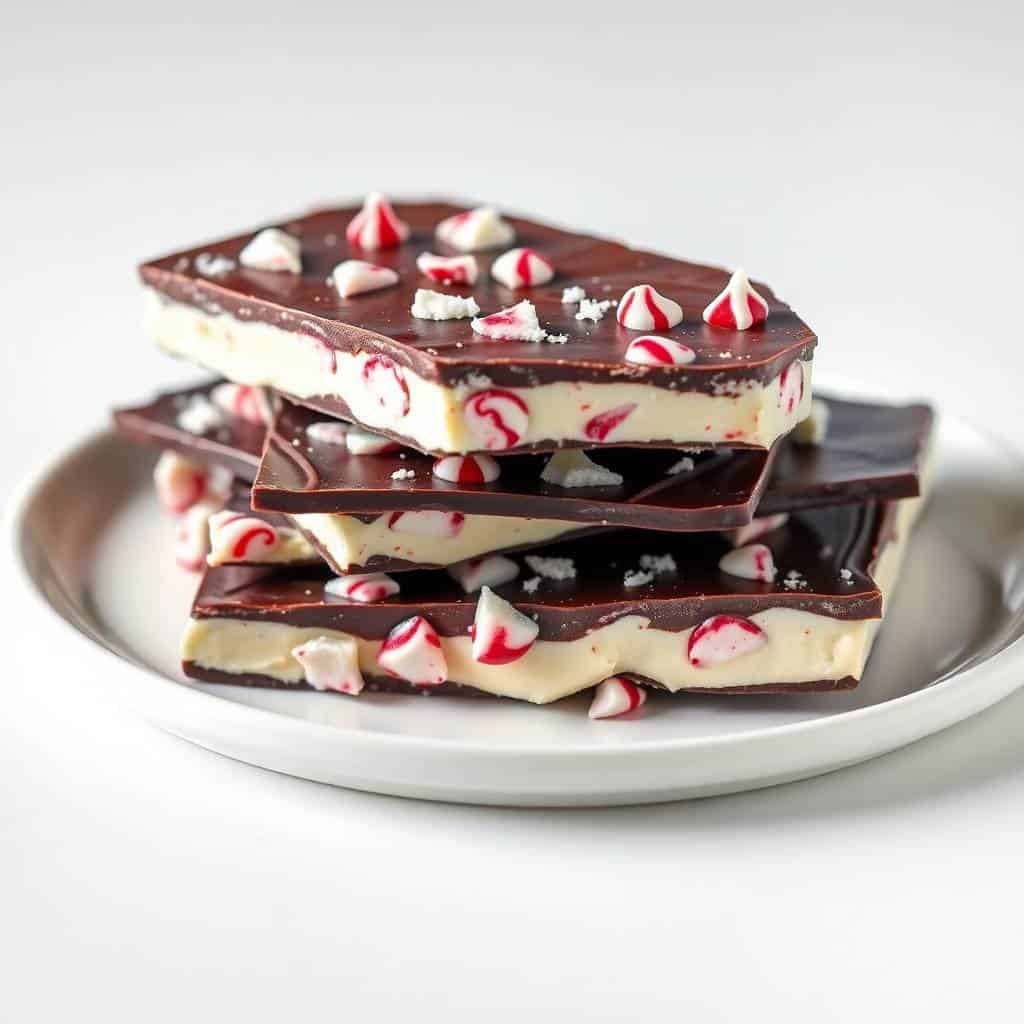
Why You'll Love This Recipe
- No oven required: This whole recipe happens on your stovetop (or microwave) and in your fridge. There's no preheating, no baking time to watch, and no risk of burning anything in the oven. On a December day when I've already been cooking for hours, that matters more than I can explain.
- It looks way more impressive than it is: When you break peppermint bark into jagged pieces and put them in a tin or a clear bag tied with ribbon, it genuinely looks like something from a specialty chocolate shop. I've given it as teacher gifts and gotten actual compliments on how "professional" it looked. It took me 20 minutes of active work.
- Make it ahead without stress: I usually make this 4 or 5 days before I need it and just keep it in an airtight container in a cool spot. It holds up beautifully. During the holidays when my to-do list is already too long, having a treat ready to go in the fridge is a small but real relief.
- Kids can genuinely help: The candy cane crushing step is legitimately fun for children, and sprinkling the peppermint on top is easy enough for small hands. Zainab treats the sprinkling like she's decorating a piece of art. It's one of those rare kitchen projects where I'm not quietly nervous the whole time.
- The ingredients are easy to find: Everything on this list is at Walmart, Aldi, or any grocery store during December. Semi-sweet chocolate chips, white chocolate chips, candy canes, peppermint extract if you want it — no specialty stores, no online orders, nothing obscure.
Ingredients
- 12 oz dark chocolate, semisweet or bittersweet (chopped, or use chips — either works)
- 12 oz white chocolate (chopped, or chips)
- ½ cup crushed peppermint candies or candy canes
- ¼ teaspoon peppermint extract (optional, but I like adding it to the white chocolate layer)
Directions
- Step 1: Line your pan — Take a standard sheet pan and line it with parchment paper. Don't skip this step — I tried it once with just a lightly greased pan and ended up chipping bark off in sad broken pieces that I had to eat directly over the sink.
- Step 2: Crush the candy canes — Put your candy canes or peppermint candies in a zip-lock bag and hit them with a rolling pin until you get a mix of fine crumbs and small chunks. Do this before you melt anything so you're ready to sprinkle immediately.
- Step 3: Melt the dark chocolate — Put the dark chocolate in a microwave-safe bowl and heat in 20-second intervals, stirring between each one, until it's smooth and glossy. Don't rush it with longer bursts — chocolate seizes up fast when overheated and there's no saving it after that.
- Step 4: Spread the dark chocolate layer — Pour the melted dark chocolate onto your lined pan and use a spatula to spread it into an even layer, roughly ¼ inch thick. Refrigerate for about 10 minutes until it's set and firm to the touch.
- Step 5: Melt the white chocolate — Melt the white chocolate the same way — short microwave bursts, stirring in between. White chocolate burns even more easily than dark, so be patient. Once it's smooth, stir in the peppermint extract if you're using it.
- Step 6: Add the white chocolate layer — Pour the white chocolate over the set dark chocolate layer and spread quickly. You have maybe 60-90 seconds before it starts to set and dragging your spatula will tear the layer. Tap the pan gently on the counter to level it out.
- Step 7: Sprinkle and chill — Immediately scatter the crushed candy canes over the white chocolate, pressing very lightly so they stick. Then refrigerate for at least 1 hour until completely firm. Break into pieces by hand or use a knife.
Tips for Success
- Use good chocolate — it matters here: Because peppermint bark has so few ingredients, the quality of your chocolate is the whole recipe. I use Ghirardelli semi-sweet chips for the dark layer and the same brand's white chocolate chips. They melt cleanly and the flavor is noticeably better than the generic store-brand stuff. You don't need the expensive imported stuff, just reach for a recognizable brand.
- Don't overheat the chocolate: The first time I made this I got impatient and microwaved the dark chocolate in one long burst. It seized into a grainy, unusable paste and I had to throw it out and start over. Low and slow is the only way. Twenty-second intervals, stir every time, pull it out when it's about 90% melted and stir the rest smooth from the residual heat.
- Work fast on the white chocolate layer: I cannot stress this enough. Have everything ready — candy canes crushed, spatula clean, pan with set dark chocolate already out of the fridge — before you even start melting the white chocolate. Once it's poured, you need to spread and sprinkle within about 90 seconds. If you stop to find the rolling pin mid-step, you'll end up with a lumpy, dragged-up surface.
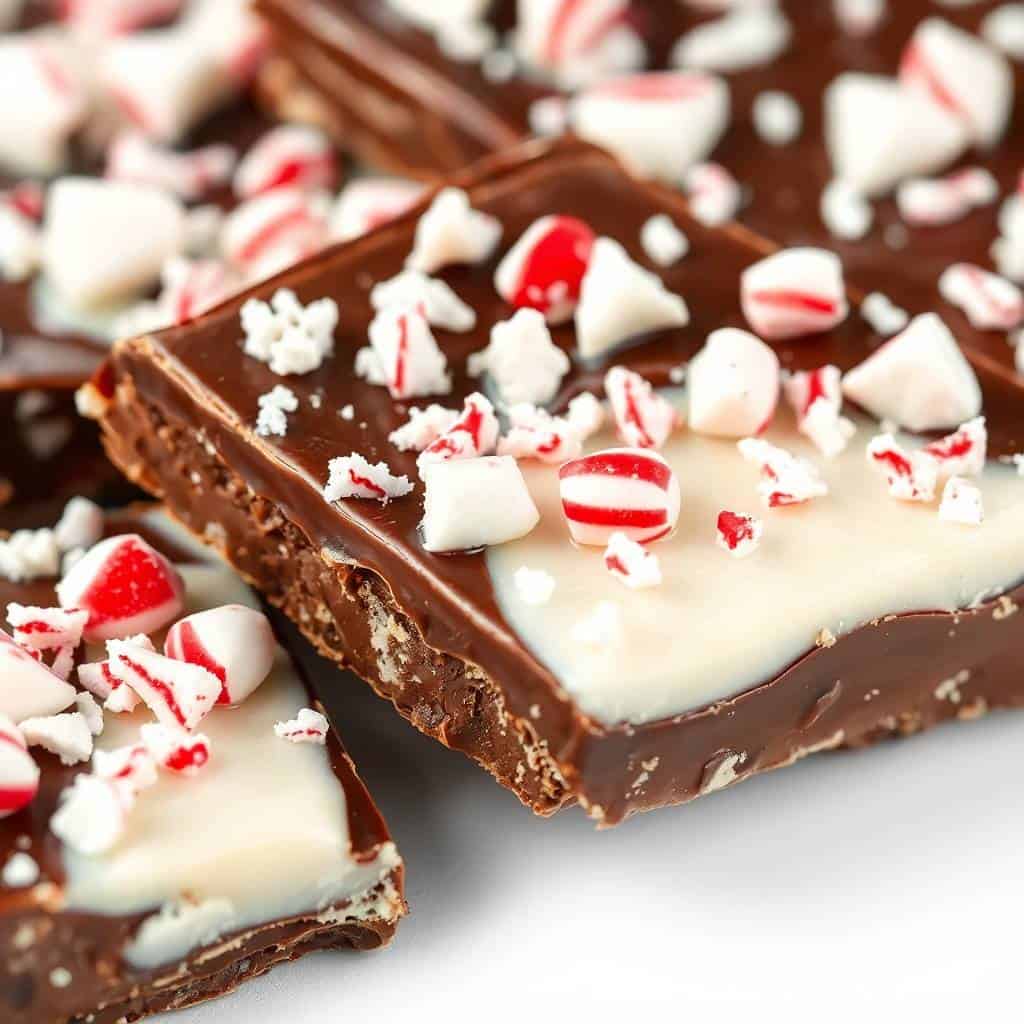
- Press the candy canes lightly: Just a very gentle press with your palm is enough to help them stick. If you press too hard, they sink below the surface and you lose the crunch and the visual effect. You want them sitting on top, embedded just barely.
- Let it chill fully before breaking: If you try to break the bark before it's completely set, the layers separate — you get white chocolate peeling off from the dark chocolate base. Give it the full hour in the fridge, or even 90 minutes if you can wait. When you break it and the two layers stay together cleanly, that's when you know it's ready.
Variations
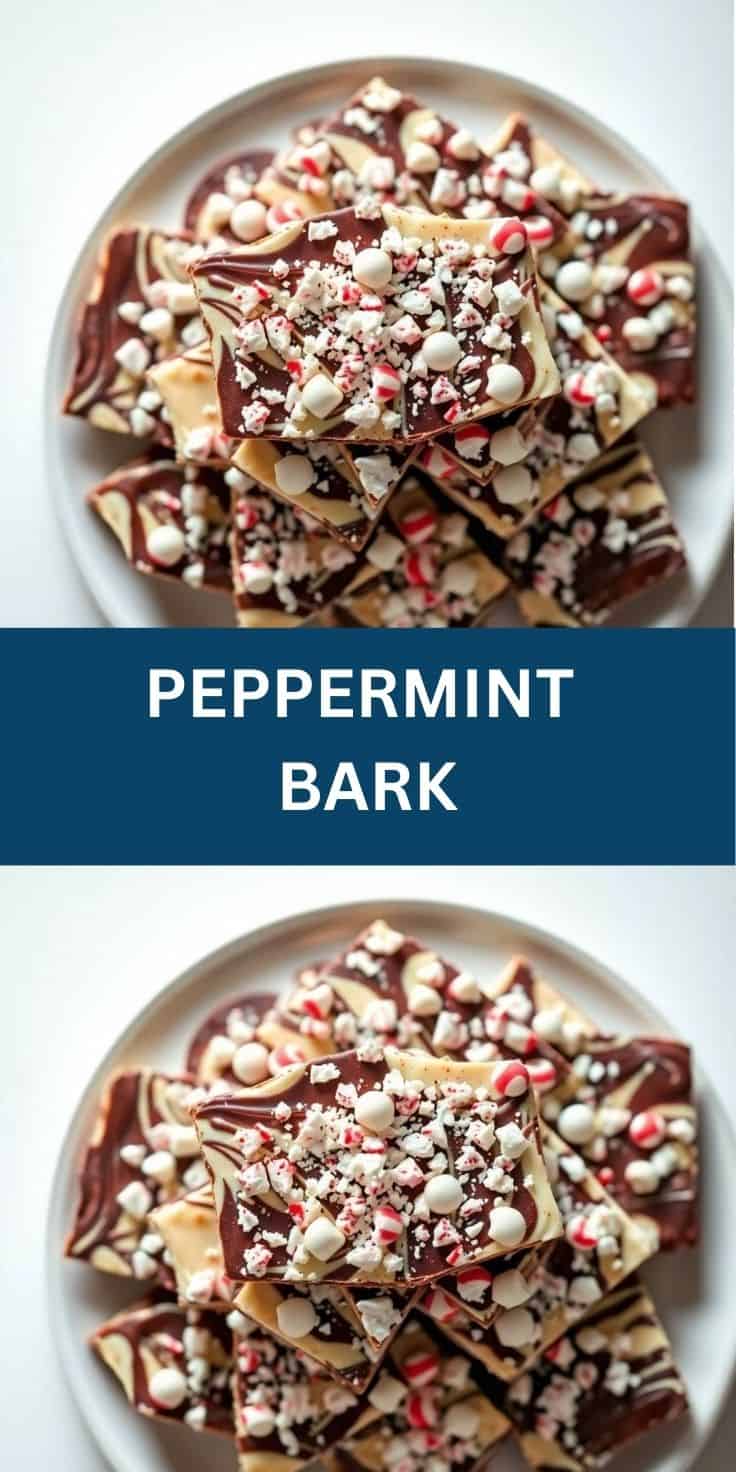
- Swirled bark: Instead of two distinct layers, pour both chocolates onto the pan close together and use a toothpick or skewer to drag them into swirls before they set. It takes about 30 seconds of swirling and looks genuinely beautiful. This is actually my favorite version visually — it's a bit more rustic and each piece looks different.
- Add nuts: Scatter crushed pistachios or roasted almonds over the top along with the candy canes. The green of the pistachios against the white chocolate and red peppermint is genuinely gorgeous for a holiday gift. The texture contrast is great too — you get crunch from both the nuts and the candy.
- Milk chocolate version: If you find dark chocolate too bitter for the kids, swap in milk chocolate for the base layer. The whole bark gets sweeter and more candy-bar adjacent. Saad actually prefers this version — he finds the dark chocolate base "too grown-up," which is a phrase he uses to mean he doesn't like it.
- Dark chocolate only: Skip the white chocolate layer entirely and just do a thick layer of dark chocolate with peppermint on top. It's simpler and honestly excellent — more like a thin chocolate mint bar. If you want to dress it up, a drizzle of white chocolate on top once it's set looks nice without the full second layer.
- Extra festive topping: Along with the candy canes, add red and green sprinkles, small silver dragées, or a light dusting of edible gold or silver. If you're making this for a holiday cookie box alongside other treats, the extra decoration makes each piece look like it came from a bakery.
Serving and Storage
Serving
Break the bark into irregular pieces — some big, some small — and pile them onto a plate or holiday platter. They look best piled casually rather than arranged neatly. For gifting, I layer pieces in a small tin or a clear cellophane bag tied with ribbon. If you're putting together a dessert spread for a holiday party, peppermint bark pairs well next to something rich and soft like a slice of Chocolate Raspberry Mousse Cake — the contrast in textures works really well together.
Storage
Store bark in an airtight container at room temperature for up to 1 week, or refrigerate for up to 3 weeks. If you're stacking pieces in a container, put a small piece of parchment between layers so they don't stick together. In very warm kitchens, refrigerating is better — chocolate at room temperature in a warm house gets soft and the pieces start to meld together. You can also freeze it: layer with parchment in a freezer-safe container for up to 2 months and thaw at room temperature before serving.
Frequently Asked Questions
Can I use just one type of chocolate instead of two?
Yes, absolutely. You can do all dark chocolate or all white chocolate — both work. The two-layer version is classic because the contrast looks beautiful and the flavors balance each other, but a single-chocolate version is simpler and still tastes great. If you go all white chocolate, add a bit more peppermint extract since it can taste quite sweet on its own.
Do I need to temper the chocolate?
Technically no, not for bark. Tempering gives chocolate that professional snap and shine, but for a home holiday treat that you're breaking into pieces anyway, it's not necessary. If you use good-quality chocolate and keep the bark stored cool, it will stay firm and look perfectly fine. I've never tempered chocolate for this recipe and it always turns out well.
How do I crush candy canes without making a mess?
The zip-lock bag method is the cleanest way. Put the unwrapped candy canes in a sturdy zip-lock bag, press the air out, seal it, and hit it with a rolling pin until you get a mix of fine dust and small pieces. The bag keeps the shards from flying everywhere. I usually do this step first, before I start melting anything, so Zainab can do the crushing while I set up the rest.
Can I make peppermint bark ahead of time?
Yes — this is actually one of the best things about it. I often make it 4 to 5 days before I need it. Store it in an airtight container in a cool spot or in the refrigerator and it keeps beautifully. This is one of my go-to make-ahead holiday treats specifically because it doesn't suffer from sitting for a few days the way baked goods sometimes do.
Can I freeze peppermint bark?
Yes. Layer the pieces with parchment paper in a freezer-safe container and freeze for up to 2 months. When you're ready to eat it, just take out what you need and let it thaw at room temperature for 15 to 20 minutes. The texture holds up well — I've done this and couldn't tell the difference from freshly made.

PEPPERMINT BARK
Ingredients
- 12 oz dark chocolate semisweet or bittersweet, chopped
- 12 oz white chocolate chopped
- ½ cup crushed peppermint candies or candy canes
- ¼ teaspoon peppermint extract optional
Instructions
Prepare the Baking Sheet:
- Line a baking sheet with parchment paper or a silicone baking mat.
Melt Dark Chocolate:
- In a heatproof bowl, melt the dark chocolate over a double boiler or in the microwave (stirring every 20 seconds). Once smooth, pour the melted dark chocolate onto the prepared baking sheet, spreading it into an even layer. Refrigerate for 10 minutes to set.
Melt White Chocolate:
- Melt the white chocolate in the same way, ensuring it is smooth. If desired, stir in peppermint extract for extra flavor.
Pour White Chocolate:
- Once the dark chocolate has set, pour the melted white chocolate over the dark layer, spreading it evenly. Gently tap the baking sheet on the counter to level the white chocolate.
Add Peppermint:
- Sprinkle the crushed peppermint candies evenly over the white chocolate layer.
Chill and Break:
- Chill the bark in the refrigerator for at least 1 hour, or until completely set. Once firm, break it into pieces.
Notes
Peppermint Bark can be made up to a week in advance. Store in an airtight container in the refrigerator. Customizing the Flavor:
For a richer flavor, use milk chocolate in place of dark chocolate. You can also add other mix-ins like crushed nuts or white chocolate drizzle. Storage:
Store bark in an airtight container in a cool place for up to 1 week. Refrigeration is not necessary unless the temperature is very warm.
Peppermint bark is the kind of recipe I keep coming back to every December because it genuinely requires almost nothing from me — no mixer, no piping bags, no decorating skill — and yet the finished product looks like I put real effort in. I appreciate that honesty in a recipe. It does what it says it will do, and it does it in under two hours including the chilling time.
It's also one of the few holiday recipes that I'm happy to give away. A tin of homemade peppermint bark has a warmth to it that bought chocolate just doesn't. I've gifted it to teachers, to neighbors, to friends who come over for chai — and every single time, people ask if I'll make it again. The answer is always yes, because a double batch takes maybe 25 minutes of active work and I already know we'll eat through the first batch before the week is out. If you want something else on your holiday table, my Red Velvet Cake Roll is another showstopper that's more involved but absolutely worth it for a special occasion.
Make a batch, pile it in a tin, and hide a few pieces for yourself before it disappears. You'll thank yourself later. 🍫❄️
If you liked this recipe, here are a few more you might enjoy:
- Polar Bear Cookies — another no-fuss holiday treat the kids can help make
- Red Velvet Cake Roll (Stunning Cream Cheese Filled Swiss Roll) — when you want something that looks truly impressive on a holiday table
- Chocolate Raspberry Mousse Cake (Rich Layers, Stunning Finish) — rich and gorgeous for a holiday dinner party
- Butter Biscuits — simple, satisfying, and always gone fast





Comments
No Comments