
My husband doesn't really love finger food — except for these. He ate four sliders the first time I made them and then asked if I was planning to make them again "soon." That was about six months ago and now they've become a regular in our rotation, usually on weekends when I want something that requires minimal thinking and delivers maximum satisfaction.
What makes these work is the layering. You've got seasoned ground beef with taco seasoning giving it a little something extra, shredded cheddar melting down into the meat and the bun, pickles for that acidic punch, and then a garlic butter brush over the top that toasts up the rolls just enough. Everything goes into one baking dish and comes out looking like you actually tried. I'll be honest — the first time I made sliders I didn't cover them with foil and the tops got too dark before the cheese properly melted. Cover them. Then uncover for the last five minutes. That sequence matters.
These are a game day staple in my house now. I also make them for Saad's birthday parties because kids absolutely lose their minds over anything small and handheld with melted cheese. I usually make a double batch because one tray disappears before I've even sat down. If you're looking for another crowd-friendly snack to serve alongside, my Sausage Cream Cheese Crescents are just as easy and work really well on the same table.
One thing to know going in: these are not fancy. The name says it all. This is comfort food that's meant to be eaten warm, possibly while watching something loud on TV. Don't overthink it — just make sure your beef is well seasoned and your cheese is shredded (not from a packet of pre-sliced singles, which tend to sit on top rather than melt into everything). That one swap makes a noticeable difference.
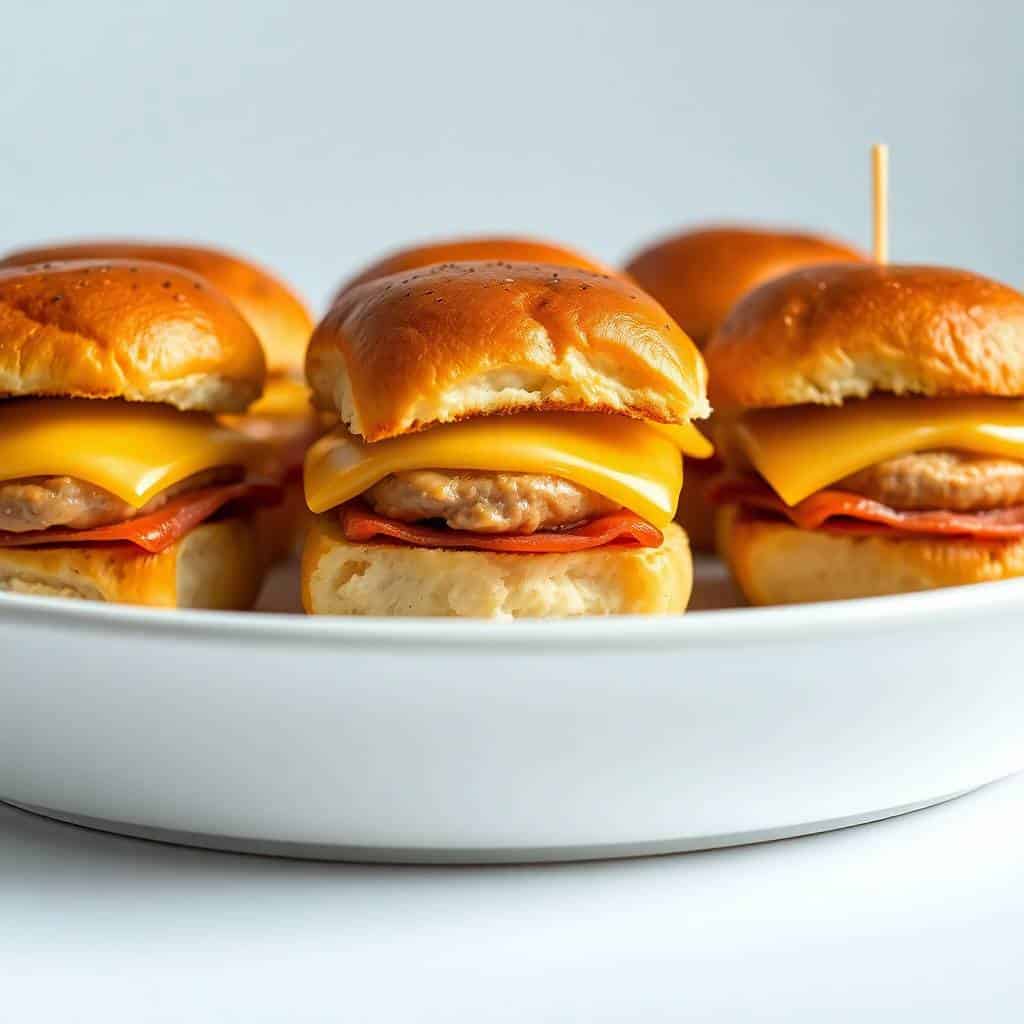
Why You'll Love This Recipe
- Done in under 35 minutes: The beef cooks in about 10 minutes and the whole tray bakes in 20. I've made these on a Tuesday night after school pickup when I had absolutely nothing planned and everyone still ate well. There's no marinating, no long prep, no special technique — just cook the meat, stack everything, and bake.
- One pan to wash: Everything bakes in a single 9x13 baking dish, which means cleanup is actually bearable. The skillet for the beef is the only other thing that needs washing. On busy nights that matters more than I'd like to admit.
- Inexpensive ingredients: A pound of ground beef, a bag of Hawaiian rolls, shredded cheddar, and a few condiments — nothing here costs more than what you'd already have in the fridge. I pick up Hawaiian rolls from Walmart or Costco and they're perfect for this. No specialty shopping required.
- Easily customizable: You can swap in ground turkey if that's what you have, add jalapeños if your crowd runs spicy, or use pepper jack instead of cheddar. I've made probably five variations of this at this point and they all work because the base formula is solid.
- Make-ahead friendly: You can cook the beef the night before, refrigerate it, then assemble and bake when you need it. I've done this for parties and it cuts the day-of stress significantly. Just add a few extra minutes to the covered baking time if the filling is going in cold.
Ingredients
- 1 lb ground beef
- 1 packet taco seasoning (or 2 tablespoons homemade)
- 12 slider buns or Hawaiian rolls
- 1 cup shredded cheddar cheese
- ½ cup chopped dill pickles
- ¼ cup mayonnaise
- ¼ cup ketchup
- 2 tablespoons yellow mustard
- ¼ cup butter, melted
- ½ teaspoon garlic powder
- 1 tablespoon sesame seeds (optional)
Directions
- Step 1: Cook the beef — Brown the ground beef in a skillet over medium heat, breaking it up as it cooks. Drain the excess fat — don't skip this or your buns will get soggy from the bottom. Stir in the taco seasoning with a small splash of water and cook for another minute or two until the meat is coated and the liquid has absorbed.
- Step 2: Prep the baking dish — Preheat your oven to 350°F (175°C). Grease a 9x13 baking dish lightly. Slice the rolls in half horizontally keeping them connected as a sheet — don't separate individual rolls. Place the bottom halves into the dish.
- Step 3: Add the sauces — Spread mayonnaise, ketchup, and mustard evenly over the cut surface of the bottom buns. This is your flavor base and it also keeps the bun from drying out during baking. Don't be shy with it.
- Step 4: Layer the filling — Spoon the seasoned beef evenly over the sauced buns. Scatter the chopped pickles over the beef, then top with the shredded cheddar. Lay the top halves of the rolls over everything to close the sliders.
- Step 5: Butter the tops — Mix the melted butter with garlic powder and brush it generously over the tops of the buns. Sprinkle sesame seeds on if you're using them. This butter topping is what makes the rolls go golden and slightly crispy on top — don't skip it.
- Step 6: Bake — Cover the dish tightly with foil and bake for 15 minutes. Remove the foil and bake for another 5 minutes until the tops are golden and the cheese has fully melted through. Slice between the rolls and serve warm.

Tips for Success
- Drain the beef properly: I skipped draining once because I was in a hurry. The bottom buns turned into a soggy mess and the whole thing fell apart when I tried to slice it. Take the 30 seconds to tilt the skillet and spoon out the excess fat. It makes a real difference to the final texture.
- Use shredded cheese, not slices: Sliced American cheese sits on top and doesn't really melt into the beef the same way. Shredded cheddar melts down through the layers and binds everything together. If you can shred a block of cheddar yourself rather than using the pre-shredded bags, it'll melt even better — the bags have a coating that slows melting slightly.
- Cover first, then uncover: The foil for the first 15 minutes traps steam and melts the cheese from the inside. The uncovered 5 minutes at the end is what crisps up the buttered tops. I learned this the hard way — baking uncovered the whole time gives you dry, too-dark rolls before the cheese has properly melted through.
- Don't slice the rolls individually before baking: Keep the rolls connected as a sheet when you slice them in half. This makes assembly much easier and the sliders hold together better when you cut and serve them. Separating them first makes the whole thing slide around and you lose filling.
- Be generous with the butter topping: If you brush on a thin layer, you'll barely notice it. Get every inch of the top buns coated. The garlic butter is what takes these from "good" to "everyone wants the last one." A silicone pastry brush works great here — I have a cheap one I've used for years.
Variations
- BBQ beef version: Skip the taco seasoning and instead mix 3 tablespoons of your favorite BBQ sauce into the cooked beef. Swap the ketchup and mustard on the buns for more BBQ sauce. The result is sweeter and smokier — my husband actually prefers this version in summer when we're in a BBQ mood.
- Spicy jalapeño sliders: Add a handful of sliced pickled jalapeños on top of the beef before you add the cheese. You can also swap cheddar for pepper jack. This is a good option if you're serving adults who like heat — just make one half of the tray spicy so kids can still eat from the other half.
- Ground turkey or chicken: This works well if you want something lighter. Turkey needs a little more seasoning because it's milder than beef, so I'd add an extra half teaspoon of garlic powder to the mix. Make sure to drain it too — turkey releases more liquid than you'd expect.
- Bacon cheeseburger style: Crumble 4-5 strips of cooked bacon over the seasoned beef before adding the cheese. It adds a smokiness that works really well with the pickle and mustard combination. This is the version I'd make for a Super Bowl spread alongside something fresh like a Shrimp and Cucumber Salad to balance things out.
- Sausage swap: Replace the ground beef with mild or hot Italian sausage (casings removed). The sausage has enough fat and seasoning that you can skip the taco packet entirely. It gives these a completely different flavor — more savory and herby — but just as good.
Serving and Storage
Serving
Serve these warm, right out of the oven. I put a bowl of extra pickles, ketchup, and hot sauce on the table and let people add what they want. They pair really well with potato chips, fries, or a simple salad on the side — the Mexican Cucumber Salad is a good fresh contrast to all the richness here. For parties, you can keep them warm in the baking dish covered with foil for up to 30 minutes without them drying out too much.
Storage
Leftovers keep in the fridge for up to 3 days in an airtight container. To reheat, skip the microwave if you can — it makes the buns rubbery. Instead, put them in a 325°F oven for about 10 minutes, or use an air fryer at 325°F for 4-5 minutes. The air fryer method actually brings the tops back to being slightly crispy, which is close to fresh-out-of-the-oven texture. For freezing, wrap individual sliders in foil and freeze for up to a month. Reheat from frozen in the oven at 350°F for 15-18 minutes covered with foil.

Frequently Asked Questions
Can I use ground turkey instead of beef?
Yes, ground turkey works fine here. It's a bit milder than beef so I'd recommend adding an extra half teaspoon of garlic powder and making sure the taco seasoning is evenly mixed through. Drain it well too — turkey releases more liquid than beef does during cooking.
Can I make these sliders ahead of time?
Absolutely. Cook the beef the day before and refrigerate it. When you're ready to bake, assemble the sliders in the dish, add the butter topping, and bake as directed. If the filling is going in cold from the fridge, add an extra 3-4 minutes to the covered baking time to make sure everything heats through properly.
Can I freeze these after baking?
Yes. Let them cool completely, then wrap individual sliders in foil and freeze in a zip-lock bag for up to one month. To reheat from frozen, bake at 350°F covered with foil for 15-18 minutes. They won't be quite as crispy on top as fresh ones but they're still very good.
What if I don't have Hawaiian rolls?
Any soft slider bun works — look for dinner rolls at Walmart or Aldi that come in a connected sheet. The slightly sweet Hawaiian rolls do complement the savory filling really well, but plain dinner rolls are a perfectly fine substitute. Just make sure they're soft rolls, not crusty ones, or the texture won't work as well after baking.
What sides go best with these?
Potato chips, fries, or coleslaw are the obvious choices and they work well. For something fresher I like serving these with a simple cucumber salad or a green salad to balance the richness of the sliders. If you're doing a full party spread, my Sausage Cream Cheese Crescents are a good addition to the table alongside these.
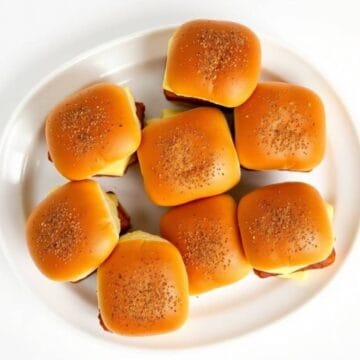
WHITE TRASH SLIDERS RECIPE
Ingredients
- 1 lb ground beef
- 1 packet taco seasoning or 2 tablespoons homemade
- 12 slider buns or Hawaiian rolls
- 1 cup shredded cheddar cheese
- ½ cup chopped dill pickles
- ¼ cup mayonnaise
- ¼ cup ketchup
- 2 tablespoons yellow mustard
- ¼ cup butter melted
- 1 tablespoon sesame seeds optional
- ½ teaspoon garlic powder
Instructions
Cook the Beef:
- Brown ground beef in a skillet over medium heat. Drain excess fat. Stir in taco seasoning and a splash of water. Cook until well combined and thickened.
Prepare the Sliders:
- Preheat oven to 350°F (175°C). Slice buns in half horizontally. Place bottom halves in a greased baking dish.
Layer the Fillings:
- Spread mayo, ketchup, and mustard evenly on the buns. Top with seasoned beef, pickles, and shredded cheese. Add top bun halves.
Add Buttery Topping:
- Mix melted butter with garlic powder. Brush over top buns. Sprinkle with sesame seeds, if using.
Bake:
- Cover with foil and bake for 15 minutes. Uncover and bake an additional 5 minutes until tops are golden and cheese is melted.
Serve:
- Slice and serve warm!
Notes
Cook beef in advance and assemble sliders just before baking. Serving Ideas:
Perfect with chips, fries, or a cold pickle spear. Custom Variations:
Swap ground beef for sausage or add jalapeños for heat. Storage Tips:
Store leftovers in the fridge and reheat in the oven to maintain crispiness.
These sliders have stuck around in my kitchen because they genuinely deliver every single time I make them. There's no technique to master here, no tricky timing — just a solid formula that works. I make them when I need dinner on the table fast, when we have people coming over, or honestly when I just want something warm and cheesy with zero complications.
If you're doing a full spread for game day or a casual gathering, I'd pair these with something a little lighter on the side. My Mexican Cucumber Salad takes about 10 minutes and cuts through the richness of the sliders really nicely. And if you want to end the night on a sweet note, my Chocolate Lava Cakes are easier than they look and make for a seriously good finish.
The thing I like most about this recipe is that it costs almost nothing to make and tastes like you put in real effort. A pound of ground beef, a bag of rolls, some cheese — that's it. I've served these to people who cook seriously and people who don't cook at all, and everyone goes back for another one. Make a double batch if you're feeding more than four people. Trust me on that. 🍔✨
If you liked these, here are a few more recipes worth checking out:
- Sausage Cream Cheese Crescents — another easy baked snack that disappears fast
- Mexican Cucumber Salad — a fresh, quick side that pairs well with anything cheesy
- Shrimp and Cucumber Salad with Lemon Dill Dressing — a lighter option if you want balance on the table
- Chocolate Lava Cakes — for when you need a dessert that looks impressive but isn't complicated
- Creamy Alfredo Lasagna Soup — a warm, comforting bowl for cooler nights



Comments
No Comments