
Saad asked for this three weeks in a row before I finally wrote down exactly what I was doing. It started as a holiday thing — something to bring to a school gathering — and somehow turned into the treat my kids ask for every time they want to bribe me into a good mood.
What I love about this bark is how little it asks of you. There's no candy thermometer, no tempering chocolate, no special equipment. You melt butter and sugar, pour it over pretzels, throw the pan in the oven for five minutes, add chocolate chips while everything is still hot, and that's basically it. The caramel does the work. The chocolate does the rest. If you've made my snickerdoodle cheesecake bars, you already know I believe the best holiday desserts shouldn't take all day — this one fits that same category.
I make a double batch every December because a single tray disappears before I even finish cleaning up. Half goes to whatever gathering we're headed to, half gets hidden in the back of the fridge labeled "leftover soup" so my husband doesn't find it. (He always finds it. Every time.)
One thing worth knowing before you start: the caramel sets fast. Once you pull the pan out of the oven, have your chocolate chips ready to go immediately. Don't walk away to answer your phone. I did that the first time and the window for melting the chocolate smoothly had already closed by the time I came back. It still tasted fine, but the chocolate layer was patchy and uneven. Lesson learned.
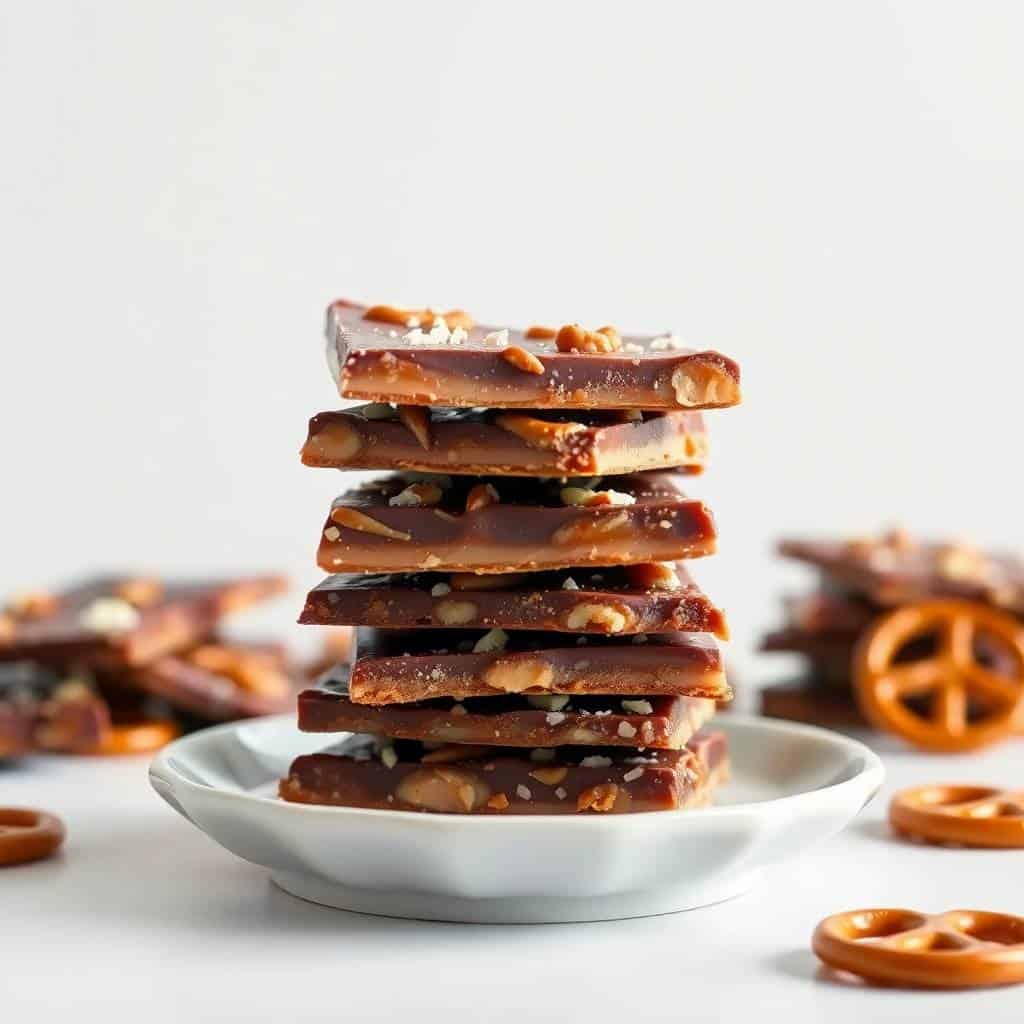
Why You'll Love This Recipe
- No oven skills required: The hardest part of this whole recipe is not burning the caramel, and even that is pretty forgiving if you keep the heat at medium and stir constantly. I've made this on busy weeknights when I had twenty minutes and zero mental energy left. It comes together without asking much of you.
- It travels and gifts beautifully: Break it into irregular pieces, layer it in a tin with parchment between the layers, and it looks like something from a bakery. I've brought this to Eid gatherings, Christmas cookie swaps, and school teacher gifts. Every single time someone asks for the recipe. It's one of those things that looks far more effortful than it actually is.
- The texture is genuinely interesting: You get the snap of the chocolate on top, the chew of the caramel underneath, and the crunch of the pretzel holding everything together. It's not just sweet — the salt in the pretzels and the flaky sea salt on top keep it from feeling heavy. That contrast is what makes it hard to stop eating.
- Makes a big batch with cheap ingredients: A bag of mini pretzels, two sticks of butter, brown sugar, and chocolate chips — you can find everything at Walmart or Aldi. The total cost is maybe four or five dollars, and it feeds a crowd. For holiday season especially, that matters.
- Endlessly customizable: Once you have the base down, you can take it in a hundred directions. Crushed candy canes for Christmas, M&Ms for color, a drizzle of peanut butter for a Reese's-adjacent vibe. My husband prefers it with dark chocolate. Saad wants milk chocolate and sprinkles. I usually make one tray of each.
Ingredients
- 4 cups mini pretzels
- 1 cup (2 sticks) unsalted butter
- 1 cup packed brown sugar
- 2 cups semi-sweet chocolate chips (or milk chocolate if you prefer sweeter)
- Flaky sea salt for topping (Maldon is great, but any flaky salt works)
Directions
- Prep the pan and pretzels: Preheat your oven to 350°F. Line a large rimmed baking sheet (a standard half-sheet pan works perfectly) with parchment paper. Spread the mini pretzels in a single even layer across the whole pan — try to leave as few gaps as possible so the caramel has something to grab onto everywhere.
- Make the caramel: In a medium saucepan over medium heat, melt the butter completely, then add the brown sugar and stir to combine. Keep stirring while it comes to a gentle simmer. Let it bubble for 3 to 4 minutes, stirring constantly, until it deepens in color slightly and looks thick and glossy. Don't walk away from this — it can go from perfect to burnt quickly.
- Pour and bake: Pour the hot caramel evenly over the pretzels and use a spatula to nudge it around so everything gets coated. Slide the pan into the oven and bake for 5 minutes. The caramel will bubble up and spread further into the gaps — that's exactly what you want.
- Add the chocolate: Pull the pan out of the oven and immediately — right away, no delay — scatter the chocolate chips over the hot caramel in an even layer. Let them sit for 2 to 3 minutes undisturbed so the heat melts them, then spread the softened chocolate with a spatula into a smooth layer across the top.
- Salt and set: Sprinkle flaky sea salt generously over the chocolate while it's still wet so it sticks. Let the bark cool at room temperature for 20 to 30 minutes, then transfer to the fridge for 1 to 2 hours until fully firm and set.
- Break and serve: Once the bark is completely firm, lift the parchment off the pan and break the bark into irregular pieces with your hands. Store in an airtight container.
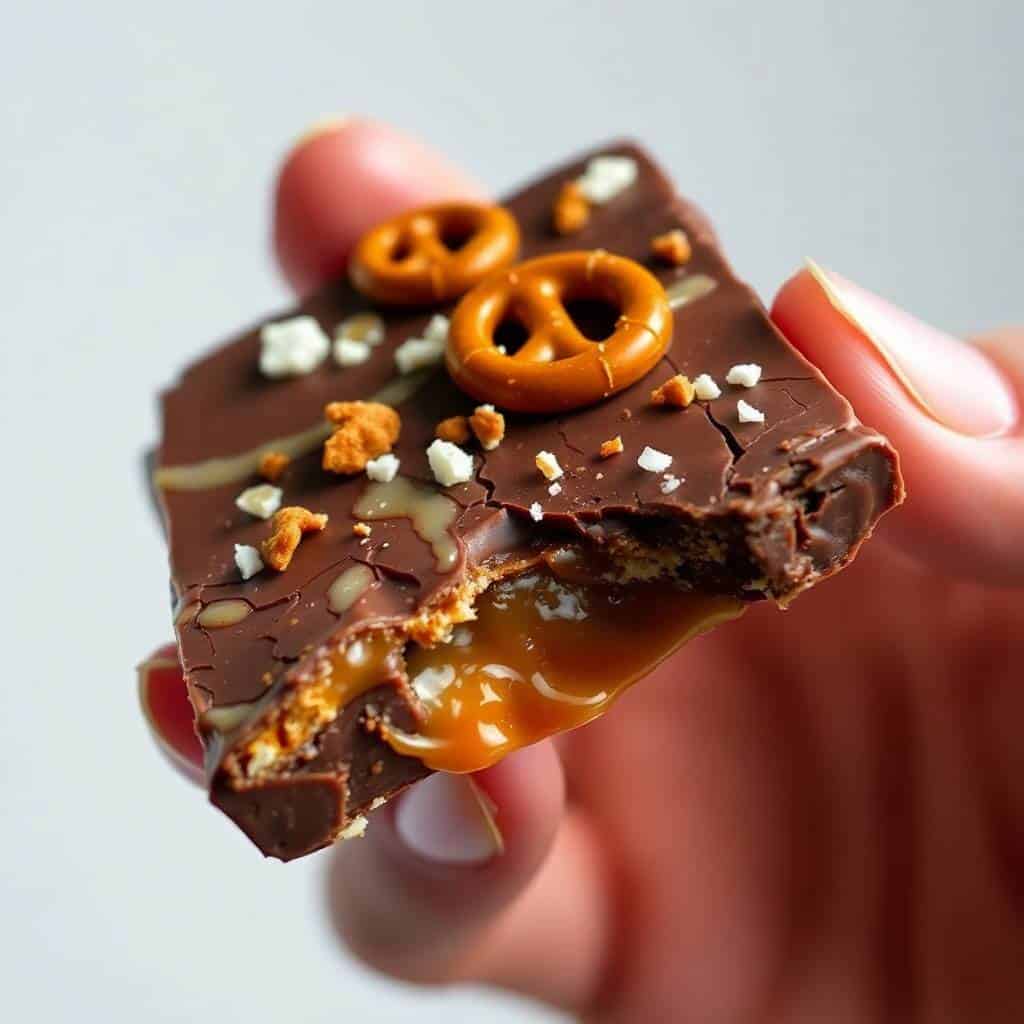
Tips for Success
- Have your chocolate chips measured and ready before the pan comes out of the oven: I cannot stress this enough. The caramel starts to set the moment it cools, and you have maybe a two-minute window where the residual heat is enough to melt the chocolate chips properly. The first time I made this I wasn't ready, and I ended up with a patchy chocolate layer I had to fix by putting the pan back in the oven briefly. Just have everything pre-measured and standing by before you even turn the oven on.
- Don't overcook the caramel: Four minutes of bubbling is enough. If you take it past that, the caramel gets brittle and glassy when it cools instead of that slightly chewy layer you're going for. Medium heat, constant stirring, and a timer — that's the formula. If it starts smelling like it's catching, pull it off the heat immediately.
- Use a rimmed baking sheet: The caramel is liquid when it goes on the pretzels, and without a rim it will run right off the edge of the pan and onto your oven floor. I use a standard half-sheet pan — the kind you can get at any grocery store for under $10. A rimmed quarter-sheet will work too, just make a smaller batch.
- Chill fully before breaking: I know it's tempting to try breaking it while it's still slightly warm. I've done it. The layers separate and you end up with chocolate-topped fragments and naked caramel pretzel pieces instead of clean bark. Give it the full hour in the fridge — it breaks into much more satisfying shards when it's properly cold and set.
- Don't skip the flaky salt on top: Regular table salt won't give you the same effect. Flaky salt (Maldon is my go-to, but the Trader Joe's flaky salt works great too) sits on top of the chocolate and gives you little bursts of salinity as you eat. It's a small thing that makes a big difference. If you only have coarse kosher salt, that works in a pinch — just use it sparingly.
Variations
- Dark chocolate version: Swap the semi-sweet chips for dark chocolate (60% or 70% cacao). The bitterness of the dark chocolate against the sweet caramel is genuinely excellent — my husband prefers it this way. Ghirardelli 60% chips are easy to find at most US grocery stores and melt beautifully.
- Candy cane bark: Once the chocolate is spread, crush a few candy canes inside a zip-lock bag (rolling pin works great here) and scatter the pieces over the top before chilling. This is the holiday version I make for Christmas cookie exchanges. It looks festive and the peppermint with the caramel is a combination I wasn't expecting to love as much as I do.
- Peanut butter drizzle: Melt 2 tablespoons of peanut butter in the microwave (15-second bursts) and drizzle it over the chocolate layer before chilling. This takes it solidly into Reese's territory. Zainab is obsessed with this version. If anyone in your house likes that combination of chocolate and peanut butter, this is the move.
- Nutty bark: Press a handful of roughly chopped pecans or roasted almonds into the chocolate while it's still soft. The nuts add another layer of crunch on top of the pretzels underneath. Pecans and caramel specifically are a classic pairing — if you've ever had a turtle candy, you know why this works.
- White chocolate and sprinkles: Use white chocolate chips instead of semi-sweet and top with holiday sprinkles right after spreading. This version photographs really well if you're making it as a gift — it looks like something you'd see in a candy shop window. The flavor is sweeter and milder, which kids generally love.
Serving and Storage
Serving
Break the bark into rough irregular pieces — part of its charm is that no two pieces look the same. I serve it piled up on a plate or in a shallow bowl rather than arranged neatly. It looks more generous that way. If you're gifting it, layer pieces between sheets of parchment paper inside a tin or a clear cellophane bag tied with ribbon. For a dessert table alongside something like my banana pudding, the bark holds its own as a grab-and-go option that needs no plates or spoons.
Storage
Store in an airtight container at room temperature for up to one week. In hot weather (or if your kitchen runs warm), keep it in the fridge — the chocolate can get soft and tacky if left out in the heat. It'll keep refrigerated for up to two weeks. I don't recommend freezing it; the texture of the caramel layer gets a bit odd after thawing.

Frequently Asked Questions
Can I use regular pretzel sticks instead of mini pretzels?
Yes, pretzel sticks work fine — just break them into smaller pieces so they cover the pan more evenly. Mini pretzels are my preference because they tile the pan more neatly and give you a more even base layer, but sticks or even pretzel crisps all work. The texture of the final bark will be slightly different depending on the thickness of your pretzel, but it'll still be good.
Can I make this bark ahead of time?
Absolutely, and I'd actually recommend it. I usually make this one to two days before I need it — the bark keeps perfectly in an airtight container and the flavors are just as good. For holiday gifting, I often make a batch three or four days out with no issues. Just make sure it's fully set and cooled before you store it, and keep layers separated with parchment so the pieces don't stick together.
My chocolate didn't melt smoothly after I added the chips — what went wrong?
The pan probably cooled down too much before you added the chips. This is the most common issue and it happened to me the first time too. If the chocolate won't melt from the residual heat, put the pan back in the still-warm oven (turned off) for two to three minutes. That's usually enough to soften the chips so you can spread them. Going forward, have the chips measured and ready so you can add them the second the pan comes out.
Can I use salted butter instead of unsalted?
You can, but I'd skip the additional sea salt on top if you do, or at least taste as you go. The caramel layer will already have plenty of salt from the butter, and then you've got the salt in the pretzels themselves. Unsalted butter gives you more control over the final salt level, which is why I use it. If salted butter is all you have, just be conservative with the finishing salt.
How do I know when the caramel is ready?
It should be actively bubbling across the whole surface, noticeably thickened, and a slightly deeper golden-brown color than when you started. About 3 to 4 minutes of simmering at medium heat gets you there. It should coat the back of a spoon and not look thin or watery. If it smells like it's catching or burning, pull it immediately — it's better to err slightly underdone than to overcook it into something too brittle.
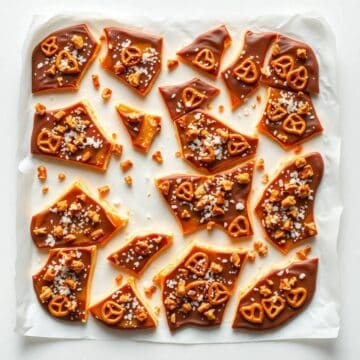
THE BEST SALTED CARAMEL PRETZEL BARK
Ingredients
- 4 cups mini pretzels
- 1 cup 2 sticks unsalted butter
- 1 cup packed brown sugar
- 2 cups semi-sweet chocolate chips
- Flaky sea salt for topping
Notes
Store in an airtight container at room temperature for up to 1 week, or refrigerate for longer freshness. Customisation:
Use white or dark chocolate, drizzle with peanut butter, or add crushed nuts or M&Ms.
This bark has become one of my most-made holiday recipes, and honestly it shows up outside of the holidays too at this point. There's something about the combination of salt, caramel, and chocolate over that crunchy pretzel base that makes it genuinely hard to stop eating. I've brought it to gatherings where I didn't know most of the people in the room, and it's always gone first.
What I appreciate most is that it's genuinely low-stakes. Unlike layer cakes or pastry work where one misstep can cost you the whole thing, this bark is forgiving. If the chocolate layer isn't perfectly smooth, nobody cares. If the pieces break unevenly, that's just how bark looks. The cinnamon rhubarb muffins I make every spring require more attention than this does — and this feeds a bigger crowd for less money.
If you're looking for something to add to a holiday dessert spread or a cookie tin, make a double batch. It packages beautifully, it ships well if you're sending treats to family, and it keeps for a week without losing anything. I always make extra and regret nothing. 🍫🧂✨
If you liked this recipe, here are a few more you might want to save:
- Homemade Snickerdoodle Cheesecake Bars — another no-fuss dessert bar that always gets requests for the recipe
- Best Banana Pudding Ever — a crowd-size dessert that's simple to pull together and always disappears fast
- Cinnamon Rhubarb Muffins — for when you want something baked but not fussy
- Red, White & Blue Deviled Eggs — if you need a savory party snack to go alongside the sweet stuff





Comments
No Comments