
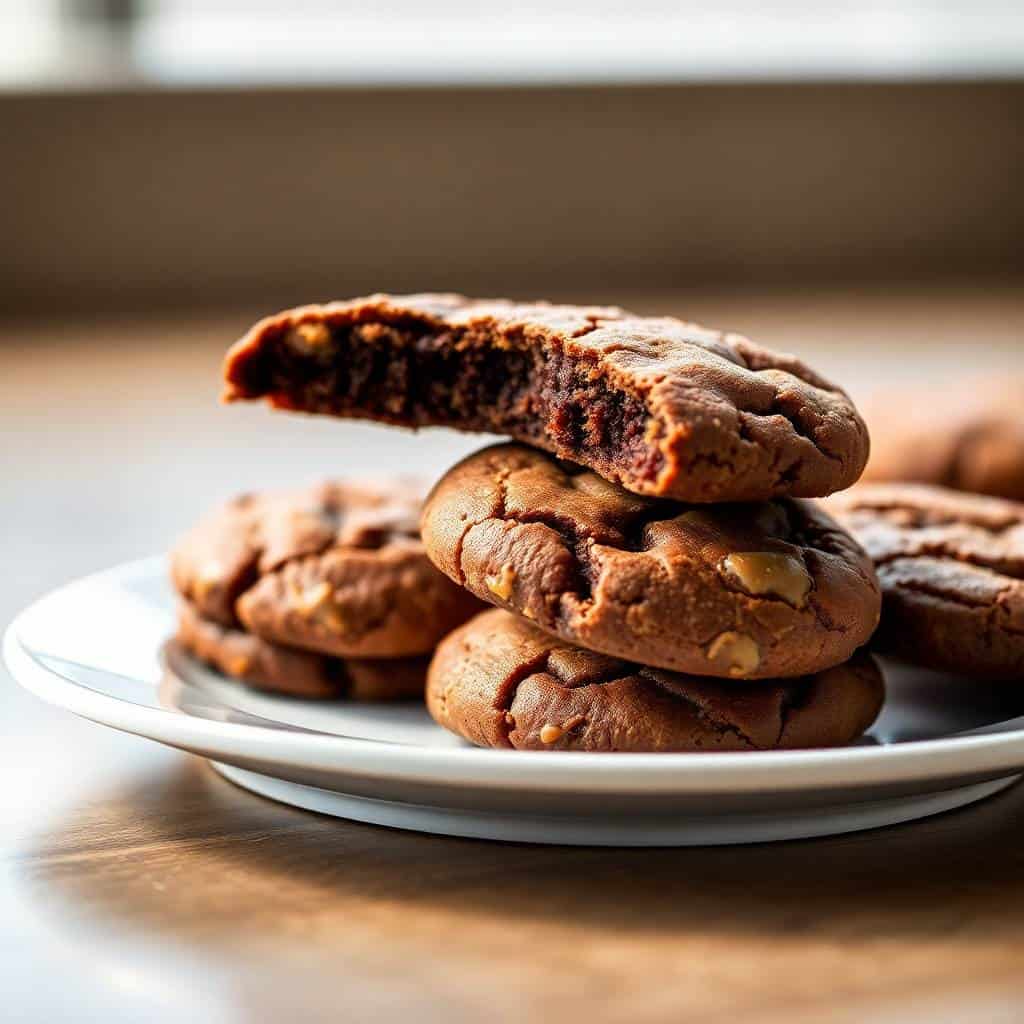
I didn't plan on making brownie cookies. I was halfway through a batch of my soft and chewy chocolate chip cookies when I ran out of chocolate chips and had a half-used bag of semisweet chips that needed to go somewhere. I melted them down with some butter, mixed in the rest of what I had, and baked them off — and what came out of the oven stopped me cold. Crackly tops, fudgy middles, edges like the best part of a brownie pan. I've made them probably twenty times since.
What makes these different from a regular chocolate cookie is that you're actually melting the chocolate first, the same way you'd start a brownie. That step changes everything — the batter is almost like a thick ganache before you fold in the flour, and that's exactly what gives these cookies their dense, fudgy pull. There's barely any flour in this recipe, which feels wrong the first time you read it, but trust the process. It works.
Zainab is my cookie person. She'll eat almost anything I bake, but these she eats warm, standing next to the cooling rack, before they've even had five minutes to firm up. My husband prefers them the next day when they've had time to settle — he says they taste more like a real brownie that way, and honestly he's not wrong. I usually make a double batch for that reason alone, because the first batch is gone before dinner.
One thing to know going in: this dough is soft. Almost alarmingly soft. The first time I made it I panicked and added more flour, which was a mistake — the cookies came out cakey and dry instead of fudgy. Don't do that. Scoop the dough as-is, give the cookies space on the pan, and pull them when the edges look set but the centers still look a little underdone. They finish on the pan.
Why You'll Love This Recipe
- One bowl, no mixer required: I mixed the very first batch with a wooden spoon and a fork for the whipping part. That's genuinely all you need here. There's no creaming butter, no waiting for anything to come to room temperature, no stand mixer involved. My kitchen tools for this are a mixing bowl, a rubber spatula, and a microwave-safe mug for melting the chocolate.
- They taste like the edge piece of a brownie pan: If you're the person who hovers by the pan waiting for the corner pieces, this recipe was built for you. The texture is chewy at the edges, soft and dense in the center, and the tops get that characteristic brownie crackle. It's not a coincidence — the method is basically the same as making a brownie batter, just portioned out as cookies.
- No chilling the dough: A lot of cookie recipes make you refrigerate the dough for an hour or overnight. This one doesn't. You mix, scoop, and bake within 15 minutes. On a weeknight when someone wants dessert and I don't want to plan ahead, this is the one I reach for.
- The ingredient list is genuinely short: Semisweet chocolate chips, butter, sugar, eggs, vanilla, a tiny amount of flour, baking powder, and salt. That's it. No specialty chocolate, no Dutch-process cocoa, nothing you'd need to make a trip to a specialty store for. I've made these with store-brand chips from Walmart and they came out just as good.
- They freeze beautifully: I almost always make a double batch and freeze half. They thaw at room temperature in about 20 minutes, or you can microwave one for 15 seconds and it tastes freshly baked. It's genuinely nice to have them on hand for when the craving hits at 9pm and you don't want to bake from scratch.
Ingredients
- 1 cup semisweet chocolate chips
- ¼ cup unsalted butter
- ¾ cup granulated sugar
- 2 large eggs
- 1 teaspoon vanilla extract
- ¼ cup all-purpose flour
- ¼ teaspoon baking powder
- ¼ teaspoon salt
- Powdered sugar for dusting (optional)
- Extra chocolate chips or chunks for topping (optional)
Directions
- Step 1: Preheat the oven. Set your oven to 350°F (175°C) and line two baking sheets with parchment paper. Two sheets matter here — you'll want to bake in batches so the cookies aren't crowded, and having a second sheet ready keeps the process moving.
- Step 2: Melt the chocolate and butter. In a microwave-safe bowl, combine the chocolate chips and butter. Microwave in 30-second intervals, stirring between each, until fully melted and smooth. Let it cool for about 5 minutes before the next step — if it's too hot it'll start cooking your eggs when you mix them in, and you don't want scrambled brownie.
- Step 3: Whisk the sugar, eggs, and vanilla. In a separate bowl, whisk together the sugar, eggs, and vanilla extract until the mixture is pale and slightly thickened, about 1–2 minutes by hand. This step builds a little structure in the batter and is part of what gives the tops that crackly brownie look.
- Step 4: Combine chocolate with egg mixture. Stir the cooled melted chocolate into the egg mixture until smooth and glossy. Take a moment here to make sure the chocolate has cooled enough — if you can hold your hand near the bowl comfortably, it's fine to proceed.
- Step 5: Fold in dry ingredients. Add the flour, baking powder, and salt. Fold gently with a spatula until just combined and no dry streaks remain. The batter will look more like a thick chocolate sauce than cookie dough — that's exactly right. Don't keep mixing once it comes together.
- Step 6: Scoop and bake. Drop heaping tablespoonfuls of batter onto the prepared baking sheets, spacing them about 2 inches apart. If you're adding extra chocolate chips on top, press a few in now. Bake for 10–12 minutes, until the edges are set and the tops look crackly but the centers still look slightly underdone.
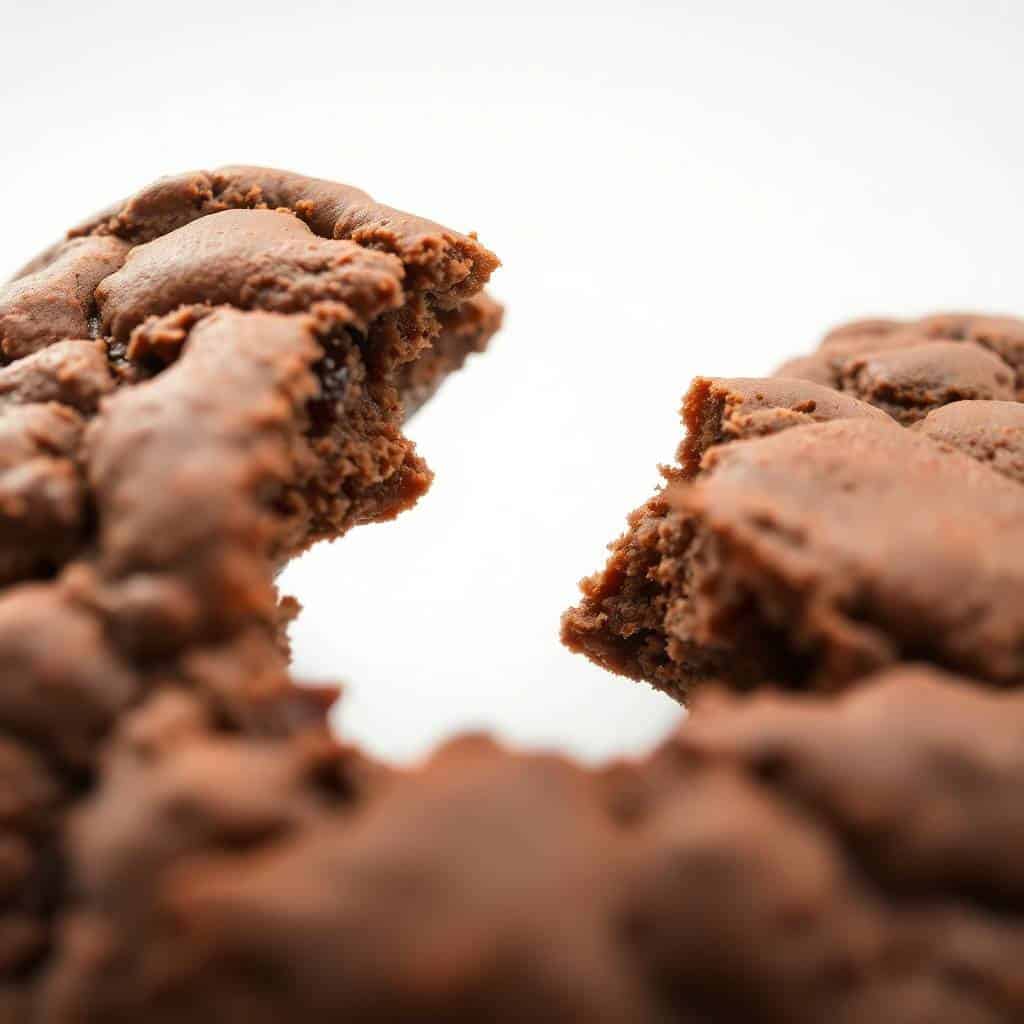
- Step 7: Cool on the pan first. Leave the cookies on the baking sheet for 5 minutes before moving them to a wire rack. They'll look too soft to move at first — that's fine. Those 5 minutes on the pan are when they firm up to the right texture. Moving them too early is how they fall apart.
Tips for Success
- Let the chocolate cool before adding eggs: I've skipped this step when I was impatient and ended up with bits of cooked egg in my batter. Not dangerous, just texturally wrong. Give the melted chocolate 4–5 minutes to cool down — you can use that time to whisk the eggs and sugar in the other bowl, so you're not just standing around waiting.
- Don't add more flour, no matter how soft the dough looks: This is the mistake I made on my first batch. The batter looks too thin to scoop into cookies, so your instinct is to add more flour to fix it. Resist that. The low flour-to-chocolate ratio is the entire reason these cookies end up fudgy rather than cakey. Scoop it as-is and trust the bake time.
- Pull them when the centers still look soft: Overbaking is the main way these cookies go wrong. At 10 minutes the centers will look underdone — that's correct. They'll finish cooking on the hot pan during those 5 minutes of resting time. If you wait until the centers look done before pulling them from the oven, you'll end up with cookies that are dry all the way through by the time they cool.
- Use room temperature eggs: Cold eggs can cause the melted chocolate to seize up slightly when they hit it, leaving you with a lumpy, grainy batter. If I forget to take eggs out ahead of time, I put them in a bowl of warm (not hot) water for 5 minutes. That's enough to take the chill off.
- Spoon and level your flour: This recipe uses only ¼ cup of flour, which means that measurement matters more than it would in a regular cookie recipe. Scooping directly with the measuring cup packs in extra flour. Spoon it into the cup and level it off — it takes five extra seconds and makes a real difference in the final texture.
Variations
- Add espresso powder: A half teaspoon of instant espresso powder stirred into the chocolate mixture deepens the chocolate flavor noticeably — it doesn't make the cookies taste like coffee, it just makes the chocolate taste more intense. I started doing this after the third or fourth time I made them and now I almost always add it. Regular instant coffee works too, use the same amount.
- Flaky sea salt on top: Before baking, press a small pinch of flaky sea salt onto each cookie. The contrast with the dark chocolate is genuinely good — it's become my default version. Maldon salt is ideal but any coarse salt works. Don't use table salt for this — it dissolves and disappears instead of staying on top.
- Peanut butter chips: Swap the optional chocolate chip topping for peanut butter chips pressed into the tops before baking. If you like the Reese's flavor combination, this works really well — the cookies are intensely chocolate and the peanut butter chips give you that sweet-salty contrast. My Reese's peanut butter cheesecake cookies are the more dramatic version of this idea if you want to go all-in.
- Caramel center: Press a soft caramel candy into the center of each dough ball before baking. It melts into the middle and you get a gooey caramel core inside an already-fudgy cookie. This is a good variation for holiday cookie boxes or anytime you want something that looks more impressive than the effort involved.
- Dairy-free version: Use dairy-free butter (I Cant Believe It's Not Butter or a similar stick variety) and dairy-free chocolate chips — the Enjoy Life brand is easy to find at most major grocery stores including Walmart and Target. The texture comes out nearly identical. This isn't a version I make regularly since we don't have dairy restrictions in my family, but I've made it for a friend who does and it worked well.
Serving and Storage
Serving
These cookies are honestly best warm, within 20 minutes of coming out of the oven, when the inside is still slightly soft and fudgy. A cold glass of milk is the obvious pairing and it's obvious for a reason. If you want to make them into a proper dessert, put two warm cookies in a bowl and add a scoop of vanilla ice cream on top — the contrast of cold ice cream against warm cookie is the kind of thing that makes people embarrassingly happy. They're also good the next day at room temperature, especially if you wrap them individually — my husband actually prefers them that way, says the texture is closer to a real brownie by day two.
Storage
Store in an airtight container at room temperature for up to 4 days. Lay them in a single layer or put parchment between layers so they don't stick together — they're soft enough that they'll adhere to each other if you just pile them in. To freeze, let them cool completely, then freeze in a zip-lock bag with parchment between layers for up to 2 months. Thaw at room temperature for 20–30 minutes, or microwave one frozen cookie for 15–20 seconds. The dough can also be frozen before baking: scoop it onto a parchment-lined tray, freeze until solid, then transfer to a bag. Bake from frozen at 350°F and add 1–2 minutes to the bake time.

Frequently Asked Questions
Can I freeze the cookie dough before baking?
Yes, and I do this regularly. Scoop the dough onto a parchment-lined tray, freeze until solid (about an hour), then transfer the frozen dough balls to a zip-lock bag. When you're ready to bake, place them straight from frozen onto a parchment-lined baking sheet and bake at 350°F — just add 1 to 2 extra minutes to the bake time. No need to thaw first.
Why did my cookies come out flat?
Usually it's one of two things: the melted chocolate was still too warm when you mixed it in, or the butter was overheated. Both can make the batter too loose and cause spreading. Let your chocolate-butter mixture cool for at least 5 minutes before combining it with the eggs. If your kitchen is warm and the dough feels very runny, chill it in the fridge for 15 minutes before scooping — that's usually enough to fix it.
Can I use oil instead of butter?
Butter is better here for flavor and texture, so I'd keep it if you can. That said, melted coconut oil works as a substitute in a pinch — the cookies will be slightly softer and you'll get a faint coconut note, which isn't necessarily a bad thing with chocolate. I wouldn't use vegetable oil; it produces a greasier texture that doesn't hold up as well.
How do I make them even more fudgy?
Two things help: add an extra egg yolk (so 2 whole eggs plus 1 yolk), and make absolutely sure you're not overbaking. The extra yolk adds richness and a denser, more brownie-like chew. And pulling the cookies at 10 minutes even when the centers look underdone is the single biggest factor — they finish on the pan and that's where the fudgy center comes from.
Do these cookies need to be refrigerated?
No. Room temperature in an airtight container works fine for up to 4 days. I don't refrigerate them — cold temperatures make them harder and a little dry, which isn't the texture you want. If your kitchen is very warm (above 80°F in the summer, for instance), a day or two at room temp is fine and then move them to the fridge, but bring them back to room temperature before eating.
I've made a lot of chocolate desserts over the years — layer cakes, mousse, lava cakes, the works — and these brownie cookies are the one I come back to most often precisely because they're so low-effort for what you get. Twenty minutes start to finish, one bowl, ingredients I almost always have on hand. That combination is hard to beat on a regular weeknight.
They also work well as a base for something fancier if you want to go that direction. Sandwich two together with a spoonful of Nutella in the middle, or serve them warm in a bowl with ice cream and a drizzle of caramel. For the holidays I sometimes make a batch alongside my gingerbread Oreo no-bake mini cheesecakes and the two together on a plate look like you put in a lot more effort than you did.
If you're the kind of person who always cuts for the corner piece of the brownie pan, this recipe is going to become a regular in your kitchen. And if you want something to make the morning after — something that uses up the extra chocolate in the house — the chocolate croissant breakfast bake is the one I reach for. But that's a whole other story. Make these first. 🍫🖤✨
MELTAWAY BROWNIE COOKIES
Ingredients
For the Cookies:
- 1 cup semisweet chocolate chips
- ¼ cup unsalted butter
- ¾ cup granulated sugar
- 2 large eggs
- 1 teaspoon vanilla extract
- ¼ cup all-purpose flour
- ¼ teaspoon baking powder
- ¼ teaspoon salt
Optional Toppings:
- Powdered sugar for dusting
- Extra chocolate chips or chunks
Instructions
Preheat the Oven:
- Preheat oven to 350°F (175°C). Line baking sheets with parchment paper.
Melt Chocolate and Butter:
- In a microwave-safe bowl, melt chocolate chips and butter in 30-second intervals, stirring until smooth. Cool slightly.
Make the Batter:
- In another bowl, whisk together sugar, eggs, and vanilla until light. Stir in melted chocolate. Fold in flour, baking powder, and salt until just combined.
Scoop and Bake:
- Drop tablespoonfuls of dough onto prepared sheets, spacing 2 inches apart. Add optional toppings if desired.
Bake:
- Bake for 10–12 minutes or until the edges are set and tops are crackly. Cool on the baking sheet for 5 minutes, then transfer to a wire rack.
Notes
Dough can be chilled for up to 2 days before baking. Let it come to room temperature slightly before scooping. Customizing the Flavor:
Add a touch of espresso powder to deepen the chocolate flavor or a sprinkle of sea salt on top for contrast. Serving Suggestions:
Serve warm with a scoop of vanilla ice cream or enjoy as a rich afternoon snack. Allergy-Friendly Options:
Use dairy-free butter and chocolate chips to make this recipe dairy-free. Storage Tips:
Store in an airtight container at room temperature for up to 4 days, or freeze for longer shelf life.





Comments
No Comments