
I started making these crispy cauliflower bites on a whim one afternoon when I had half a head of cauliflower sitting in my fridge and zero motivation to make anything complicated. I figured I'd throw together a quick batter, coat them in breadcrumbs, and see what happened. What came out of the oven surprised me — genuinely crispy, golden little bites that disappeared before I even had time to plate them properly.
The key is the batter consistency and panko breadcrumbs. I tried regular breadcrumbs the first time and they gave me a soft, slightly gummy coating that I wasn't happy with. Panko is lighter and crisps up in a completely different way — almost like a tempura-style crunch. I also learned to shake off the excess batter before rolling in the breadcrumbs, because when there's too much batter on the floret, it steams the breadcrumbs instead of letting them crisp. It took me a couple of batches to figure that out, but now this recipe comes together exactly the way I want every single time.
My husband loves these as a snack with sriracha mayo on the side. Saad initially said he didn't want cauliflower, but once he saw how crunchy they were, he had about eight of them. Zainab prefers them with ranch dipping sauce and will actually ask for these over chips on some days, which is a miracle I don't take for granted. I make a double batch now because a single head of cauliflower genuinely doesn't last in this house. If you're after something easy for a party or even just a weeknight snack, these work. I've also served them alongside my French Onion Sausage Rolls at a small gathering and both trays were empty within the hour.
One thing I want to set expectations on: these are best eaten hot, right out of the oven or air fryer. If they sit out for 20 minutes, they'll soften. That doesn't mean they taste bad — they're still good — but the maximum crunch window is those first 10 minutes. If you're making these for guests, time your bake so they come out close to when people are eating.
Why You'll Love This Recipe
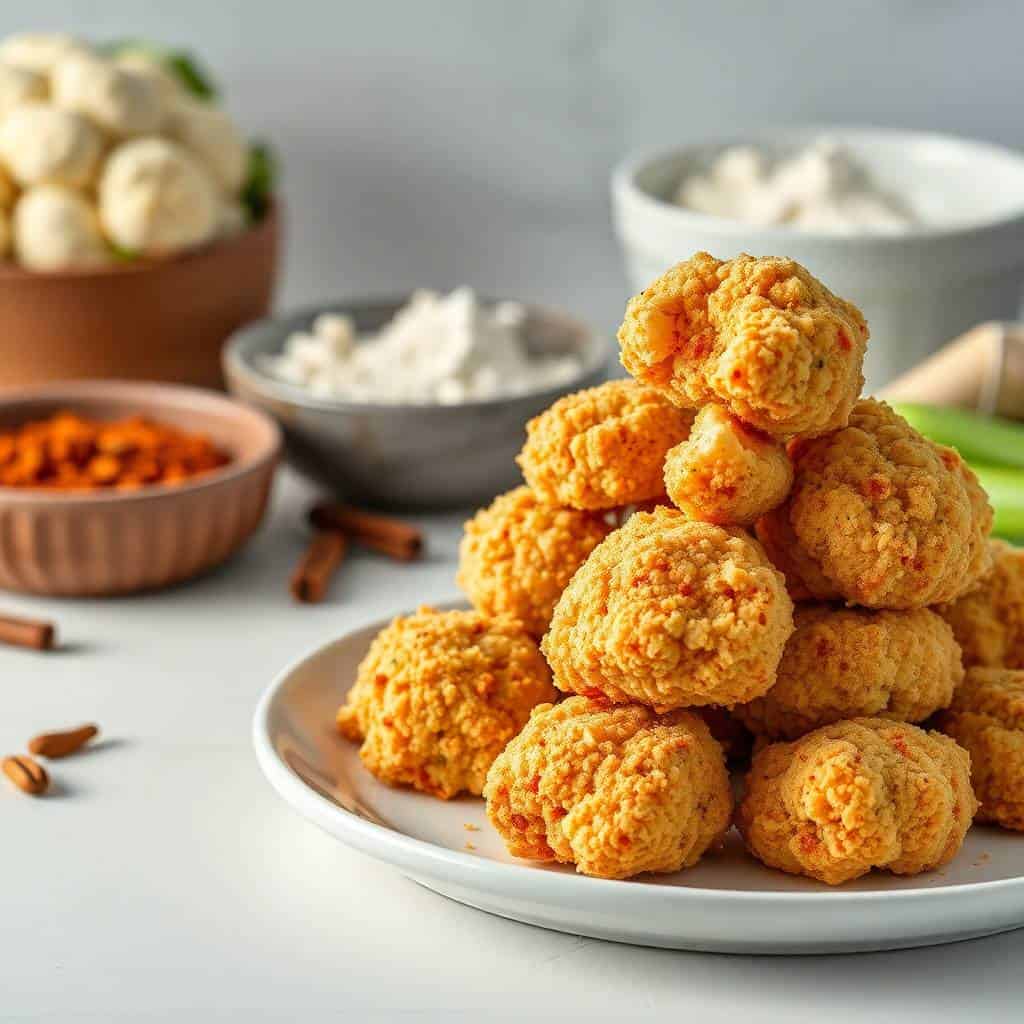
- That panko crunch is real: This isn't a soft, mushy veggie situation. The panko coating gets genuinely crispy — the kind of crunch you hear when you bite into it. I've made this for skeptical guests who claimed they don't like cauliflower and watched them go back for seconds. The texture is what converts people.
- Five pantry ingredients do all the work: Flour, water, garlic powder, paprika, salt, and pepper — that's the batter. Everything else is just the cauliflower and breadcrumbs. I almost always have all of this on hand, which means I can make these without planning ahead. No special trips to any store required.
- Works in the oven or air fryer: I use the oven most of the time because I'm baking a full head of cauliflower and my air fryer isn't big enough to do it all in one go. But when I'm making a smaller batch for an afternoon snack, the air fryer at 400°F for 15-18 minutes gives you an even crispier result than the oven. Both methods genuinely work — just depends on what you have going on.
- It's easy to customize once you have the base down: The base recipe is mild and works for everyone. Once you've made it once, you'll see exactly where to add heat, cheese, or herbs. I make the spicy version for my husband (extra paprika, pinch of cayenne) and the plain version for the kids, all from the same batter with just a small adjustment.
- This is a snack that actually fills you up: Cauliflower is surprisingly substantial when it's battered and baked this way. I've served this as a side dish with dinner and it holds its own. It's not just a token vegetable on the side — it's actually satisfying in a way that plain roasted cauliflower isn't.
Ingredients
- 1 medium head cauliflower, cut into bite-sized florets
- ¾ cup all-purpose flour
- ¾ cup water
- 1 teaspoon garlic powder
- 1 teaspoon paprika
- ½ teaspoon salt
- ¼ teaspoon black pepper
- 1 cup panko breadcrumbs (regular breadcrumbs work in a pinch, but panko gives you a much better crunch)
- Cooking spray or a light drizzle of olive oil
Directions
- Preheat and prep your baking sheet: Set your oven to 425°F (220°C). Line a baking sheet with parchment paper and give it a light spray of cooking spray. The parchment stops the coating from sticking and tearing off when you flip them — skipping it is how you lose half your crust.
- Make the batter: In a large bowl, whisk together the flour, water, garlic powder, paprika, salt, and black pepper until you have a smooth, lump-free batter. It should be thin enough to coat the florets but not so watery that it runs right off — about the consistency of thin pancake batter.
- Coat the cauliflower: Dip each floret into the batter and let the excess drip off for a few seconds — this step matters. Then roll it in the panko breadcrumbs, pressing gently so they stick. I do this assembly-line style: batter bowl on one side, breadcrumbs on the other, baking sheet at the end.
- Arrange on the baking sheet: Place the coated florets on the prepared baking sheet with space between each piece. They shouldn't be touching. If they're crowded, they'll steam instead of crisp, and you'll end up with soft coating rather than crunchy coating.
- Bake: Spray or drizzle the tops lightly with oil, then bake for 20–25 minutes, flipping each piece halfway through. You're looking for deep golden brown — if they look pale, give them another 3-4 minutes. Every oven runs a little different.
- Air fryer method: If you're using an air fryer, cook the coated florets at 400°F (200°C) for 15–18 minutes, shaking the basket halfway through. Work in batches if needed — don't stack them. The air fryer actually gets them slightly crispier than the oven in less time.
- Rest and serve: Let them cool for about 5 minutes before serving. They're extremely hot straight out of the oven and the cauliflower inside holds heat. Serve immediately with your dipping sauce of choice.
Tips for Success
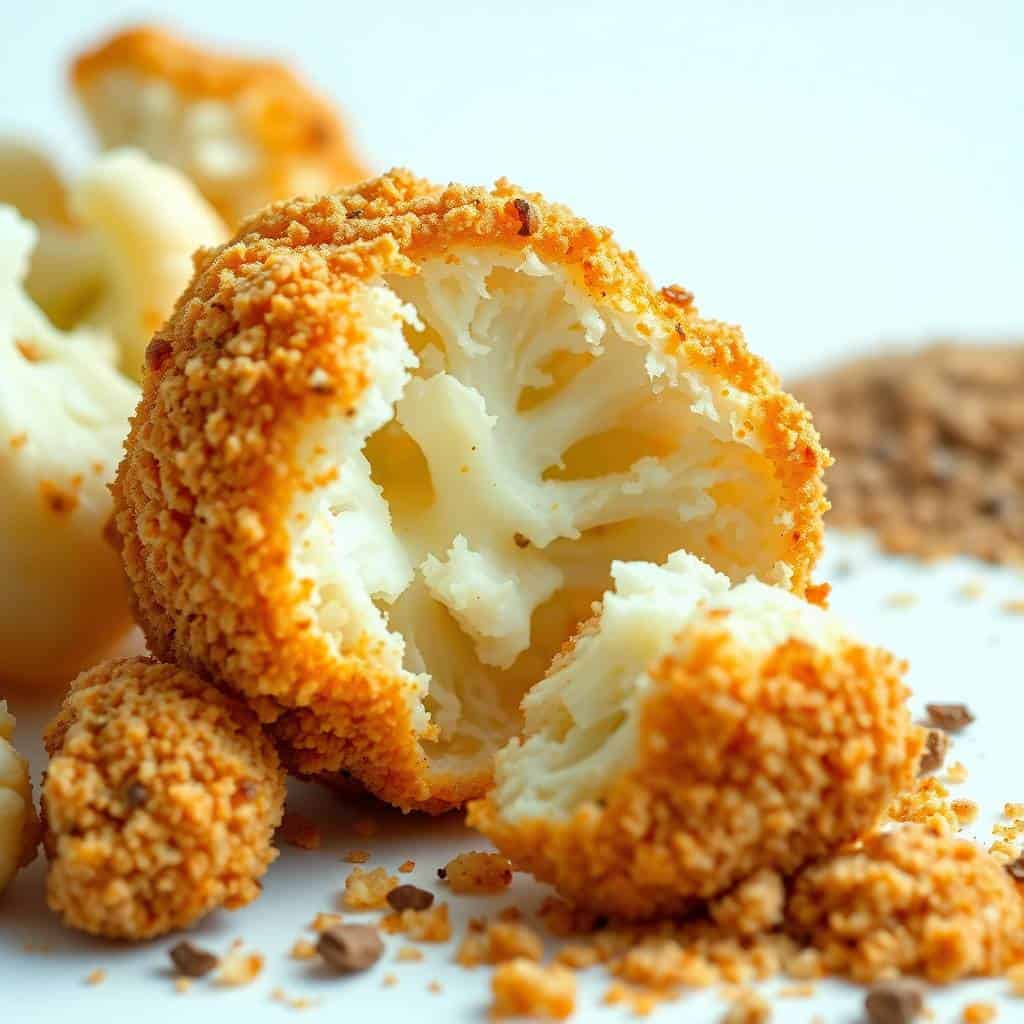
- Shake off the batter before breadcrumbing: I cannot stress this enough. The first time I made these, I let too much batter cling to the florets and the breadcrumbs turned gummy in the oven instead of crisping up. Give each floret a little shake or tap it against the side of the bowl before moving to the panko. A thin, even batter coat is what you want.
- Don't crowd the baking sheet: Each floret needs its own space. When they're too close together, moisture gets trapped between them and they steam rather than roast. If your head of cauliflower is large, use two baking sheets rather than squeezing everything onto one. The extra pan is worth it.
- Cut florets to a similar size: If some pieces are much bigger than others, the small ones will be done — or burning — before the large ones are cooked through. I try to cut everything roughly 1 to 1½ inches. It takes an extra two minutes of prep but the even cooking is worth it.
- Oil matters more than you'd think: A light spray or drizzle of oil over the breadcrumb-coated florets before they go in the oven is what activates the browning. I tried skipping the oil spray once to make them "lighter" and the coating stayed pale and slightly chalky. A little oil goes a long way — you don't need much, just enough to coat the surface.
- Serve within 10 minutes of baking: These are at their best hot and fresh. If you're making them for a gathering, I'd stagger the baking so a fresh batch comes out every 20 minutes or so rather than making everything at once and letting it sit. Leftovers can be reheated in the oven at 375°F for about 8 minutes, but they won't be quite as good as fresh.
Variations
- Buffalo cauliflower: Once the florets come out of the oven, toss them in buffalo sauce while they're still hot. The sauce soaks into the crispy coating just enough to flavor it without making it soggy — as long as you toss and serve immediately. This version is what I make when we're watching cricket at home and my husband wants something snacky but filling.
- Cheesy parmesan version: Add 3 tablespoons of finely grated parmesan right into the panko breadcrumbs before coating. It melts into the crust as it bakes and gives you a salty, savory depth that makes these feel much more substantial. This is the version Zainab actually prefers — she'll eat an entire bowl without noticing she's eating a vegetable.
- Spiced Pakistani-style: Add ½ teaspoon of cumin powder, ¼ teaspoon of chaat masala, and a pinch of red chili powder to the batter. Finish with a squeeze of lemon juice and a handful of chopped fresh coriander when serving. This is how I'd naturally season these for my own family, and it makes them taste completely different — bright, tangy, and warm all at once. Great alongside a simple raita.
- Gluten-free version: Swap the all-purpose flour for a 1:1 gluten-free flour blend (Bob's Red Mill or King Arthur both work well) and use gluten-free panko — I've seen it at Walmart and on Amazon. The texture is slightly different but still genuinely crispy. I made this version for a friend with celiac and she said she'd never have guessed it was gluten-free.
- Sweet and spicy honey-chili: Drizzle the hot baked florets with 2 tablespoons of honey and a sprinkle of red chili flakes right before serving. It's an unlikely combination but it works — the honey caramelizes slightly on the hot surface and the chili cuts through the sweetness. I first had something similar at a restaurant and figured out this version at home. Pair these with something mild like my Cranberry Coconut Energy Balls if you're building a snack spread.
Serving and Storage
Serving
Serve these hot, straight from the oven or air fryer. Set out a couple of dipping sauces — ranch and sriracha mayo are the favorites in my house, but blue cheese dressing, garlic aioli, and classic marinara all work well. If I'm serving these as a side dish rather than a snack, I'll plate them next to something saucy that they can soak up, the way you might serve fries alongside a burger. They also work well as part of a bigger snack spread — I've put these out alongside French Onion Sausage Rolls and both disappeared quickly.
Storage
Store leftover baked cauliflower in an airtight container in the fridge for up to 3 days. To reheat, spread them on a baking sheet and bake at 375°F (190°C) for 8–10 minutes, or reheat in the air fryer at 375°F for 5–6 minutes. The microwave will make them soft and limp — avoid it if crispiness is important to you. I won't pretend reheated leftovers are as good as fresh, but they're still tasty enough that I'll eat them cold out of the fridge the next morning, which says something.
Frequently Asked Questions
Can I make these ahead of time?
You can prep everything a few hours ahead — cut the cauliflower, mix the batter, and measure out the panko — but I'd hold off on dipping and coating until right before you bake. Once the batter goes on, the breadcrumbs start absorbing moisture and you lose some of the crunch. Batter and breadcrumbs separately in the fridge, then coat and bake when you're ready.
Can I deep fry these instead of baking or air frying?
Yes, absolutely. Deep fry the coated florets at 350°F (175°C) for about 3–4 minutes per batch until golden brown. Work in small batches so the oil temperature doesn't drop too much. Deep frying gives you the crispiest result of all three methods — it's how I'd make these if I were serving them at a party and wanted maximum impact. Just drain on paper towels before serving.
Can I use frozen cauliflower?
Fresh cauliflower really is better here — the texture holds up more firmly inside the batter coating. That said, if frozen is all you have, thaw it completely and then pat it very dry with paper towels before battering. Any excess moisture will make the batter slide off and the breadcrumbs won't stick properly. I've done it with frozen in a pinch and it works, just requires more patience with the drying step.
What dipping sauces work best with these?
Ranch is the most popular in my house, followed closely by sriracha mayo (just mix mayo with a squeeze of sriracha and a little lime juice). Blue cheese dressing, garlic aioli, and buffalo sauce all work really well too. If you go with the Pakistani-spiced variation, a simple mint-coriander chutney or plain yogurt with cumin is the natural pairing.
Is this recipe vegan?
Yes — the base recipe with just flour, water, spices, and panko is completely vegan. Just make sure to use cooking spray rather than butter, and skip the parmesan variation if you're keeping it dairy-free. The buffalo sauce variation is also vegan as long as you check your hot sauce brand (most are, but some contain butter).

CRISPY CAULIFLOWER RECIPE
Ingredients
For the Cauliflower:
- 1 medium head cauliflower cut into florets
- ¾ cup all-purpose flour
- ¾ cup water
- 1 teaspoon garlic powder
- 1 teaspoon paprika
- ½ teaspoon salt
- ¼ teaspoon black pepper
For the Coating:
- 1 cup panko breadcrumbs
- Cooking spray or olive oil for drizzling
Instructions
Preheat the Oven:
- Preheat your oven to 425°F (220°C). Line a baking sheet with parchment paper or lightly grease it.
Prepare the Batter:
- In a large bowl, whisk together the flour, water, garlic powder, paprika, salt, and pepper until smooth.
Coat the Cauliflower:
- Dip each cauliflower floret into the batter, allowing excess to drip off. Then coat with panko breadcrumbs.
Bake:
- Arrange the florets on the baking sheet. Lightly spray or drizzle with oil. Bake for 20–25 minutes, flipping halfway, until golden and crispy.
Serve:
- Serve hot with your favourite dipping sauce.
Notes
Prepare the cauliflower and batter separately a few hours in advance and coat just before baking. Customising the Flavour:
Add cayenne pepper or chilli flakes for a spicy version, or sprinkle parmesan cheese after baking for extra flavour. Serving Suggestions:
Enjoy with ranch dressing, spicy mayo, or buffalo sauce for dipping. Storage Tips:
Store leftovers in an airtight container and reheat in the oven or air fryer to maintain crispiness.
I've made a lot of vegetable-forward snacks over the years, some good, some forgettable. These crispy cauliflower bites are in the category of recipes I actually keep coming back to. They're not trying to be something they're not — they're just well-seasoned, well-textured, and genuinely satisfying in a way that surprises you given how simple the ingredient list is. I make them on weeknights when I want something fast and on weekends when guests are over, and they work in both contexts.
What I like most about this recipe is that it taught me something I now apply to other vegetable dishes: the batter and breadcrumb method transforms texture in a way that roasting alone doesn't. Once you've figured this out with cauliflower, you start thinking about what else you could coat and bake the same way. If you're in the mood for more snack-style recipes after trying these, my Easiest Caramel Corn is a completely different flavor direction but the same kind of easy, shareable snack energy.
The double batch rule applies here: if you're making these for more than two people, use a full large head of cauliflower and two baking sheets. A single head genuinely isn't enough once people realize how good these are. I've been caught out by this more than once, standing in the kitchen making a second batch while the first one is already gone. Make more than you think you need. 🥄✨
If you liked this recipe, here are a few more you might





Comments
No Comments