
Saad asked for chocolate chip cookies four weeks in a row before I finally sat down and figured out exactly what I was doing right. He'd been rating each batch on a scale I didn't ask for — "too flat," "too crunchy," "more like the chewy ones, Mama" — and I finally cracked it. The secret wasn't anything dramatic. It was using melted butter instead of softened, and pulling the cookies out when the centers still looked underdone.
What makes this version different from the standard recipe on the back of every bag of chocolate chips is the brown sugar ratio. I use more brown sugar than white, which gives you that slightly caramel-y depth and keeps the centers soft even after the cookies cool. The melted butter also matters — it creates a denser, chewier texture than creamed butter does. I've made both, and the melted butter version wins every time in my kitchen.
I make these on weekend afternoons when the kids are doing homework and I need something to look forward to. Zainab likes hers warm, straight from the pan. Saad waits until they've cooled down a bit and then eats three. My husband usually sneaks one before I've had a chance to transfer them to a rack. I make a double batch now because a single batch disappears before I've even cleaned up the bowl.
One thing to know before you start: don't overbake these. I know it's tempting to wait until the centers look set and golden, but that's when they're already overdone. Pull them at 10-12 minutes when the edges are just barely golden and the middles still look soft and a little underbaked. They'll firm up on the pan while they cool, and that's exactly where the chew comes from. If you love chocolate desserts, you might also want to check out my Chocolate Delight Dessert — it uses a similar philosophy of not overcomplicating things.
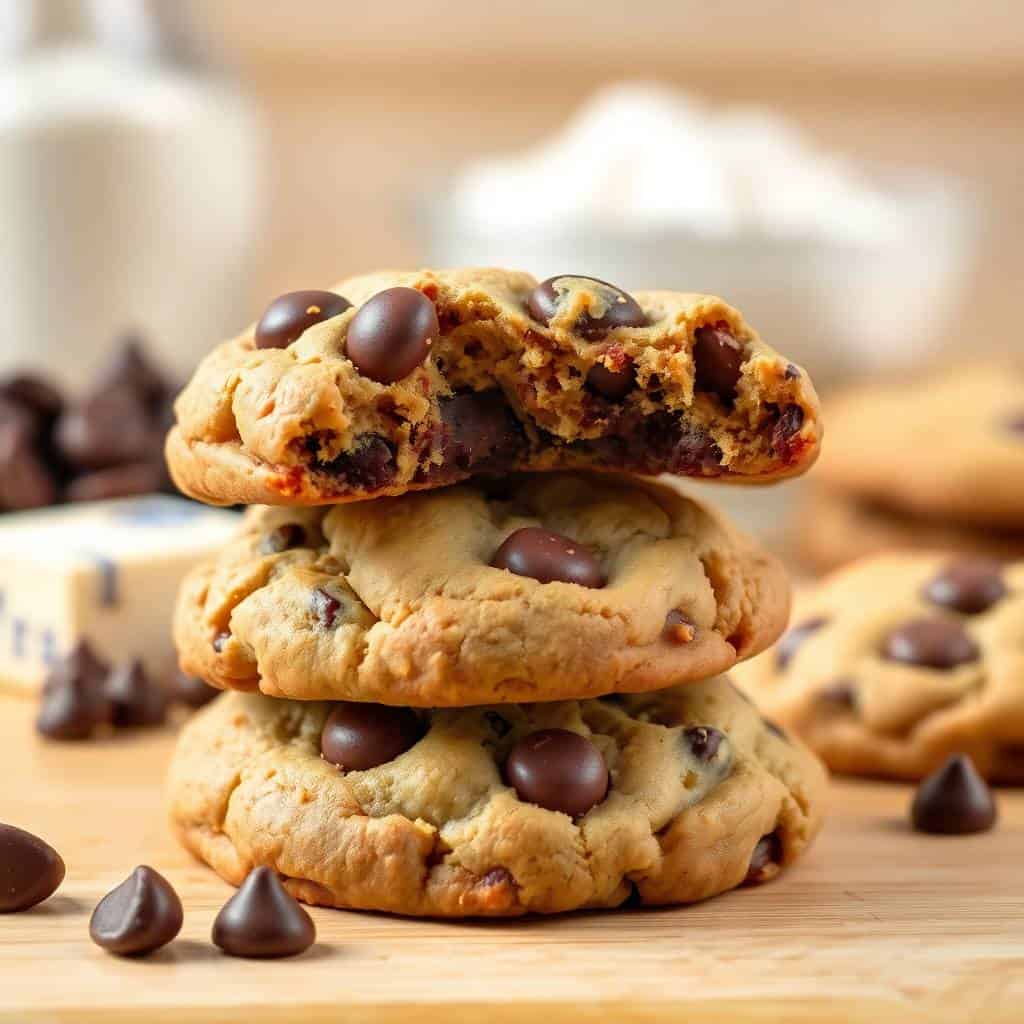
Why You'll Love This Recipe
- The centers stay chewy even the next day: Most cookies go hard overnight. These don't, and it's because of the higher brown sugar ratio and the melted butter. I tested this by hiding four cookies in a container after baking and eating them the next morning with my tea. Still chewy. Still good. The trick is not overbaking them in the first place — that's where most recipes go wrong.
- One bowl, no mixer required: I don't own a stand mixer and I'm not buying one just for cookies. This recipe mixes entirely by hand — a bowl, a whisk, a wooden spoon, and you're done. I use a $12 silicone spatula I've had for three years. If you can stir cake batter, you can make this dough without any special equipment.
- The dough can be made ahead: I almost always make the dough the night before and refrigerate it. Chilled dough spreads less in the oven, which means thicker cookies. It also means I can have fresh-baked cookies on the table in 12 minutes the next day without any prep, which is exactly what a Tuesday evening sometimes needs.
- Basic pantry ingredients: Flour, butter, sugar, eggs, vanilla, chocolate chips, baking soda, salt. That's it. No specialty items, no trips to a baking supply store. I always have everything in my kitchen already, which is half the reason this became my default cookie recipe. Pick up the chocolate chips at Walmart or Trader Joe's — Nestle Toll House semi-sweet work great here.
- Freezer-friendly dough means cookies anytime: I scoop the dough into balls and freeze them on a tray, then transfer to a zip-lock bag. When someone asks for cookies, I pull out however many I need and bake straight from frozen — just add 2-3 extra minutes. It's genuinely one of the most useful things I do in my kitchen.
Ingredients
- 2 ¼ cups all-purpose flour
- 1 teaspoon baking soda
- ½ teaspoon salt
- 1 cup unsalted butter, melted and slightly cooled
- 1 cup packed brown sugar
- ½ cup granulated sugar
- 2 large eggs
- 2 teaspoons vanilla extract
- 2 cups semi-sweet chocolate chips (I use Nestle Toll House or Ghirardelli)
Directions
- Preheat the oven: Set your oven to 350°F (175°C) and line two baking sheets with parchment paper. I don't grease the parchment — you don't need to, and greasing can make the bottoms spread and brown too fast.
- Mix the dry ingredients: In a medium bowl, whisk together the flour, baking soda, and salt. Set it aside. Getting this step done first means you won't accidentally forget the baking soda when you're rushing — I've done that, and flat cookies are sad cookies.
- Mix the wet ingredients: In a large bowl, stir together the melted butter, brown sugar, and granulated sugar until smooth. The mixture will look glossy and slightly thick. Add the eggs one at a time, stirring well after each. Then stir in the vanilla. This is all done by hand — no mixer needed.
- Combine wet and dry: Add the dry ingredients to the wet ingredients gradually, stirring until just combined. Stop as soon as you don't see streaks of flour. Overmixing at this stage develops the gluten and makes the cookies tough — I learned that the hard way on my first few batches.
- Fold in the chocolate chips: Add the chocolate chips and stir them in with a spatula until they're evenly distributed. If you want extra chocolate in every bite, you can add a full 2 cups — I usually do.
- Scoop and bake: Drop rounded tablespoons of dough onto the prepared baking sheets, spacing them about 2 inches apart. Bake for 10-12 minutes, until the edges are just golden but the centers still look soft and slightly underdone. This is the key step — trust the timer, not your eyes.
- Cool on the pan: Leave the cookies on the baking sheet for at least 5 minutes before moving them. They'll look too soft to move, but that's correct. The residual heat finishes the baking and sets the chewy texture. Then transfer to a wire rack to cool completely — if you can wait that long.
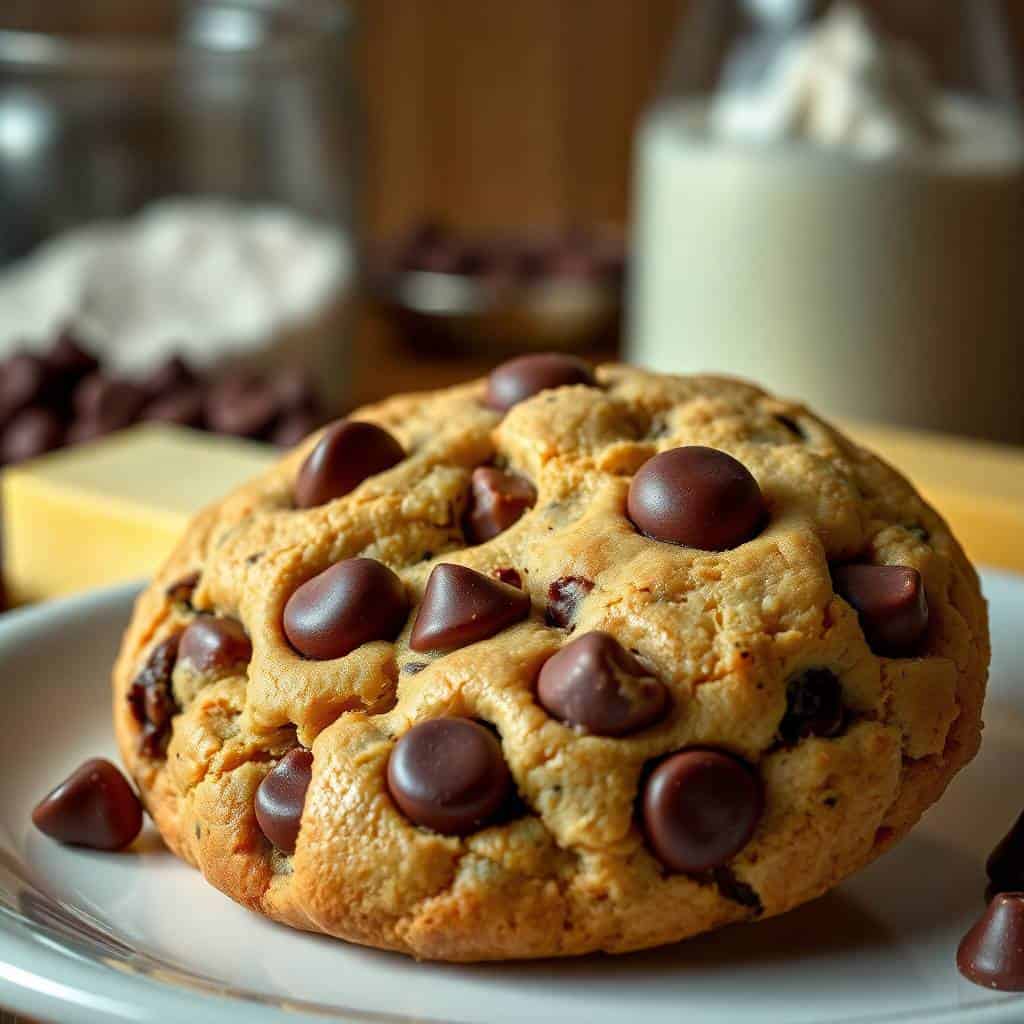
Tips for Success
- Use melted butter, not softened: This is the single biggest difference between a chewy cookie and a cakey one. Melted butter means less air is incorporated into the dough, which gives you a denser, chewier result. Let the butter cool for a few minutes after melting — if it's too hot when you add the eggs, you'll scramble them. I know because I've done exactly that.
- Chill the dough for thicker cookies: If you want bakery-style thick cookies, refrigerate the dough for at least 30 minutes before baking, or overnight. Cold dough spreads more slowly in the oven, so the cookies stay taller. When I'm making cookies for guests, I always chill the dough. When I'm making them at 3pm because the kids are restless, I skip this step — they still turn out good, just slightly thinner.
- Don't crowd the baking sheet: I made this mistake in my very first batch — I put twelve cookies on one sheet and they all merged together into one giant cookie slab. Space them a full 2 inches apart. They spread more than you expect. Bake in two batches if you need to; it's worth the extra ten minutes.
- Pull them out early: If the centers look done in the oven, they're already overdone. The cookies need to look soft and underbaked in the middle when you pull them. They'll continue cooking on the hot pan for another 5 minutes after you take them out of the oven. This is the one tip that changed everything for me.
- Measure your flour properly: Too much flour is the most common reason cookies come out dry and crumbly. Instead of scooping the measuring cup straight into the flour bag (which packs it down), spoon the flour into the measuring cup and then level it off with a knife. It takes ten extra seconds and makes a real difference in texture.
Variations
- Sea salt on top: Before the cookies go into the oven, press a few flakes of flaky sea salt onto each one. The salt cuts through the sweetness and makes the chocolate flavor more intense. Maldon sea salt works great for this — you can find it at most grocery stores, or Walmart usually carries it. This is my husband's preferred version; he specifically asks for the "salty ones."
- Double chocolate: Replace ¼ cup of the flour with ¼ cup of unsweetened cocoa powder and use dark chocolate chips instead of semi-sweet. You end up with an intensely chocolatey cookie that looks almost black when it bakes. Saad calls these "the dark ones" and requests them specifically for his birthday.
- Nutty version: Add ½ cup of roughly chopped walnuts or pecans to the dough along with the chocolate chips. The nuts add crunch against the chewy cookie base, and toasting them first in a dry pan for 3 minutes deepens the flavor. I don't usually do this because Zainab picks out the nuts, but when I'm baking for adults, I always add them.
- Ice cream sandwiches: Let the cookies cool completely, then sandwich a scoop of vanilla ice cream between two of them. Press gently, wrap in plastic wrap, and freeze for at least an hour. These are genuinely incredible and the kids lose their minds over them. I have a full post on chocolate chip ice cream sandwiches if you want to go down that road.
- Dairy-free version: Swap the butter for vegan butter (I've used Earth Balance and it works well) and use dairy-free chocolate chips. The texture stays chewy. This isn't my everyday version, but I've made it for a friend who can't have dairy and she said she couldn't tell the difference. Just make sure the vegan butter is melted and slightly cooled the same way.
Serving and Storage
Serving
These are best served warm, about 10 minutes out of the oven when the chocolate chips are still melty. A cold glass of milk is the obvious pairing, but honestly, they also work alongside a scoop of vanilla ice cream for a low-effort dessert. If you want to reheat them the next day, 10 seconds in the microwave brings them back to that fresh-baked texture. For something a little more involved, try turning them into ice cream sandwiches — freeze them assembled and pull them out whenever you need a crowd-silencing dessert.
Storage
Store baked cookies in an airtight container at room temperature for up to 5 days — they stay chewy the whole time if you sealed the container properly. For longer storage, freeze baked cookies in a zip-lock bag for up to 2 months; thaw at room temperature for 20-30 minutes or microwave for 15 seconds. Unbaked dough keeps in the fridge for up to 72 hours (covered tightly), or you can freeze dough balls and bake them straight from frozen at 350°F, adding 2-3 minutes to the baking time.

Frequently Asked Questions
Why are my cookies coming out flat?
The most common reason is butter that was too warm when you mixed the dough, or dough that wasn't chilled before baking. If your cookies are spreading into puddles, try refrigerating the dough for 30-60 minutes before scooping. Also check that your baking soda isn't expired — old baking soda loses its lift and can affect how the cookies hold their shape.
Why are my cookies coming out cakey instead of chewy?
Cakey cookies usually mean too much flour or too many eggs relative to the other ingredients. Make sure you're spooning flour into the measuring cup rather than scooping directly — scooping packs in 20-30% more flour than the recipe intends. Also make sure you're using melted butter, not creamed or softened, which incorporates more air and creates a lighter texture.
Can I freeze the cookie dough?
Yes, and I actually recommend it. Scoop the dough into balls and freeze them on a baking sheet until solid, then transfer to a freezer bag. They keep for up to 2 months. Bake straight from frozen at 350°F and add 2-3 minutes to the baking time. No need to thaw. This is genuinely one of the most useful things you can do with this recipe.
Can I use salted butter instead of unsalted?
You can, but skip the added salt in the recipe if you do. The cookies will still turn out well — some people actually prefer them with a slightly saltier edge. I keep unsalted butter on hand for baking because it gives me more control over the final flavor, but if salted is what you have, just use it and omit the ½ teaspoon of salt.
How do I know when the cookies are done baking?
Pull them when the edges look set and just barely golden, but the centers still look soft, slightly glossy, and underdone. This usually happens around 10-12 minutes at 350°F, but every oven runs differently. The cookies will finish baking from the residual heat of the pan after you take them out, so if you wait until the centers look done in the oven, they'll be overdone by the time they cool. I set a timer for 10 minutes and check from there.
CHEWY CHOCOLATE CHIP COOKIES
Ingredients
- 2 ¼ cups all-purpose flour
- 1 teaspoon baking soda
- ½ teaspoon salt
- 1 cup unsalted butter melted and slightly cooled
- 1 cup packed brown sugar
- ½ cup granulated sugar
- 2 large eggs
- 2 teaspoons vanilla extract
- 2 cups semi-sweet chocolate chips
Instructions
Preheat the Oven:
- Preheat your oven to 350°F (175°C) and line baking sheets with parchment paper.
Mix Dry Ingredients:
- In a medium bowl, whisk together flour, baking soda, and salt. Set aside.
Prepare Wet Ingredients:
- In a large bowl, beat together melted butter, brown sugar, and granulated sugar until smooth. Add eggs one at a time, then stir in vanilla.
Combine and Add Chocolate Chips:
- Gradually add the dry ingredients to the wet ingredients. Stir in chocolate chips until evenly distributed.
Scoop and Bake:
- Drop rounded tablespoons of dough onto baking sheets. Bake for 10–12 minutes, or until the edges are golden and the centers look set.
Cool:
- Let cookies cool on the baking sheet for 5 minutes, then transfer to wire racks to cool completely.
Notes
Cookie dough can be made ahead and refrigerated for up to 72 hours. Baked cookies stay fresh for up to 5 days in an airtight container. Customizing the Flavor:
Try adding a sprinkle of sea salt on top before baking or mix in chopped nuts or white chocolate for a twist. Serving Suggestions:
Serve warm with a glass of cold milk or make ice cream sandwiches using two cookies and a scoop of vanilla. Allergy-Friendly Options:
Use dairy-free butter and chocolate chips for a dairy-free version. Substitute egg replacer for a vegan-friendly option. Storage Tips:
Store cookies in an airtight container at room temperature for up to 5 days, or freeze for up to 2 months.
This is one of those recipes I keep coming back to because it genuinely delivers every single time. I've tweaked a lot of cookie recipes over the years — too cakey, too thin, too sweet — and this one landed in the right place. The melted butter technique sounds like a small thing, but it changes everything about the final texture. Once you make cookies this way, it's hard to go back to the creamed butter method.
If you're in a baking mood and want to keep going after these, my almond flour cookies are worth trying — they're completely different in texture but just as satisfying. And if you want to do something more involved with your chocolate chip cookies, the ice cream sandwich version is something my kids have started requesting at every birthday.
I've made this dough so many times now that I don't even check the recipe anymore — it's just in my hands. That's how I know it's a good one. Whether you make a single batch for a weeknight treat or a double batch for the freezer, these cookies do exactly what a chocolate chip cookie should do. 🍪❤️
If you liked this recipe, here are a few more you might want to try:
- Almond Flour Cookies — a different texture, naturally gluten-free, and genuinely good
-
{"@context":"https://schema.org","@type":"Article","headline":"CHEWY CHOCOLATE CHIP COOKIES","description":"These Chewy Chocolate Chip Cookies are soft, gooey, and packed with chocolate chips for the ultimate comfort dessert.","datePublished":"2025-04-25T15:30:19+00:00","dateModified":"2026-05-04T03:56:24+00:00","author":{"@type":"Person","name":"Sana Umer","url":"https://forfoodiefriends.com/about/","description":"Self-taught home cook with 10+ years of kitchen experience. Mom of two who develops every recipe in her own kitchen.","jobTitle":"Recipe Developer & Food Blogger","image":"https://forfoodiefriends.com/wp-content/uploads/sana-umer-author-photo.jpg"},"publisher":{"@type":"Organization","name":"For Foodie Friends","url":"https://forfoodiefriends.com/","logo":{"@type":"ImageObject","url":"https://forfoodiefriends.com/wp-content/uploads/forfoodiefriends-logo.png"}},"mainEntityOfPage":{"@type":"WebPage","@id":"https://forfoodiefriends.com/chewy-chocolate-chip-cookies/"},"image":"https://forfoodiefriends.com/wp-content/uploads/2025/04/CHEWY-CHOCOLATE-CHIP-COOKIES.jpg"}






Comments
No Comments